
Table of Contents
- The Short Answer: Control the Process, Not Only the Machine
- What a Bowl Cutter Does in Meat Processing
- Prepare Meat for Repeatable Cutting
- A Practical Bowl Cutter Process for Consistent Texture
- Manage Temperature and Emulsion Stability
- Common Texture Problems and Corrections
- Cleaning, Inspection, and Batch Records
Consistent meat texture comes from controlling raw-material preparation, batch size, knife action, processing time, temperature, and ingredient order. This practical guide explains how commercial operators can use a bowl cutter to produce repeatable coarse, medium, or fine meat mixes.
The Short Answer: Control the Process, Not Only the Machine
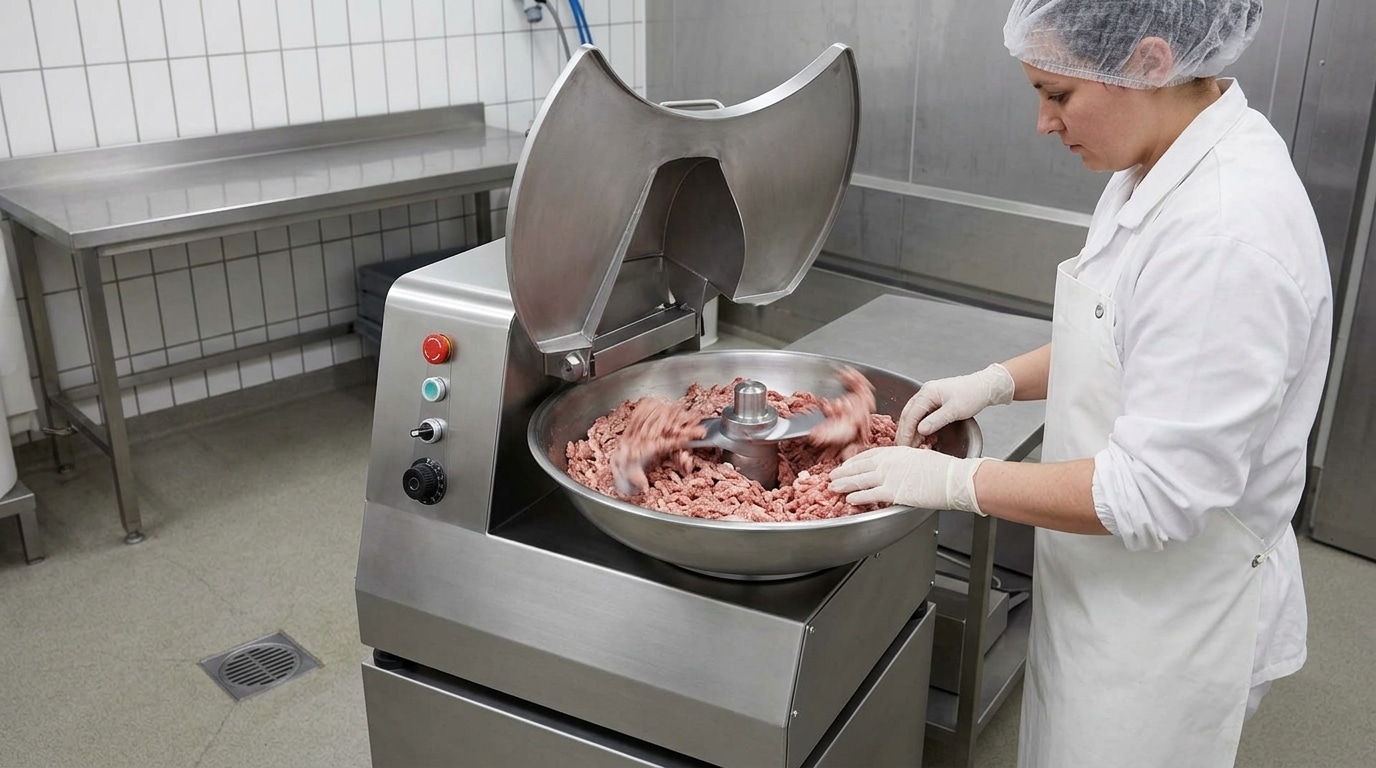
To use a bowl cutter for meat consistently, start with uniformly prepared cold meat, run a repeatable batch size, add ingredients in a fixed sequence, and stop at the same visual and temperature endpoint for every batch. Knife speed, bowl speed, processing time, meat temperature, fat distribution, and knife condition all affect the final texture.
A bowl cutter can produce a coarse chopped mix, a defined medium grind, or a fine meat paste depending on the recipe and process. The machine alone does not determine the result. Operators need a written method that specifies raw-material size, starting temperature, loading order, cutting stages, and the acceptable final appearance. This is especially important for products such as sausages, meatballs, patties, formed products, fillings, and seasoned minced-meat preparations.
Before introducing a bowl cutter into a larger production flow, review how trimming, portioning, and cutting affect the incoming meat. When bone-in or frozen blocks must be reduced before chopping, the correct upstream saw arrangement also matters. Our guide to tabletop versus floor bone saws can help operators plan a practical cutting station around available space and product volume.
What a Bowl Cutter Does in Meat Processing
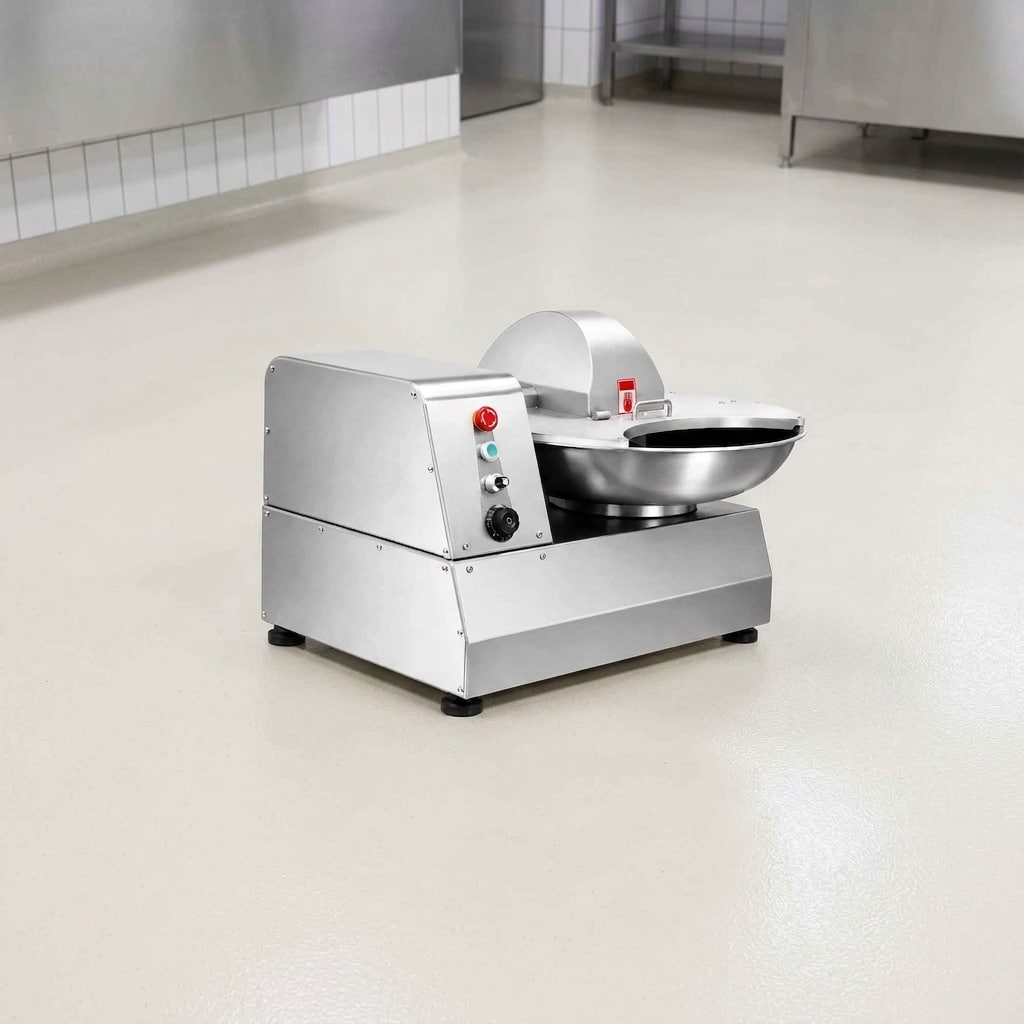
A commercial bowl cutter is a food-processing machine that uses rotating knives and a moving bowl to chop and mix meat, fat, seasonings, water or ice, and other recipe ingredients. The knife assembly cuts the material while the bowl brings product repeatedly through the cutting zone. Depending on the machine configuration and the operator’s settings, the process may be used primarily for chopping, mixing, or developing a finer and more uniform meat system.
Compared with simply passing meat through a grinder, bowl cutting gives the operator direct control over how long the product is worked after ingredients are combined. That makes it useful where particle definition, ingredient dispersion, binding, or a finer texture must be managed closely. It is not a substitute for good raw-material control: inconsistent trim, large frozen pieces, warm fat, or poorly distributed seasoning will still produce variable batches.
For a high-level overview of where this equipment fits in commercial production, see how commercial bowl cutters support high-volume food preparation. Always follow the operating instructions and safety requirements for the specific model installed in your facility.
Prepare Meat for Repeatable Cutting
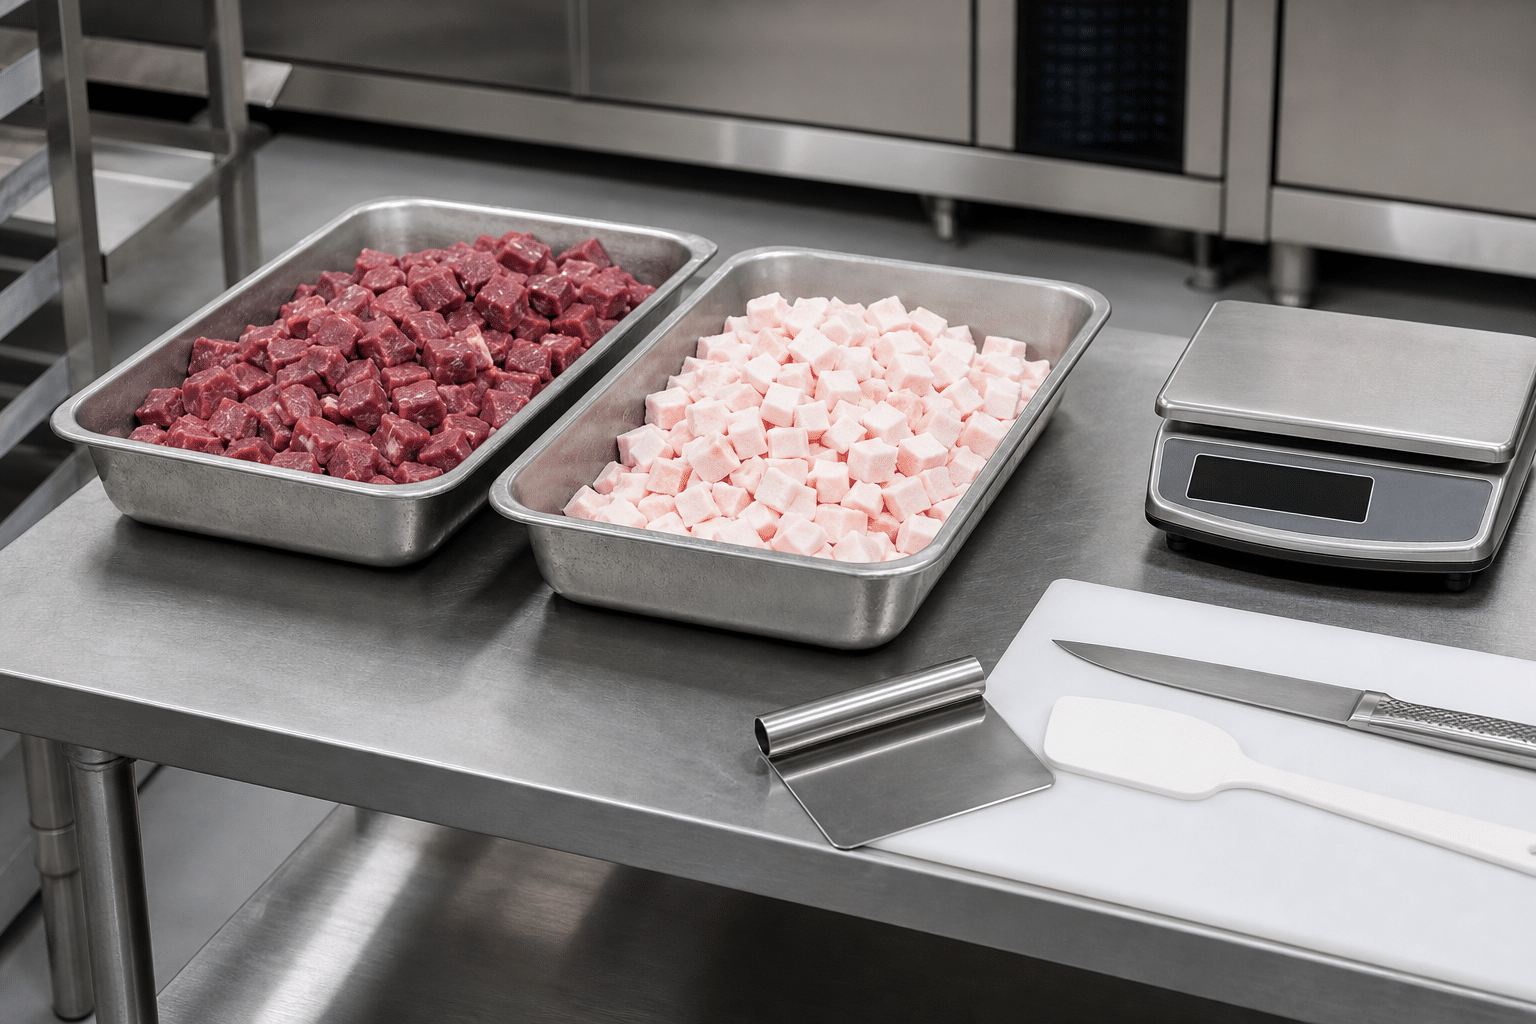
Texture consistency begins before the product enters the bowl. Standardise the incoming meat and fat as far as practical. Use the same approved cut specification, trim level, meat-to-fat ratio, and pre-cut piece size for each recipe. Large pieces take longer to reduce, while very small pieces may be overworked before larger pieces have reached the target texture.
Set a raw-material standard
- Meat and fat: Use the recipe’s defined raw materials and keep the fat distribution consistent from batch to batch.
- Piece size: Pre-cut meat into pieces that can move freely in the bowl and pass safely through the knife zone. The correct size depends on the bowl cutter, recipe, and loading method.
- Temperature: Begin with properly chilled meat and fat. Warm raw material can smear rather than cut cleanly and can reduce control over the final texture.
- Frozen material: Do not assume every bowl cutter can process large hard-frozen blocks. Follow the machine manual and use an appropriate upstream cutting method where required.
- Foreign-material control: Remove bone fragments, packaging material, clips, and other contaminants before loading.
If your operation processes both fresh and frozen meat, establish separate preparation instructions. Product hardness, cut size, and safe handling requirements can differ significantly. The guide to choosing a bone saw for fresh versus frozen meat explains why the upstream cutting approach should match the condition of the product.
Weigh every component rather than estimating by volume. This includes meat, fat, salt, spices, dry ingredients, water, and ice. Accurate scaling protects flavour and product consistency, but it also helps the operator identify whether a texture issue comes from machine operation or a change in the formulation.
A Practical Bowl Cutter Process for Consistent Texture
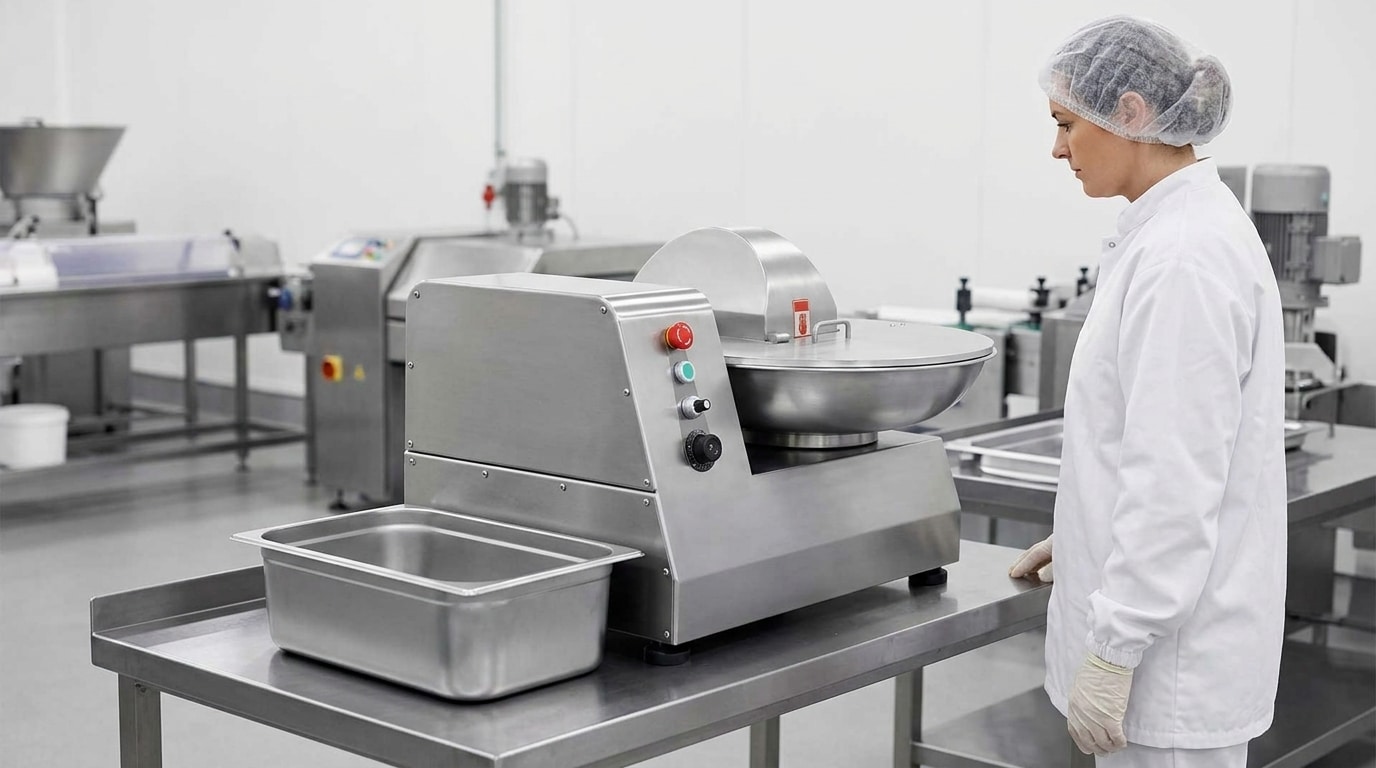
The most reliable approach is to turn the recipe into a controlled standard operating procedure. Record the settings and sequence that produce the approved texture on your own equipment, then train operators to follow that method. The precise speed settings and times depend on the bowl cutter model, knife configuration, product formulation, and desired result, so they should not be copied from a different machine without validation.
1. Inspect the machine before loading
Confirm that the bowl, knife head, lid, scraper or discharge arrangement, guards, and controls are clean, correctly assembled, and in sound condition. Check that knives are undamaged and secure. A dull or damaged knife can tear, smear, or unevenly cut product. Never reach into the bowl or attempt an adjustment while moving parts are in operation.
2. Load a consistent batch
Use a batch weight that suits the machine and recipe. Underloading can prevent the meat from circulating through the knife zone as intended. Overloading can restrict movement, produce uneven cutting, and make temperature control harder. Define a normal production batch and a separate, validated smaller batch method if your operation needs one.
3. Cut in stages
For a coarse texture, use short cutting stages and inspect early. For a medium texture, use controlled cutting periods with pauses for visual checks. For fine products, use a staged process that brings the meat to a uniform base before completing ingredient addition and final cutting. Avoid relying on time alone; the same time can give different results if the starting temperature, batch weight, or raw-material size has changed.
4. Add ingredients in the specified order
Ingredient sequence affects both texture and distribution. A typical process may introduce lean meat first, then salt and seasonings, followed by chilled liquid or ice in controlled additions, with fat added at the point defined by the recipe. However, the correct order must be developed for the individual product. Dry ingredients added too late may not distribute evenly; liquid added too quickly may cause product to move differently in the bowl; fat added at the wrong stage may not give the intended particle definition.
5. Check the endpoint and discharge promptly
Use agreed visual checks: particle size, distribution of visible fat, absence of uncut pieces, surface appearance, and uniform seasoning. Where your food-safety programme requires it, measure and record product temperature with a suitable calibrated probe. Once the approved endpoint is reached, stop processing and discharge the batch promptly into clean receiving equipment. Continuing to run after the target is reached is a common cause of overworked texture.
Manage Temperature and Emulsion Stability
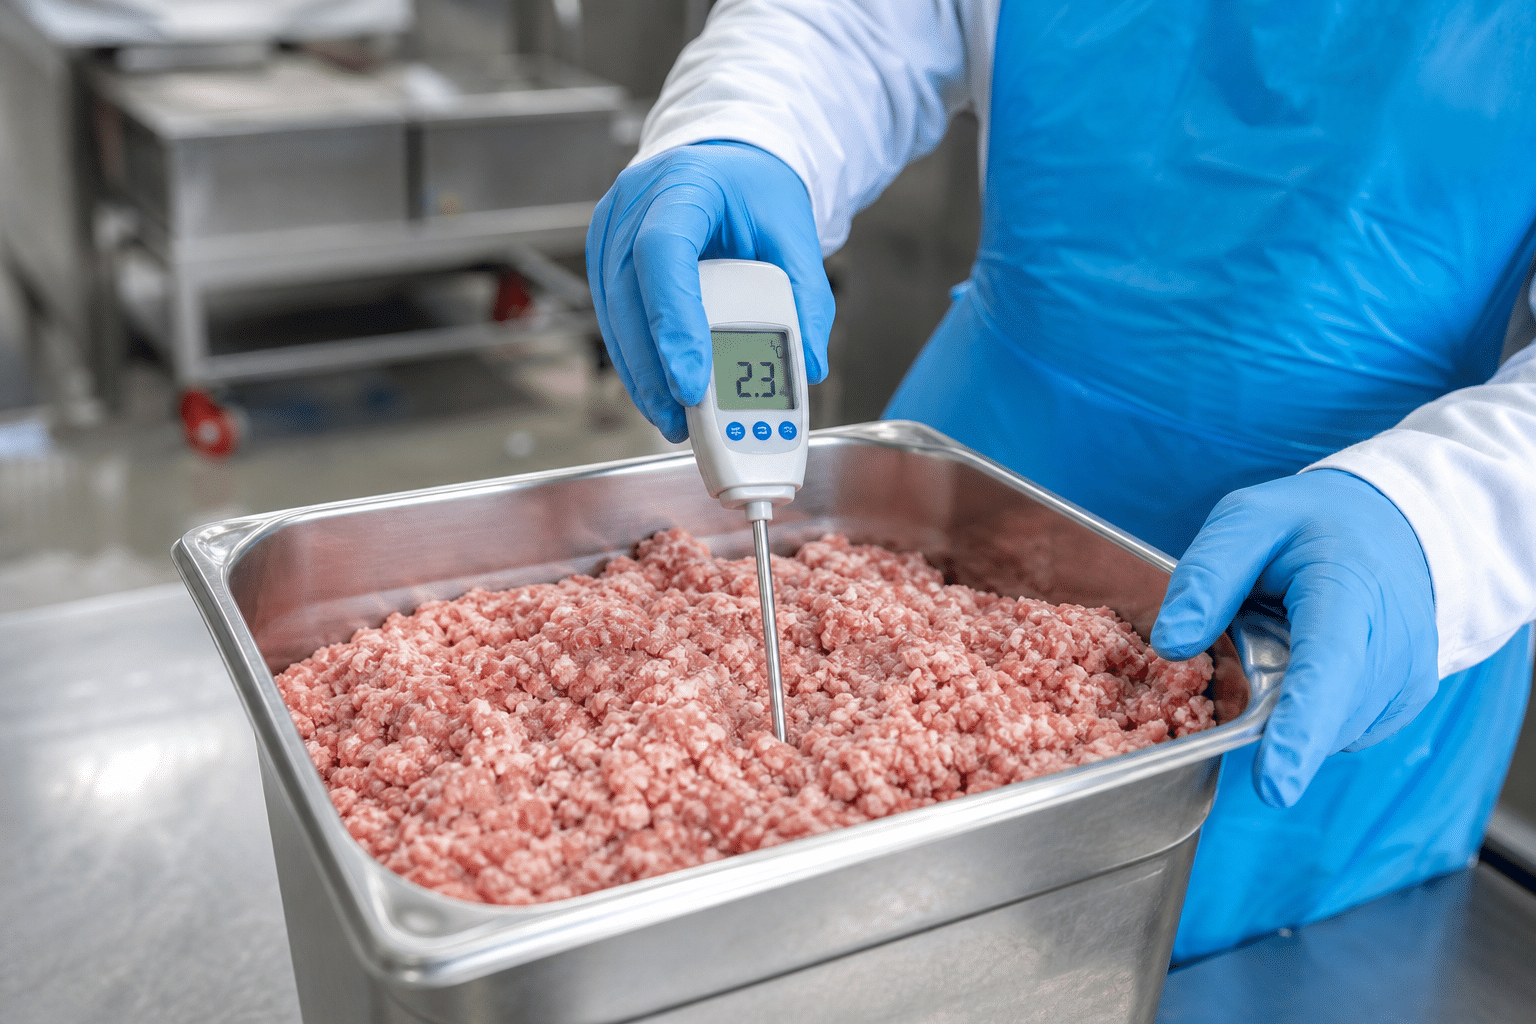
Knife action creates friction, and friction can raise product temperature. As the product warms, the meat and fat may behave differently in the bowl. This is one reason why a batch that looks correct early in the process can become smeared, greasy, or overly fine if it continues too long.
Use cold raw material and follow the recipe’s instructions for chilled water or ice where applicable. Add those ingredients in controlled quantities and at the specified stage. Do not use ice simply to compensate for an uncontrolled process. If a batch regularly reaches an unsuitable temperature before it reaches the required texture, investigate the real cause: knife sharpness, batch size, cutting time, starting raw-material temperature, room conditions, or recipe design.
Fine meat systems require especially close control. In these products, salt, protein extraction, water addition, fat incorporation, and knife work interact. The required process is product-specific and should be validated by the manufacturer or product-development team. Operators should not make unrecorded changes to speed, time, ingredient order, or water addition during routine production.
A simple batch record can make temperature-related issues easier to identify. Record the meat starting condition, batch weight, start temperature if measured, process stages, final appearance, and any corrective action. After several batches, these records can reveal patterns that are not obvious from one production run.
Common Texture Problems and Corrections
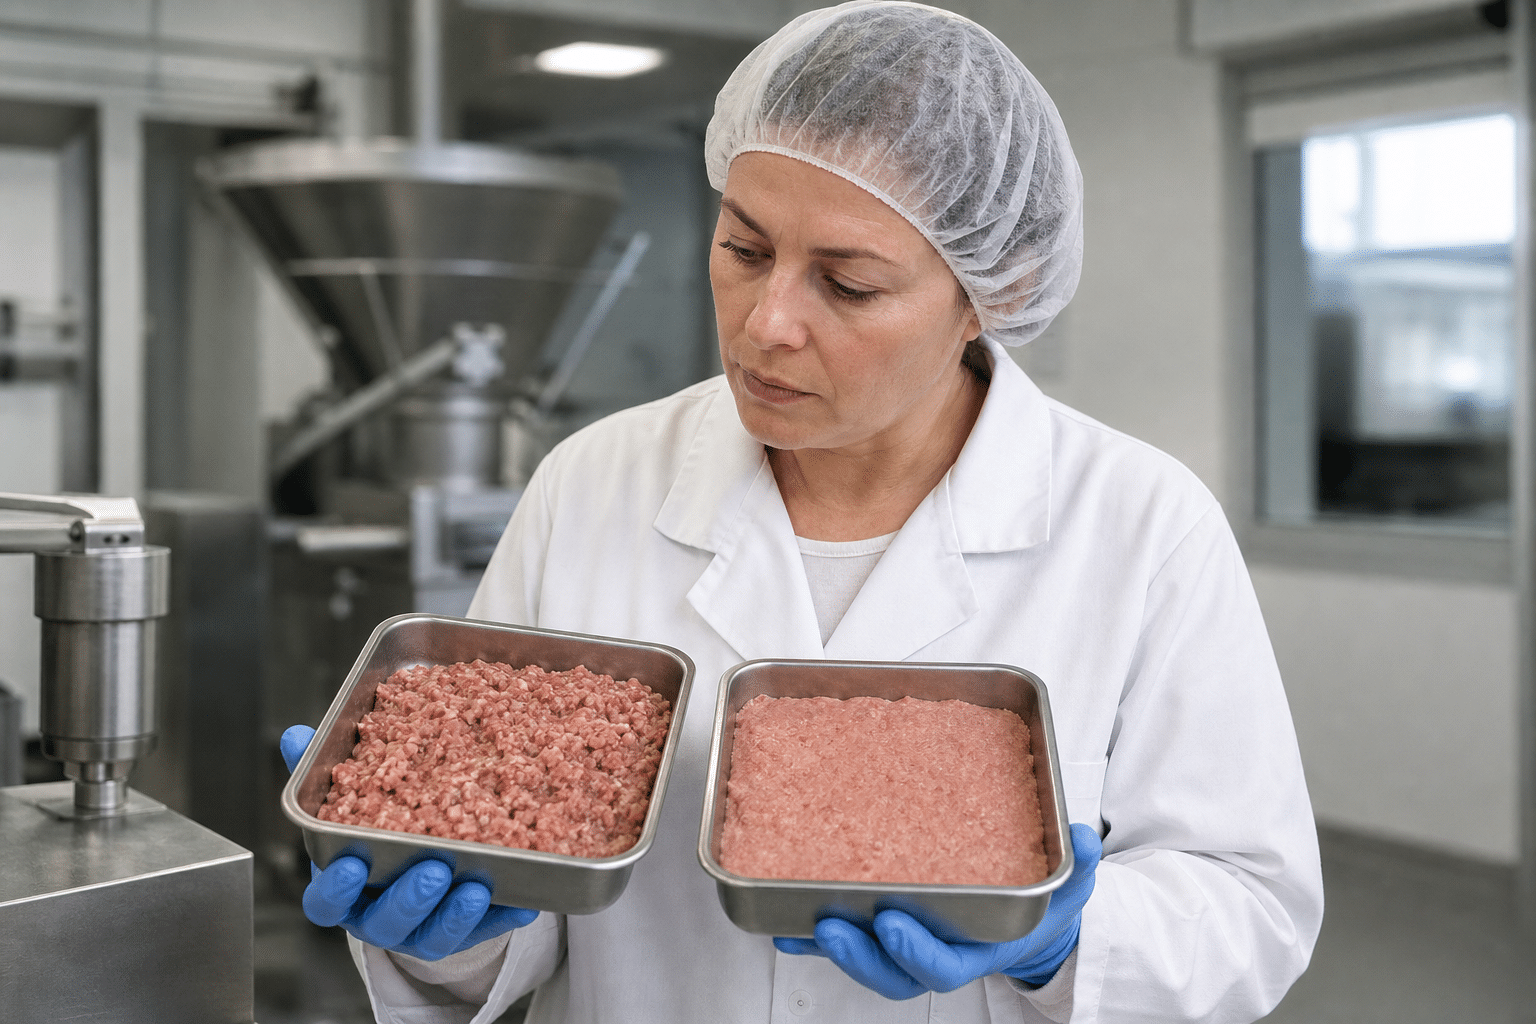
When texture varies, avoid changing several variables at once. Compare the affected batch with the approved process record, identify the most likely difference, correct it, and document the result. The following checks address common operating symptoms.
- Uneven particle size: Review pre-cut size, batch loading level, ingredient order, and whether the product is circulating correctly. Check knife condition and confirm that the cutting stage was long enough for the largest pieces, without unnecessarily extending the full batch.
- Meat appears smeared rather than cleanly cut: Check raw-material temperature, fat condition, knife sharpness, and total processing time. Smearing is often associated with warm product or overprocessing.
- Visible uncut pieces: Review incoming piece size, batch weight, knife condition, and process time. Do not attempt to solve a recurring issue only by running every batch longer, as this may overwork the rest of the product.
- Fat is unevenly distributed: Confirm the meat-to-fat ratio, the size and temperature of fat pieces, and the stage at which fat was added. A change in trim specification can create a different result even when machine settings remain unchanged.
- Seasonings are not evenly dispersed: Verify ingredient weights, screening or pre-blending practices where used, liquid addition, and the time allowed for mixing after addition.
- Batch-to-batch variation between operators: Replace informal judgement with a documented recipe card, defined visual reference, batch weight, and process stages. Train each operator on the same acceptance criteria.
If knife damage, unusual noise, vibration, poor stopping performance, guard issues, or electrical faults are observed, stop the machine and follow the manufacturer’s service procedure. Mechanical problems should be assessed by qualified personnel rather than bypassing safeguards to continue production.
Cleaning, Inspection, and Batch Records
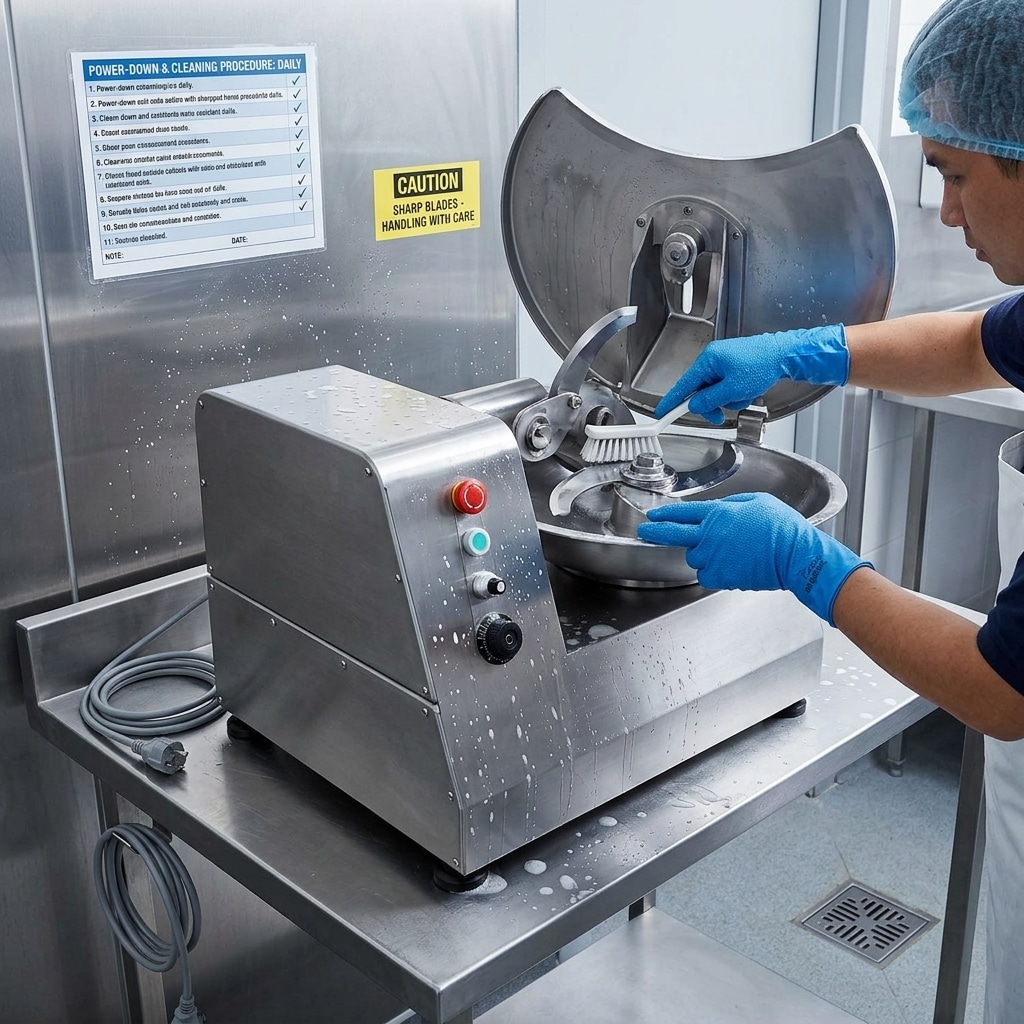
Consistent texture and safe daily operation depend on effective cleaning and inspection. Meat residue around knives, the bowl, seals, covers, scrapers, and discharge components can affect hygiene and may interfere with machine performance. Clean the equipment at the intervals required by your food-safety programme and always carry out the full end-of-shift cleaning procedure.
Isolate the machine from its power source before cleaning, adjustment, inspection, or knife handling, following the manufacturer instructions and your site’s lockout procedures. Use suitable cut-resistant personal protective equipment when handling knives. Do not direct water into electrical areas unless the machine documentation specifically permits the method.
Build the following checks into the daily routine:
- Inspect knives for wear, damage, and secure fitting.
- Check guards, lids, interlocks, and emergency-stop functions according to the approved inspection procedure.
- Examine the bowl and product-contact surfaces for residue or damage.
- Confirm that cleaning chemicals are compatible with food-contact materials and are used at the correct concentration.
- Record cleaning completion, defects found, corrective actions, and blade-service needs.
Finally, retain a concise production record for each recipe: lot or raw-material reference, batch weight, ingredient weights, key process stages, product temperature where monitored, operator, and final acceptance. This level of control helps a supervisor trace an inconsistent batch back to a practical cause and refine the operating method without guesswork.