How to Design a Hygienic Sugarcane Juice Workstation

Table of Contents

A hygienic sugarcane juice workstation separates raw cane handling from juice service, uses cleanable surfaces, provides safe machine clearances, and supports a repeatable cleaning routine. This guide helps foodservice operators design a practical daily-use layout.

What a Hygienic Sugarcane Juice Workstation Requires

Organized commercial sugarcane juice workstation with clean work zones

A hygienic sugarcane juice workstation setup is designed around one principle: raw sugarcane, finished juice, waste and cleaning activities should not cross paths unnecessarily. The workstation should give staff a logical route from cane receiving and washing to trimming, pressing, serving and cleaning.

For most commercial operations, this means using smooth cleanable work surfaces, placing the sugarcane juicer on a stable bench or floor position, keeping a dedicated container for bagasse, and providing convenient access to handwashing and cleaning supplies. The exact layout depends on local food regulations, your premises, service volume and the juicer model, so confirm site requirements with the relevant local authority before installation.

A well-planned station does more than look tidy. It makes daily cleaning easier, reduces avoidable product contact with waste or dirty tools, gives operators sufficient room to work safely, and helps service continue smoothly during busy periods.

Create Clear Workflow Zones

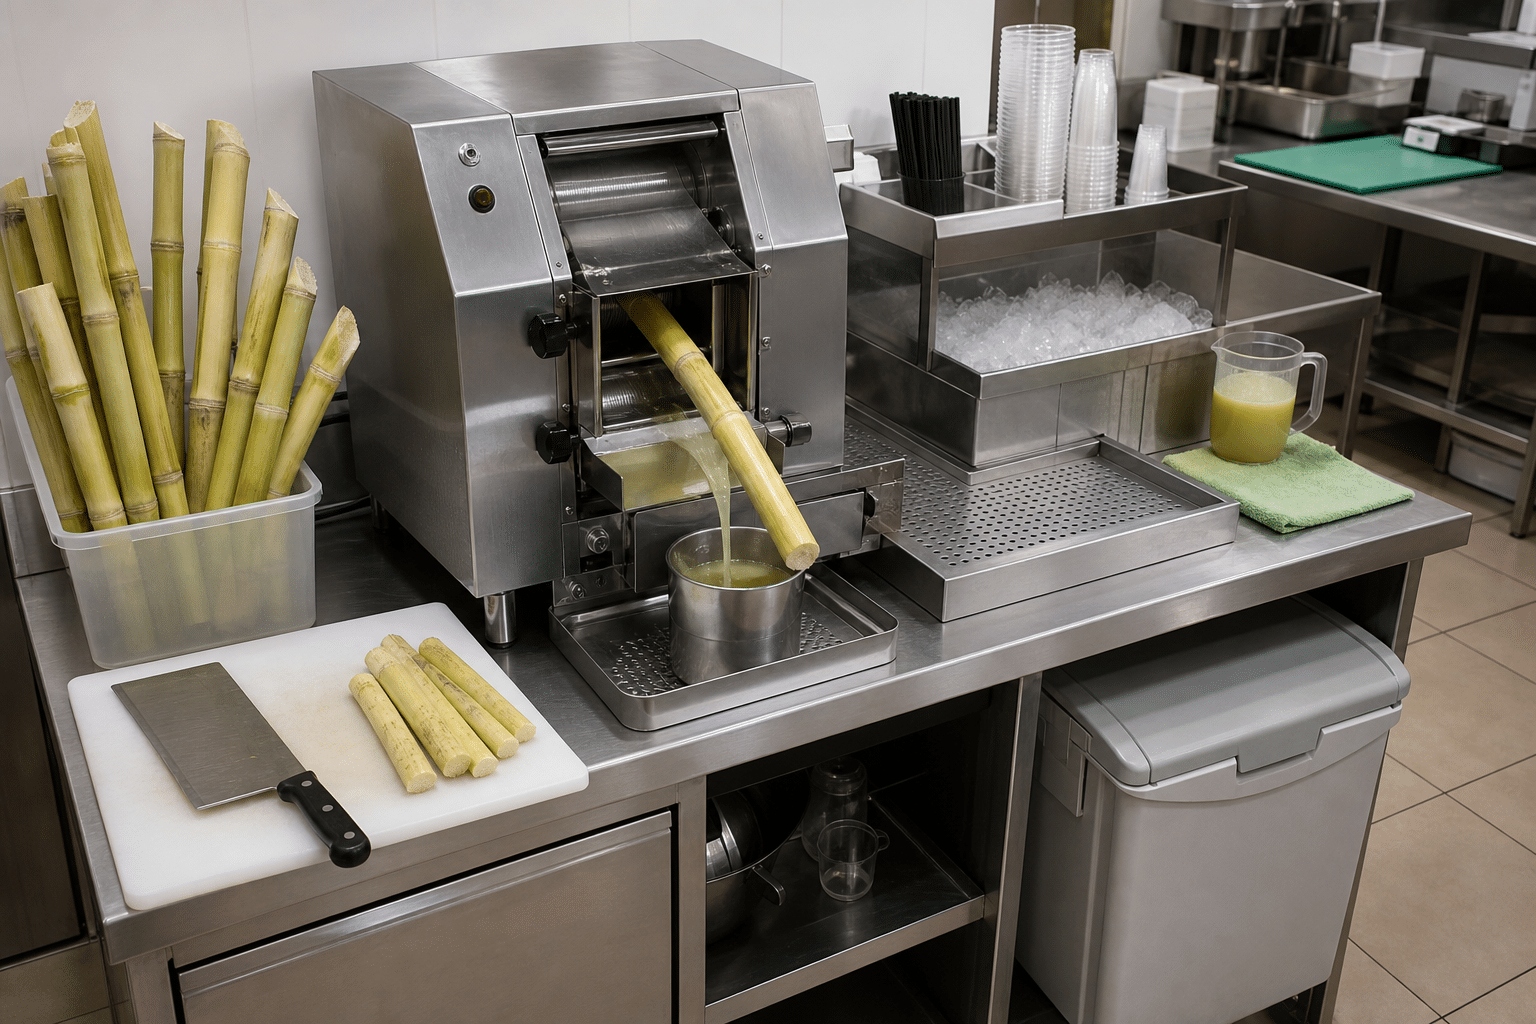
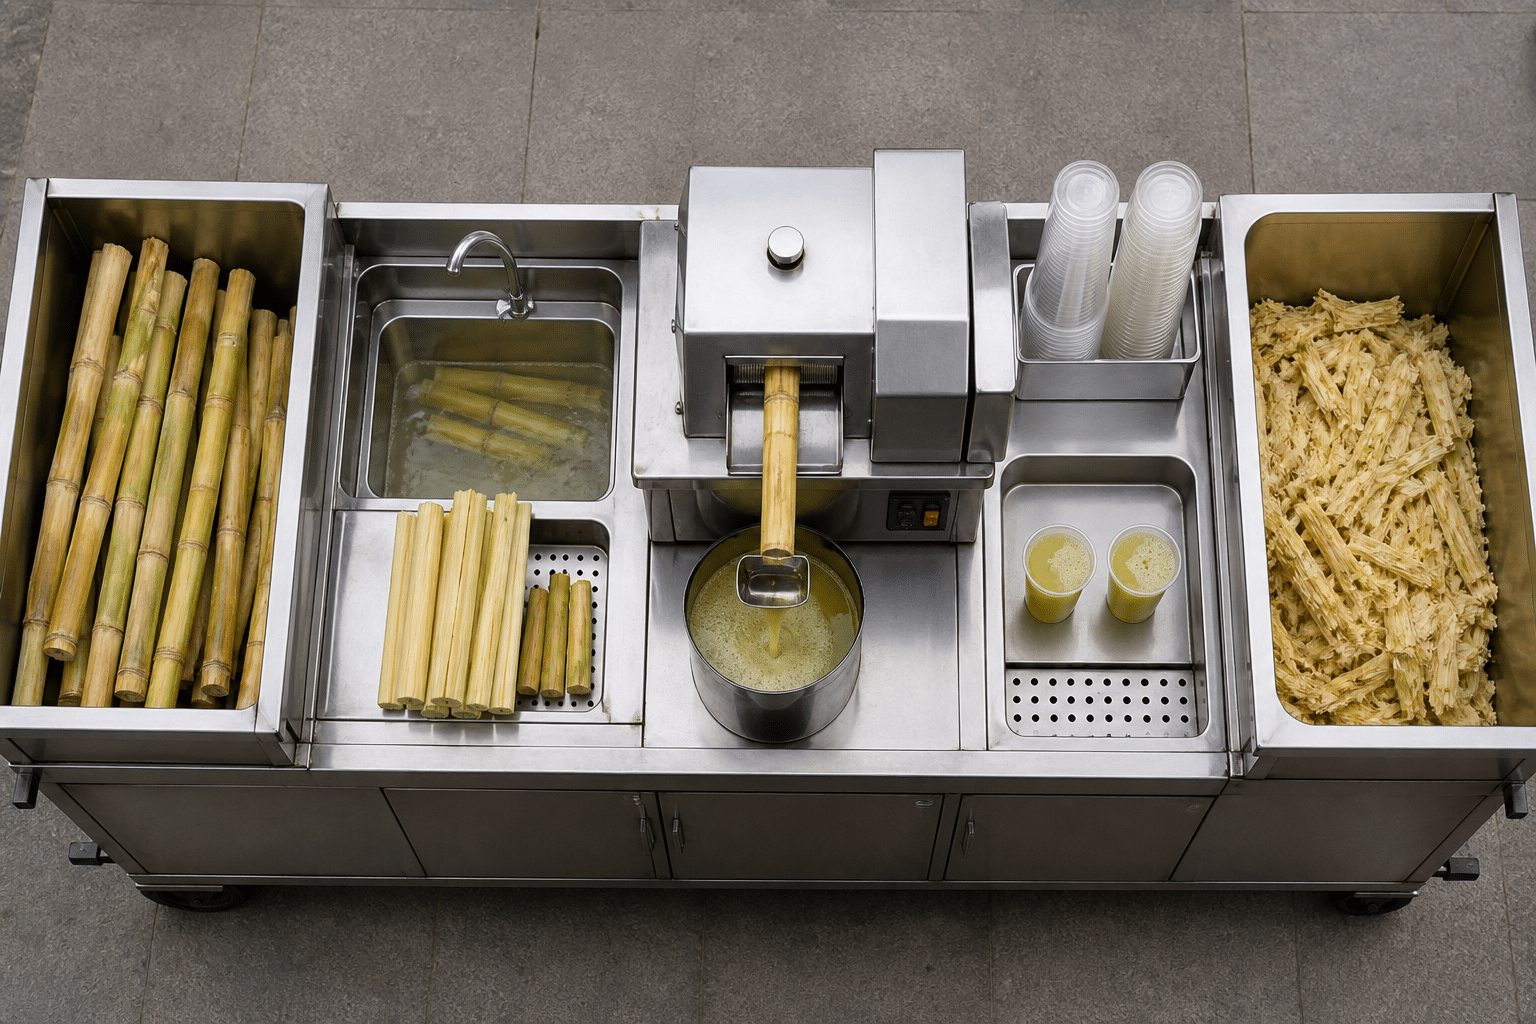
Sugarcane juice counter arranged from raw cane preparation to clean drink service

Divide the station into practical zones before choosing bench sizes or moving equipment into place. A small counter can still work well when each task has a defined location. The goal is a one-direction flow: cane enters at the raw end and prepared drinks leave at the service end.

Recommended workstation sequence

  1. Receiving and inspection: Set aside space to check cane condition and remove visibly damaged or unsuitable pieces.
  2. Raw cane storage: Keep unwashed cane away from cups, lids, ice, garnishes and ready-to-drink juice.
  3. Washing and preparation: Use a designated area for washing, trimming and, where needed, cutting cane to a suitable length for the machine.
  4. Juicing: Place the juicer between preparation and service, with enough operator clearance for safe feeding and collection.
  5. Finishing and serving: Keep clean cups, lids, straws and any permitted flavour ingredients on the finished-product side.
  6. Waste and cleaning: Position bagasse collection and cleaning tools so they are accessible without passing over finished drinks.

In a compact café, the machine may be near the front counter, but the raw-cane side should still be controlled. For additional planning ideas in restricted premises, see this guide to integrating compact sugarcane machines into limited spaces.

Choose a Cleanable Site and Materials

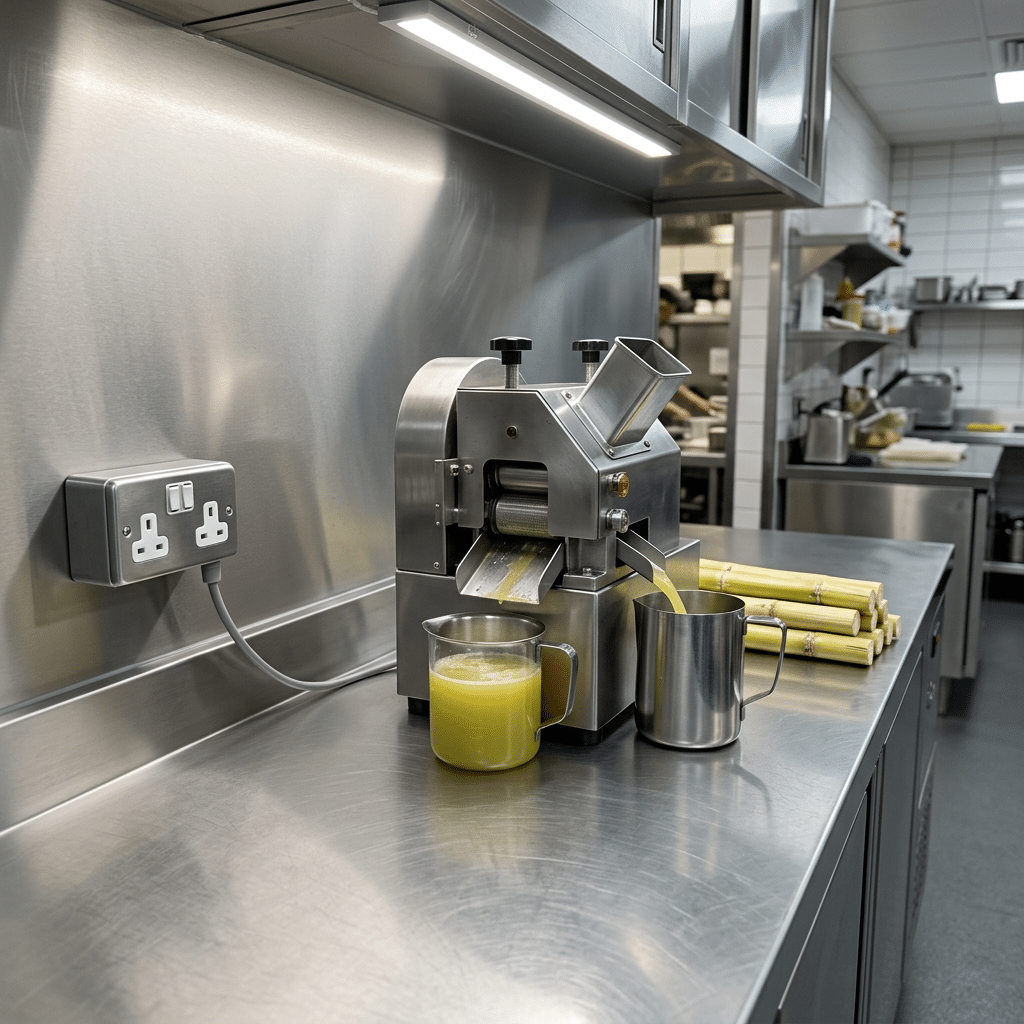
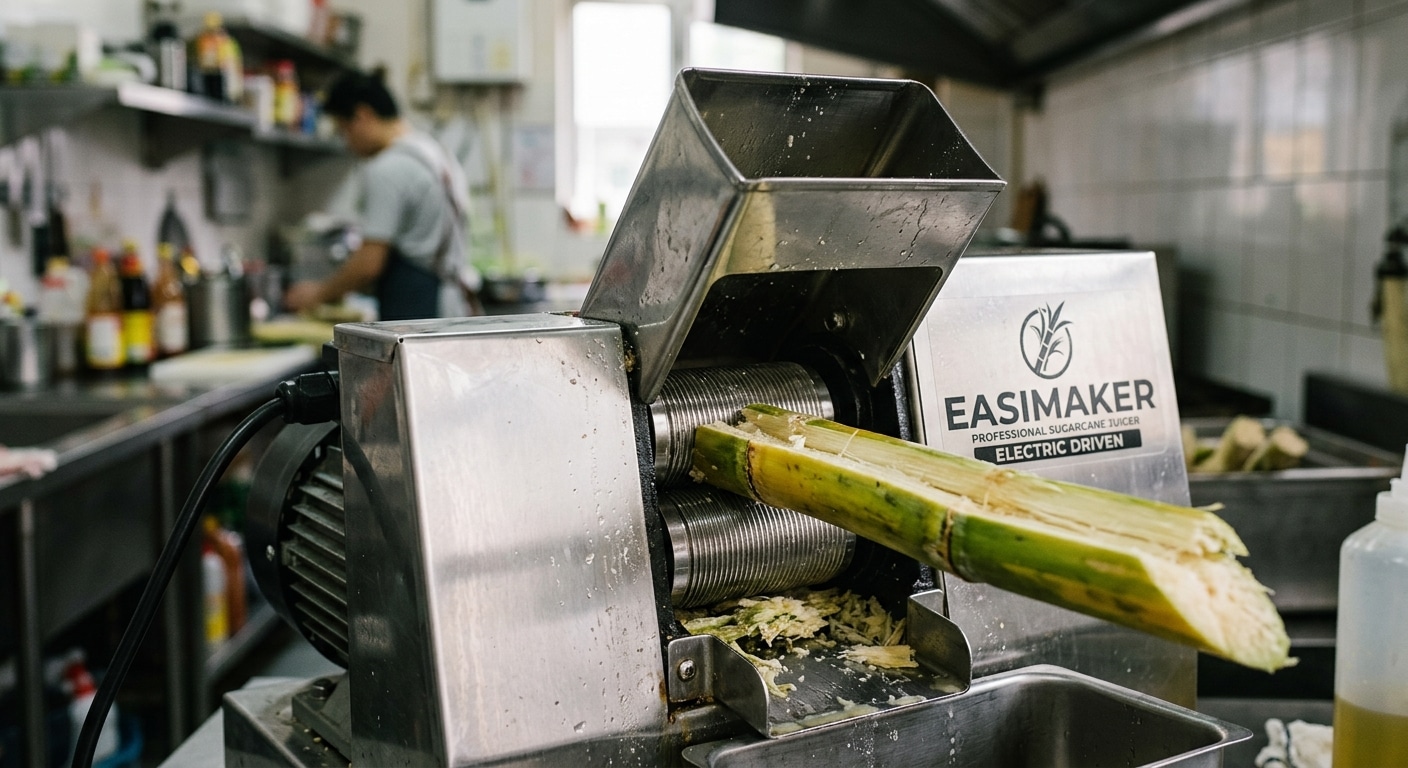
Commercial sugarcane juicer on a cleanable stainless steel preparation surface

Select a location that supports cleaning rather than one that simply fits the machine footprint. The juicer, preparation bench and service counter should be accessible on the sides that staff need to wipe, inspect and maintain. Avoid creating narrow gaps that trap cane fibres, splashes or dust and cannot be cleaned properly.

Use work surfaces that are smooth, durable, non-absorbent and suitable for food preparation. Stainless steel is commonly selected for commercial preparation areas because it is robust and straightforward to clean when maintained correctly. Counter edges, joins and wall junctions should be sealed or detailed to avoid difficult-to-clean crevices.

Provide adequate lighting over the preparation and juicing area. Staff need to see cane condition, surface residue and any damaged cups or utensils. Good ventilation also helps keep the workstation comfortable and can reduce lingering moisture, but it does not replace regular cleaning.

Plan utilities early. Confirm the machine’s electrical requirements from its documentation, use a suitable protected supply installed to local rules, and keep plugs, switches and cables away from wet cleaning areas. Do not use extension leads as a permanent substitute for proper site electrical planning. Where a sink is nearby, ensure the workstation design prevents splash from reaching electrical components.

Position the Sugarcane Juicer Correctly

The juicer should sit on a level, stable support that can safely carry the equipment in normal operation. Do not position it where an operator must twist, reach across a sink, or work around customer traffic to feed cane. The feeding side, juice outlet and bagasse discharge area should all remain clear.

Leave the clearance specified in the machine manual for operation, ventilation, cleaning and service. Clearance needs vary by model, so it is not reliable to use a single distance for every commercial juicer. Keep the operating area free of loose packaging, cleaning bottles, unused utensils and stacked raw cane.

Place a clean food-grade receptacle under or beside the juice collection point as appropriate for the machine and your serving process. Keep finished juice handling separate from the bagasse discharge side. If staff use a separate filter or jug, make it part of the clean service zone and include it in the cleaning schedule.

When planning a complete purchase and installation budget, include benching, electrical work, sinks, drainage, waste containers, cleaning supplies and replacement items—not only the machine cost. Our commercial sugarcane juicer budgeting guide explains these wider setup considerations.

Manage Cane Preparation and Storage

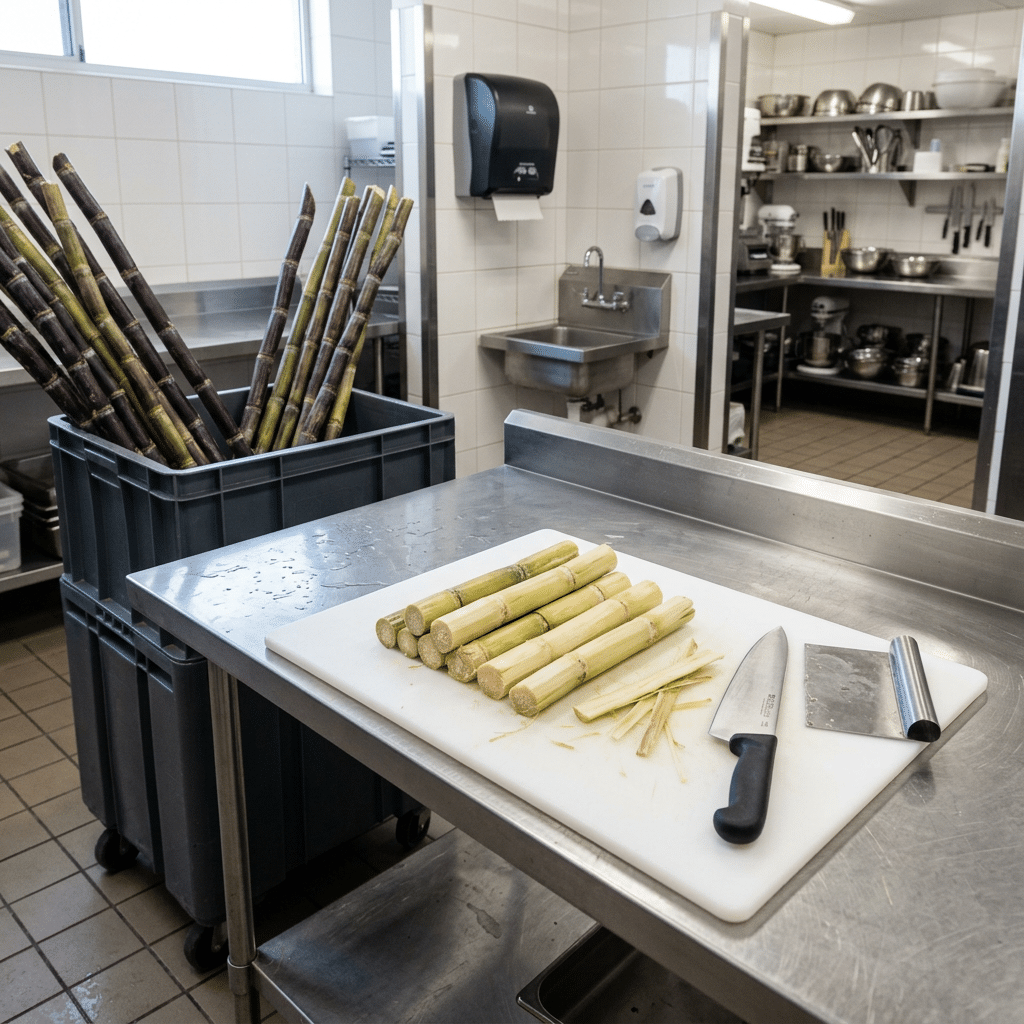
Dedicated sugarcane washing and preparation area separated from service items

Raw sugarcane can carry field debris, soil and surface contamination, so it should be treated as a raw agricultural ingredient until it has been washed and prepared. Keep receiving containers and raw-cane storage separate from clean utensils, packaging and finished beverages.

At the preparation station, inspect the cane and discard material that is visibly spoiled, heavily contaminated or otherwise unsuitable under your food safety procedure. Wash and prepare cane using a method appropriate to local food hygiene guidance and your operating process. Use dedicated knives, cutters and boards where these are needed, and clean them between service periods and whenever contamination is possible.

Avoid preparing more cane than the operation can manage hygienically. Pre-cut cane can improve service flow, but it also needs a covered, clean storage method and clear time-control rules that comply with your local requirements. Labeling prepared batches with the preparation time can help staff follow the correct rotation system.

If you use equipment to cut cane before juicing, position that activity upstream from the juicer and keep cutting debris out of the clean serving area. The same workstation discipline applies to other food-processing equipment: stable placement, clear task separation and a documented cleaning method are essential.

Build Cleaning and Sanitation Into the Layout

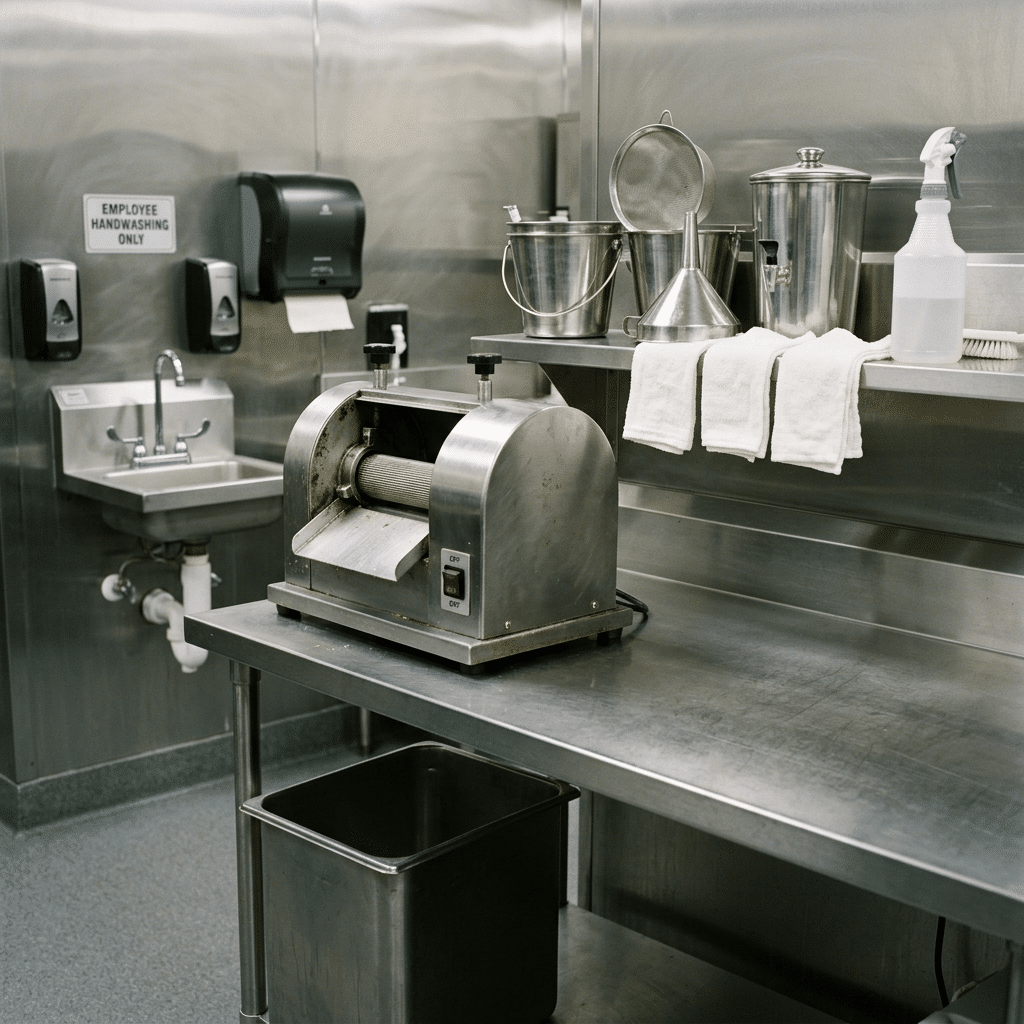
Organized cleaning supplies beside a commercial sugarcane juice workstation

A workstation is hygienic only when its cleaning routine is practical enough to complete every day. Designate storage for approved detergent, sanitizer, clean cloths or disposable wiping materials, brushes and personal protective equipment. These items should be close enough for staff to use, but stored so they cannot contaminate ingredients, cups or food-contact surfaces.

Provide a convenient handwashing facility in line with local requirements. A handwashing sink should not be treated as a place to wash cane, rinse tools or dispose of waste. Where the premises requires separate sinks for food preparation, utensil washing or handwashing, the layout should preserve those functions.

Write a cleaning schedule that identifies what is cleaned, when it is cleaned, who is responsible and how completion is checked. The schedule should cover the juicer’s food-contact areas according to the manufacturer instructions, preparation benches, utensils, collection containers, splash areas, handles, waste bins and floor zones around the equipment. Stop and isolate the machine before cleaning or removing parts, and never direct water into electrical areas.

Cleaning methods vary by juicer construction and by local sanitation procedures. Maintain the machine using its manual and keep staff familiar with the required disassembly, washing, rinsing, sanitizing, drying and reassembly sequence. For business continuity planning, use this sugarcane juicer spare parts and support checklist to identify useful documentation and service questions before they become urgent.

Plan for Bagasse, Waste and Drainage

Bagasse—the fibrous residue left after pressing cane—can accumulate quickly during service. Give it a dedicated, easy-to-clean container positioned near the machine’s discharge path without blocking the operator or the finished-juice area. The container should be emptied often enough to prevent overflow, pests, odours and unnecessary handling around customers.

Keep general waste, used cleaning materials and bagasse separate where your waste plan requires it. Use liners or containers suited to the waste stream and local disposal rules. Staff should be able to remove a full container without carrying it across the clean preparation or serving side of the workstation.

Floor drainage and floor finish matter in high-use sites. Juice drips and wash water can create slip risks and sticky residue. Use a floor that can be cleaned effectively, respond promptly to spills, and keep access to any drain clear. Do not assume a floor drain alone solves sanitation issues; regular removal of pulp and residue remains necessary.

Where drainage, plumbing or wastewater discharge requirements are uncertain, discuss them with the building manager, installer and relevant local authority before committing to a final layout. Solving these issues during planning is generally simpler than changing an active service counter later.

Use a Simple Daily Operating Routine

Even a well-designed commercial sugarcane juice station can become unhygienic when staff routines are unclear. Keep a short opening, service and closing checklist at the workstation. It should be easy to read, based on the machine documentation and adjusted to your local food safety plan.

Opening routine

  • Inspect the juicer, guards, feed area and collection point before use.
  • Confirm the workstation, utensils and service containers are clean and dry.
  • Check that cleaning materials, handwashing supplies, cups and waste containers are available.
  • Prepare only the amount of washed or cut cane that can be controlled safely during the service period.

During service

  • Keep raw cane, prepared cane, cups and cleaning items in their assigned zones.
  • Remove bagasse and spills promptly.
  • Replace contaminated utensils or containers rather than returning them to use.
  • Follow hand hygiene procedures after waste handling, cleaning, breaks or other contamination risks.

Closing routine

  • Stop and isolate the machine before cleaning.
  • Remove residue and clean the juicer according to its instructions.
  • Wash, rinse, sanitize and dry applicable food-contact items following your approved procedure.
  • Empty waste, clean the surrounding floor and record issues needing maintenance.

Training should include both normal operation and what to do when cane jams, a component needs attention, or a sanitation step cannot be completed. Staff should not improvise repairs or bypass guards to keep service moving.

Sugarcane Juice Workstation Setup Checklist

Before opening the station for regular service, check the following points:

  • Raw cane receiving, washing, preparation, juicing, serving and waste tasks have defined locations.
  • The process flows from raw cane to finished drink without unnecessary crossover.
  • Worktops, walls and floors around the station are cleanable and accessible.
  • The juicer is level, stable, connected to a suitable electrical supply and positioned with manual-specified clearances.
  • Clean cups, lids, straws and finished-product tools are protected from raw-cane and waste areas.
  • Bagasse has a dedicated collection method and a removal route.
  • Handwashing, cleaning materials and suitable waste containers are available.
  • Staff have a documented opening, service, cleaning and maintenance routine.
  • Machine instructions, service contacts and spare-parts information are stored where the manager can access them.
  • The layout and procedures have been checked against applicable local food safety, building and electrical requirements.

The right workstation is not necessarily the largest one. It is the one that matches your menu, expected service pattern, premises constraints and cleaning capability while giving staff a controlled, repeatable process every day.

Discuss Your Sugarcane Juice Station Layout

If you are planning a new counter or updating an existing juice operation, contact Easimaker to discuss the machine fit, available workspace, workflow and support considerations for your market.
Discuss Your Setup

How to Set Up a Bowl Cutter in a Commercial Kitchen

Table of Contents

A correct commercial bowl cutter setup starts with a stable, cleanable work area, the right electrical connection, safe clearance around moving parts, and a documented cleaning and training routine. This guide explains how commercial kitchens can prepare, install, commission, and operate a bowl cutter responsibly.

Quick Answer: Commercial Bowl Cutter Setup

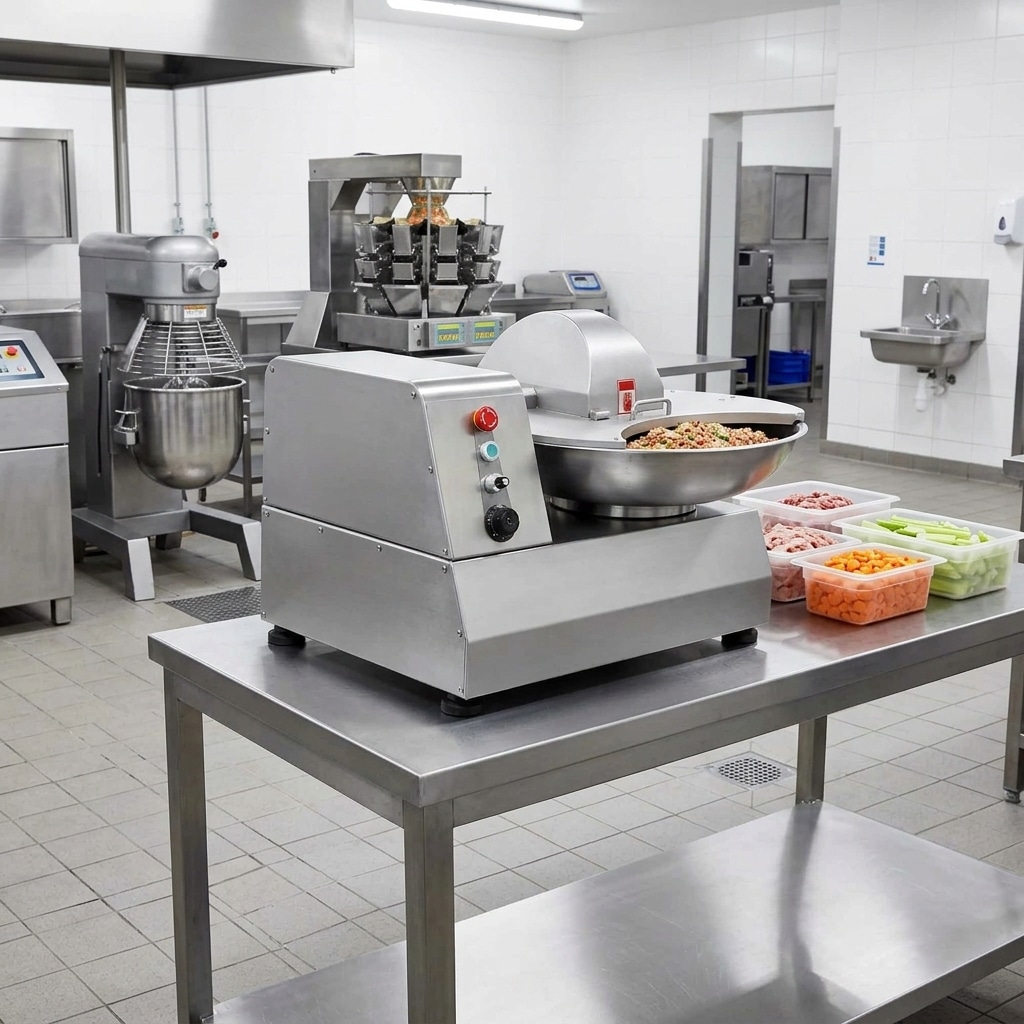
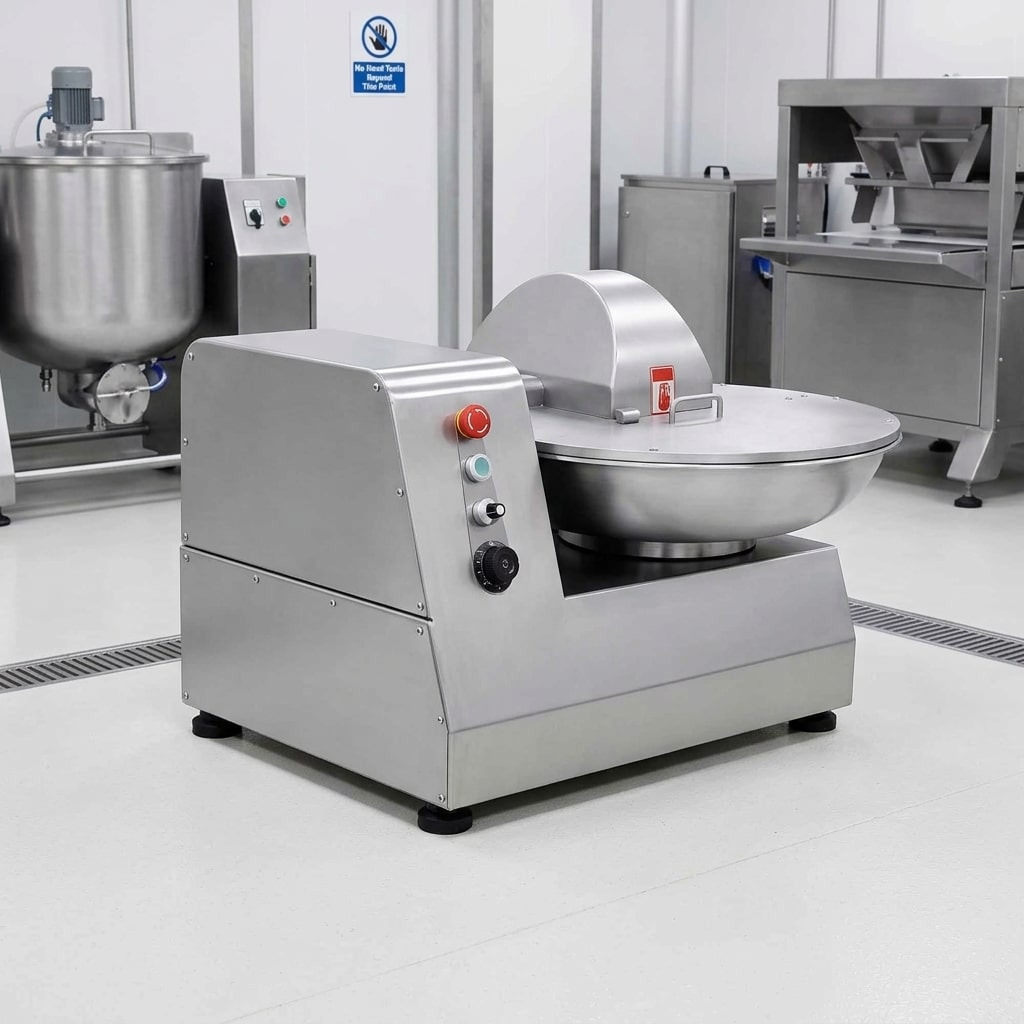
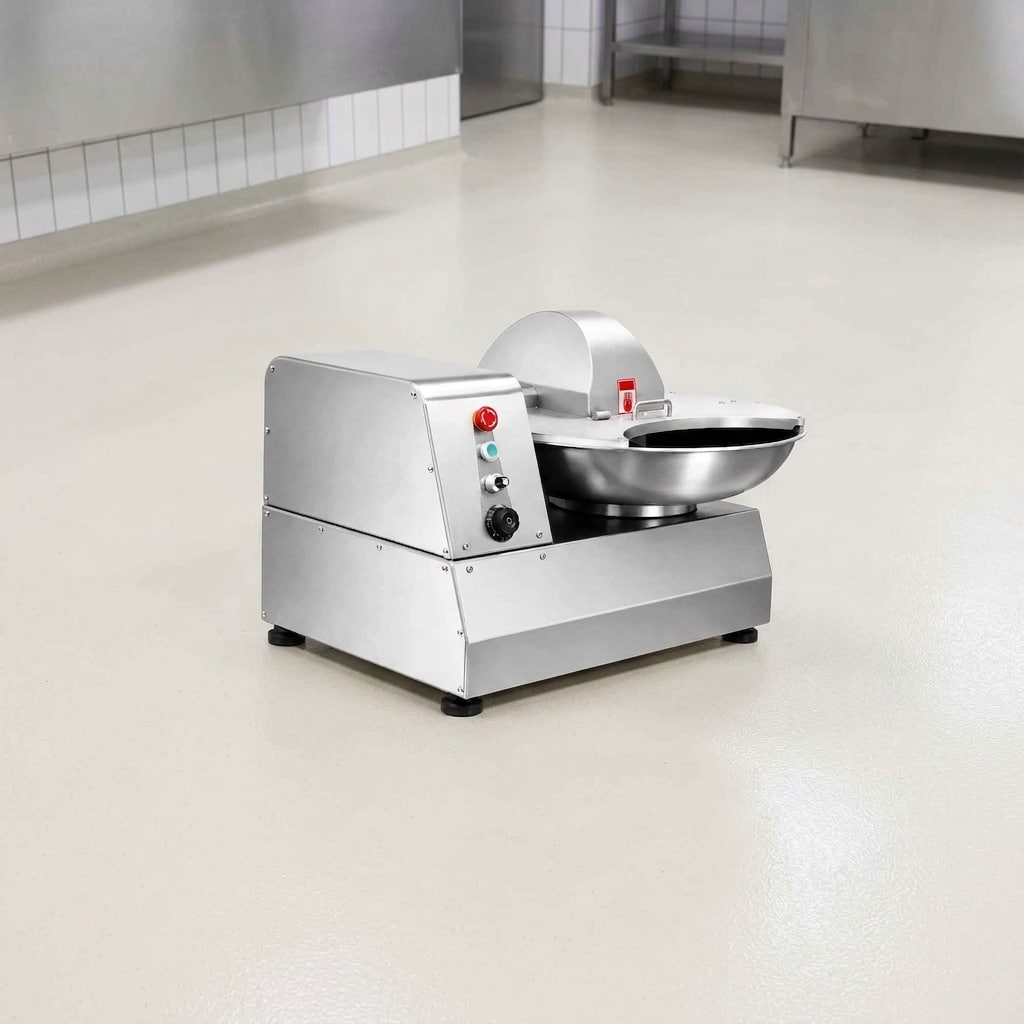
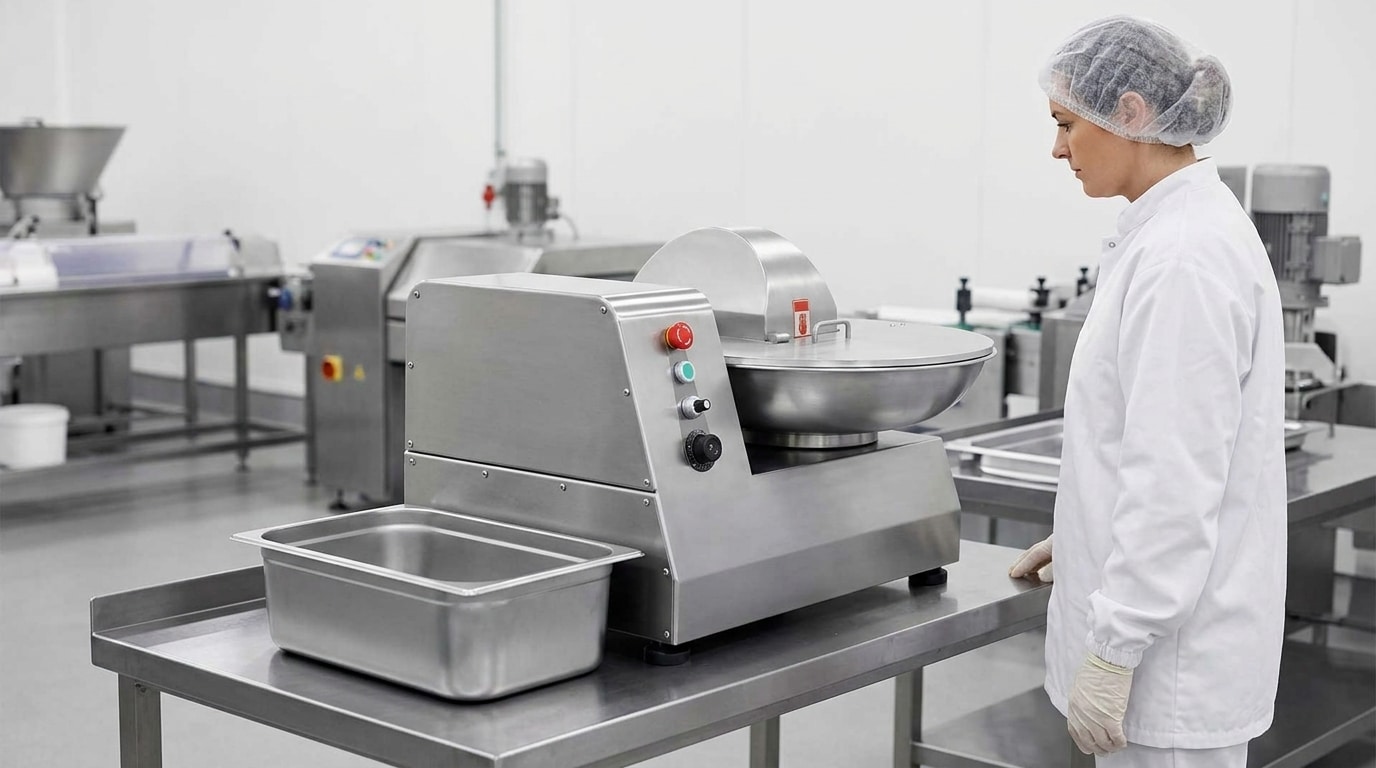
Commercial bowl cutter positioned in a clean and organised commercial kitchen workstation

A commercial bowl cutter should be installed on a stable, level, cleanable surface with enough space for safe loading, discharge, cleaning, and service access. Before operation, confirm that the electrical supply matches the machine rating plate, inspect guards and interlocks, establish a raw-to-ready food workflow, and train authorised operators on shutdown and cleaning procedures.

Do not treat installation as simply placing the machine on a bench or floor. A bowl cutter uses a rotating bowl and knife assembly, so its position, power connection, clearance, sanitation routine, and operating controls all affect daily safety and product consistency. Always follow the machine-specific manual and applicable local food safety, electrical, and workplace requirements.

Understand the Bowl Cutter and Its Intended Use

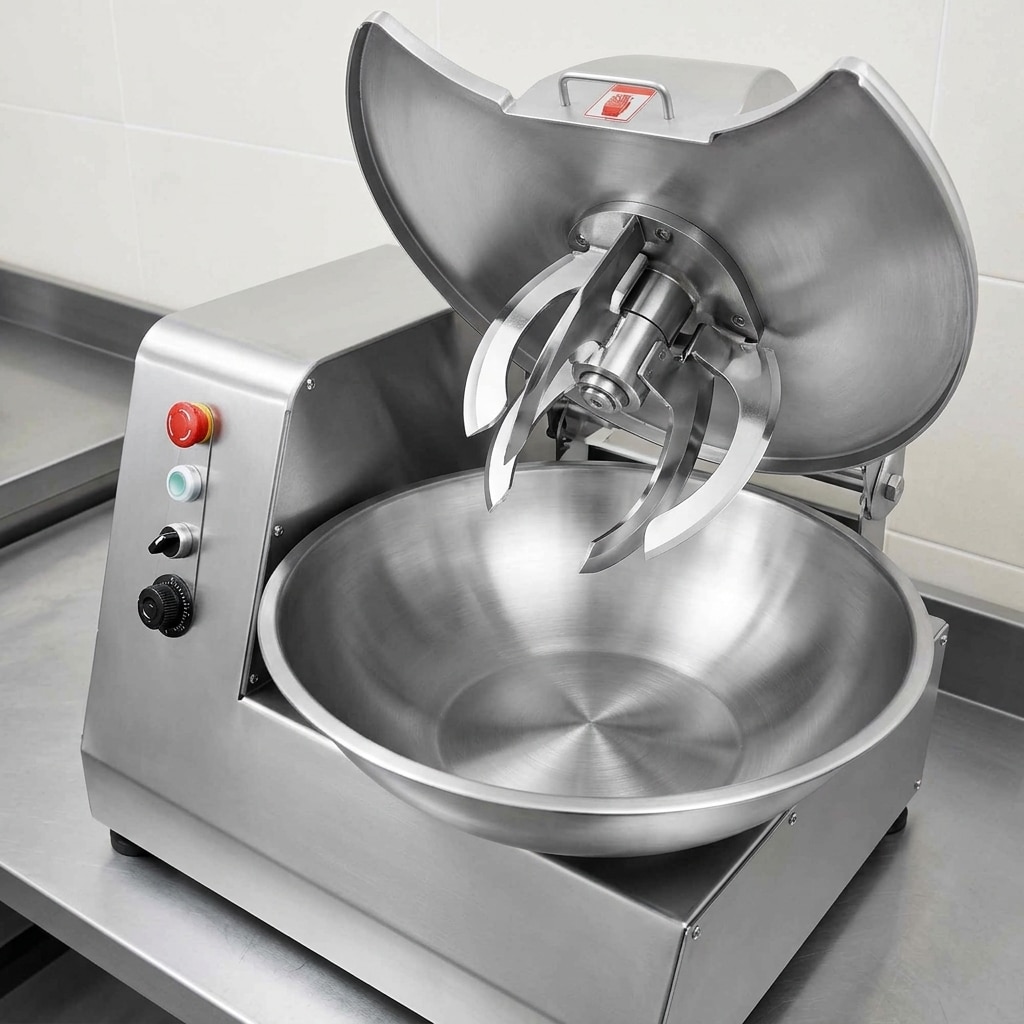
Key visible components of a commercial bowl cutter in a food preparation area

A commercial bowl cutter, also called a bowl chopper in some markets, processes food in a rotating bowl beneath a knife assembly. Depending on the recipe and machine configuration, kitchens may use it to chop, mix, emulsify, or combine prepared ingredients. Typical applications can include meat mixtures, vegetable preparations, sauces, fillings, and other batch products.

The correct setup depends on the products being processed, the batch size, the number of shifts, the cleaning regime, and the available kitchen space. A machine used for raw meat requires a more controlled hygiene plan than one dedicated to ready-to-eat vegetable or sauce preparation. Where allergens are present, the kitchen should also define segregation, scheduling, and validated cleaning steps in line with its food safety plan.

Before planning the location, map the full task: ingredient receipt, chilled storage, trimming or pre-cutting, weighing, bowl cutting, transfer to the next process, washing, and waste handling. This prevents the machine from becoming an isolated bottleneck or creating unnecessary movement between raw and finished-food areas.

For a wider view of how this equipment supports batch preparation, read our guide to commercial bowl cutters in high-volume food preparation.

Plan the Workstation Before Delivery

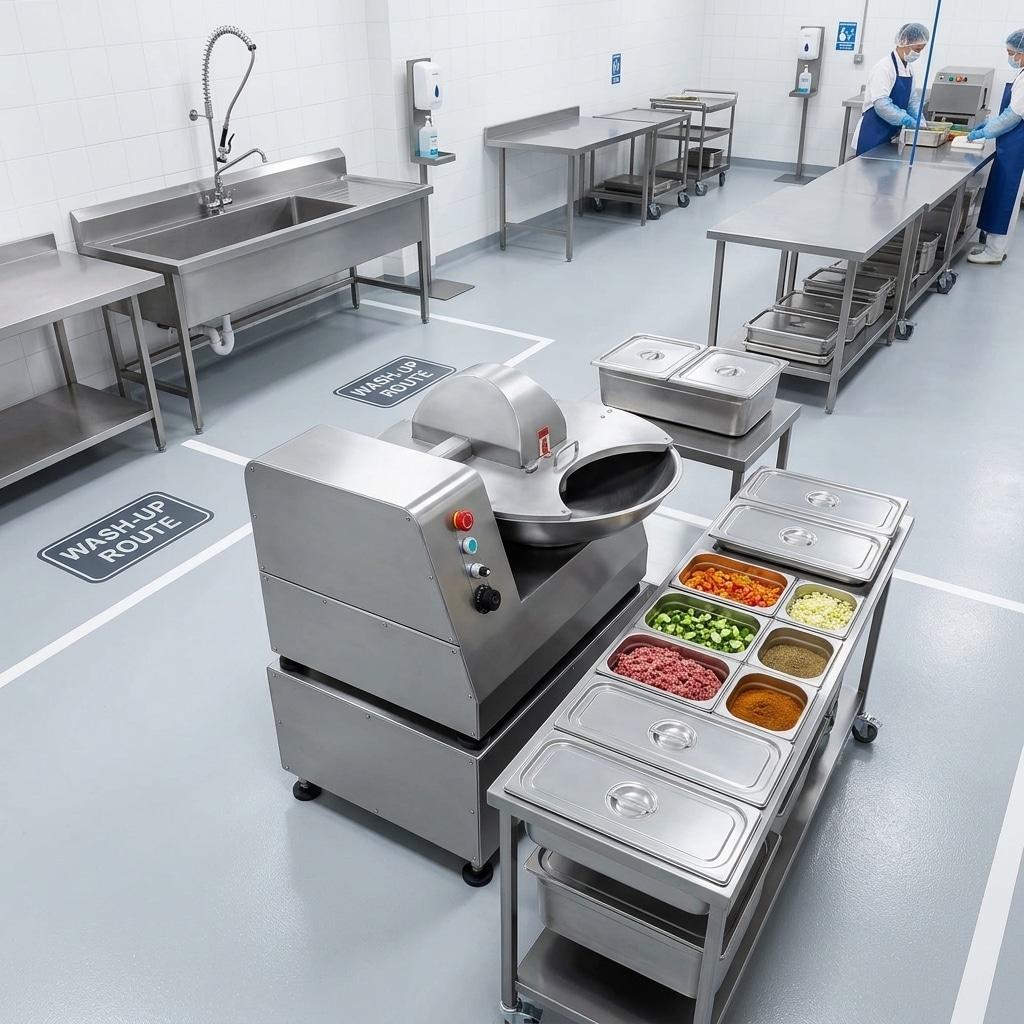
Planned commercial kitchen workstation around a bowl cutter

Measure the proposed area before the equipment arrives. Record the machine footprint from the supplier documentation, then allow working clearance around it. Operators need room to bring ingredient tubs to the bowl, use controls without stretching across the machine, remove finished product safely, and open covers or guards as instructed for cleaning. Technicians also need access for inspection and maintenance.

Select a location with a hard, level, non-slip floor or a suitably robust bench, according to the machine design and installation instructions. The supporting surface must safely carry the equipment and normal working load without rocking, flexing, or vibration. Avoid placing the machine where floor drains, uneven tiles, ramps, door swings, or busy through-routes interfere with stable operation.

A practical bowl cutter station normally includes:

  • a nearby ingredient staging area that can be cleaned easily;
  • food-grade containers for prepared ingredients and finished batches;
  • a separate place for tools, scrapers, and approved cleaning materials;
  • handwashing access as required by the kitchen hygiene plan;
  • adequate task lighting, without glare that makes controls or product condition difficult to see; and
  • a clear route for waste and wash-up that does not cross ready-to-eat food handling.

Keep the bowl cutter away from splash zones, excessive steam, direct washdown exposure, and heat sources unless the manufacturer specifically permits that environment. The aim is to protect the equipment while giving staff a dry, controlled area in which to operate it.

Prepare Electrical and Utility Requirements

Electrical preparation should be completed before delivery wherever possible. Check the machine rating plate and technical documentation for the required voltage, frequency, phase, load, plug type, and earthing requirements. These details vary by model and market, so they should never be assumed from another appliance or a previous installation.

Use an electrical supply that matches the specified rating exactly. If a new circuit, outlet, isolator, or hardwired connection is needed, arrange this through a qualified electrician and in accordance with local electrical rules. The power connection should remain accessible for safe isolation, but it should not create a trip hazard or sit where it can be struck by ingredient carts or exposed to routine washdown.

Do not use an extension lead, improvised adapter, damaged plug, or overloaded shared circuit unless the manufacturer and local electrical requirements explicitly allow the arrangement. An unstable or incorrect supply can affect operation and may create an avoidable equipment or safety issue.

Also plan the non-electrical utilities around the station. Staff need accessible handwashing and a suitable cleaning area, but the machine itself should only be exposed to water in the manner allowed by its manual. Confirm how removable components will be carried to the wash area, drained, dried, and returned without crossing clean product zones.

Install and Position the Machine

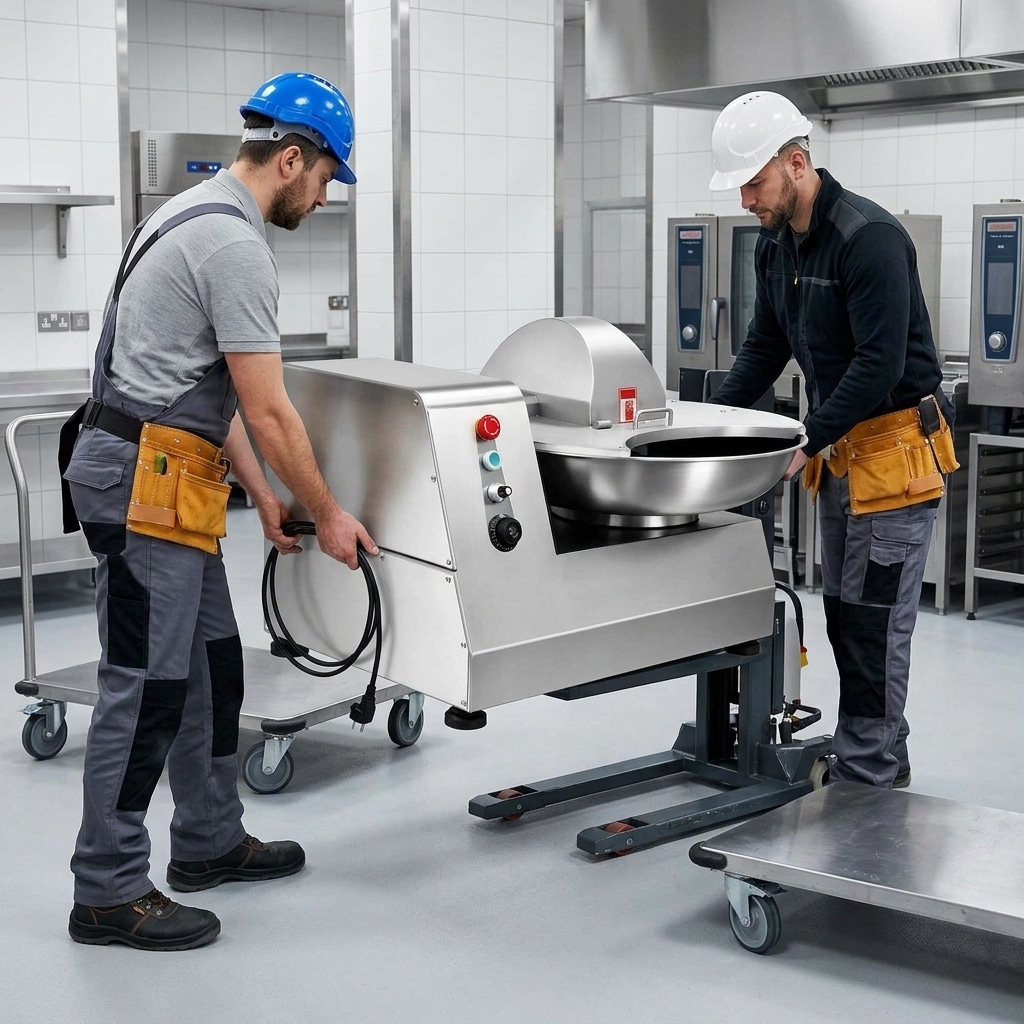
Commercial bowl cutter being safely positioned during installation

When the bowl cutter arrives, inspect the shipment before installation. Check for visible transport damage, loose parts, missing documentation, and any signs that a guard, cover, control, cable, or bowl assembly has been affected. If there is a concern, document it and contact the supplier before starting the machine.

Move the equipment with suitable handling equipment and trained personnel. Use the manufacturer-approved lifting points or handling method. Do not lift by guards, bowls, control panels, cables, or other parts not intended to carry the machine weight. Once in position, remove transit packaging and protective materials according to the documentation.

Set the machine level using its adjustable feet or the approved installation method, if applicable. A stable position matters because movement during processing can affect safe handling and may damage the work surface or equipment. Confirm that the bowl, knife head, covers, and other removable parts are correctly fitted before connection.

After positioning, ensure that emergency-stop controls, start and stop controls, and the electrical isolator can be reached without leaning over moving components. Keep the front loading position unobstructed. Do not store boxes, tubs, or cleaning tools against the machine, beneath pedals or controls, or inside required service clearances.

Facilities that also use bone saws should keep these activities in separate, clearly managed stations. The principles in our tabletop versus floor bone saw workspace guide can help managers assess dedicated equipment zones and operator movement around cutting machinery.

Complete Safe Commissioning Checks

Commissioning is the controlled process of confirming that the installed machine is ready for use. It should be carried out by people authorised to do so and with the relevant manual available. Do not start production until the checks are complete.

Before the first operating test, verify the following:

  • the power supply and connection match the equipment documentation;
  • the machine stands securely and does not rock;
  • the bowl, knife assembly, covers, guards, and fasteners are correctly installed;
  • all safety devices and interlocks function as described by the manufacturer;
  • the emergency-stop function is identifiable and accessible;
  • the machine is clean and free from packing material, tools, or loose objects; and
  • operators understand the normal stop procedure and the method for isolating power before cleaning or inspection.

Carry out any no-load test only as instructed by the manufacturer. Listen and observe from a safe position for unusual vibration, contact, noise, warning indicators, or unexpected movement. Stop the machine and seek technical guidance if anything is abnormal. Never bypass an interlock, operate with a guard open, or reach into the bowl while the equipment is connected to power.

For kitchens operating several types of cutting equipment, a written safety procedure should distinguish the hazards and shutdown methods for each machine. Our overview of commercial cutting-machine safety and maintenance protocols is also useful background when building a wider equipment safety programme.

Set Up the Production and Cleaning Workflow

A well-positioned machine still needs a disciplined workflow. Establish where ingredients are checked and weighed, where product containers are placed before processing, how finished batches are transferred, and which staff member is responsible for cleaning between products or at the end of a shift.

For raw food preparation, keep raw ingredients, utensils, and containers separate from ready-to-eat products. Use the sequence of work, physical separation, or both controls as required by the kitchen’s food safety system. Where allergens are handled, identify the order of production and cleaning steps needed to avoid unintended carryover.

Only load product in the way stated in the machine instructions. Large, hard, frozen, bone-in, or non-food materials may not be suitable for a particular bowl cutter and can damage components or create a safety risk. Pre-cut ingredients to a manageable size where the recipe and machine guidance require it. Do not use hands or unapproved tools to push food toward moving knives.

Create a cleaning station with the correct brushes, cloths, detergent, sanitiser where required, and a clean drying area. Cleaning tools should not be used interchangeably between raw and ready-to-eat areas unless the site’s sanitation procedure allows it. Keep the machine manual accessible so staff can follow the approved disassembly, cleaning, reassembly, and inspection sequence.

Train Operators and Maintain the Equipment

Only trained and authorised staff should operate the bowl cutter. Training should cover the machine controls, permitted products, maximum loading guidance from the manual, correct use of covers and guards, emergency stopping, isolation before cleaning, cleaning steps, and the process for reporting faults.

A short pre-start check helps make safe operation repeatable. Before each shift, the operator should inspect the visible condition of the machine, confirm that guards and covers are fitted, check that the work area is clear and dry, and ensure the bowl and knife area contain no tools, packaging, or cleaning materials. If a component is damaged, loose, unusually worn, or not functioning as expected, take the machine out of service and follow the support process.

At the end of each use period, isolate the machine before any cleaning, adjustment, or inspection required by the manual. Clean food-contact parts using the specified method, inspect components as they are reassembled, and leave the station ready for the next shift. Maintenance intervals, lubrication requirements, knife servicing, and replacement parts are model-specific; follow the manufacturer’s instructions rather than adopting a generic schedule.

Keep a simple record of training, cleaning, inspections, faults, repairs, and replacement parts. These records support consistency across shifts and give managers useful information when planning preventive maintenance. A careful commercial bowl cutter setup is therefore not a one-time installation task; it is an operating system that should be reviewed whenever menus, volumes, staff, or kitchen layouts change.

How to Prevent Bowl Cutter Blades From Dulling Early

Table of Contents

Bowl cutter blades dull early most often because of abrasive ingredients, hard foreign material, incorrect cutting technique, poor cleaning, or delayed sharpening. A controlled daily routine helps protect edge life and maintain a consistent cut.

The Short Answer

Clean bowl cutter blades ready for inspection

The best way to prevent bowl cutter blades from dulling early is to control what enters the bowl, use a cutting process that matches the product, clean blades with non-abrasive methods, and inspect the edge before it becomes noticeably worn. Blades should not routinely contact bone, metal, packaging clips, hard frozen blocks, or other foreign material unless the machine and blade specification expressly allow it.

For daily operation, keep ingredients within the machine’s intended preparation range, avoid forcing overloaded batches, use the correct blade speed and process sequence for the recipe, and remove residue soon after production. When an edge no longer produces a clean, even cut, arrange professional sharpening or replace the blade rather than continuing to run it.

Blade condition affects more than appearance. A sharp, intact edge supports predictable chopping, mixing, emulsifying, and batch handling. It can also help operators avoid extending cycles simply to compensate for a dull blade.

What Causes Bowl Cutter Blades to Dull Early?

Operator checking ingredients before bowl cutter processing

Early dulling is usually an operating or handling issue rather than a single equipment fault. Understanding the cause makes bowl cutter blade maintenance more effective.

  • Hard contamination: Bone fragments, metal clips, staples, wire, stones, broken packaging, and other hard debris can chip or roll an edge immediately.
  • Unsuitable product condition: Product that is excessively frozen, poorly trimmed, or presented in pieces beyond the cutter’s intended preparation method places high shock loads on the blades.
  • Abrasive ingredients: Certain spices, mineral-containing ingredients, coarse salt, and dry particulate ingredients can increase wear. This does not mean these materials cannot be processed; it means the recipe, sequence, and cleaning plan need attention.
  • Contact with the bowl or accessories: Incorrect blade clearance, a damaged bowl, loose hardware, or an incorrectly fitted assembly can allow unwanted contact. Stop the machine and investigate rather than continuing to operate.
  • Overprocessing: Repeatedly extending a cycle after the desired texture has been achieved creates unnecessary edge exposure, heat, and friction.
  • Incorrect cleaning tools: Abrasive pads, harsh scraping, careless stacking, and contact with other metal parts can damage a sharpened edge outside production.

Commercial bowl cutters are used for high-volume preparation because they combine chopping and mixing in one workflow. For a broader overview of where this equipment fits, see how commercial bowl cutters support high-volume food preparation. The exact blade, batch size, and process settings should always follow the machine supplier’s instructions and the approved recipe.

Prepare Products Before They Reach the Bowl

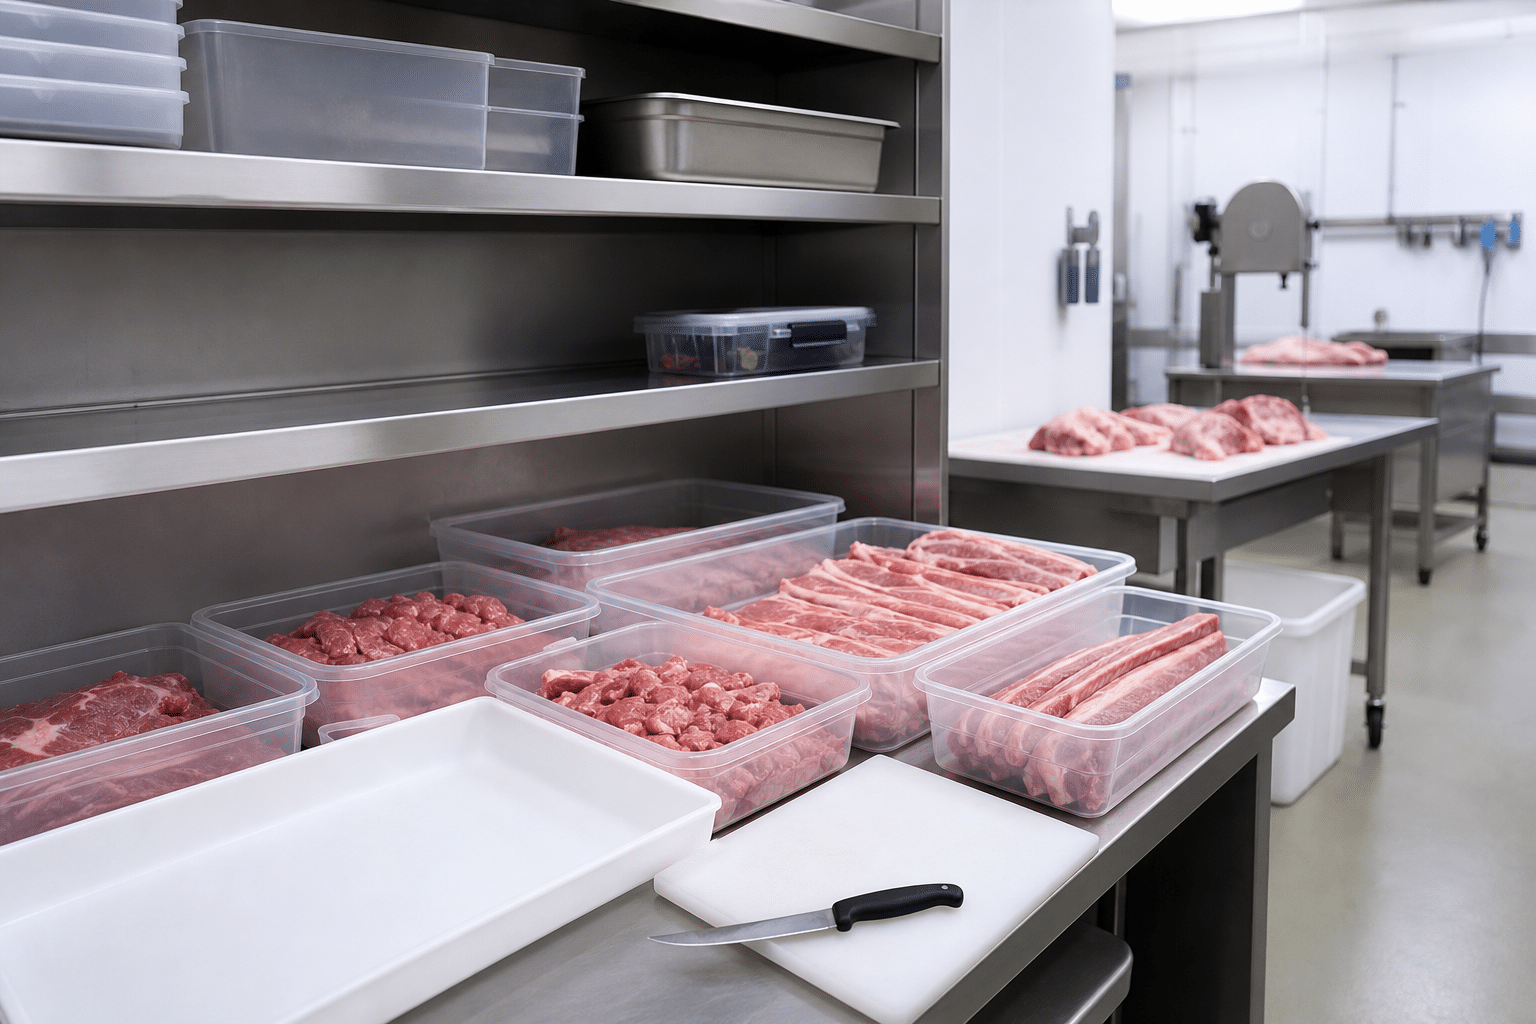
Prepared ingredients for a commercial bowl cutter

Good blade life starts at receiving and preparation, not at the cutter. Establish a simple pre-processing check so that operators do not use the bowl cutter as a substitute for trimming, deboning, thawing, or size reduction.

Remove hard material and packaging completely

Inspect incoming meat, fish, vegetables, and other raw materials for bone, shells, ties, labels, clips, and packaging fragments. Trim as required by the product specification. This step is particularly important when materials are transferred from boxed, vacuum-packed, or frozen storage formats.

Manage temperature and piece size

Use a product temperature and piece size that the cutter and recipe are designed to handle. An overly hard product can impact the blade rather than cut cleanly. Conversely, a soft or warm product may smear and encourage operators to lengthen the cycle unnecessarily. Cut large raw materials into manageable pieces before loading, and use only the approved method for tempering or thawing.

Use separate equipment where it improves preparation

Where meat must be portioned through bone or from frozen blocks, use equipment designed for that task before the product reaches the bowl cutter. The principles in this fresh versus frozen meat bone saw guide can help managers plan the correct upstream cutting method. A bowl cutter blade should not be expected to absorb the work of a saw or heavy-duty portioning process.

Also verify that spice blends, additives, and dry ingredients are free from damaged packaging and hard foreign matter. Use controlled scoops and closed containers where practical to reduce accidental contamination.

Use the Correct Cutting Process

Even a high-quality blade can lose its edge prematurely when the machine is run outside the approved process. Train operators to follow a documented sequence for each product rather than relying only on visual judgement.

  • Load batches within the machine’s stated working limits. Overloading can reduce circulation in the bowl and lead to longer cycles or uneven contact with the product.
  • Start with the speed and cutting stage specified for the recipe and equipment. Do not assume that maximum speed is the best setting for every ingredient.
  • Add ingredients in the planned order. For example, a recipe may require primary material to be cut first and dry or abrasive ingredients to be added later. The correct order depends on the formulation and the equipment instructions.
  • Stop the process once the required particle size, texture, or mix is achieved. Extra running time does not correct a dull edge and may increase product temperature or mechanical wear.
  • Do not reach into, scrape, or adjust the bowl while the machine is moving. Isolate power and follow the manufacturer’s safe shutdown procedure before any intervention.

Pay attention to changes in sound, vibration, cutting pattern, or processing time. These can indicate blade wear, incorrect loading, a loose component, or another condition requiring inspection. Routine safety and maintenance controls are also essential for other cutting equipment; review these commercial cutting equipment safety and maintenance protocols when developing site-wide practices.

Clean and Handle Blades Without Damaging the Edge

Cleaning protects hygiene and blade condition when it is done promptly and with the right tools. Residue left on the blade can dry and become difficult to remove, increasing the temptation to scrape aggressively. At the same time, cleaning must never place staff at risk from sharp edges.

First, stop the machine, isolate it from its power source, and wait until all moving parts have stopped. Follow the equipment manual for access, disassembly, and permitted cleaning procedures. Wear appropriate cut-resistant personal protective equipment where required by the site’s risk assessment.

  • Remove product residue with a soft brush, cloth, or approved non-metal tool.
  • Use cleaning chemicals at the concentration, temperature, and contact time recommended by both the chemical supplier and the equipment manufacturer.
  • Avoid wire brushes, grinding pads, and uncontrolled metal scrapers on sharpened edges.
  • Rinse and dry parts thoroughly where the cleaning procedure requires it. Do not leave blades soaking unless the equipment and chemical instructions permit this.
  • When blades are removed, place them in a dedicated protective holder or rack. Do not stack them loose in a sink, tray, or drawer.

Inspect the bowl and surrounding components during cleaning. A buildup of product, damaged seals, loose fittings, or wear that changes blade clearance should be addressed before the next production run. Cleaning also gives the operator the best opportunity to spot chips, corrosion marks, and damage near the blade mounting area.

Inspect Blades Before Wear Becomes a Production Problem

A short inspection at the start of each shift and during cleaning can prevent a small issue from becoming a damaged product batch or unplanned stoppage. The inspection should be visual and practical; operators should not touch or test sharp edges in an unsafe manner.

Look for the following signs:

  • Visible nicks, chips, bends, cracks, or corrosion.
  • An uneven edge or a bright, flattened line where the cutting edge should be sharp.
  • Loose fasteners, incorrect seating, or damage around the blade hub and mounting points.
  • Unusual clearance between blade and bowl, or evidence of contact such as scoring or metal marks.
  • A change in finished product appearance, including tearing, uneven particle size, or a need for longer processing.
  • Unexpected vibration, noise, or heat during operation.

Record the result of inspections in a simple maintenance log. Include the date, operator, product processed, observed condition, corrective action, and sharpening or replacement date. This creates useful evidence when deciding whether wear is normal, related to a particular ingredient, or connected to an operating practice.

If a blade is cracked, bent, severely chipped, loose, or suspected to have contacted metal, remove the machine from service in line with site procedure and have the issue assessed by an authorised technician or competent service provider. Do not attempt to straighten, weld, or improvise a repair to a food-processing blade.

Sharpen or Replace Blades at the Right Time

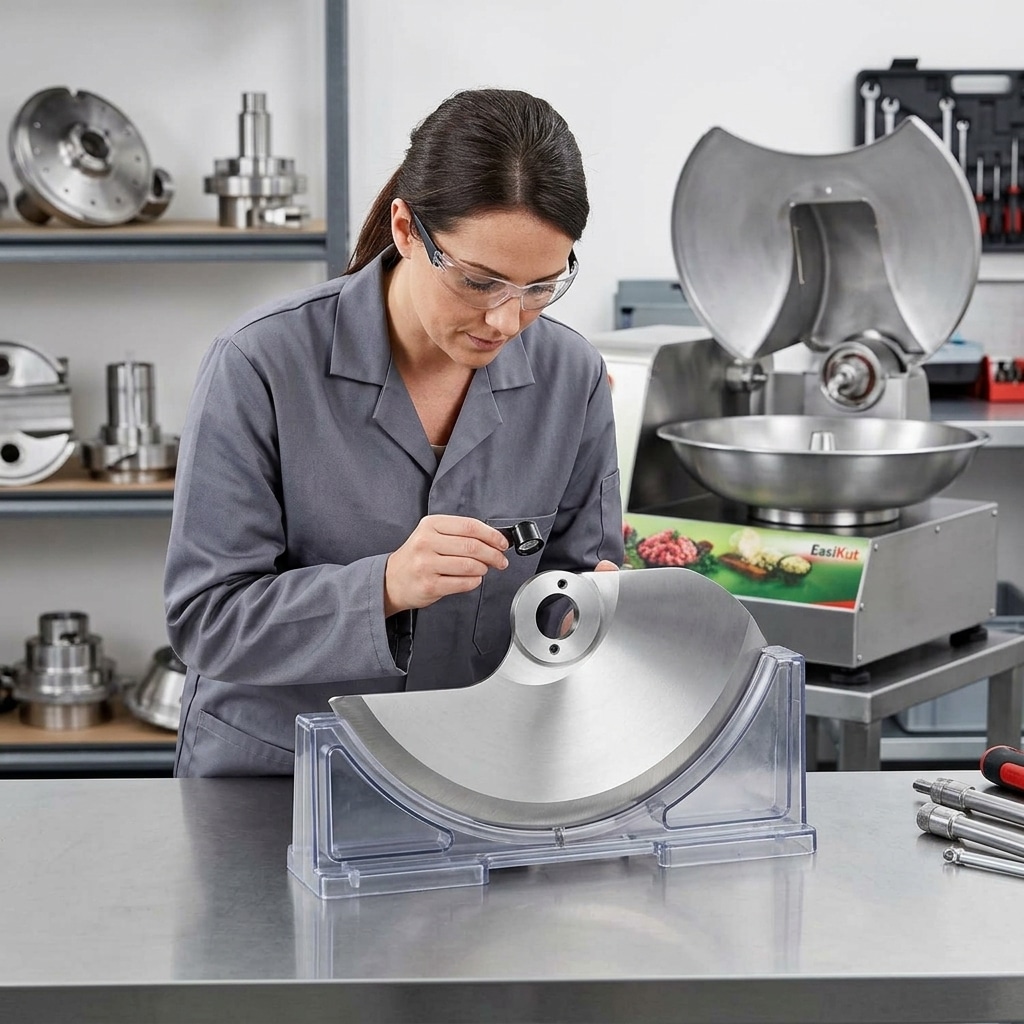
Bowl cutter blade secured for professional inspection

Sharpening restores a blade only when the blade remains structurally sound and within the manufacturer’s permitted service limits. It is not a solution for every defect. A professional sharpening provider should preserve the correct edge geometry, balance, finish, and mounting condition required for the specific blade.

Arrange an assessment when operators consistently observe slower cutting, reduced product uniformity, tearing instead of clean cutting, or a need to extend a previously proven process. Do not wait until the blade is heavily damaged. Continued operation with a dull blade can make the process less consistent and may cause operators to use unsuitable workarounds.

Before sending blades for sharpening, identify them clearly and keep sets together where applicable. Confirm with the machine supplier or blade provider:

  • the correct blade part number and intended application;
  • the permitted sharpening method and minimum service condition;
  • whether blades should be sharpened as a matched set;
  • the correct reinstallation and torque procedure; and
  • the inspection steps required before returning the machine to production.

Replace a blade when it has damage that cannot be safely corrected, has reached its permitted sharpening limit, no longer mounts correctly, or cannot deliver the required process result after approved service. Keep a documented spare-blade plan so that a necessary replacement does not turn into a rushed purchasing decision.

A Practical Blade Maintenance Routine

A clear routine is more reliable than waiting for an operator to report a problem. Adapt the following framework to the machine manual, product types, sanitation programme, and local food-safety requirements.

Before each shift

  • Confirm the machine is clean, correctly assembled, and free of loose parts.
  • Visually inspect blades, mountings, bowl condition, guards, and covers.
  • Verify that raw materials have been prepared according to the product specification.
  • Check that the operator understands the recipe sequence and safe stopping procedure.

During production

  • Monitor product texture, process time, sound, and vibration.
  • Do not process questionable material containing bone, packaging debris, or unknown hard objects.
  • Stop and investigate abnormal conditions immediately.

After each production period

  • Shut down and isolate the machine before cleaning.
  • Remove residue using approved tools and complete the sanitation procedure.
  • Inspect the blades again while the equipment is accessible.
  • Record defects and actions in the maintenance log.

At planned service intervals

  • Review sharpening history, replacement history, and recurring defect reports.
  • Check blade mounting hardware, bowl condition, clearances, and related components as specified by the manufacturer.
  • Arrange professional service when inspection results, production results, or the manual indicate it is due.

Keep the manufacturer’s manual available at the point of use. If instructions are missing or unclear, request the correct documentation before changing blade type, sharpening method, or assembly procedure.

Common Mistakes That Shorten Blade Life

Many blade-life problems are avoidable. The following practices should be corrected through training, supervision, and written procedures.

  • Using the cutter to process unsuitable hard material: Remove bone and foreign objects upstream instead of assuming the blade can tolerate occasional impacts.
  • Adding ingredients without a defined sequence: Abrasive dry ingredients or hard inclusions may need a particular timing. Follow the approved recipe.
  • Running longer when texture is poor: Check the blade, product preparation, and batch loading rather than automatically adding time.
  • Cleaning with whatever tool is available: A metal scraper or wire brush can harm an otherwise serviceable edge.
  • Storing removed blades unsecured: Loose storage creates risk to personnel and can cause edge-to-edge impact damage.
  • Ignoring minor changes: A small chip, unusual sound, or scoring mark is easier to address before it becomes a larger mechanical problem.
  • Using an unverified sharpening method: Improper grinding can alter edge geometry, create excess heat, or affect blade balance.

Similar discipline applies to other commercial cutting tools. For example, saw blades must match the intended machine and product type; this commercial meat band saw blade selection guide explains why blade application should be confirmed before operation. Do not transfer a sharpening practice or operating assumption from one machine type to another without checking the relevant manual.

Protect Blade Life and Product Consistency

Effective bowl cutter blade maintenance is a controlled operating system: prepare ingredients properly, keep hard contaminants out of the bowl, run approved batches and sequences, clean without abrasion, inspect routinely, and use qualified sharpening or replacement service when performance declines.

There is no universal sharpening interval because wear depends on the blade design, ingredients, product condition, batch pattern, operating method, cleaning practice, and equipment model. Use inspection findings and documented production results instead of a guessed schedule. For model-specific blade information, service limits, and assembly instructions, follow the documentation supplied with the machine.

A well-managed blade programme helps the operation maintain a predictable process while giving supervisors clearer information for training, maintenance planning, and spare-parts control.

How to Make Consistent Meat Texture With a Bowl Cutter

Table of Contents

Consistent meat texture comes from controlling raw-material preparation, batch size, knife action, processing time, temperature, and ingredient order. This practical guide explains how commercial operators can use a bowl cutter to produce repeatable coarse, medium, or fine meat mixes.

The Short Answer: Control the Process, Not Only the Machine

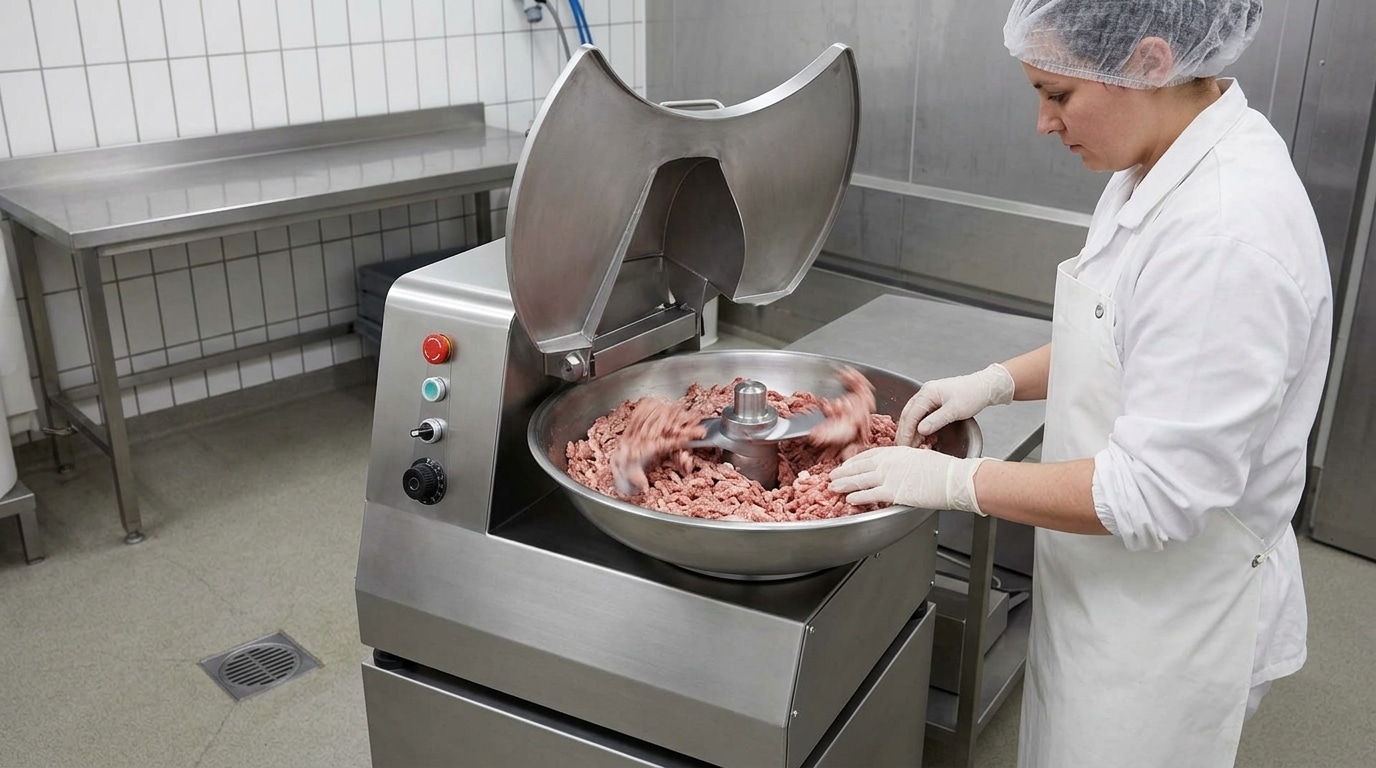
Commercial bowl cutter used for controlled meat processing in a clean production area

To use a bowl cutter for meat consistently, start with uniformly prepared cold meat, run a repeatable batch size, add ingredients in a fixed sequence, and stop at the same visual and temperature endpoint for every batch. Knife speed, bowl speed, processing time, meat temperature, fat distribution, and knife condition all affect the final texture.

A bowl cutter can produce a coarse chopped mix, a defined medium grind, or a fine meat paste depending on the recipe and process. The machine alone does not determine the result. Operators need a written method that specifies raw-material size, starting temperature, loading order, cutting stages, and the acceptable final appearance. This is especially important for products such as sausages, meatballs, patties, formed products, fillings, and seasoned minced-meat preparations.

Before introducing a bowl cutter into a larger production flow, review how trimming, portioning, and cutting affect the incoming meat. When bone-in or frozen blocks must be reduced before chopping, the correct upstream saw arrangement also matters. Our guide to tabletop versus floor bone saws can help operators plan a practical cutting station around available space and product volume.

What a Bowl Cutter Does in Meat Processing

Key components of a commercial bowl cutter for meat processing

A commercial bowl cutter is a food-processing machine that uses rotating knives and a moving bowl to chop and mix meat, fat, seasonings, water or ice, and other recipe ingredients. The knife assembly cuts the material while the bowl brings product repeatedly through the cutting zone. Depending on the machine configuration and the operator’s settings, the process may be used primarily for chopping, mixing, or developing a finer and more uniform meat system.

Compared with simply passing meat through a grinder, bowl cutting gives the operator direct control over how long the product is worked after ingredients are combined. That makes it useful where particle definition, ingredient dispersion, binding, or a finer texture must be managed closely. It is not a substitute for good raw-material control: inconsistent trim, large frozen pieces, warm fat, or poorly distributed seasoning will still produce variable batches.

For a high-level overview of where this equipment fits in commercial production, see how commercial bowl cutters support high-volume food preparation. Always follow the operating instructions and safety requirements for the specific model installed in your facility.

Prepare Meat for Repeatable Cutting

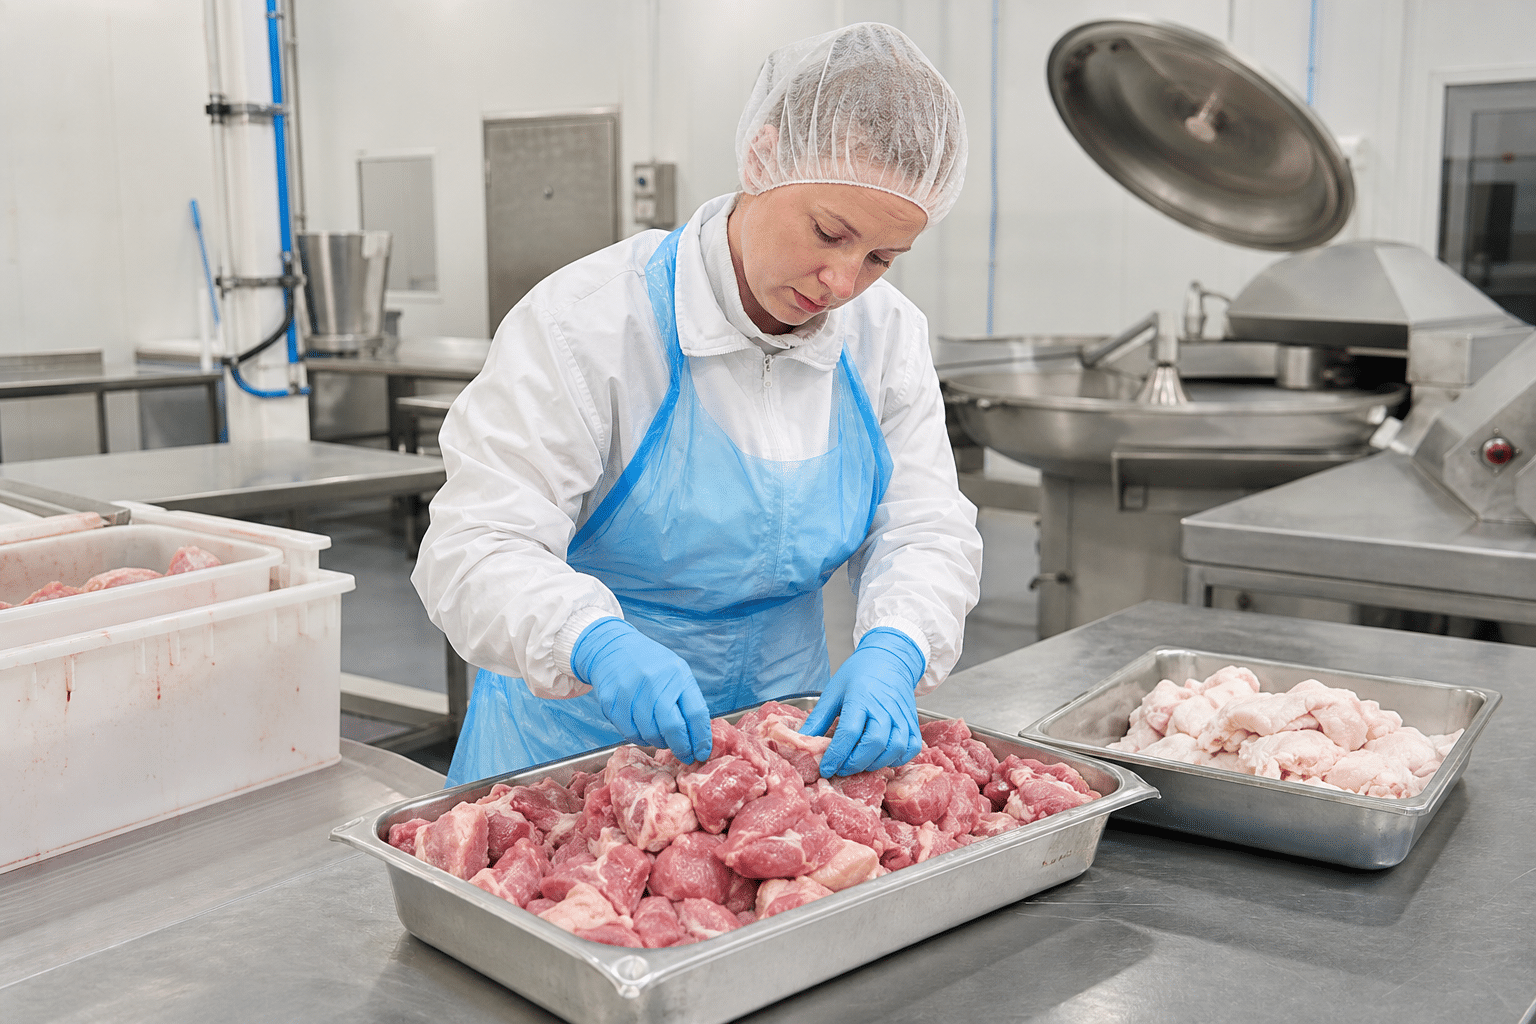
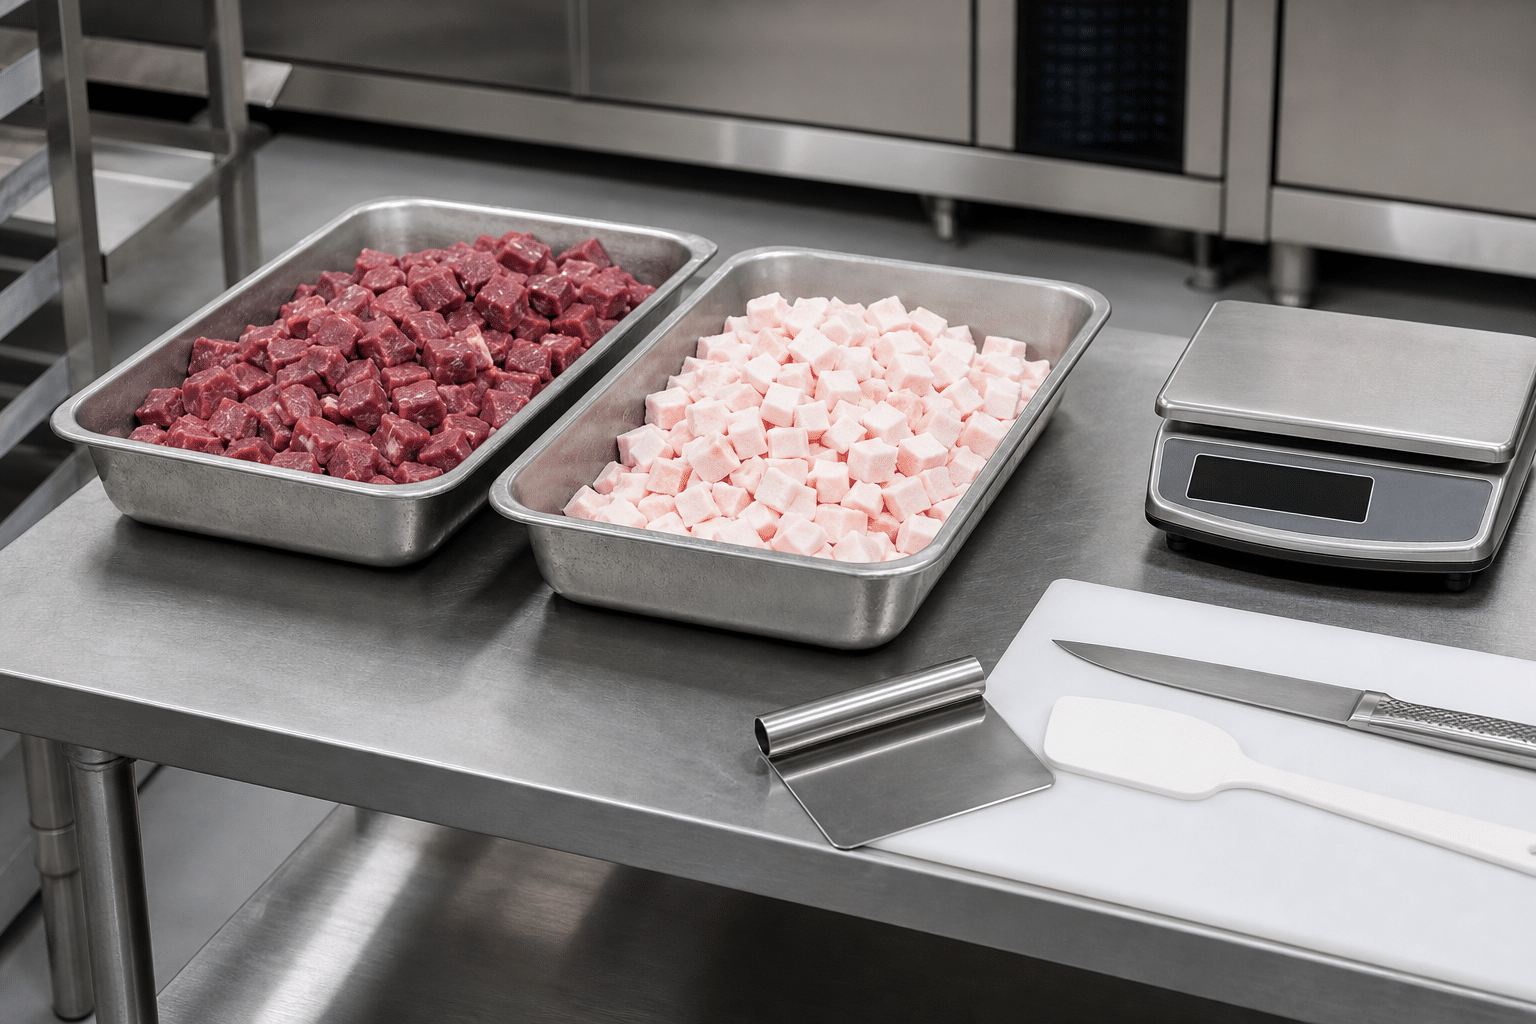
Uniformly prepared chilled meat and fat ready for bowl cutter processing

Texture consistency begins before the product enters the bowl. Standardise the incoming meat and fat as far as practical. Use the same approved cut specification, trim level, meat-to-fat ratio, and pre-cut piece size for each recipe. Large pieces take longer to reduce, while very small pieces may be overworked before larger pieces have reached the target texture.

Set a raw-material standard

  • Meat and fat: Use the recipe’s defined raw materials and keep the fat distribution consistent from batch to batch.
  • Piece size: Pre-cut meat into pieces that can move freely in the bowl and pass safely through the knife zone. The correct size depends on the bowl cutter, recipe, and loading method.
  • Temperature: Begin with properly chilled meat and fat. Warm raw material can smear rather than cut cleanly and can reduce control over the final texture.
  • Frozen material: Do not assume every bowl cutter can process large hard-frozen blocks. Follow the machine manual and use an appropriate upstream cutting method where required.
  • Foreign-material control: Remove bone fragments, packaging material, clips, and other contaminants before loading.

If your operation processes both fresh and frozen meat, establish separate preparation instructions. Product hardness, cut size, and safe handling requirements can differ significantly. The guide to choosing a bone saw for fresh versus frozen meat explains why the upstream cutting approach should match the condition of the product.

Weigh every component rather than estimating by volume. This includes meat, fat, salt, spices, dry ingredients, water, and ice. Accurate scaling protects flavour and product consistency, but it also helps the operator identify whether a texture issue comes from machine operation or a change in the formulation.

A Practical Bowl Cutter Process for Consistent Texture

Operator monitoring a staged meat cutting process with a bowl cutter

The most reliable approach is to turn the recipe into a controlled standard operating procedure. Record the settings and sequence that produce the approved texture on your own equipment, then train operators to follow that method. The precise speed settings and times depend on the bowl cutter model, knife configuration, product formulation, and desired result, so they should not be copied from a different machine without validation.

1. Inspect the machine before loading

Confirm that the bowl, knife head, lid, scraper or discharge arrangement, guards, and controls are clean, correctly assembled, and in sound condition. Check that knives are undamaged and secure. A dull or damaged knife can tear, smear, or unevenly cut product. Never reach into the bowl or attempt an adjustment while moving parts are in operation.

2. Load a consistent batch

Use a batch weight that suits the machine and recipe. Underloading can prevent the meat from circulating through the knife zone as intended. Overloading can restrict movement, produce uneven cutting, and make temperature control harder. Define a normal production batch and a separate, validated smaller batch method if your operation needs one.

3. Cut in stages

For a coarse texture, use short cutting stages and inspect early. For a medium texture, use controlled cutting periods with pauses for visual checks. For fine products, use a staged process that brings the meat to a uniform base before completing ingredient addition and final cutting. Avoid relying on time alone; the same time can give different results if the starting temperature, batch weight, or raw-material size has changed.

4. Add ingredients in the specified order

Ingredient sequence affects both texture and distribution. A typical process may introduce lean meat first, then salt and seasonings, followed by chilled liquid or ice in controlled additions, with fat added at the point defined by the recipe. However, the correct order must be developed for the individual product. Dry ingredients added too late may not distribute evenly; liquid added too quickly may cause product to move differently in the bowl; fat added at the wrong stage may not give the intended particle definition.

5. Check the endpoint and discharge promptly

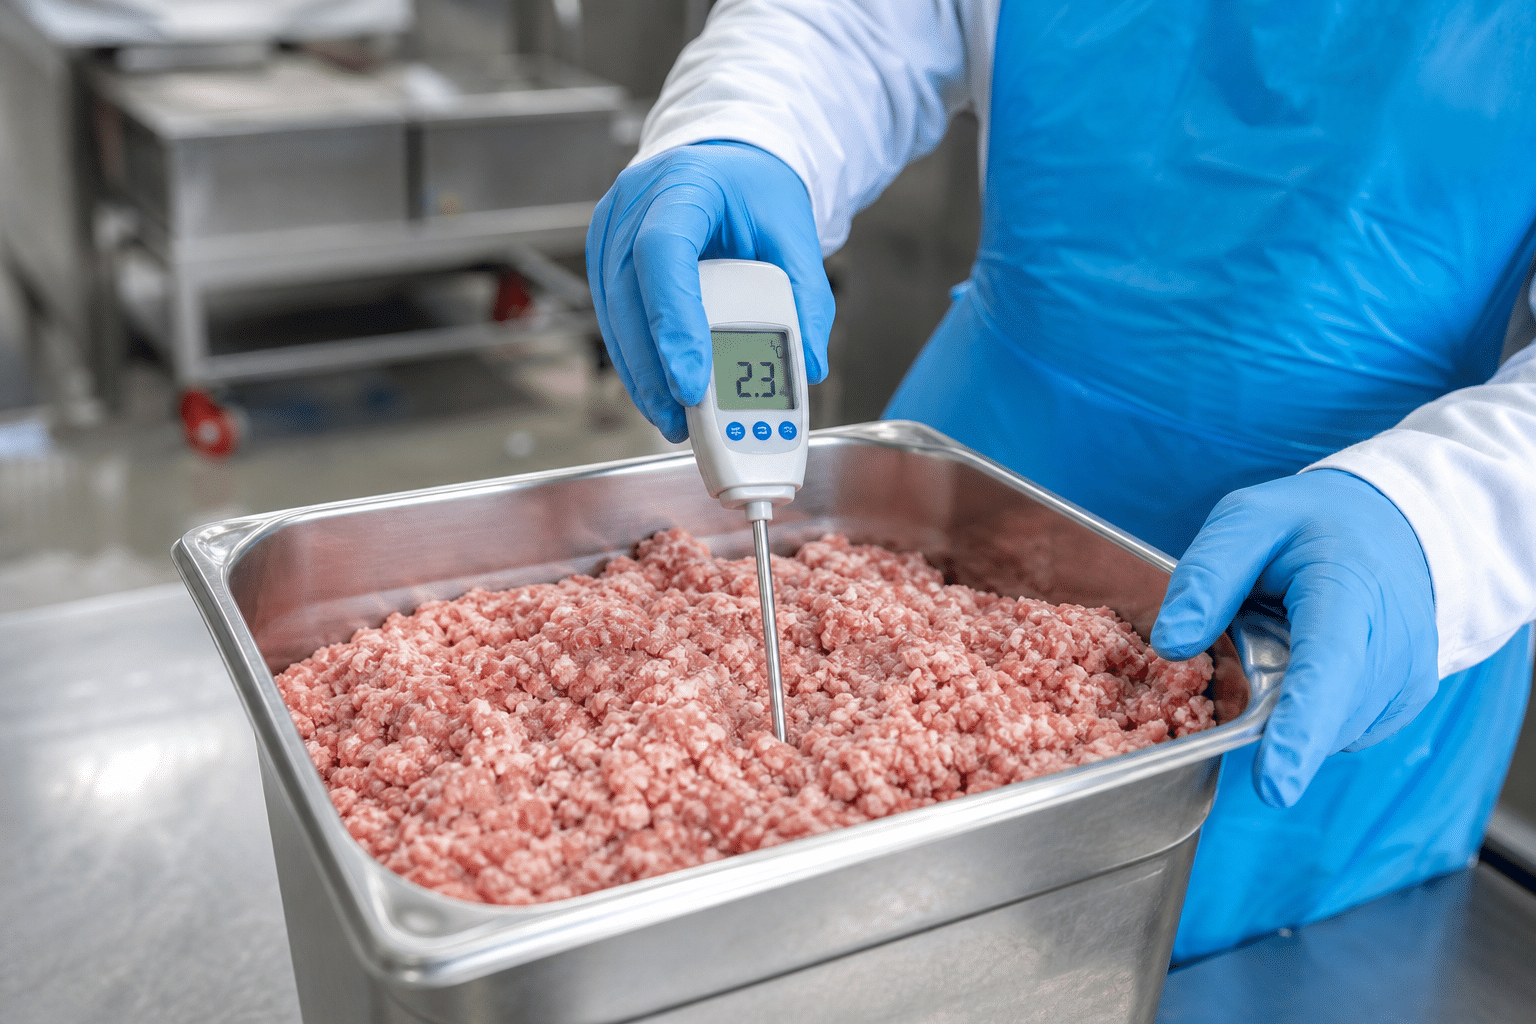
Use agreed visual checks: particle size, distribution of visible fat, absence of uncut pieces, surface appearance, and uniform seasoning. Where your food-safety programme requires it, measure and record product temperature with a suitable calibrated probe. Once the approved endpoint is reached, stop processing and discharge the batch promptly into clean receiving equipment. Continuing to run after the target is reached is a common cause of overworked texture.

Manage Temperature and Emulsion Stability

Checking meat mixture temperature during controlled bowl cutter processing

Knife action creates friction, and friction can raise product temperature. As the product warms, the meat and fat may behave differently in the bowl. This is one reason why a batch that looks correct early in the process can become smeared, greasy, or overly fine if it continues too long.

Use cold raw material and follow the recipe’s instructions for chilled water or ice where applicable. Add those ingredients in controlled quantities and at the specified stage. Do not use ice simply to compensate for an uncontrolled process. If a batch regularly reaches an unsuitable temperature before it reaches the required texture, investigate the real cause: knife sharpness, batch size, cutting time, starting raw-material temperature, room conditions, or recipe design.

Fine meat systems require especially close control. In these products, salt, protein extraction, water addition, fat incorporation, and knife work interact. The required process is product-specific and should be validated by the manufacturer or product-development team. Operators should not make unrecorded changes to speed, time, ingredient order, or water addition during routine production.

A simple batch record can make temperature-related issues easier to identify. Record the meat starting condition, batch weight, start temperature if measured, process stages, final appearance, and any corrective action. After several batches, these records can reveal patterns that are not obvious from one production run.

Common Texture Problems and Corrections

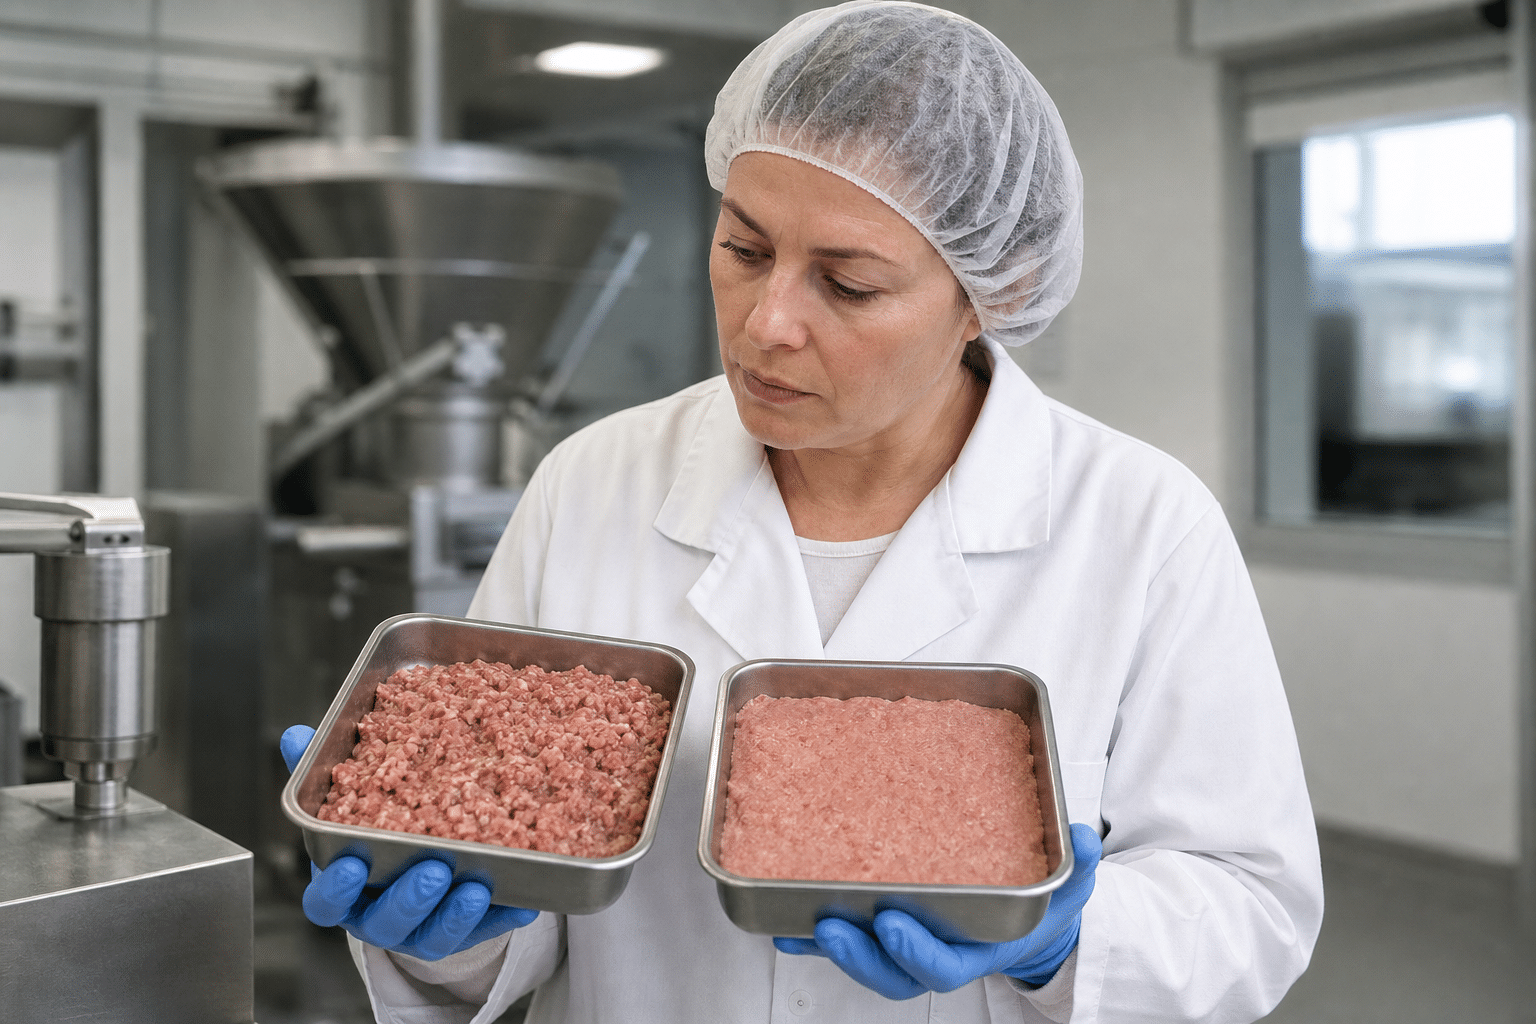
Visual quality check of meat texture after bowl cutter processing

When texture varies, avoid changing several variables at once. Compare the affected batch with the approved process record, identify the most likely difference, correct it, and document the result. The following checks address common operating symptoms.

  • Uneven particle size: Review pre-cut size, batch loading level, ingredient order, and whether the product is circulating correctly. Check knife condition and confirm that the cutting stage was long enough for the largest pieces, without unnecessarily extending the full batch.
  • Meat appears smeared rather than cleanly cut: Check raw-material temperature, fat condition, knife sharpness, and total processing time. Smearing is often associated with warm product or overprocessing.
  • Visible uncut pieces: Review incoming piece size, batch weight, knife condition, and process time. Do not attempt to solve a recurring issue only by running every batch longer, as this may overwork the rest of the product.
  • Fat is unevenly distributed: Confirm the meat-to-fat ratio, the size and temperature of fat pieces, and the stage at which fat was added. A change in trim specification can create a different result even when machine settings remain unchanged.
  • Seasonings are not evenly dispersed: Verify ingredient weights, screening or pre-blending practices where used, liquid addition, and the time allowed for mixing after addition.
  • Batch-to-batch variation between operators: Replace informal judgement with a documented recipe card, defined visual reference, batch weight, and process stages. Train each operator on the same acceptance criteria.

If knife damage, unusual noise, vibration, poor stopping performance, guard issues, or electrical faults are observed, stop the machine and follow the manufacturer’s service procedure. Mechanical problems should be assessed by qualified personnel rather than bypassing safeguards to continue production.

Cleaning, Inspection, and Batch Records

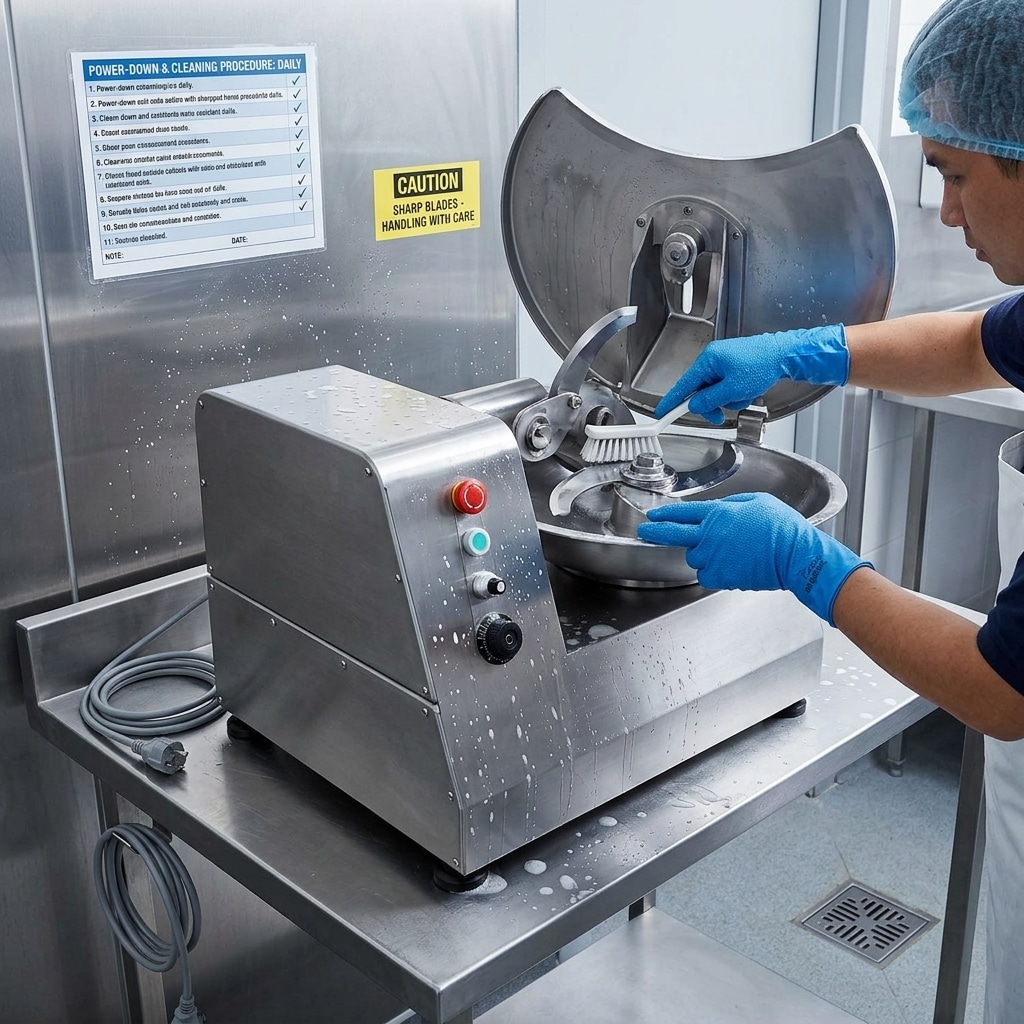
Cleaning and inspecting a commercial bowl cutter after meat processing

Consistent texture and safe daily operation depend on effective cleaning and inspection. Meat residue around knives, the bowl, seals, covers, scrapers, and discharge components can affect hygiene and may interfere with machine performance. Clean the equipment at the intervals required by your food-safety programme and always carry out the full end-of-shift cleaning procedure.

Isolate the machine from its power source before cleaning, adjustment, inspection, or knife handling, following the manufacturer instructions and your site’s lockout procedures. Use suitable cut-resistant personal protective equipment when handling knives. Do not direct water into electrical areas unless the machine documentation specifically permits the method.

Build the following checks into the daily routine:

  • Inspect knives for wear, damage, and secure fitting.
  • Check guards, lids, interlocks, and emergency-stop functions according to the approved inspection procedure.
  • Examine the bowl and product-contact surfaces for residue or damage.
  • Confirm that cleaning chemicals are compatible with food-contact materials and are used at the correct concentration.
  • Record cleaning completion, defects found, corrective actions, and blade-service needs.

Finally, retain a concise production record for each recipe: lot or raw-material reference, batch weight, ingredient weights, key process stages, product temperature where monitored, operator, and final acceptance. This level of control helps a supervisor trace an inconsistent batch back to a practical cause and refine the operating method without guesswork.

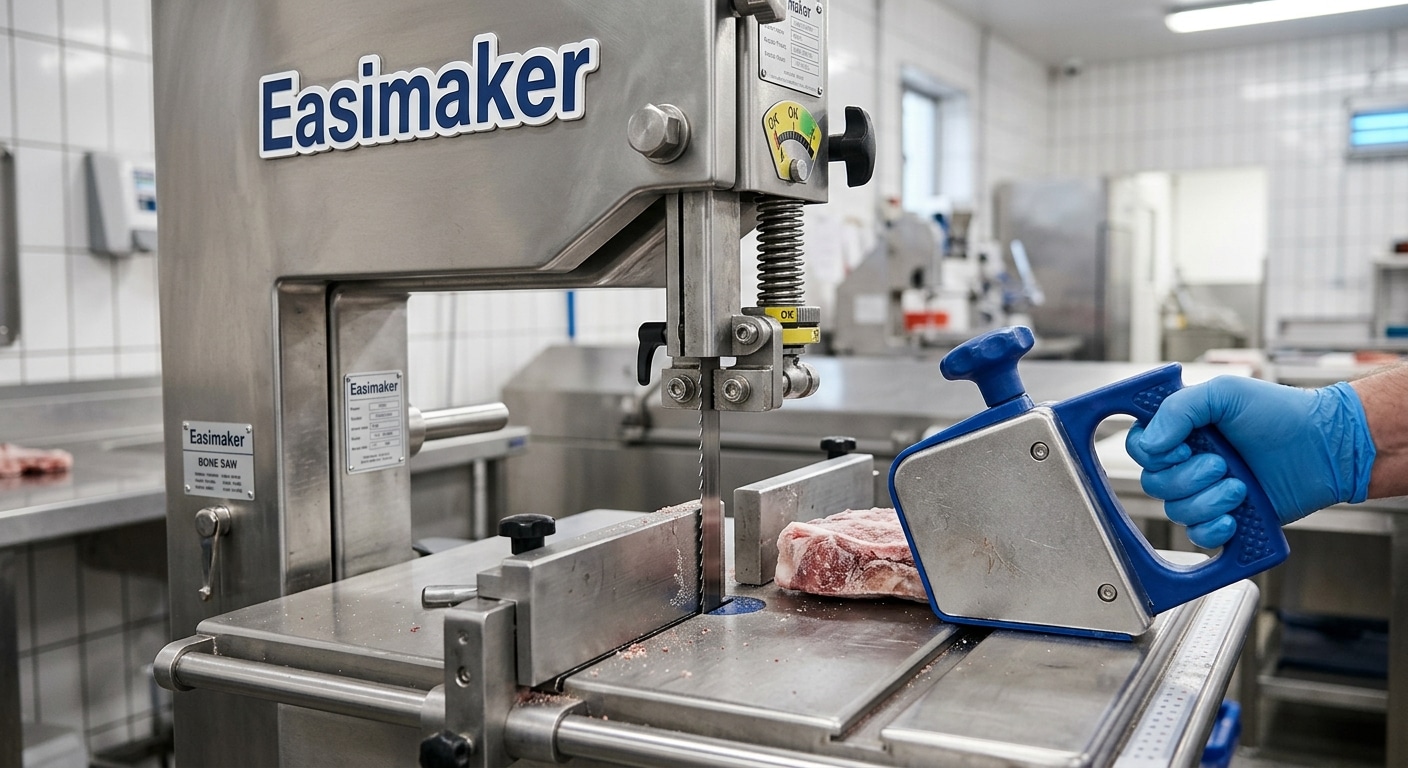
Essential Safety and Maintenance Protocols for Commercial Bone Saw Machines

Introduction to Bone Saw Operational Excellence

In high-volume meat processing facilities and professional butcher shops, the commercial bone saw machine is an indispensable asset. These powerful units slice through frozen meat, dense bone, and thick cuts with precision and speed, directly impacting production efficiency and product yield. However, the sheer power of this equipment introduces significant workplace risks if not managed correctly.

Establishing rigorous bone saw safety protocols and consistent maintenance routines is not just about regulatory compliance; it is a fundamental requirement for protecting operators, extending machine lifespan, and maintaining the hygiene standards critical to food processing. This guide provides facility managers and butcher shop owners with actionable protocols for safe operation, blade tensioning, and daily sanitation.

Essential Operator Safety Gear

Human error or momentary lapses in concentration can lead to severe injuries when operating heavy-duty butcher shop machinery. Equipping operators with the correct Personal Protective Equipment (PPE) is the first line of defense.

  • Cut-Resistant Chainmail Gloves: Operators must wear stainless steel mesh gloves on the non-dominant hand (the hand guiding the meat, though always using a pusher when possible). Note that chainmail protects against slicing but will not stop a powered band saw blade, making spatial awareness paramount.
  • Safety Glasses or Face Shields: Bone fragments and meat shards can become high-velocity projectiles during cutting. Industrial-grade eye protection is mandatory.
  • Heavy-Duty Cut-Resistant Aprons: A reinforced apron protects the operator’s torso from accidental slips or kickbacks from the cutting table.
  • Slip-Resistant Footwear: Meat processing floors frequently become slick with water, fat, and debris. High-traction, steel-toed boots prevent falls near operating machinery.

Safe Operation Guidelines for Commercial Bone Saws

Implementing strict operational procedures ensures that meat processing equipment is used efficiently and safely. Train all personnel on the following protocols before allowing them to operate the saw.

Pre-Operation Inspection

Before powering on the machine, operators should conduct a brief visual and physical inspection:

  • Verify that all safety guards and wheel covers are securely locked in place.
  • Check the cutting table for stability and ensure the sliding mechanism (if applicable) moves smoothly.
  • Inspect the blade for missing teeth, cracks, or dullness.
  • Ensure the scrapers are properly aligned to keep the wheels free of fat buildup.

Feeding and Cutting Techniques

The most common injuries occur during the feeding process. Operators should never push meat through the blade using their bare hands. Always use the integrated pusher block or a dedicated meat pusher tool to guide the product. Maintain a steady, consistent feed rate; forcing the meat through the blade too quickly can cause the blade to jump, bind, or snap, while feeding too slowly can cause the meat to burn or smear.

Bone Saw Blade Maintenance and Tensioning

Proper bone saw blade maintenance is critical for achieving clean cuts, minimizing meat waste, and preventing dangerous blade failures.

How to Check and Adjust Blade Tension

Blade tension directly affects the performance of your commercial bone saw machine. A loose blade will wander, creating wavy cuts and potentially slipping off the drive wheels. An overtensioned blade is prone to snapping under load and causes premature wear on the wheel bearings.

  1. Disconnect Power: Always utilize lockout/tagout (LOTO) procedures before opening the machine cabinet.
  2. Locate the Tension Mechanism: Most commercial saws feature a tensioning knob at the top of the upper wheel housing.
  3. Adjust the Tension: Turn the knob to tighten the blade. Many modern industrial saws include a built-in tension gauge or a spring-loaded mechanism that clicks or aligns with a marker when the optimal tension is reached.
  4. Test the Deflection: If your machine lacks a gauge, a general industry rule of thumb is that the blade should deflect no more than 1/8 to 1/4 inch when pressed lightly in the center of the longest exposed span. (Always consult your specific manufacturer’s manual for exact tolerances.)
  5. Manually Track the Blade: Spin the upper wheel by hand (while wearing protective gloves) to ensure the blade tracks perfectly in the center of the wheel without rubbing against the back flange.

Signs It Is Time to Replace the Blade

Do not wait for a blade to break before replacing it. Replace the blade immediately if you notice:

  • The machine requires significantly more physical effort to push the meat through.
  • The cuts are jagged, uneven, or producing excessive bone dust.
  • Visible hairline cracks along the back edge or gullets of the blade.
  • Missing or chipped teeth.

Daily Cleaning Procedures for Meat Processing Equipment

Sanitation is a non-negotiable aspect of meat processing. Bone saws accumulate fat, marrow, and meat particles that rapidly harbor bacteria if not thoroughly cleaned. Follow this daily teardown and sanitization protocol:

Step-by-Step Sanitation Protocol

  1. Power Down and LOTO: Disconnect the machine from the power source.
  2. Disassemble Components: Remove the blade, upper and lower wheels, scrapers, sliding table, and thickness guide. Handle the blade with extreme care and store it safely or discard it if worn.
  3. Remove Debris: Use a plastic scraper or brush to remove large chunks of meat and fat from the machine housing and components.
  4. Apply Detergent: Use an industry-approved, foaming degreaser. Allow it to sit for the recommended contact time to break down stubborn proteins and fats.
  5. Scrub and Rinse: Scrub all surfaces, paying special attention to the wheel grooves, scraper mounts, and the blade guide blocks. Rinse thoroughly with warm water. Note: Unless your machine is specifically IP-rated for high-pressure washdowns, avoid spraying high-pressure water directly into the motor housing or electrical switches.
  6. Sanitize and Air Dry: Apply a food-safe sanitizer (such as a quaternary ammonium solution) and allow all components to air dry completely before reassembly to prevent corrosion.

Troubleshooting Common Bone Saw Issues

Quickly identifying and resolving operational issues keeps production lines moving and prevents equipment damage.

Symptom Potential Cause Solution
Blade slipping off wheels Insufficient blade tension or worn wheel flanges Re-tension the blade. Inspect wheels for wear and replace if grooved.
Wavy or uneven cuts Dull blade or worn blade guides Replace the blade. Check and replace worn upper/lower guide blocks.
Motor stalls during cutting Forcing meat too fast or improper power supply Reduce feed rate. Verify the machine is connected to the correct voltage phase.
Excessive squealing noise Friction in blade guides or dry wheel bearings Clean and adjust blade guides. Inspect bearings and lubricate per manual.

Buying Guide: What to Look for in Butcher Shop Machinery

When upgrading or expanding your facility, selecting the right commercial bone saw machine is critical for long-term ROI. Look for the following specifications:

  • Material Construction: The entire body, table, and internal components should be constructed from 304 food-grade stainless steel to resist corrosion and withstand harsh chemical cleaners.
  • Integrated Safety Features: Modern machines should include magnetic safety switches that prevent the motor from running when the door is open, easily accessible emergency stop (E-stop) buttons, and robust meat pushers.
  • Ease of Maintenance: Look for tool-less disassembly features. Machines that allow operators to remove the wheels, scrapers, and tables without wrenches significantly reduce daily cleaning times.
  • Motor Power: Ensure the horsepower (HP) matches your throughput needs. High-volume processing of frozen sub-primals typically requires a 2HP to 3HP motor to prevent stalling and ensure clean cuts.

Frequently Asked Questions (FAQs)

How often should I change the blade on a commercial bone saw?

Blade lifespan depends entirely on usage volume and the type of product being cut. In a high-volume processing plant cutting frozen bones, blades may need replacement every few days. In a standard butcher shop, a blade might last one to two weeks. Inspect daily and replace at the first sign of dullness.

Can I cut fresh, unfrozen meat with a bone saw?

Yes, but it is generally less efficient than using a slicer or butcher knife, as the high-speed blade can tear soft, fresh meat and cause excessive smearing. Bone saws are optimized for frozen meat, dense bones, and hard cartilage.

What is the best way to prevent rust on the machine?

Ensure the machine is made of high-quality 304 stainless steel. After daily cleaning and sanitizing, ensure all parts are thoroughly air-dried. Applying a light coating of food-grade mineral oil to the blade and bare metal moving parts can further prevent oxidation.

Why is my bone saw producing so much bone dust?

Excessive bone dust is usually a symptom of a dull blade or an incorrect tooth pitch (TPI) for the product being cut. Ensure you are using a sharp blade with the correct tooth configuration for your specific meat type.

Are specialized electrical connections required?

Most industrial bone saws require a 220V/240V single-phase or three-phase power supply due to their high-torque motors. Always verify your facility’s electrical capacity before purchasing and have a certified electrician handle the installation.

Upgrade Your Meat Processing Capabilities

Maintaining rigorous safety and maintenance protocols ensures your commercial bone saw machine delivers years of reliable, high-yield performance. If you are looking to upgrade your facility with robust, easy-to-clean, and operator-safe meat processing equipment, we are here to help you find the perfect solution for your operational needs.

Request a quote / Get a sample today to learn more about our advanced machinery options.

Processing Thick Sugarcane Stalks: Techniques to Prevent Motor Strain and Jamming

For high-volume juice bar operators and commercial beverage facilities, maximizing extraction yield is critical to profitability. However, processing thick sugarcane stalks presents a unique set of operational challenges. Dense, large-diameter canes require significantly more torque to crush, which can quickly lead to sugarcane juicer jamming and severe commercial juicer motor strain if not handled correctly.

This technical guide outlines best practices for hard sugarcane extraction. By implementing proper stalk preparation, refining feeding techniques, and recognizing the early signs of equipment fatigue, operators can extend the lifespan of their electric extractors while maintaining consistent operational throughput.

The Mechanics of Hard Sugarcane Extraction

Commercial electric sugarcane juicers rely on a series of precisely calibrated stainless steel rollers to compress the stalk and extract the juice. The gap between these rollers is engineered to handle an average stalk diameter. When operators introduce exceptionally thick or mature (hardened) sugarcane, the machine’s motor must draw additional current to generate the torque necessary to pull and crush the material.

If the resistance exceeds the motor’s capacity, the rollers stall. Repeated stalling not only damages the gearbox but also degrades the motor windings due to excessive heat generation. Understanding this mechanical limitation is the first step in preventing catastrophic equipment failure.

Pre-Processing: Preparing Thick Sugarcane Stalks

Proper stalk preparation is the most effective defense against machine jamming. Juice bar staff should be trained to evaluate and prep canes before they ever touch the machine.

1. Splitting Oversized Canes

Electric extractors operate optimally when the feed material matches the roller intake dimensions. If a sugarcane stalk exceeds the maximum recommended diameter for your specific machine (often around 50mm to 60mm, depending on the model), it must be split longitudinally. Using a heavy-duty cleaver or a specialized sugarcane splitter to halve thick stalks reduces the required crushing force by more than 50%, virtually eliminating the risk of a jam.

2. Beveling the Lead Edge

A blunt, flat-cut end struggles to catch between the initial intake rollers, forcing the operator to push the cane aggressively. Instead, cut the leading end of the stalk at a 45-degree angle. This wedge shape allows the rollers to grip the cane smoothly and initiate the pulling process without sudden shock-loading the motor.

3. Managing Hard Nodes

The joints, or nodes, of the sugarcane stalk are the densest parts of the plant. On particularly old or thick canes, these nodes can act like speed bumps, causing momentary spikes in motor strain. While modern commercial machines are built to handle them, trimming protruding nodes on unusually hard stalks can smooth out the extraction process.

Optimal Feeding Techniques to Prevent Sugarcane Juicer Jamming

How the operator feeds the machine is just as important as the preparation of the cane itself. Inconsistent or forced feeding is a primary cause of equipment downtime.

  • Let the Machine Do the Work: Never force or shove the stalk into the feed chute. Once the initial rollers grip the beveled edge, release your forward pressure and allow the machine’s gearing to pull the cane through at its own engineered speed.
  • Maintain Proper Angles: Feed the stalk straight into the chute. Angling the cane sideways can cause it to track unevenly across the rollers, leading to asymmetrical wear on the bearings and potential binding.
  • Pacing the Feed: Do not feed a second stalk until the first has completely cleared the final roller. Overcrowding the extraction chamber exponentially increases the load on the motor and gearbox.

Recognizing Early Indicators of Commercial Juicer Motor Strain

Operators must be trained to monitor the acoustic and physical feedback of their equipment. Catching motor strain early prevents permanent damage.

  • Acoustic Changes (Whining or Grinding): A healthy electric extractor operates with a steady, low-pitched hum. If the motor pitch suddenly drops or begins to whine loudly when a thick stalk is introduced, it is struggling to maintain RPM. Grinding noises indicate gearbox stress.
  • Sudden RPM Drops: If the rollers visibly slow down during hard sugarcane extraction, the motor is nearing its stall point. Operators should immediately use the reverse function (if available) to back the cane out and split it before trying again.
  • Excessive Heat Output: While motors naturally generate heat, the exterior casing should never be too hot to touch. Excessive heat is a byproduct of the motor drawing high amperage to overcome a jam, which can melt internal winding insulation.

Equipment Selection: Specifications for Heavy-Duty Processing

If your supply chain consistently provides thick, dense sugarcane, ensuring you have the right commercial extractor is paramount. Below are key specifications to consider when evaluating equipment for heavy-duty use.

Component Standard Duty Heavy-Duty (Thick Stalks)
Motor Power 400W – 750W 1000W – 1500W+ (High Torque)
Roller Configuration 3 Rollers 4 to 5 Rollers (Gradual compression)
Gearbox Standard Chain/Belt Direct Gear-Driven (All-steel gears)
Reverse Function Optional Mandatory (for safe jam clearing)

Routine Sugarcane Machine Maintenance

Preventative maintenance is crucial for machines subjected to the rigors of processing thick sugarcane. A well-maintained machine operates with less friction, reserving maximum motor power for the crushing process.

  • Daily Cleaning: Sugar residue acts as an adhesive. If left to dry on the rollers or gears, it forces the motor to work harder upon startup. Flush the extraction chamber with warm water and a food-safe brush at the end of every shift.
  • Lubrication: Regularly inspect and lubricate the drive gears and bearing housings according to the manufacturer’s schedule. Dry gears under heavy loads will strip or shatter.
  • Tension Adjustment: For machines with adjustable roller gaps, ensure the tension is set correctly. A gap that is too tight will cause unnecessary motor strain, while a gap that is too loose will result in poor juice yield.

Frequently Asked Questions (FAQs)

Why does my commercial sugarcane juicer keep jamming?

Jamming is typically caused by feeding stalks that are too thick for the roller gap, feeding multiple stalks simultaneously, or a lack of routine maintenance causing sticky buildup on the rollers.

Can I process hard, mature sugarcane in an electric juicer?

Yes, provided you prepare the stalks properly by splitting oversized canes, cutting the ends at an angle, and ensuring your machine has a sufficiently powerful motor (typically 1000W or higher) designed for commercial extraction.

What should I do if a thick stalk gets stuck in the machine?

Immediately turn off the machine to prevent motor burnout. Use the machine’s reverse switch to back the stalk out. If it remains stuck, disconnect the power and manually clear the jam according to the manufacturer’s safety guidelines. Never force it through.

How often should I clean my commercial sugarcane extractor?

Commercial machines should undergo a basic water flush between different batches if sitting idle, and a thorough, deep cleaning of the rollers, juice tray, and filter at the end of every business day.

Does splitting the sugarcane affect the juice yield?

No. Splitting the cane longitudinally exposes more surface area to the rollers, which can actually improve extraction efficiency while significantly reducing the mechanical load on the juicer’s motor.

Optimize Your Juice Bar Operations

Processing thick sugarcane stalks doesn’t have to result in costly downtime or equipment failure. By training your staff on proper stalk preparation and feeding techniques, you can ensure smooth operations and maximum yield. If your current equipment is struggling to keep up with the demands of hard sugarcane extraction, it may be time to upgrade to a more robust commercial solution.

Ready to enhance your extraction efficiency? Request a quote / Get a sample today to learn more about high-performance, electric sugarcane juicers designed for commercial reliability.

How to Properly Winterize and Store Your Sugarcane Juicer for the Off-Season

Protecting Your Investment During the Off-Season

For seasonal beverage businesses, the transition into the colder months means winding down operations and preparing equipment for storage. A commercial electric sugarcane juicer is a significant capital investment. Leaving it idle without proper winterization can lead to severe operational issues by spring, including rust, seized bearings, and degraded electrical components.

Sugarcane juice is naturally high in sucrose, which is hygroscopic (attracts moisture) and mildly acidic. If residual juice or bagasse is left on the machine’s components, it creates an environment ripe for bacterial growth and rapid oxidation—even on high-grade stainless steel. This guide provides a comprehensive, step-by-step process to deep clean, lubricate, and safely store your sugarcane juicer for the off-season.

Step 1: Comprehensive Deep Cleaning

The foundation of off-season machine maintenance is the complete removal of all organic matter. Do not rely on a standard end-of-day rinse; a winterization clean requires disassembly of accessible parts.

Disassembly and Washing

  • Power Down: Ensure the machine is completely disconnected from the power source before opening any panels.
  • Remove Exterior Components: Detach the juice collection trays, filter screens, and any removable feeding chutes. Wash these separately using warm water and a mild, food-safe commercial detergent.
  • Clean the Rollers: The crushing rollers harbor the most residue. Use a stiff-bristled nylon brush (avoid steel wool, which can embed iron particles and cause rust) to scrub the rollers. Rotate them manually if the design allows, ensuring all 360 degrees of the roller surface are scrubbed clean.

Complete Drying (Critical Step)

Moisture is the primary catalyst for rust. After washing, wipe down all surfaces with a clean microfiber cloth. Use compressed air to blow out trapped water from crevices, bolt heads, and the spaces between the rollers and the chassis. Leave the machine in a warm, dry environment for at least 24 hours before moving to the next step.

Step 2: Lubrication and Rust Prevention

Once the machine is bone-dry, you must create a barrier against ambient moisture. This is especially important for unpainted metal surfaces and moving mechanical parts.

Applying Food-Grade Protectants

  • Roller Coating: Apply a light coat of food-grade mineral oil to the stainless steel rollers. This prevents surface oxidation while the machine sits idle.
  • Gear and Chain Maintenance: Open the transmission panel to access the gears and drive chains. Clean off any old, contaminated grease. Apply a fresh layer of heavy-duty, food-grade synthetic grease. This prevents the gears from seizing and protects against ambient humidity.
  • Bearing Lubrication: If your machine features grease zerks (fittings) for the roller bearings, use a grease gun to inject fresh food-grade grease until you see a small amount purge from the seals. This pushes out any trapped moisture or acidic juice ingress.

Step 3: Protecting Electrical Components

Winter storage often involves environments with fluctuating temperatures, which can cause condensation inside the motor housing and electrical control boxes.

  • Moisture Control: Place several large industrial silica gel desiccant packets inside the motor compartment and near the electrical switches. These will absorb trapped moisture and prevent condensation from corroding the wiring terminals or the motor windings.
  • Pest Prevention: Rodents are notorious for chewing through electrical insulation during the winter. Inspect the cable entry points and ensure all grommets are intact. You can place natural rodent repellents near the base of the machine, but avoid placing chemical baits directly inside the food-processing equipment.
  • Cord Care: Loosely coil the power cable and secure it with a Velcro tie. Do not wrap it tightly around the machine, as this can stress the internal copper wires and the plug connection.

Step 4: Proper Storage Environment

Where and how you store the commercial juicer dictates how well it will survive the winter.

  • Elevate the Machine: Never store the juicer directly on a concrete floor. Concrete wicks moisture and stays cold, transferring dampness directly to the machine’s base. Place the juicer on a wooden pallet or a heavy-duty storage rack.
  • Climate Considerations: Ideally, store the machine in a climate-controlled warehouse. If storing in an unheated facility, the desiccant packets and lubrication steps become absolutely vital.
  • Breathable Covering: Cover the juicer with a heavy-duty, breathable canvas or cotton tarp to protect it from dust. Do not use tightly sealed plastic wrap or garbage bags. Plastic traps condensation against the cold metal, creating a greenhouse effect that accelerates rust.

Off-Season Maintenance Checklist

Use this quick checklist before locking up your facility for the winter:

  • [ ] Machine disconnected from power.
  • [ ] All bagasse and juice residue completely removed.
  • [ ] Machine dried completely (compressed air used on crevices).
  • [ ] Food-grade mineral oil applied to rollers.
  • [ ] Drive chains and gears re-greased.
  • [ ] Desiccant packets placed near the motor/electricals.
  • [ ] Machine elevated on a pallet.
  • [ ] Covered with a breathable canvas tarp.

Frequently Asked Questions (FAQs)

Can I use WD-40 to prevent rust on the rollers?

No. Standard WD-40 is not food-safe and leaves a toxic residue that is difficult to completely remove before the next season. Always use food-grade mineral oil or NSF H1 registered food-grade lubricants on any part of the machine that contacts the sugarcane.

How do I remove surface rust if it has already formed?

If you notice light surface rust, use a mixture of baking soda and water to form a paste, apply it to the affected area, and scrub with a non-abrasive nylon pad. For stubborn spots, a specialized food-safe stainless steel cleaner can be used. Never use bleach, as it causes pitting in stainless steel.

Should I turn the machine on periodically during the winter?

If the machine is stored in a clean, dry environment, it is not strictly necessary. However, briefly running the electric motor (for 30-60 seconds) once a month can help redistribute grease in the bearings and prevent flat spots, provided the machine is fully re-covered afterward.

Does freezing temperature damage the motor?

Electric motors themselves are generally resilient to freezing temperatures when not in use. The danger lies in the condensation that forms when temperatures rapidly shift from freezing to thawing. Proper use of desiccants mitigates this risk.

How do I prep the machine for use again in the spring?

Remove the breathable cover and desiccant packets. Perform a thorough hot-water wash with commercial detergent to remove the protective layer of mineral oil from the rollers. Run a few test stalks of sugarcane through the machine and discard the juice to ensure all residual oil is cleared before serving customers.

Need Reliable Equipment for Your Next Season?

Proper maintenance extends the life of your equipment, but starting with high-quality, precision-engineered machinery makes all the difference. If you are looking to upgrade your operations with durable, easy-to-maintain electric sugarcane juicers designed for commercial longevity, we can help. Request a quote / Get a sample today to learn more about our robust extraction solutions.