Commercial Bone Saw Machine Buying Checklist for Butchers

Table of Contents

A commercial bone saw should match the products you cut, daily workload, available space, cleaning routine, electrical supply, and service requirements. This checklist helps butchers compare machines on practical operating factors before purchase.

Quick answer: what to check before buying
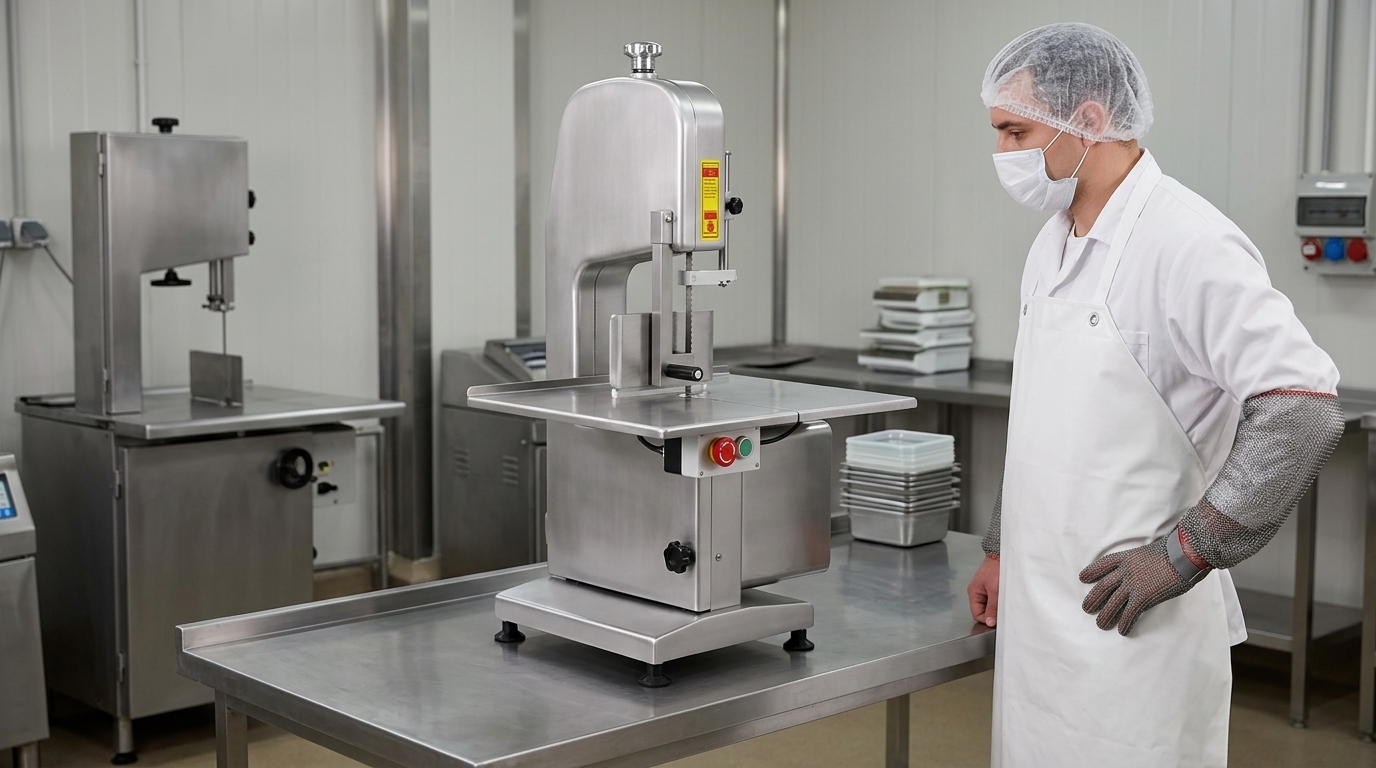
Commercial bone saw machine in a clean butcher preparation area

The right commercial bone saw machine is the one that safely handles your usual product size, temperature, and daily cutting volume without creating a difficult cleaning or service burden. Before comparing prices, confirm the meat and bone-in products you will cut, the largest product dimensions, the required bench or floor space, local electrical supply, blade availability, and the safety procedures your team can consistently follow.

For most butcher shops, meat counters, restaurants, and small processing rooms, the buying decision should be based on workflow rather than motor ratings alone. A machine may appear suitable on paper but still be a poor fit if its worktable is too small, its cutting clearance does not accept your typical cuts, or replacement blades are difficult to source.

Use this bone saw machine buying checklist to create a written specification before requesting quotations. Ask each supplier to confirm the supplied configuration, compatible blade dimensions, electrical requirements, cleaning instructions, available parts, and service process for your market.

What is a commercial bone saw machine?

A commercial bone saw machine, often called a meat band saw or butcher band saw, uses a continuous band blade to portion meat, bone-in cuts, poultry, fish, or frozen products. It is commonly used where consistent portions and clean, repeatable cuts are needed before retail display, further processing, or kitchen preparation.

It is not a general-purpose workshop saw. Food-contact construction, guarding, blade tensioning, worktable design, washable surfaces, and safe handling procedures are central to its intended use. The correct machine must also suit the condition of the product. Fresh bone-in meat, chilled poultry, and frozen blocks can behave very differently during cutting.

Operators should follow the machine manual, their local food hygiene requirements, and workplace safety rules. A bone saw is only one part of the process: receiving, chilled or frozen storage, preparation space, packaging, cleaning tools, and staff training all affect the result.

1. Start with your products and cutting workload
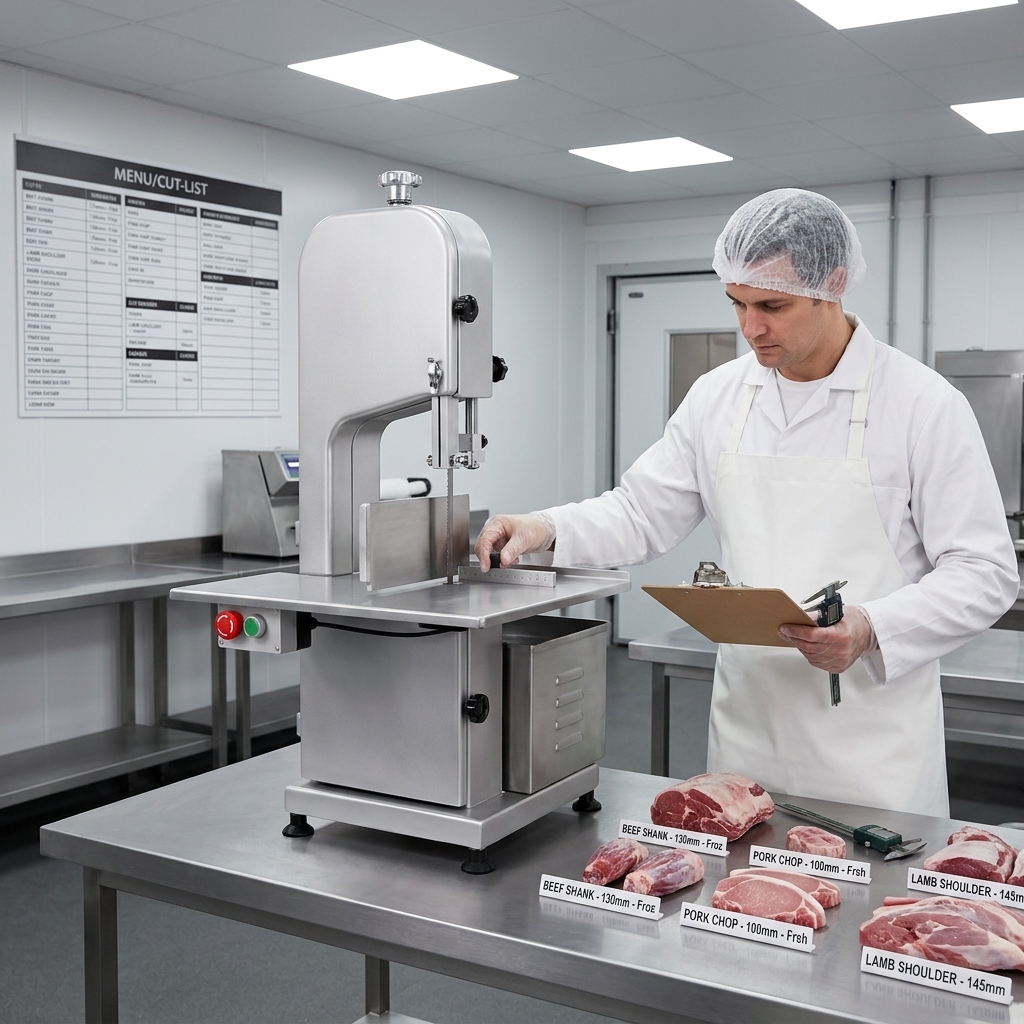
Butcher reviewing products before selecting a commercial bone saw

List what the machine will cut during a normal day, not only the occasional difficult item. Include product type, whether it is fresh, chilled, tempered, or frozen, typical dimensions, the heaviest pieces, and the desired finished portion. This information is more useful than a vague request for a “powerful” saw.

Questions to answer before selecting a machine

  • Which products will be cut: beef, pork, lamb, poultry, fish, ribs, shanks, chops, or frozen blocks?
  • Are products normally fresh or chilled, fully frozen, or partially tempered before cutting?
  • What are the maximum height and width of the products at the cutting station?
  • How many cutting sessions occur in a day, and how long does each session last?
  • Do you need repeated portions of a fixed thickness, or flexible one-off cuts?
  • Will the same machine be used by several operators across shifts?

Frozen material generally requires a more deliberate selection process because hardness, product shape, and blade tooth configuration affect cutting behaviour. Do not assume that a saw suitable for fresh bone-in products will be appropriate for every frozen item. Review the practical differences in this guide to choosing a bone saw for fresh versus frozen meat before finalising the intended application.

Be realistic about peak periods. A machine chosen for a few occasional cuts may not suit a busy counter preparing multiple product lines before service. Conversely, selecting a large machine for a compact operation can waste valuable space and complicate cleaning.

2. Choose tabletop or floor configuration
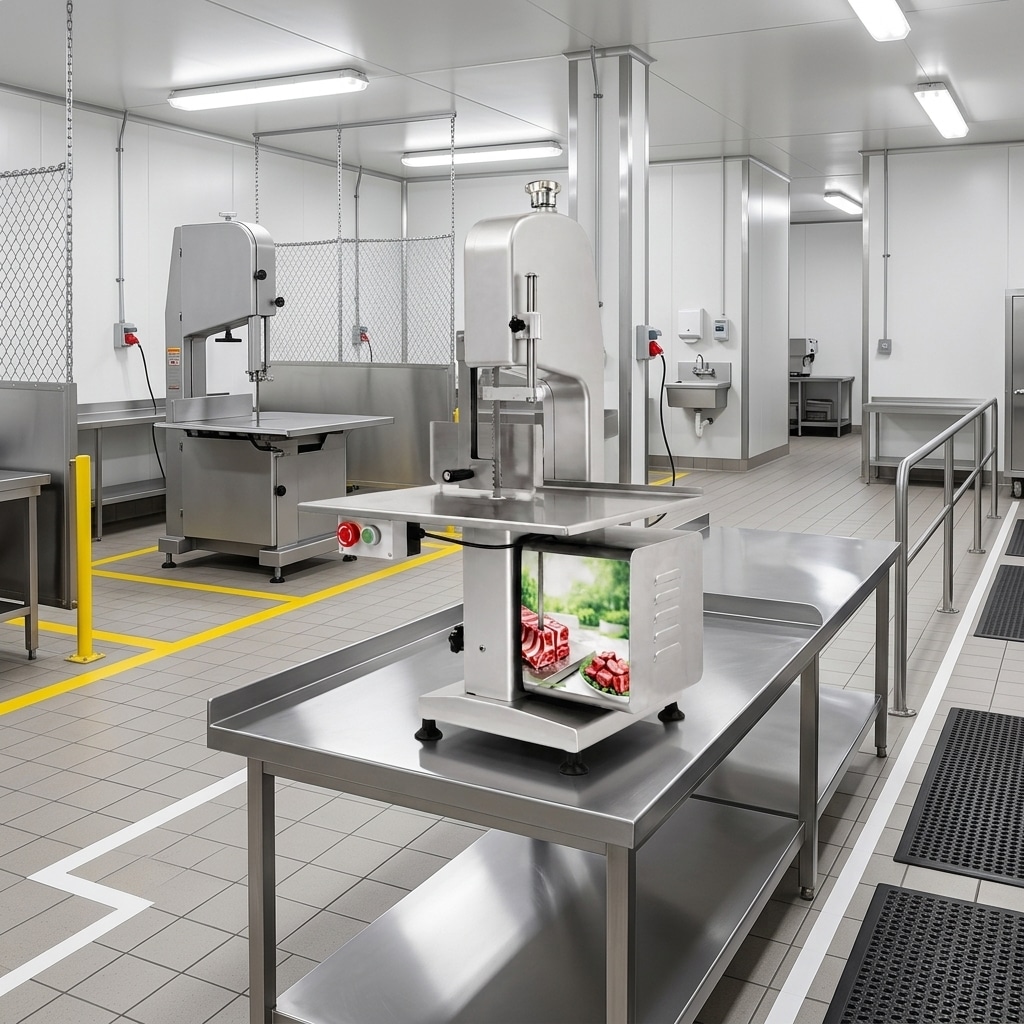
Tabletop and floor commercial bone saw configurations in a cutting room

The machine footprint should suit the cutting area, operator movement, product flow, and cleaning access. Tabletop machines can be practical where a stable, suitably sized workbench is available and cutting demand is moderate. Floor models may suit operations that need a dedicated cutting station, a larger working area, or more room to manage larger products.

Measure more than the installation footprint. Leave practical space for product infeed and discharge, packaging trays, cleaning access, and safe operator positioning. Consider where chilled or frozen product arrives, where it waits before cutting, and where finished portions move next. A saw placed in a narrow route can create congestion and increase handling risk.

The bench or floor must support the machine securely and remain stable in use. In wet food-processing areas, assess drainage, splash control, lighting, and the distance to a suitable handwashing and cleaning area. If the machine is expected to move for cleaning, check how that movement can be done safely.

For a more detailed layout comparison, see tabletop versus floor bone saw considerations for commercial operations. The best format is not automatically the largest one; it is the one that provides adequate product support and safe working space in your actual room.

3. Check cutting clearance and worktable support

Cutting clearance is the usable space available for the product around the blade and under the upper guide assembly. It must accommodate the largest items you plan to cut with enough room to position them safely. Do not estimate this from product photographs or overall machine dimensions; request the manufacturer’s stated usable cutting dimensions for the exact model.

The worktable should give the operator stable support while keeping the product under control. Review the fence or thickness guide if uniform portions are important. It should be straightforward to set, easy to clean, and secure during use. Also consider whether the product can be supported without operators placing hands close to the blade path.

Bring a dimensioned product list to the supplier discussion. Include items such as large bone-in joints, long rib sections, poultry frames, or frozen blocks that may be awkward to manoeuvre. If products are received in cartons or bags, make sure the material is removed and the product is properly prepared according to your process before it reaches the saw.

A good specification states the maximum product envelope, the typical cut thickness range required by the business, and the need for a suitable guide or fence. It should not rely on assumptions such as “standard butcher cuts.”

4. Confirm blade compatibility and cutting setup
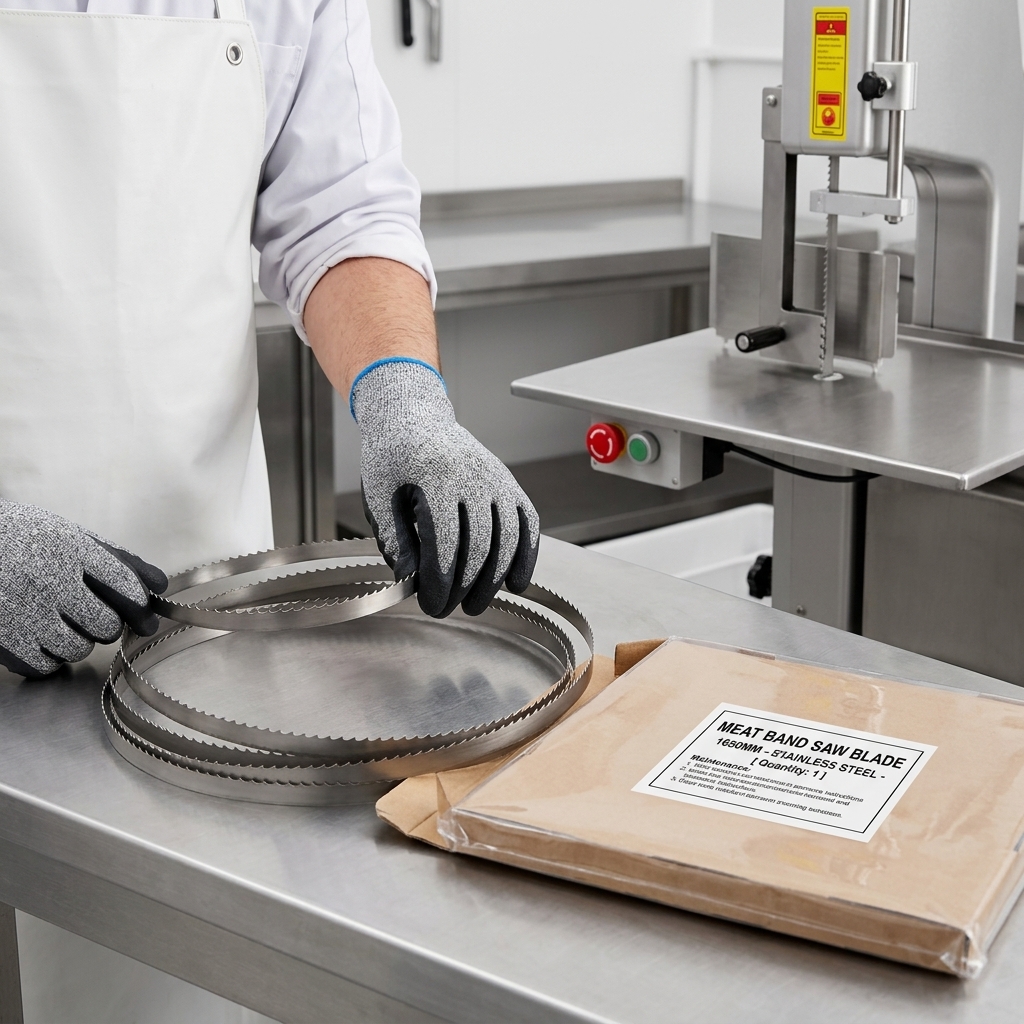
Inspection of a replacement blade for a commercial meat band saw

The blade is a consumable working component, not an afterthought. Before purchase, confirm the required blade length, width, tooth pitch, material specification, and approved replacement options for the model being considered. Keep these details with the machine records so that the team does not order an incompatible blade later.

Blade selection should reflect product hardness and the type of cut. A tooth pattern that works well for one application may not be the best choice for another. Rather than selecting by appearance alone, discuss the product list with the supplier and follow the machine manufacturer’s guidance. This commercial meat band saw blade selection guide explains why blade dimensions and tooth pitch should be matched to the saw and application.

Ask how blade tension is set and checked, how guides are adjusted, and which components should be inspected before each shift. Poorly fitted, worn, or incorrectly tensioned blades can affect cut quality and may create avoidable operational risk. Operators should never attempt improvised substitutions or adjustments beyond the manufacturer’s instructions.

Plan a controlled blade inventory. Keep the correct replacement blades in clean, protected storage; label them by model and specification; and establish a documented process for changing and disposing of blades. Your local procedures should address safe handling of sharp components and food-area hygiene.

5. Assess safety, cleaning, and sanitation

A commercial bone saw should be selected with safe daily use and complete cleaning in mind. Examine the blade guard arrangement, upper and lower blade coverage, product guide, emergency stopping method, non-slip footing or stable mounting, and access to areas that need routine cleaning. The safety features must be used correctly; they do not replace training, supervision, and a documented safe operating procedure.

Ask the supplier to explain the normal shutdown, isolation, disassembly, cleaning, rinsing, sanitising where required by your procedure, drying, reassembly, and pre-use inspection steps. Avoid equipment that cannot be practically cleaned within the time and staffing available. Areas around blade guides, wheels, doors, worktables, and product guides deserve particular attention because residue can build up during service.

Operators should be trained to use the pusher or product-handling tool supplied or specified for the machine, keep hands away from the blade path, avoid loose clothing and jewellery, and stop work if guards, blades, or controls are not in proper condition. Cleaning and blade changes should only be performed after the machine has been stopped and isolated according to the manual and site procedure.

Use essential commercial bone saw safety and maintenance protocols as a starting point for building your routine. Your site plan should also comply with local occupational safety and food hygiene obligations.

6. Confirm power and installation requirements

Confirm the electrical requirements for the exact machine and destination market before ordering. Check the rating plate specification or formal supplier documentation for voltage, frequency, phase, plug arrangement, and any local installation requirements. Never assume that an available outlet is suitable because the plug appears similar.

Share the site electrical details with the supplier early. If a qualified electrician is required to prepare the circuit, arrange that work before delivery. The electrical connection, protective device, grounding arrangements, and any local inspection requirements should be handled in accordance with applicable regulations and by qualified personnel where required.

Also plan the physical delivery route. Measure doorways, corridors, lifts, ramps, and the final installation point. Confirm whether the machine is shipped assembled, what must be fitted on site, and who is responsible for commissioning. Installation should include a stability check, verification of guards and controls, and operator familiarisation before production begins.

7. Review service, spare parts, and total ownership

The purchase price is only one part of ownership. A practical commercial bone saw program includes replacement blades, routine inspection, cleaning supplies, operator training, planned maintenance, and a clear route for obtaining parts or technical support.

Ask the supplier which wear items are expected to need routine attention, how spare parts are identified, how technical questions are handled, and whether manuals are supplied in a language suitable for your operators. Request a parts list or exploded diagram where available. Keep machine serial number, model information, blade specification, purchase documents, and maintenance records together.

For distributors, multi-site operators, and private-label buyers, discuss packaging, documentation, market-specific electrical configuration, branding, and after-sales responsibilities before placing an order. A clear agreement is more valuable than assumptions about what support is included.

Finally, assess the supplier’s responsiveness during the quotation stage. If product questions about configuration, product fit, or support cannot be answered clearly before purchase, that may indicate difficulty after commissioning. Select a partner that can help you define a machine specification appropriate to your process rather than simply offering a generic model.

Final pre-purchase checklist

Use the following checklist before approving a commercial bone saw machine purchase:

  • Documented list of products, temperature condition, and maximum dimensions.
  • Expected daily and peak cutting workflow defined.
  • Tabletop or floor configuration selected for the actual layout.
  • Usable cutting clearance confirmed in writing for the exact model.
  • Worktable, fence, and product support assessed for your portions.
  • Correct blade dimensions and application-appropriate tooth configuration confirmed.
  • Replacement blade source and controlled storage plan established.
  • Guarding, product-handling method, emergency stop, and safety procedures reviewed.
  • Cleaning access and end-of-shift sanitation routine evaluated.
  • Voltage, frequency, phase, plug, and installation requirements confirmed.
  • Delivery route, final placement, and commissioning responsibilities checked.
  • Manuals, parts information, maintenance guidance, and support route confirmed.

A complete checklist reduces the chance of buying a machine that is too small, poorly matched to frozen products, difficult to clean, or unsupported in your operating market. Keep the completed document with your purchasing records and use it to compare quotations on the same basis.
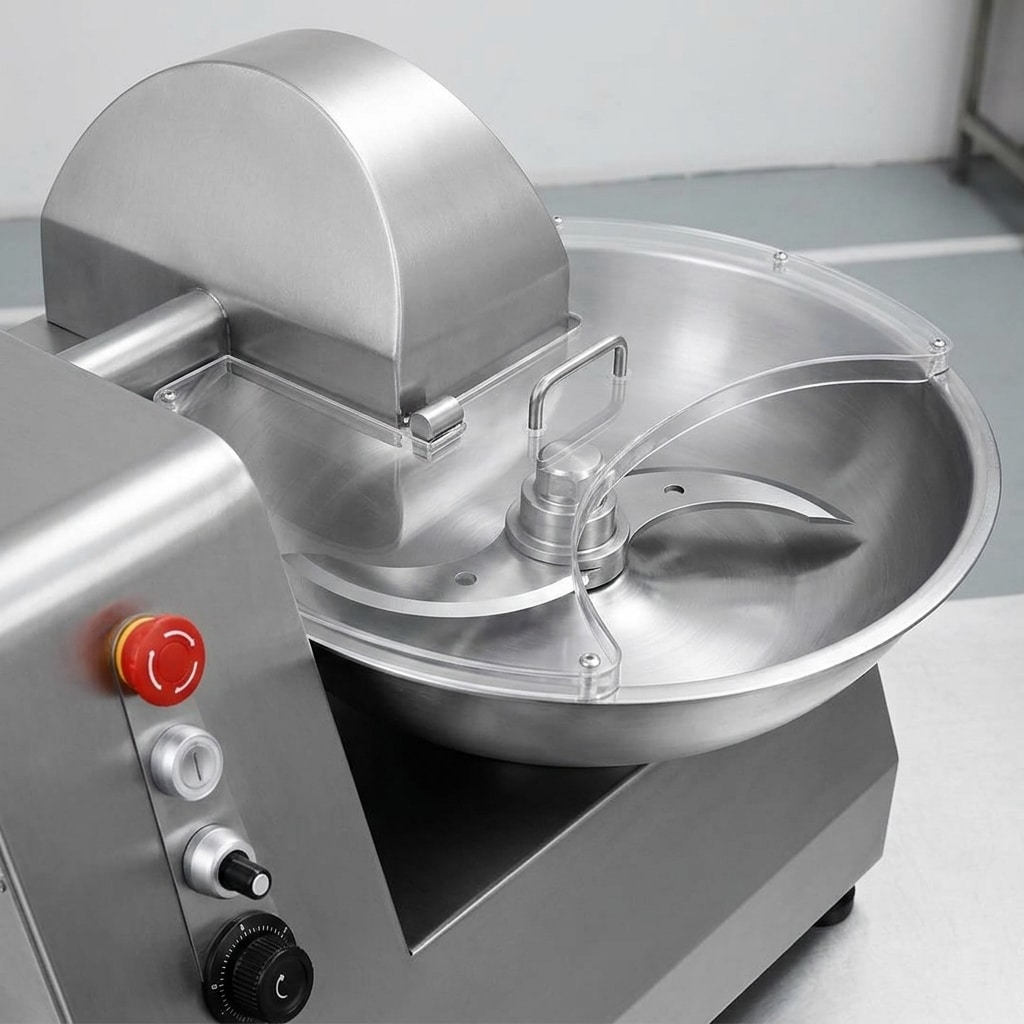
How to Use a Bowl Cutter for Sausage Meat Preparation

Table of Contents

A bowl cutter can produce a consistent sausage meat mix when operators prepare chilled ingredients, follow a controlled loading sequence, monitor texture and temperature, and clean the machine thoroughly after use.

Quick answer: using a bowl cutter for sausage meat

To use a bowl cutter for sausage meat, begin with properly chilled, trimmed meat and measured ingredients. Load the lean meat first, cut it to the required particle size, then add salt and recipe-approved functional ingredients at the correct stage. Add fat, ice or chilled water, seasoning and other inclusions in a controlled sequence while watching the meat texture and temperature. Stop when the batch reaches the recipe standard, discharge it promptly, and clean and sanitise the machine before the next production run.

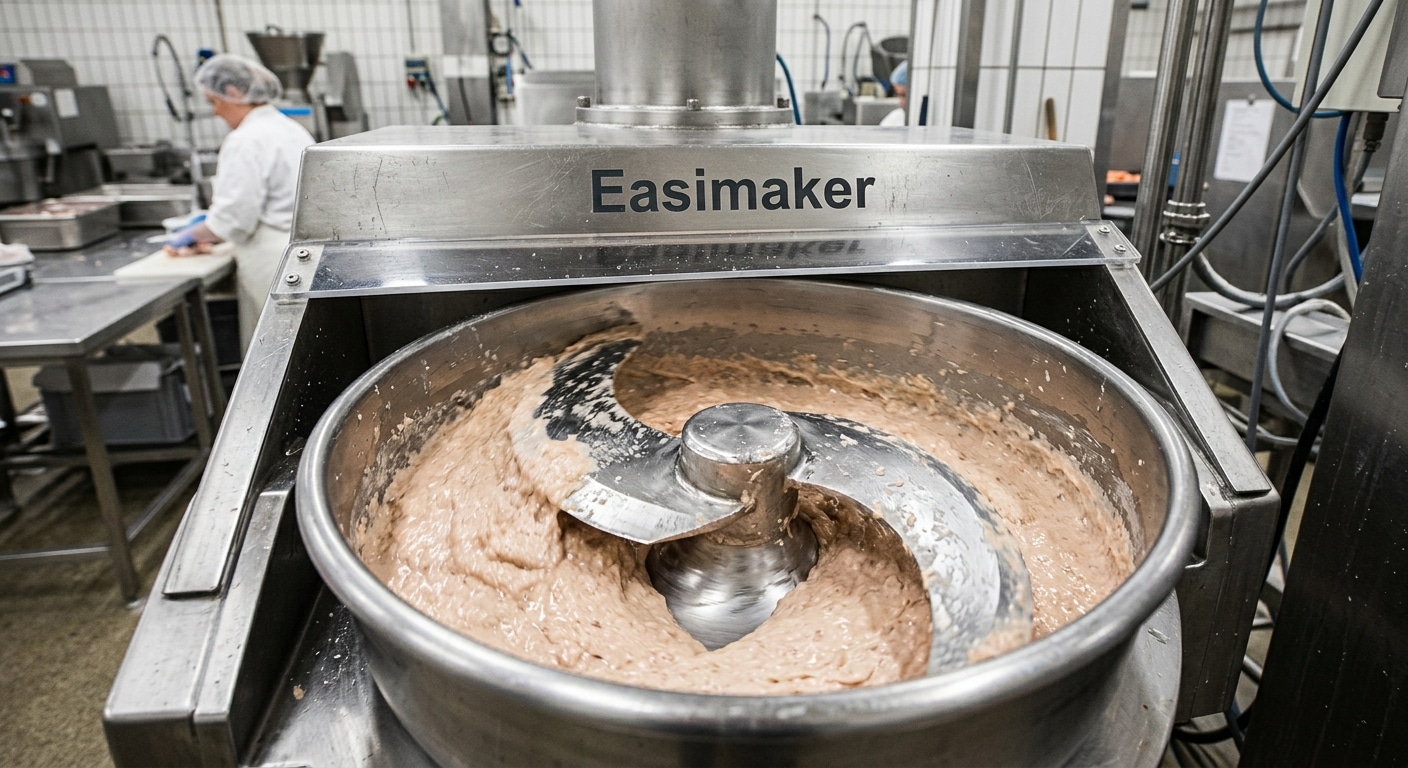
A bowl cutter is not simply a machine for making meat smaller. Its rotating bowl and high-speed knife set can chop, mix and, where the formula and process require it, help create a fine sausage batter. Good results depend on raw material temperature, ingredient order, knife condition, batch size, operator attention and a documented food-safety process. Always follow the machine manual, your validated recipe, and applicable local hygiene requirements.

What a bowl cutter does in sausage production

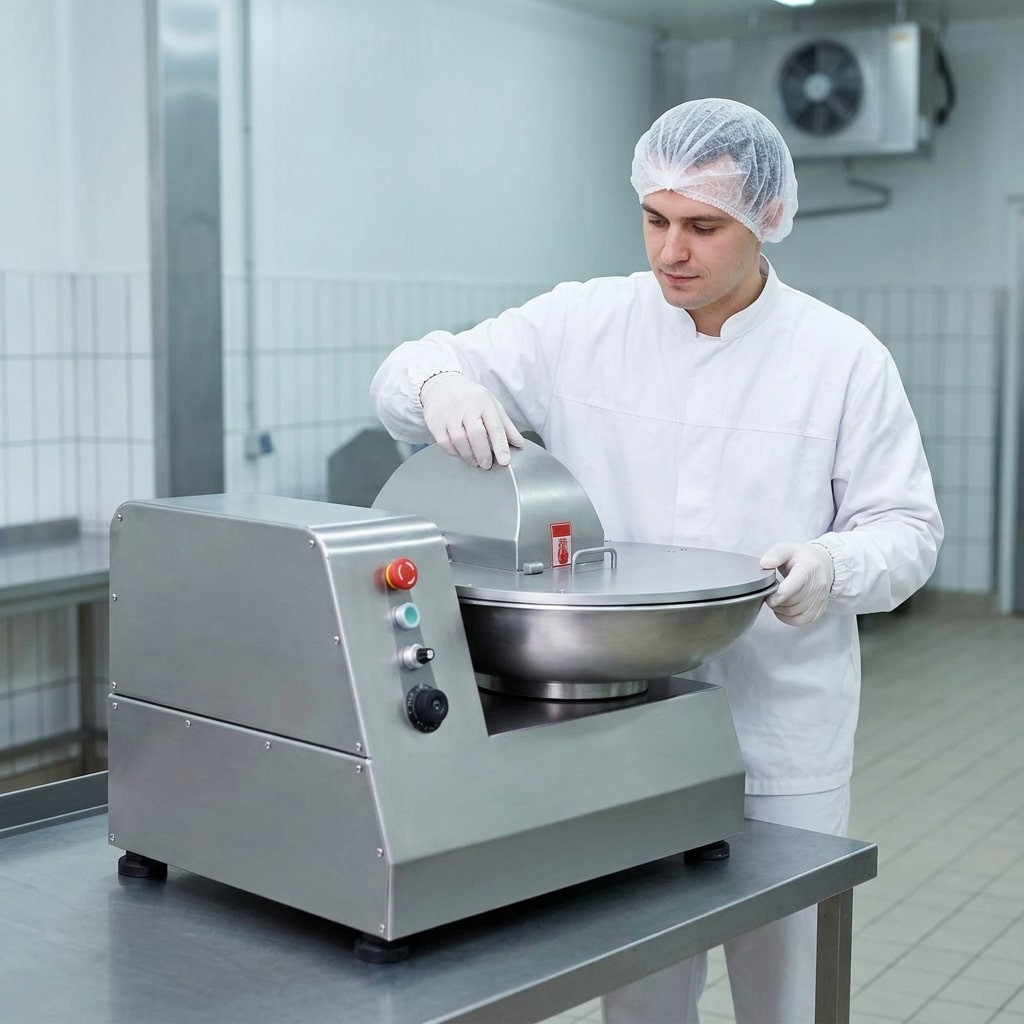
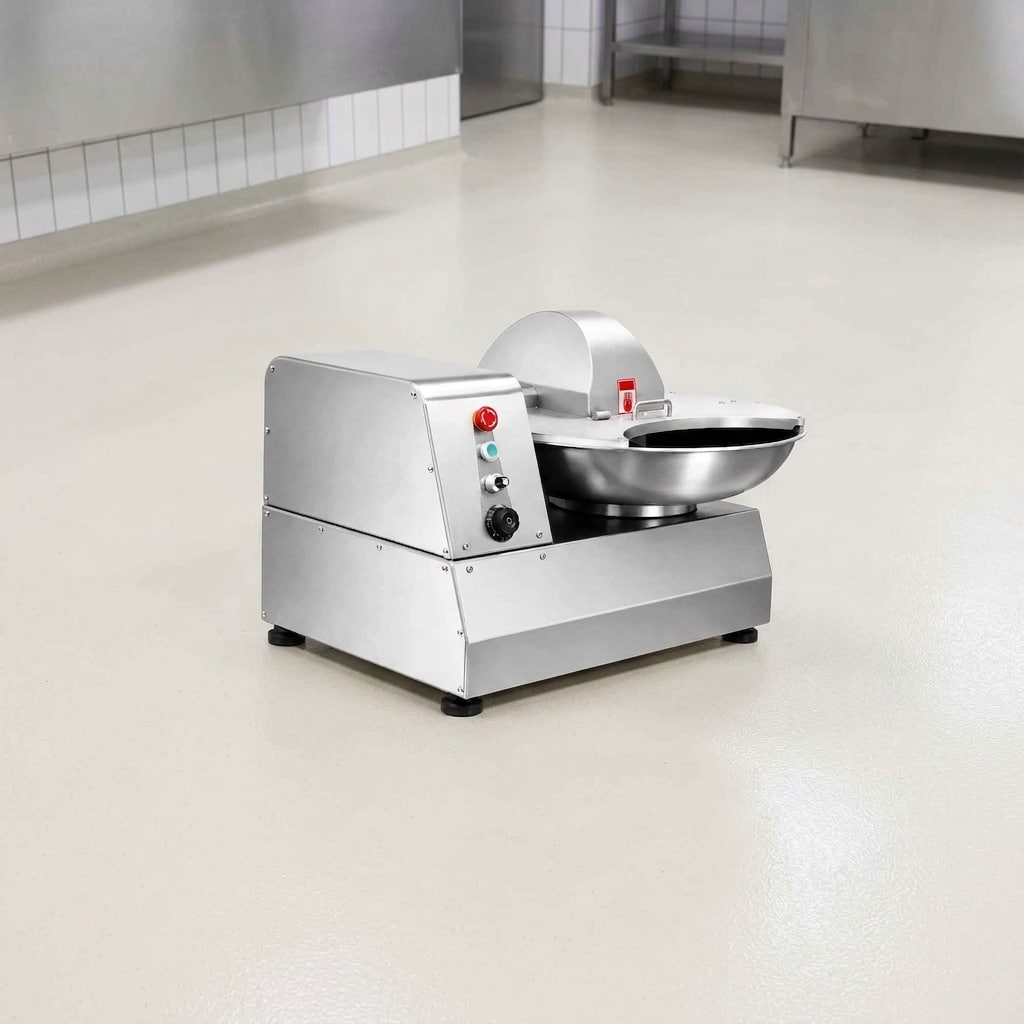
Key components of a commercial bowl cutter for sausage meat

A commercial bowl cutter, also called a meat bowl chopper, uses a rotating bowl to carry ingredients past a set of curved knives. Depending on the equipment design and operating settings, the knives chop the meat while the bowl movement continually presents fresh material to the knife area. This action combines size reduction and mixing in one controlled operation.

For sausage production, the machine may be used for coarse chopped mixes, medium-fine fillings or finely cut batters. The correct endpoint is determined by the product specification rather than by a single universal cutting time. A rustic fresh sausage, for example, normally needs visible meat and fat definition. A finer sausage formulation may require more cutting and a more uniform bind. The same machine can support different products only when the recipe, ingredient preparation and operating routine are adjusted accordingly.

The bowl cutter generally follows trimming, portioning and any needed pre-cutting steps. When operations need to turn large raw pieces into manageable pieces first, the cutting method should suit the condition of the meat. Our guide to choosing a bone saw for fresh and frozen meat explains why product condition matters during upstream cutting. Do not use a bowl cutter as a substitute for safely reducing oversized or bone-in material.

Compared with hand chopping or a basic mixer, a bowl cutter gives the operator more direct control over particle reduction. However, it also introduces heat through mechanical work. That is why chilled raw materials, short controlled cutting periods and temperature checks are central to sausage meat preparation.

Prepare ingredients and the production plan

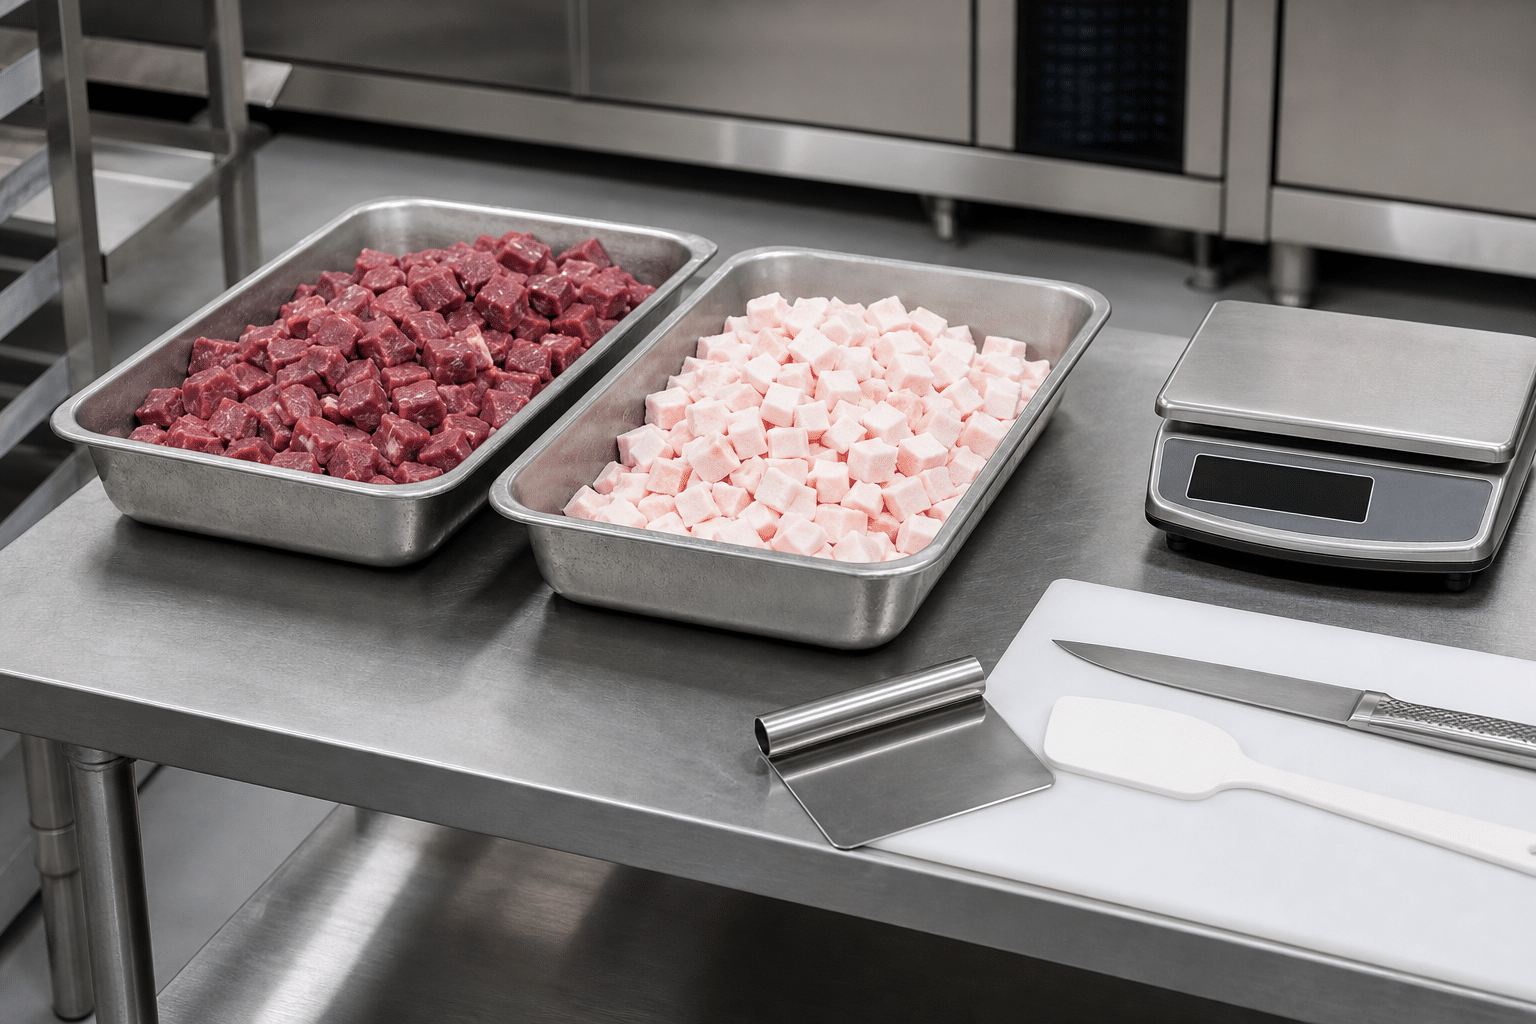
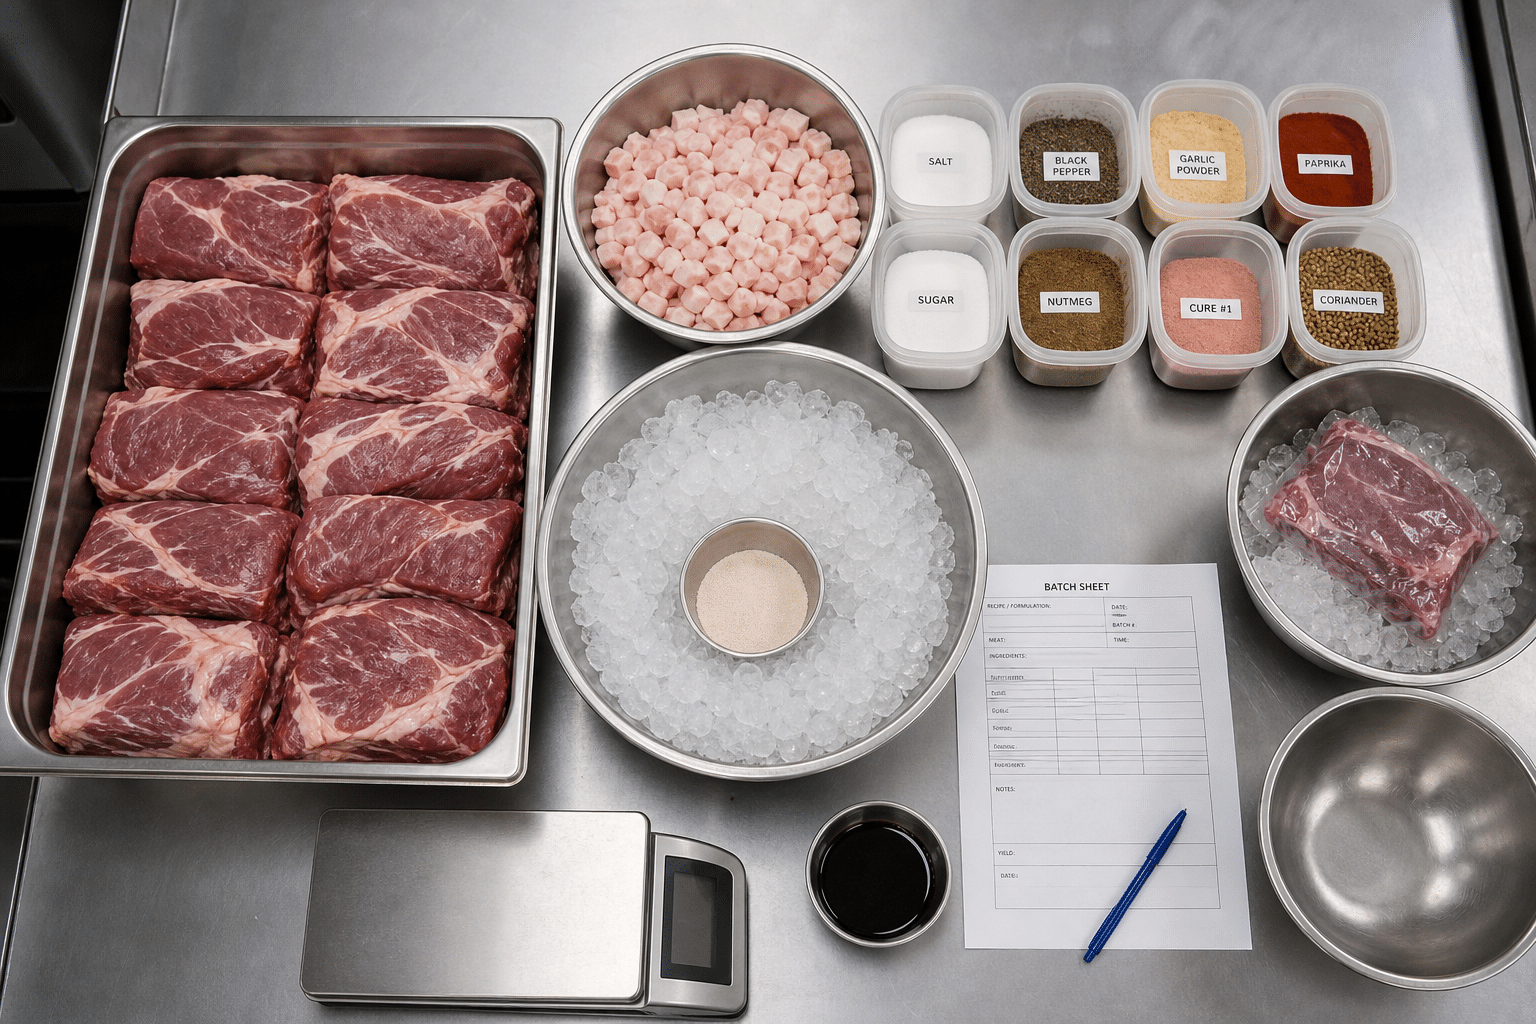
Chilled meat, fat, spices and ice staged for sausage meat preparation

Consistent sausage meat starts before the bowl turns. Prepare each batch from a written formulation and a clear process sheet. Record the intended batch size, meat and fat proportions, ingredient weights, loading order, target texture, temperature-control method, cut time or cutter setting, and the checks your site requires. A repeatable plan makes it easier to train operators and identify the cause if a batch differs from the standard.

Use suitable raw material condition

Meat and fat should be cleanly trimmed and chilled according to your food-safety plan and recipe. Material that is too warm can soften quickly during cutting and make temperature control difficult. Material that is excessively hard or frozen solid may not circulate and cut as intended, and can place unnecessary stress on the process. Cut meat and fat into pieces that can enter the bowl safely and move freely around it. Never force material into the knife zone.

Weigh every ingredient before starting

Pre-weigh salt, spices, curing ingredients where permitted and specified, ice or chilled water, and any non-meat ingredients. Verify labels and lot information according to your traceability procedure. Keeping ingredients ready before cutting reduces unnecessary delays with an open batch in the bowl. It also prevents an operator from adding an ingredient late because it was not prepared.

Separate ingredients by their purpose

It is useful to group ingredients into lean meat, fat, dry ingredients, liquid or ice, and visible inclusions such as herbs, vegetables or cheese where used. This does not mean every formula uses the same order. It means the operator can follow the specific recipe deliberately. In many processes, salt is added early enough to support the intended meat bind, while delicate inclusions are added later to avoid over-cutting. Use your product development and food-safety documentation to define the actual sequence.

For operations planning a larger preparation area, our article on commercial bowl cutters for high-volume food preparation outlines workflow considerations beyond the cutting step itself.

Inspect and set up the machine

Pre-operation safety inspection of a commercial bowl cutter

Perform a pre-operation inspection at the start of each shift and after any cleaning or knife change. Isolate power before reaching into the bowl or handling knives. Confirm that the bowl, knives, knife head, lid or cover, scraper and other removable parts are correctly fitted in accordance with the manufacturer instructions. Verify that guards and interlocks are present, undamaged and operational. Never bypass a safety device to save time.

Inspect knife edges for nicks, cracks, looseness or excessive wear. Dull knives can tear rather than cleanly cut the meat, prolong the operation and make it harder to achieve a consistent texture. Do not sharpen, adjust or replace knives unless the task is authorised and the correct safe procedure is available. A trained service technician or designated maintenance person should handle work outside normal operator checks.

Check that the bowl is empty and clean, the drainage and discharge area are clear, and the receiving container is ready. Select the operating mode or speed only after consulting the recipe and the machine manual. Names and available settings differ between bowl cutter models, so do not rely on a setting number from another machine. Before production, make sure the team understands the emergency stop location and keeps hands, utensils, gloves and loose clothing away from moving parts.

If your operation also cuts meat blocks or bone-in products upstream, apply separate equipment-specific procedures. The principles in these commercial bone saw safety and maintenance protocols are useful for maintaining a disciplined, guarded workflow around cutting equipment.

Step-by-step bowl cutter operating sequence

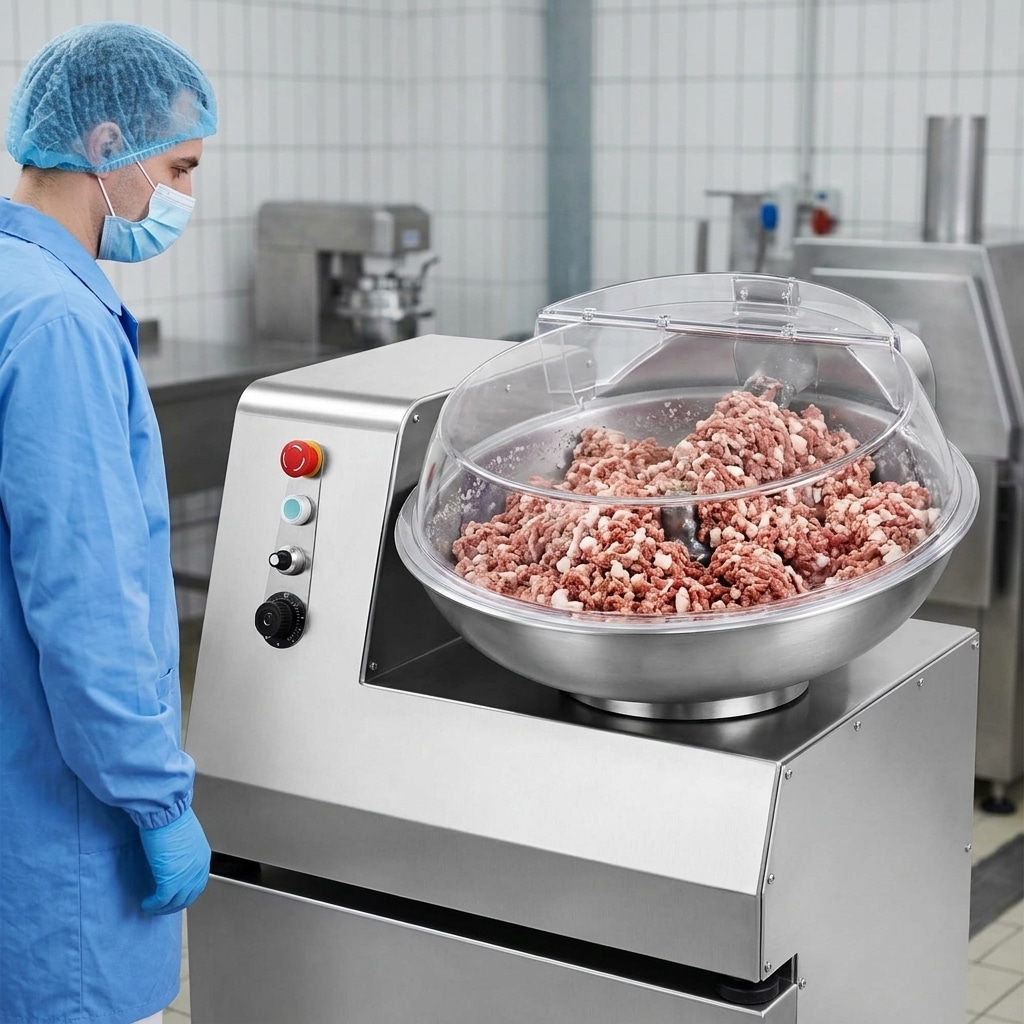
Sausage meat mixing in a commercial bowl cutter with safety cover closed

The following sequence is a practical operating framework, not a replacement for a validated formula or the manufacturer manual. Exact speeds, times and additions vary by sausage type, cutter design and raw material condition.

  1. Start with the prepared lean meat. Load only the batch quantity that the machine and recipe are designed to handle. Overfilling restricts circulation and can create uneven cutting. Begin at the appropriate setting and allow the meat to distribute around the bowl before judging the cut.
  2. Reduce the lean to the first required texture. Watch the product through the approved viewing area or by safely stopping and checking as your procedure permits. For a coarse product, this stage may be brief. For a finer product, it may continue until the lean has the specified particle size or develops the required cohesive character.
  3. Add salt and recipe-specified functional ingredients at the planned stage. Addition order matters because salt and certain ingredients affect the way meat binds and retains the intended texture. Add ingredients evenly rather than dropping a large quantity into one spot. Follow the approved formulation exactly, particularly for curing ingredients or allergens.
  4. Add chilled liquid or ice gradually where the recipe calls for it. This helps distribute the liquid and supports temperature control. Do not assume all formulas need the same quantity or form of added liquid. Additions should be measured, not estimated during production.
  5. Add fat at the product-specific point. Some sausages require distinct fat particles; others require a finer dispersion. Add the fat early or late only as the recipe specifies. Continue cutting only until the desired appearance and feel are achieved, because extended knife action can change the particle definition.
  6. Add spices and fragile inclusions with care. Dry seasoning needs adequate mixing, while visible ingredients may need a short, gentle final mixing stage to remain recognisable. Check distribution without exposing hands to the machine. If a manual inspection is needed, stop, isolate and follow the site’s safe access procedure.
  7. Verify the endpoint before discharge. Confirm the visual texture, distribution of fat and seasoning, product temperature and any other recipe controls. A correctly mixed batch should not be judged by time alone; raw material variation can change the required cutting period.

Operators should avoid repeatedly stopping and restarting simply to compensate for poor preparation. If material is not circulating, stop safely and investigate the cause. Possible reasons include an unsuitable batch size, pieces that are too large, raw material that is too hard, an incorrect ingredient sequence or a mechanical issue. Correct the underlying problem rather than reaching into an operating machine or extending the cut without control.

Control texture, temperature and batch consistency

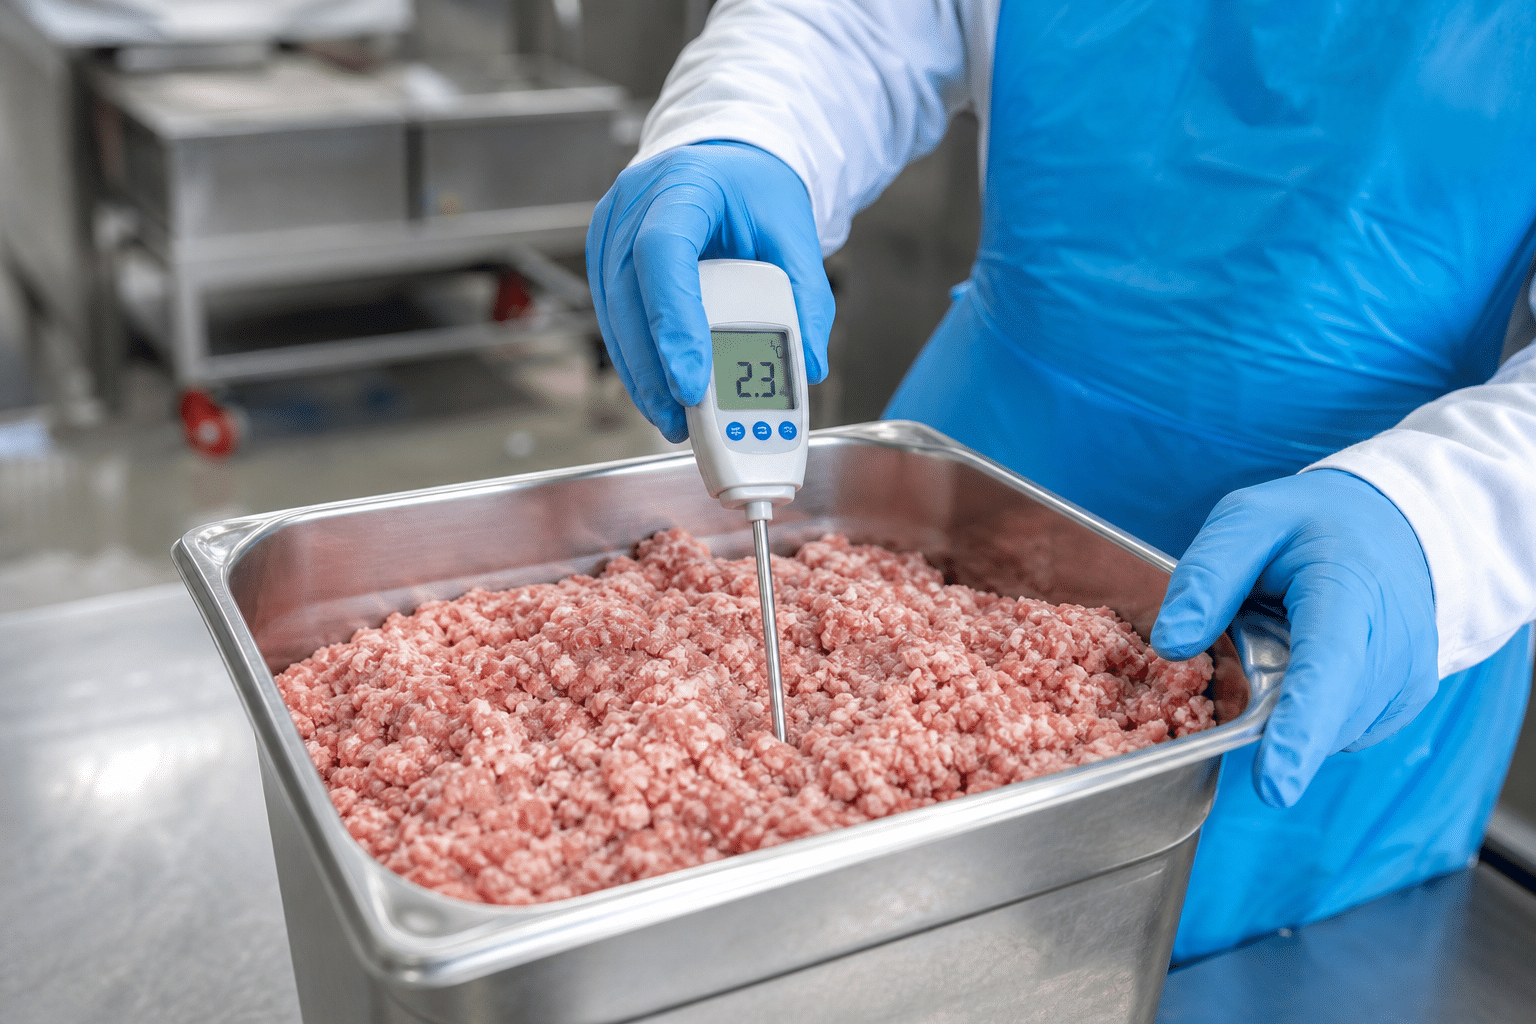
Temperature control is one of the most important practical disciplines when using a bowl cutter for sausage meat. Fast knife action creates mechanical heat, and the batch can warm further if raw material is warm, knives are dull, the batch is overworked or the operator pauses too long between additions. The acceptable product temperature must be defined by your formulation, hazard analysis, local regulations and downstream process. Use a clean, calibrated probe and record checks as required by your production system.

Texture should be assessed against a written product standard. For a coarse sausage, check whether meat and fat pieces remain at the intended size and are evenly distributed. For a finer mixture, look for a uniform cut and the required degree of cohesion, without continuing so long that the batch loses the desired structure. Colour, surface appearance and the way the mix holds together can be useful observations, but they should support—not replace—defined process controls.

Batch consistency is improved by standardising the parts operators can control: incoming material condition, pre-cut piece size, batch weight, ingredient temperature, knife condition, loading order, settings and final checks. Keep a simple batch record. If a formula changes, document the change rather than allowing informal adjustments to become the new routine.

When raw materials require preparatory cutting, knife and blade condition upstream can also affect the workflow. This meat band saw blade selection guide covers the importance of matching a blade to the product and machine requirements.

Discharge, clean and prepare for the next batch

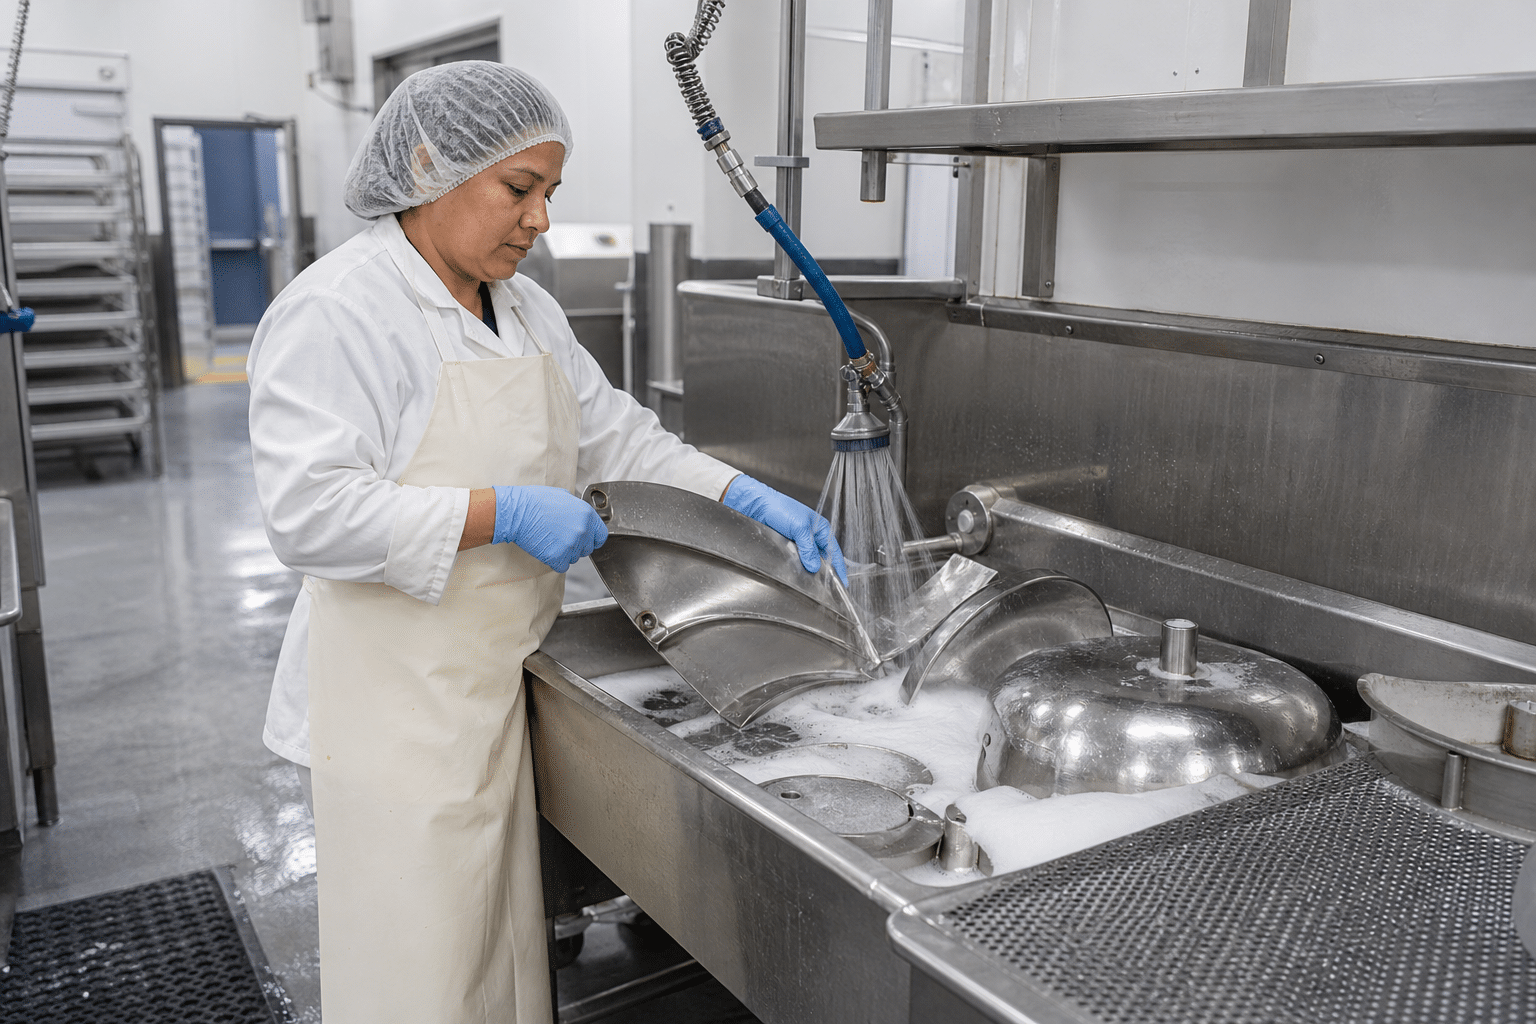
Cleaning food-contact components after bowl cutter sausage meat preparation

Once the batch meets the recipe standard, discharge it promptly into clean, suitable containers and move it to the next controlled production stage. Avoid leaving finished sausage meat in the bowl while preparing the next task. Cover, identify and hold the product in line with your site procedure, especially where multiple recipes, allergens or curing steps are involved.

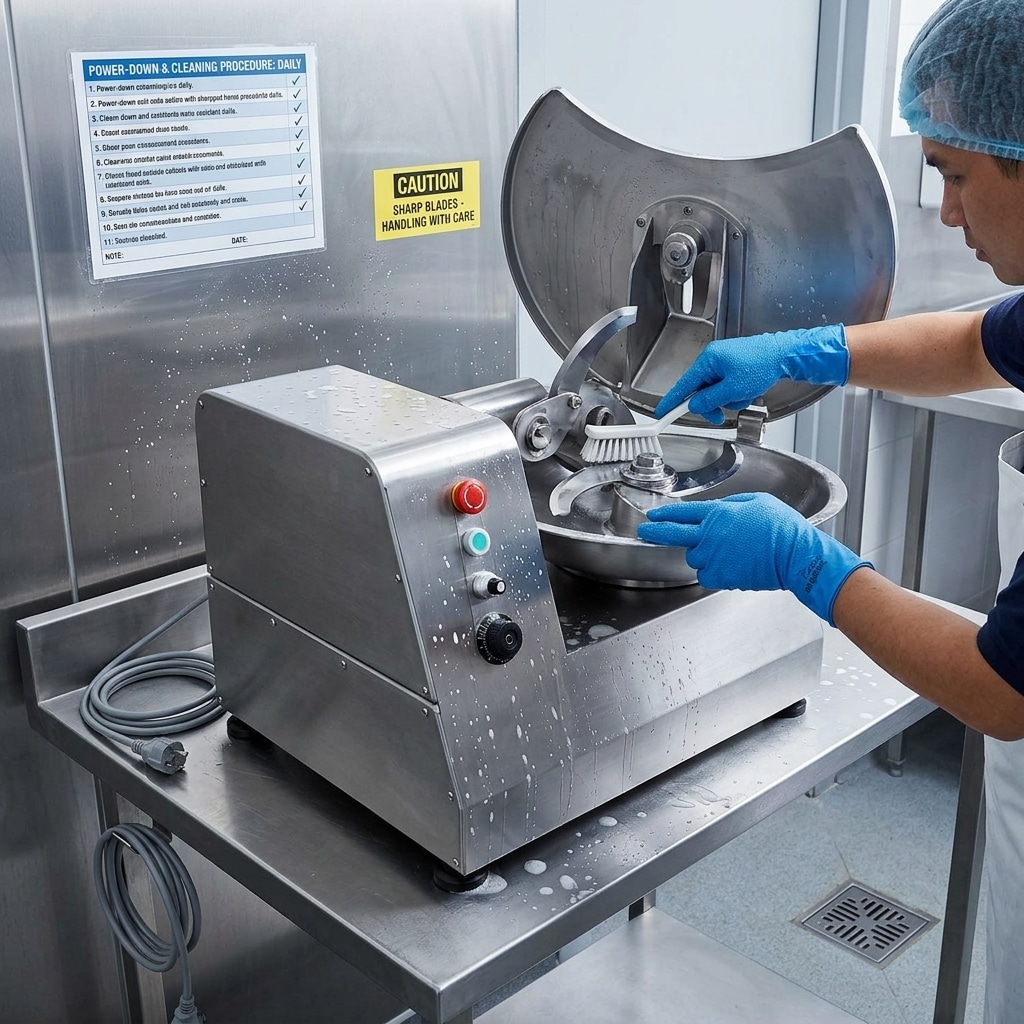
After production, switch off and isolate the bowl cutter before cleaning. Remove product residue with tools approved for the machine; do not use hands near knife edges. Disassemble only the components that the manufacturer specifies for operator cleaning. Wash, rinse and sanitise food-contact parts using chemicals at the correct concentration and contact time for your sanitation programme. Allow parts to dry as required, then reassemble and inspect the machine before the next use.

Pay close attention to knife hubs, covers, bowl edges, scrapers, seals and discharge areas where residue can remain. Cleaning is not complete because surfaces look clean; your business should verify sanitation using the methods defined in its hygiene programme. Keep cleaning records, report damaged seals or guards, and schedule professional service when abnormal vibration, noise, poor cutting quality or control faults occur.

Common bowl cutter problems during sausage preparation

The mix is uneven

Uneven meat, fat or seasoning distribution can result from overloading, inconsistent pre-cut pieces, unsuitable ingredient order or insufficient circulation. Check the actual batch weight against the machine’s intended working range and review the staging procedure. Do not solve unevenness by automatically extending the cutting time, as this may change the product texture or temperature.

The sausage meat becomes too warm

Review the temperature of meat, fat and added liquid before loading. Also check whether knife wear, a long processing time, a delayed addition sequence or a poorly planned batch size is contributing. Hold the batch and follow your food-safety corrective-action procedure if it does not meet the defined control limit. Do not release product based only on appearance.

Fat particles are smeared or no longer distinct

This commonly indicates that the process needs review for raw material condition, cutting intensity, ingredient sequence or the specified endpoint. Confirm that the fat was prepared to the recipe requirement and that the operator did not continue cutting after the target texture was reached. A coarse sausage and a finely cut sausage should not be handled with the same visual standard.

The cutter vibrates, sounds unusual or cuts poorly

Stop the machine safely, isolate it and report the issue. Possible causes can include knife damage, incorrect fitting, worn components or another mechanical fault. Operators should not attempt unauthorised adjustment while the equipment is energised. Returning the machine to service should follow the manufacturer’s maintenance guidance and your site’s authorisation process.

Where a bowl cutter fits in a sausage preparation line

A bowl cutter is a practical choice for sausage producers, butcheries, central kitchens and food manufacturers that need controlled chopping and mixing in a compact process step. It is particularly useful when one operation prepares more than one sausage style and needs to manage coarse and fine textures with a documented process. The right equipment choice depends on the planned batch size, product range, raw material preparation method, available floor space, power supply, cleaning access, operator skill and expected daily workflow.

Before selecting a machine or setting up a production routine, map the complete flow: chilled receiving, trimming, pre-cutting, ingredient staging, bowl cutting, filling or forming, packaging, cold holding and cleaning. A machine that suits the cutting step but creates a bottleneck at discharge, filling or washdown may not suit the overall operation. Discussing the product range and actual workflow with an equipment supplier helps identify the information needed for a suitable recommendation.

The most reliable approach is simple: keep ingredients cold, work from an approved recipe, use only safely prepared raw material, control the cutting endpoint, record critical checks and clean thoroughly. These habits make a bowl cutter a more predictable part of daily sausage meat preparation.

How to Make Consistent Meat Texture With a Bowl Cutter

Table of Contents

Consistent meat texture comes from controlling raw-material preparation, batch size, knife action, processing time, temperature, and ingredient order. This practical guide explains how commercial operators can use a bowl cutter to produce repeatable coarse, medium, or fine meat mixes.

The Short Answer: Control the Process, Not Only the Machine

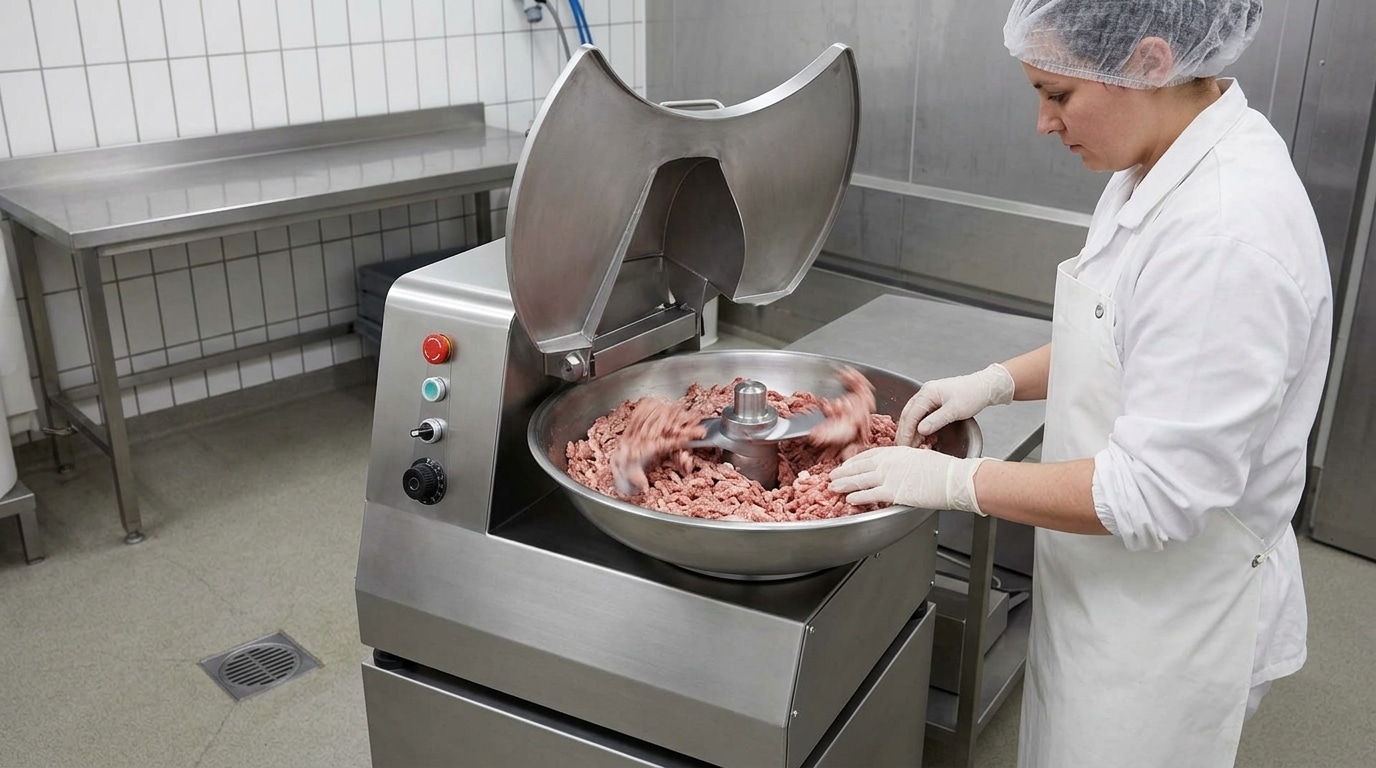
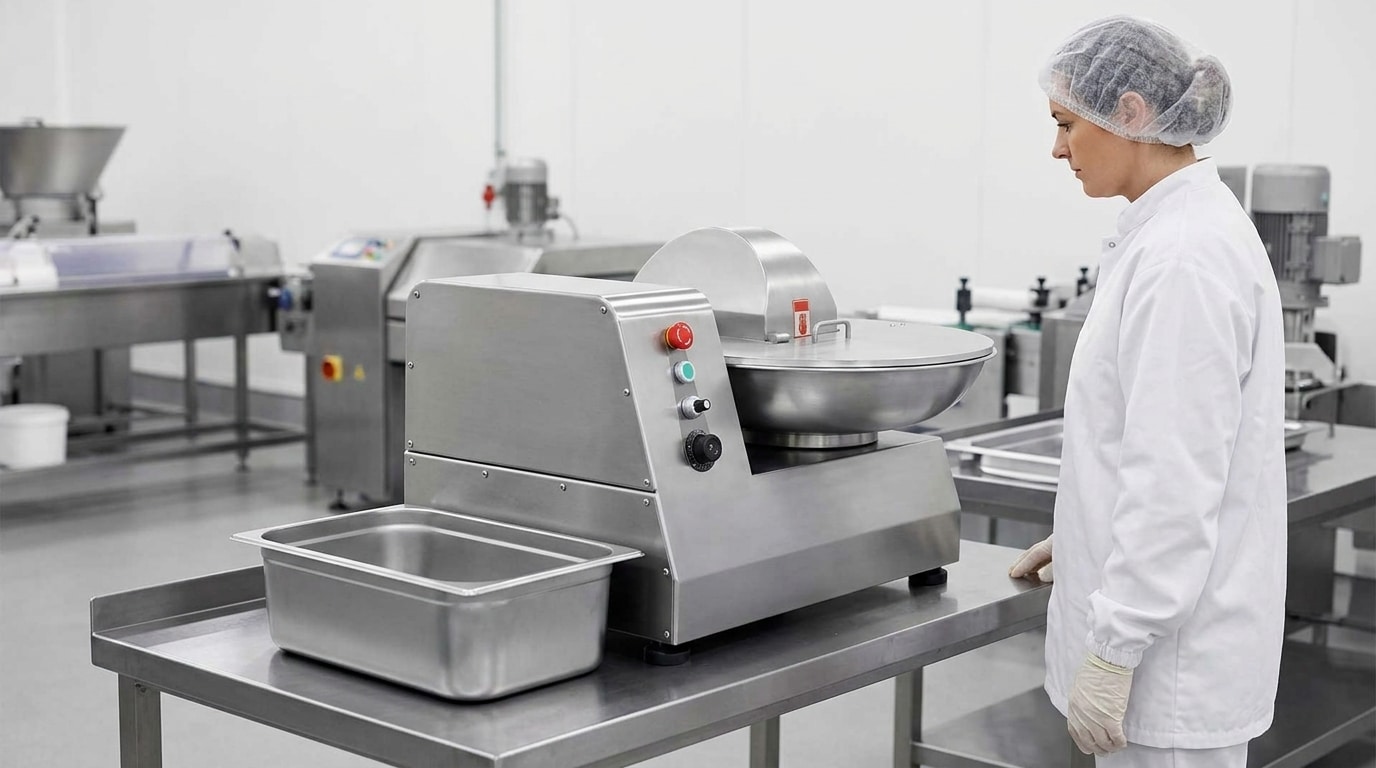
Commercial bowl cutter used for controlled meat processing in a clean production area

To use a bowl cutter for meat consistently, start with uniformly prepared cold meat, run a repeatable batch size, add ingredients in a fixed sequence, and stop at the same visual and temperature endpoint for every batch. Knife speed, bowl speed, processing time, meat temperature, fat distribution, and knife condition all affect the final texture.

A bowl cutter can produce a coarse chopped mix, a defined medium grind, or a fine meat paste depending on the recipe and process. The machine alone does not determine the result. Operators need a written method that specifies raw-material size, starting temperature, loading order, cutting stages, and the acceptable final appearance. This is especially important for products such as sausages, meatballs, patties, formed products, fillings, and seasoned minced-meat preparations.

Before introducing a bowl cutter into a larger production flow, review how trimming, portioning, and cutting affect the incoming meat. When bone-in or frozen blocks must be reduced before chopping, the correct upstream saw arrangement also matters. Our guide to tabletop versus floor bone saws can help operators plan a practical cutting station around available space and product volume.

What a Bowl Cutter Does in Meat Processing

Key components of a commercial bowl cutter for meat processing

A commercial bowl cutter is a food-processing machine that uses rotating knives and a moving bowl to chop and mix meat, fat, seasonings, water or ice, and other recipe ingredients. The knife assembly cuts the material while the bowl brings product repeatedly through the cutting zone. Depending on the machine configuration and the operator’s settings, the process may be used primarily for chopping, mixing, or developing a finer and more uniform meat system.

Compared with simply passing meat through a grinder, bowl cutting gives the operator direct control over how long the product is worked after ingredients are combined. That makes it useful where particle definition, ingredient dispersion, binding, or a finer texture must be managed closely. It is not a substitute for good raw-material control: inconsistent trim, large frozen pieces, warm fat, or poorly distributed seasoning will still produce variable batches.

For a high-level overview of where this equipment fits in commercial production, see how commercial bowl cutters support high-volume food preparation. Always follow the operating instructions and safety requirements for the specific model installed in your facility.

Prepare Meat for Repeatable Cutting

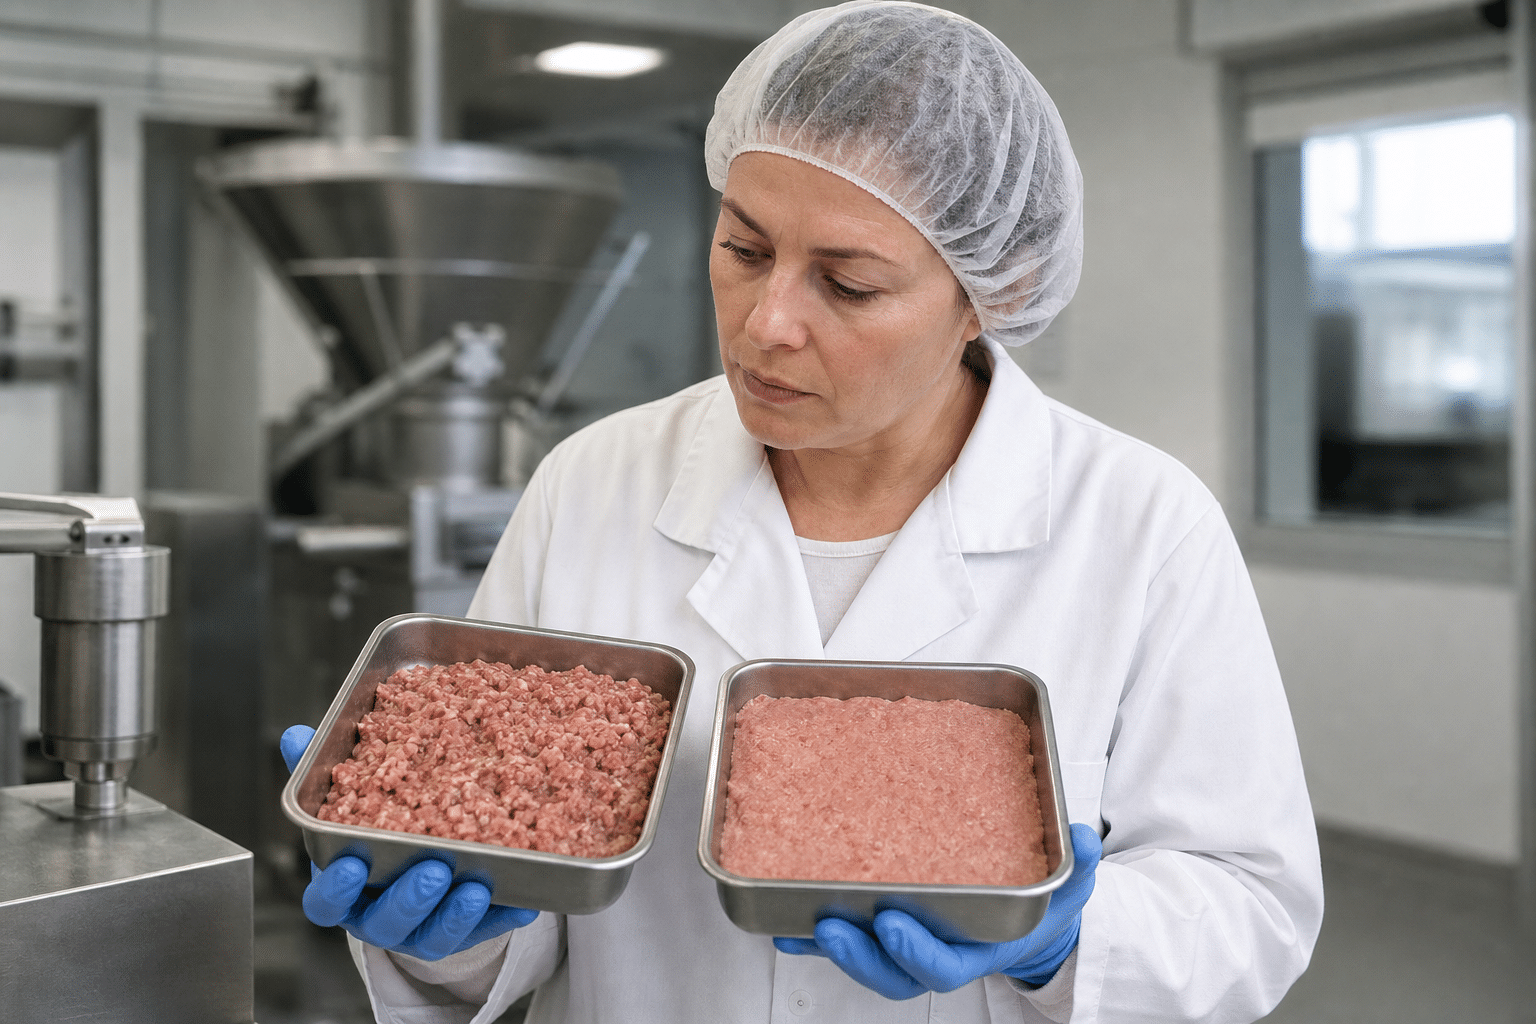
Uniformly prepared chilled meat and fat ready for bowl cutter processing

Texture consistency begins before the product enters the bowl. Standardise the incoming meat and fat as far as practical. Use the same approved cut specification, trim level, meat-to-fat ratio, and pre-cut piece size for each recipe. Large pieces take longer to reduce, while very small pieces may be overworked before larger pieces have reached the target texture.

Set a raw-material standard

  • Meat and fat: Use the recipe’s defined raw materials and keep the fat distribution consistent from batch to batch.
  • Piece size: Pre-cut meat into pieces that can move freely in the bowl and pass safely through the knife zone. The correct size depends on the bowl cutter, recipe, and loading method.
  • Temperature: Begin with properly chilled meat and fat. Warm raw material can smear rather than cut cleanly and can reduce control over the final texture.
  • Frozen material: Do not assume every bowl cutter can process large hard-frozen blocks. Follow the machine manual and use an appropriate upstream cutting method where required.
  • Foreign-material control: Remove bone fragments, packaging material, clips, and other contaminants before loading.

If your operation processes both fresh and frozen meat, establish separate preparation instructions. Product hardness, cut size, and safe handling requirements can differ significantly. The guide to choosing a bone saw for fresh versus frozen meat explains why the upstream cutting approach should match the condition of the product.

Weigh every component rather than estimating by volume. This includes meat, fat, salt, spices, dry ingredients, water, and ice. Accurate scaling protects flavour and product consistency, but it also helps the operator identify whether a texture issue comes from machine operation or a change in the formulation.

A Practical Bowl Cutter Process for Consistent Texture

Operator monitoring a staged meat cutting process with a bowl cutter

The most reliable approach is to turn the recipe into a controlled standard operating procedure. Record the settings and sequence that produce the approved texture on your own equipment, then train operators to follow that method. The precise speed settings and times depend on the bowl cutter model, knife configuration, product formulation, and desired result, so they should not be copied from a different machine without validation.

1. Inspect the machine before loading

Confirm that the bowl, knife head, lid, scraper or discharge arrangement, guards, and controls are clean, correctly assembled, and in sound condition. Check that knives are undamaged and secure. A dull or damaged knife can tear, smear, or unevenly cut product. Never reach into the bowl or attempt an adjustment while moving parts are in operation.

2. Load a consistent batch

Use a batch weight that suits the machine and recipe. Underloading can prevent the meat from circulating through the knife zone as intended. Overloading can restrict movement, produce uneven cutting, and make temperature control harder. Define a normal production batch and a separate, validated smaller batch method if your operation needs one.

3. Cut in stages

For a coarse texture, use short cutting stages and inspect early. For a medium texture, use controlled cutting periods with pauses for visual checks. For fine products, use a staged process that brings the meat to a uniform base before completing ingredient addition and final cutting. Avoid relying on time alone; the same time can give different results if the starting temperature, batch weight, or raw-material size has changed.

4. Add ingredients in the specified order

Ingredient sequence affects both texture and distribution. A typical process may introduce lean meat first, then salt and seasonings, followed by chilled liquid or ice in controlled additions, with fat added at the point defined by the recipe. However, the correct order must be developed for the individual product. Dry ingredients added too late may not distribute evenly; liquid added too quickly may cause product to move differently in the bowl; fat added at the wrong stage may not give the intended particle definition.

5. Check the endpoint and discharge promptly

Use agreed visual checks: particle size, distribution of visible fat, absence of uncut pieces, surface appearance, and uniform seasoning. Where your food-safety programme requires it, measure and record product temperature with a suitable calibrated probe. Once the approved endpoint is reached, stop processing and discharge the batch promptly into clean receiving equipment. Continuing to run after the target is reached is a common cause of overworked texture.

Manage Temperature and Emulsion Stability

Checking meat mixture temperature during controlled bowl cutter processing

Knife action creates friction, and friction can raise product temperature. As the product warms, the meat and fat may behave differently in the bowl. This is one reason why a batch that looks correct early in the process can become smeared, greasy, or overly fine if it continues too long.

Use cold raw material and follow the recipe’s instructions for chilled water or ice where applicable. Add those ingredients in controlled quantities and at the specified stage. Do not use ice simply to compensate for an uncontrolled process. If a batch regularly reaches an unsuitable temperature before it reaches the required texture, investigate the real cause: knife sharpness, batch size, cutting time, starting raw-material temperature, room conditions, or recipe design.

Fine meat systems require especially close control. In these products, salt, protein extraction, water addition, fat incorporation, and knife work interact. The required process is product-specific and should be validated by the manufacturer or product-development team. Operators should not make unrecorded changes to speed, time, ingredient order, or water addition during routine production.

A simple batch record can make temperature-related issues easier to identify. Record the meat starting condition, batch weight, start temperature if measured, process stages, final appearance, and any corrective action. After several batches, these records can reveal patterns that are not obvious from one production run.

Common Texture Problems and Corrections

Visual quality check of meat texture after bowl cutter processing

When texture varies, avoid changing several variables at once. Compare the affected batch with the approved process record, identify the most likely difference, correct it, and document the result. The following checks address common operating symptoms.

  • Uneven particle size: Review pre-cut size, batch loading level, ingredient order, and whether the product is circulating correctly. Check knife condition and confirm that the cutting stage was long enough for the largest pieces, without unnecessarily extending the full batch.
  • Meat appears smeared rather than cleanly cut: Check raw-material temperature, fat condition, knife sharpness, and total processing time. Smearing is often associated with warm product or overprocessing.
  • Visible uncut pieces: Review incoming piece size, batch weight, knife condition, and process time. Do not attempt to solve a recurring issue only by running every batch longer, as this may overwork the rest of the product.
  • Fat is unevenly distributed: Confirm the meat-to-fat ratio, the size and temperature of fat pieces, and the stage at which fat was added. A change in trim specification can create a different result even when machine settings remain unchanged.
  • Seasonings are not evenly dispersed: Verify ingredient weights, screening or pre-blending practices where used, liquid addition, and the time allowed for mixing after addition.
  • Batch-to-batch variation between operators: Replace informal judgement with a documented recipe card, defined visual reference, batch weight, and process stages. Train each operator on the same acceptance criteria.

If knife damage, unusual noise, vibration, poor stopping performance, guard issues, or electrical faults are observed, stop the machine and follow the manufacturer’s service procedure. Mechanical problems should be assessed by qualified personnel rather than bypassing safeguards to continue production.

Cleaning, Inspection, and Batch Records

Cleaning and inspecting a commercial bowl cutter after meat processing

Consistent texture and safe daily operation depend on effective cleaning and inspection. Meat residue around knives, the bowl, seals, covers, scrapers, and discharge components can affect hygiene and may interfere with machine performance. Clean the equipment at the intervals required by your food-safety programme and always carry out the full end-of-shift cleaning procedure.

Isolate the machine from its power source before cleaning, adjustment, inspection, or knife handling, following the manufacturer instructions and your site’s lockout procedures. Use suitable cut-resistant personal protective equipment when handling knives. Do not direct water into electrical areas unless the machine documentation specifically permits the method.

Build the following checks into the daily routine:

  • Inspect knives for wear, damage, and secure fitting.
  • Check guards, lids, interlocks, and emergency-stop functions according to the approved inspection procedure.
  • Examine the bowl and product-contact surfaces for residue or damage.
  • Confirm that cleaning chemicals are compatible with food-contact materials and are used at the correct concentration.
  • Record cleaning completion, defects found, corrective actions, and blade-service needs.

Finally, retain a concise production record for each recipe: lot or raw-material reference, batch weight, ingredient weights, key process stages, product temperature where monitored, operator, and final acceptance. This level of control helps a supervisor trace an inconsistent batch back to a practical cause and refine the operating method without guesswork.

Bowl Cutter vs Food Processor: Which Does Your Kitchen Need?

Table of Contents

A bowl cutter is usually the better choice for commercial kitchens that need repeatable meat texture, controlled mixing, and regular production of sausage meat, emulsions, or fillings. A food processor is better suited to lighter, smaller-batch chopping, slicing, puréeing, and general prep. The right choice depends on your products, batch frequency, texture standard, cleaning process, and available workspace.

Quick Answer: Bowl Cutter vs Food Processor

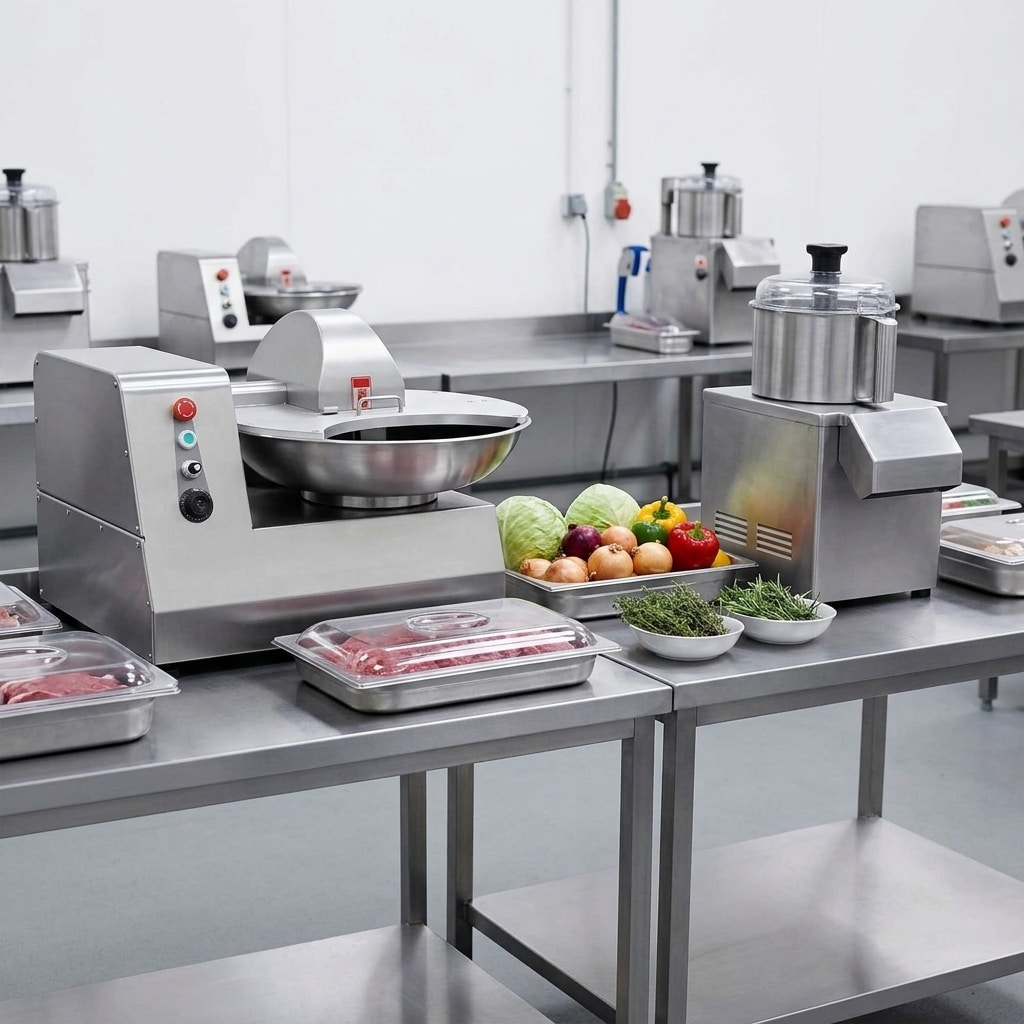
Commercial bowl cutter and food processor in separate professional kitchen prep areas

A commercial bowl cutter is generally the right choice when your kitchen regularly prepares minced, chopped, blended, or emulsified meat products and needs consistent texture from batch to batch. It is especially relevant for sausage meat, meat fillings, pâté-style mixtures, formed products, and other recipes where knife action, mixing, ingredient order, and processing time must be controlled.

A food processor is generally better for broad, lighter-duty preparation tasks such as chopping vegetables and herbs, making sauces or purées, preparing breadcrumbs, and processing smaller batches. It can be a useful all-purpose prep machine, but it is not automatically a substitute for a bowl cutter in sustained meat-production work.

The practical decision is not simply about which machine has blades. Compare the products you make, batch size, frequency of use, target texture, cleaning process, safety controls, work area, and service access. In many professional kitchens, the two machines perform different roles rather than competing directly.

What Is a Bowl Cutter?

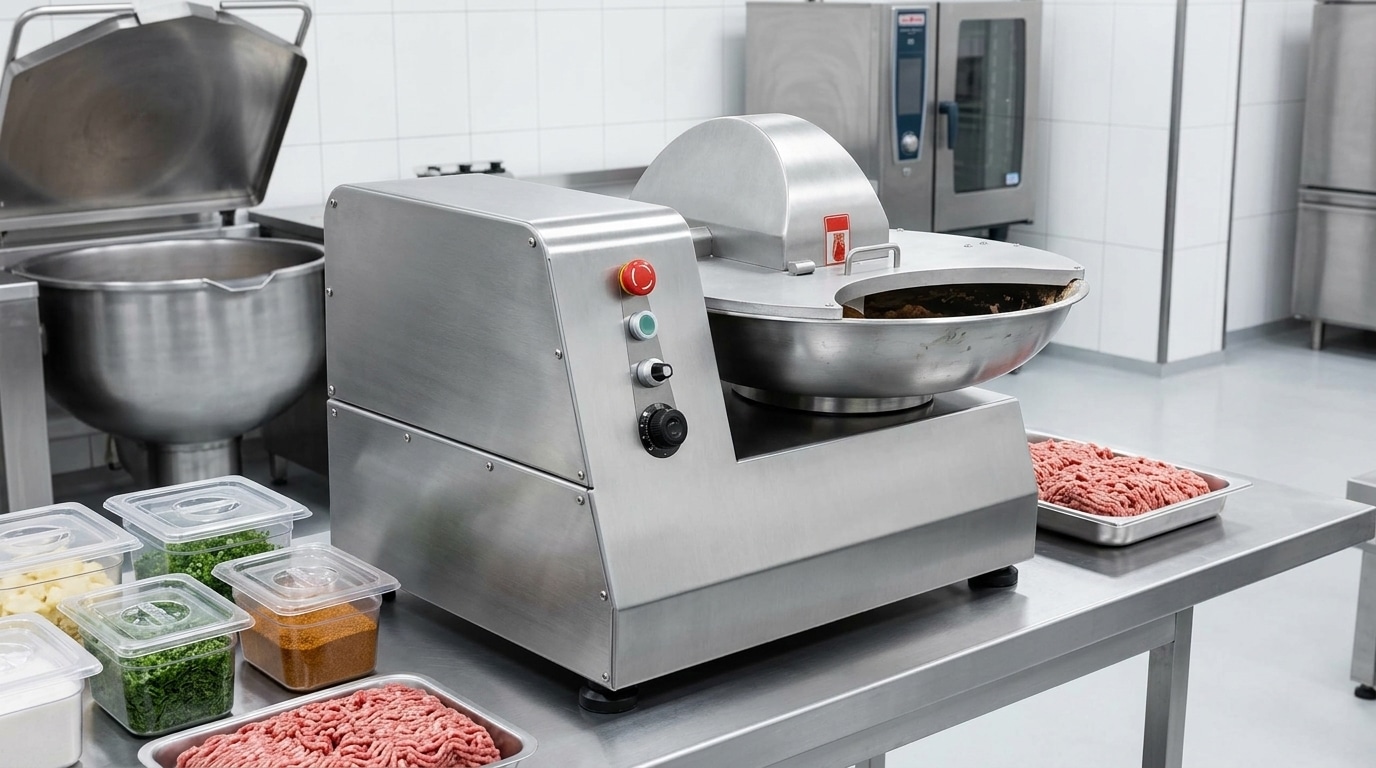
Commercial bowl cutter positioned in a clean meat preparation area

A bowl cutter, also called a bowl chopper in some markets, is a food-processing machine built around a rotating bowl and a set of knives. During processing, the bowl moves ingredients through the knife zone while the operator controls the process according to the product recipe and machine instructions.

This design is particularly useful when cutting and mixing must happen as one controlled operation. For meat applications, operators can add ingredients in stages, observe the developing texture, and stop before the mixture is overprocessed. Results still depend on raw-material condition, knife sharpness, batch loading, processing time, and temperature management; the machine alone does not guarantee a finished product standard.

Commercial bowl cutters are commonly considered by butcher shops, delicatessens, central kitchens, caterers, meat processors, and food manufacturers. They may also be used for selected vegetable, cheese, seafood, or filling applications when the recipe and machine instructions allow.

For meat work, process control begins before the machine is switched on. Chilled raw materials, a sensible loading sequence, and observation during the cut are central to repeatable results. Our guide to making consistent meat texture with a bowl cutter explains the operating factors that deserve attention during production.

What Is a Food Processor?

Commercial food processor used for vegetable and sauce preparation

A food processor is a general-purpose preparation machine that typically uses a work bowl and interchangeable cutting, chopping, slicing, grating, or mixing tools, depending on the model. It is designed to reduce manual preparation for a range of ingredients rather than to focus solely on meat emulsification or sausage preparation.

In a commercial setting, food processors are often valuable at the vegetable-prep station, cold kitchen, bakery, or sauce-production area. They can support everyday tasks such as chopping onions, preparing herb blends, making dressings, processing cooked ingredients into purées, or producing breadcrumbs.

However, a food processor’s suitability for meat depends on the particular machine, recipe, and production demand. Small or intermittent meat batches may be workable where permitted by the equipment instructions. Repeated heavy batches, a precise fine texture, or a product that requires controlled cutting and mixing may call for dedicated bowl-cutter equipment instead.

Do not select a food processor only because it appears less complex or has a lower initial purchase price. Consider whether its bowl size, duty cycle, tool design, cleaning requirements, and workflow actually suit the products your team must prepare every day.

Key Differences Between Bowl Cutters and Food Processors

The central difference in a bowl cutter vs food processor comparison is the intended processing method. A bowl cutter continuously presents the product to moving knives through a rotating bowl. A food processor usually processes ingredients within a fixed work bowl using a central tool or disc system. Both can cut ingredients, but the way they handle product and the level of process control are different.

Texture and product control

A bowl cutter is normally selected where the development of a meat mixture matters. Operators can manage the cut as the product moves through the machine, using the recipe, visual checks, and established operating procedures. This is useful for products where an uneven chop, insufficient bind, or excess processing can affect the final result.

A food processor can produce useful chopped or blended results for many prep tasks, but it may be less suitable when the operation requires a repeatable fine meat texture across frequent batches. The exact outcome depends on the machine configuration and ingredient preparation.

Workload and workflow

For regular production, a bowl cutter can support a dedicated meat-preparation workflow. It is more appropriate to evaluate it as part of a production station, including ingredient staging, chilled storage, cleaning space, safe operator access, and downstream filling or forming steps.

A food processor is often more flexible across a menu, particularly where staff process many different non-meat ingredients in modest quantities. It may help a compact kitchen avoid repetitive manual chopping, but frequent task changes can increase cleaning and changeover time.

Equipment role

A bowl cutter is a specialist machine. A food processor is an all-purpose prep machine. Choosing between them becomes easier when buyers identify the operation that creates the most labour, inconsistency, or production delay. Buy for that limiting process, not for the broadest possible description on a product label.

When a Bowl Cutter Is the Better Choice

A commercial bowl cutter is usually the stronger fit when meat processing is a routine and important part of your operation. Consider this type of equipment if your kitchen needs to do one or more of the following:

  • Prepare sausage meat, meat fillings, forcemeat, or similar mixtures on a regular schedule.
  • Produce chopped or emulsified products where texture needs to be monitored and repeated.
  • Combine cutting and mixing in one controlled batch process.
  • Handle production that is too frequent or too demanding for a general-purpose prep appliance.
  • Establish a dedicated, documented procedure for meat preparation, cleaning, and operator training.

A bowl cutter may also be suitable where you need to standardise a recipe across shifts. Standardisation does not mean removing operator responsibility. It means giving trained staff a repeatable method: defined ingredient preparation, a controlled loading order, established processing checks, and a clear endpoint for each batch.

For sausage applications, the most useful comparison is often between your current manual or general-purpose process and the texture your finished product requires. See the practical steps in our article on using a bowl cutter for sausage meat preparation, including chilled ingredient handling and processing observation.

Before purchase, confirm the machine’s actual specifications with the supplier. Required batch size, electrical supply, dimensions, guarding, supplied accessories, and local compliance responsibilities should be reviewed for the exact model and destination market.

When a Food Processor Is the Better Choice

A food processor is often the better investment when your main need is flexible preparation across many ingredients rather than dedicated meat production. It may suit your kitchen if you mainly need to:

  • Chop vegetables, onions, garlic, herbs, nuts, or cooked ingredients.
  • Prepare sauces, dips, dressings, purées, or breadcrumb mixtures.
  • Slice or grate ingredients where compatible discs or attachments are available.
  • Handle smaller batches with frequent changes between recipes.
  • Save preparation time in a compact kitchen with a varied menu.

It can be the sensible starting point for cafés, restaurants, bakery kitchens, and caterers whose meat preparation is limited or occasional. Even then, teams should avoid using any machine outside its stated purpose or instructions. The need to process raw meat should be assessed separately from vegetable and cooked-food tasks because of sanitation, allergen control, and cross-contamination procedures.

When one unit is expected to perform too many unrelated tasks, the apparent convenience can create a bottleneck. Waiting for cleaning, tool changes, or sanitation checks between raw and ready-to-eat ingredients can disrupt service. A separate bowl cutter and food processor may be more practical once volume and product range increase.

How to Choose for Your Kitchen

Commercial kitchen equipment planning for a bowl cutter installation

Use the following questions to make a practical equipment decision.

1. What products create the most work?

List your top products by frequency, not only by sales value. If staff repeatedly prepare meat mixtures, a bowl cutter deserves serious consideration. If the main workload is vegetables, sauces, and general prep, a food processor may meet the need more directly.

2. What texture must you achieve?

Define whether the finished product should be coarse, chopped, fine, blended, or emulsified. Describe the acceptable result in operational terms your team can check. If the standard depends on a controlled meat-cutting process, evaluate a bowl cutter with your actual ingredients rather than relying on generic demonstrations.

3. How large and how frequent are your batches?

Look at the busiest realistic period, not only the average day. Record how many batches are needed, the time allowed between them, and whether the machine must be cleaned before changing products. Match machine size and workflow to demand without assuming that a larger machine is automatically better for every recipe.

4. Can the work area support the machine?

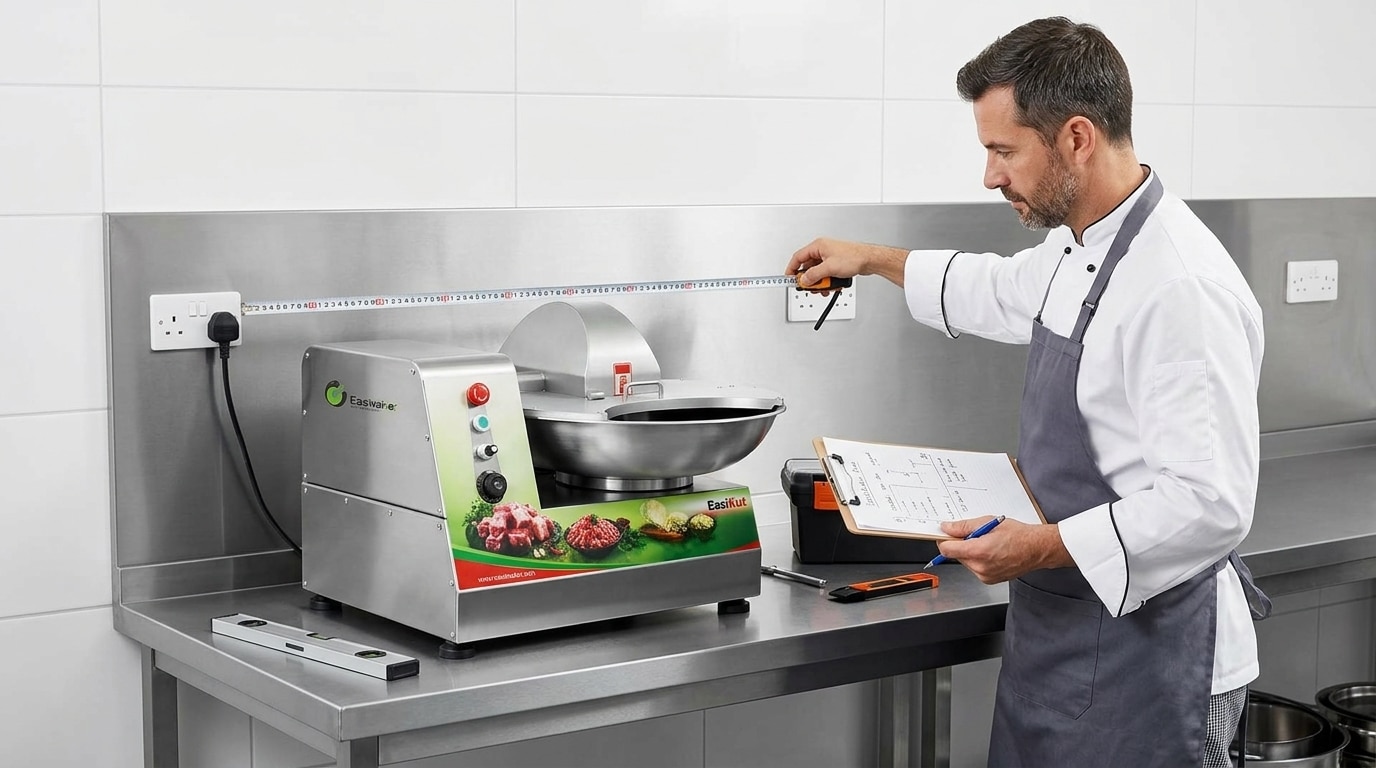
Measure the installation location, operator standing area, cleaning access, and route for bringing ingredients in and taking product out. Check the local electrical supply against the selected model. A safe, stable installation is part of equipment performance, not an afterthought. Review our guidance on setting up a bowl cutter in a commercial kitchen before finalising the layout.

5. Who will operate and maintain it?

Assign responsibility for daily inspection, safe use, cleaning, and reporting problems. Ask the supplier about operating information, spare parts, service communication, and support for your market. Equipment is easier to manage when the purchasing team considers its full operating life, not just delivery and installation.

Operation, Cleaning, and Maintenance Considerations

Whichever machine you choose, safe and hygienic operation depends on a written routine. Operators should receive training on the manufacturer’s instructions, guards and interlocks, loading practices, shutdown, cleaning, and what to do if equipment does not operate normally. Never reach into a machine while moving parts can operate, and isolate the equipment before cleaning or maintenance as required by the applicable procedure.

For a bowl cutter, knife condition is a direct operational issue. Dull or damaged knives can affect cut quality and may encourage staff to extend processing time in an attempt to reach the desired texture. This can make results less predictable. Read our advice on preventing bowl cutter blades from dulling early to help build a practical inspection and handling routine.

Cleaning should be planned around the foods you process. Remove residue promptly, clean food-contact surfaces using suitable methods and chemicals, rinse where required, sanitise according to your procedure, and allow parts to dry appropriately before reassembly. Follow the machine manual and local food-safety requirements. For a more detailed sequence, see how to clean and sanitise a commercial bowl cutter.

Food processors need the same discipline. Blades, discs, lids, seals, bowls, and food-contact accessories should be inspected and cleaned according to the manufacturer’s instructions. If the same equipment is used for raw ingredients and ready-to-eat foods, establish clear separation, sanitation, and scheduling controls.

The Bottom Line

In a bowl cutter vs food processor decision, choose a bowl cutter when repeatable meat texture and regular cutting-and-mixing production are central to your business. Choose a food processor when broad, smaller-batch preparation for vegetables, sauces, and similar tasks is the main requirement.

For operations with both needs, the best answer may be to use each machine where it adds the most value: a bowl cutter at the dedicated meat-processing station and a food processor at the general-prep station. This approach can make procedures clearer, reduce avoidable changeovers, and support more consistent work.

Before buying, document your products, busiest production periods, ingredient condition, available installation space, cleaning process, and local power supply. Then compare specific models and confirmed specifications with the supplier rather than making a decision based on machine category alone.

Discuss the Right Setup for Your Food Production

If you are planning a commercial meat-preparation workflow, Easimaker can help you discuss the equipment type, batch requirements, installation considerations, and support needs for your market. Request a quote or share your application details with our team.

Request a Commercial Equipment Quote

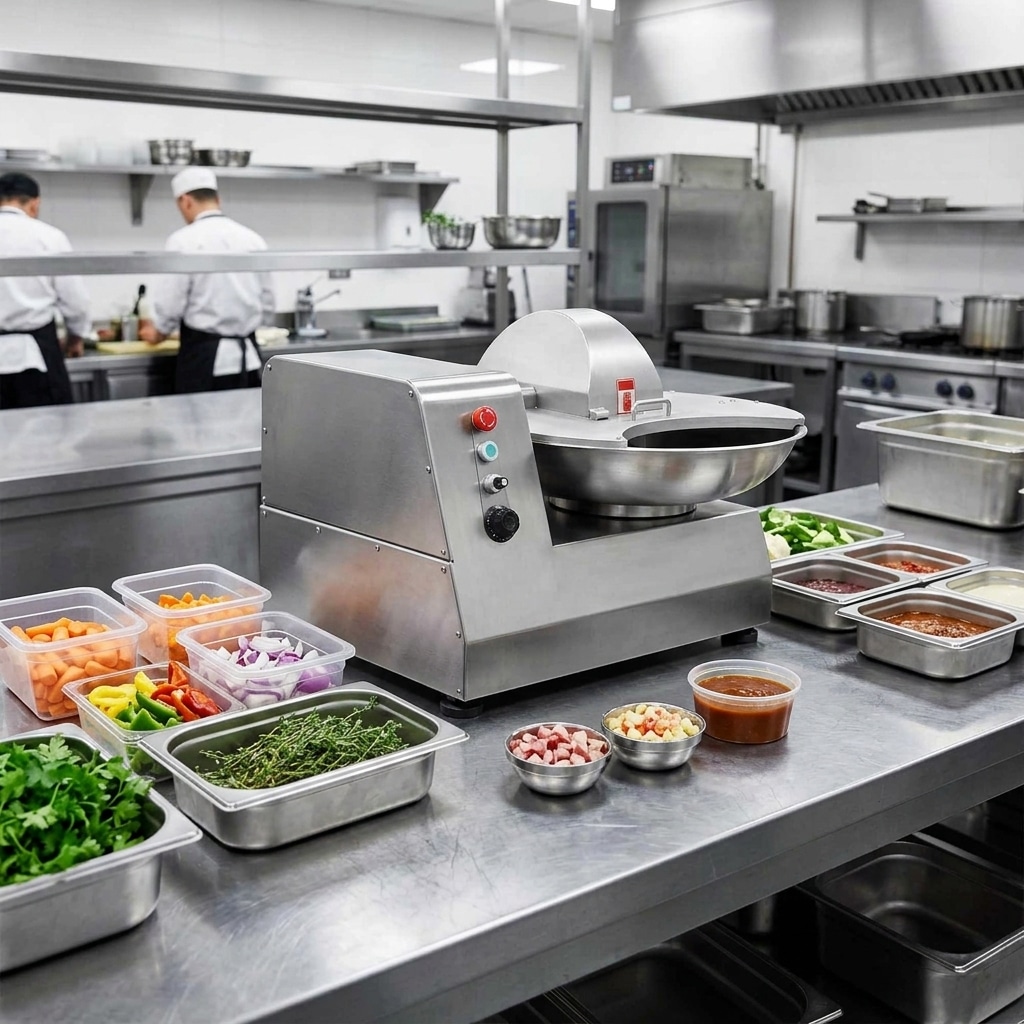
How Commercial Bowl Cutters Streamline High-Volume Food Preparation

In commercial kitchens and industrial food manufacturing, efficiency is the primary driver of profitability. High-volume food prep often creates bottlenecks, tying up labor hours and risking inconsistencies in product quality. For operations processing large batches of ingredients daily, relying on standard equipment or manual labor is no longer viable.

A commercial bowl cutter (often referred to as a meat chopping machine or bowl chopper) is an essential piece of industrial food processing equipment designed to solve this exact problem. By combining a rotating bowl with a high-speed multi-blade shaft, these machines deliver unmatched speed and precision.

This guide explores how commercial bowl cutters streamline high-volume food prep, detailing their versatility across different ingredient types, time-saving benefits, and the specific blade configurations that optimize kitchen workflows.

The Core Mechanics of a Commercial Bowl Cutter

Unlike standard food processors that rely on gravity to pull ingredients toward a single blade, a commercial bowl cutter operates on a dual-motion principle. The heavy-duty stainless steel bowl rotates at a controlled speed, feeding the product continuously into a set of vertically rotating blades. This mechanism ensures that every part of the batch is processed evenly without bruising or crushing the ingredients.

This design allows operators to achieve anything from a coarse chop to a perfectly smooth emulsion in a matter of minutes, simply by adjusting the run time and shaft speed.

Versatility in High-Volume Food Prep

One of the primary reasons restaurant owners and food manufacturers invest in an industrial food processor of this caliber is its extreme versatility. A single machine can replace multiple single-purpose prep tools.

Rapid Meat Processing

As a highly efficient meat chopping machine, the bowl cutter excels at processing proteins. Whether you are preparing coarse ground beef for burgers, mincing pork for dumplings, or creating ultra-fine meat pastes for sausages and hot dogs, the machine handles it effortlessly. The swift cutting action prevents the meat’s temperature from rising too quickly, preserving fat structure and preventing premature rendering.

Bulk Vegetable Chopping

Preparing mirepoix, salsas, or bulk chopped salads manually is highly labor-intensive. A commercial bowl cutter can process dozens of pounds of onions, carrots, and celery in seconds. Because the blades slice cleanly rather than mashing the vegetables, the ingredients retain their cellular integrity, resulting in less water loss and a fresher appearance.

High-Quality Emulsions

Creating stable emulsions—such as mayonnaise, hummus, pâté, or specialized sauces—requires high shear force. The rapid rotation of the blade shaft (often exceeding 3,000 RPM in high-end models) breaks down fat globules and blends them seamlessly with liquids, resulting in a smooth, stable, and uniform texture that is difficult to achieve with standard mixers.

Time-Saving Benefits for Commercial Kitchens

Integrating a bowl cutter into your prep workflow yields immediate and measurable efficiency gains:

  • Drastic Reduction in Prep Time: Tasks that take hours by hand or with smaller processors can be completed in under three minutes. For example, processing 40 liters of meat paste can be achieved in a single, short cycle.
  • Labor Optimization: By automating the most time-consuming chopping and blending tasks, skilled culinary staff can be reallocated to cooking, plating, and quality control.
  • Unmatched Consistency: Programmable time and speed settings ensure that every batch meets exact particle size and texture specifications, which is critical for portion control and cooking yields.

Optimizing Workflow: Blade Configurations Explained

The efficiency of a bowl cutter efficiency heavily relies on selecting the correct blade configuration. Most industrial units allow operators to swap or adjust blades based on the application.

Blade Type Best Used For Key Benefit
Straight Blades Coarse chopping, vegetables, salads Clean, precise cuts with minimal bruising or moisture loss.
Curved / Sickle Blades Meat pastes, emulsions, fine purees Maximum shear force; pulls ingredients inward for a smoother blend.
Serrated Blades Fibrous meats, tough root vegetables Grips and slices through tough connective tissues efficiently.

Furthermore, modern machines feature variable speed drives. Running the bowl slowly while the blades spin rapidly is ideal for fine emulsions, whereas a faster bowl speed with slower blades works best for coarse, uniform chopping.

Technical Specifications & Material Standards

When procuring a commercial bowl cutter, B2B buyers must evaluate several technical factors to ensure the equipment meets industrial demands:

  • Construction Materials: The entire machine, especially the bowl and blades, should be constructed from 304 or 316-grade food-safe stainless steel to resist corrosion and comply with international hygiene standards.
  • Motor Power & Cooling: High-volume processing generates heat. Look for heavy-duty, fan-cooled motors capable of continuous operation. Some advanced models feature double-jacketed bowls for water or gas cooling to keep meat temperatures low during processing.
  • Safety Features: Essential safety mechanisms include magnetic interlocks on the noise-dampening cover, emergency stop buttons, and automatic shut-off if the lid is lifted during operation.
  • Sanitation: IP65 water-resistant ratings allow for safe, low-pressure washdowns, significantly reducing end-of-shift cleaning times.

Procurement Guide: Choosing the Right Size

Selecting the correct capacity is vital for maximizing ROI. Bowl cutters are typically sized by bowl volume (in liters). As a general rule of thumb, the working capacity is roughly 60% to 70% of the total bowl volume.

  • 20L to 40L Models: Ideal for mid-sized restaurants, catering companies, and artisanal butcher shops.
  • 50L to 80L Models: Suited for large-scale commercial kitchens, institutional cafeterias, and mid-sized food processors.
  • 100L+ Models: Designed for heavy industrial food manufacturing, wholesale sausage production, and large continuous-batch operations.

Frequently Asked Questions (FAQs)

Can a commercial bowl cutter process frozen meat?

Standard bowl cutters are designed for fresh or slightly tempered meat (around -2°C to 0°C). Processing fully frozen blocks can damage the blades and motor. For deep-frozen products, a frozen meat flaker or grinder should be used prior to bowl chopping.

How often do the blades need to be sharpened?

This depends on usage volume and the toughness of the ingredients. In a high-volume setting, blades should be inspected weekly and typically require professional sharpening or replacement every 3 to 6 months to maintain optimal cutting efficiency.

Is a bowl cutter difficult to clean?

No. Industrial models are designed with sanitation in mind. Features like removable blade shafts, tiltable bowls (on larger models), and smooth stainless-steel surfaces make them easy to wash down and sanitize.

What is the typical lead time for ordering an industrial bowl cutter?

Lead times vary based on capacity and customization requirements. Standard sizes may be available for immediate dispatch, while highly customized units (e.g., specific voltage requirements or vacuum features) may take 4 to 8 weeks for manufacturing and delivery.

Conclusion

A commercial bowl cutter is a transformative investment for any high-volume food preparation facility. By delivering rapid processing, exceptional versatility, and consistent results, these machines eliminate prep bottlenecks and significantly lower labor costs. Whether you are producing fine meat emulsions or processing bulk vegetables, selecting the right machine size and blade configuration will ensure your kitchen operates at peak efficiency.

Ready to upgrade your food processing workflow? Request a quote / Get a sample today to discuss your specific capacity requirements and find the perfect equipment solution for your operation.