Table of Contents
- What cleaning must cover
- Identify food-contact surfaces and access
- A practical cleaning procedure
- Cleaning checkpoints and precautions
- Model instructions and product evaluation
- Staff routine, records, and reopening
- Plan for repeatable cleaning
Commercial sugarcane juicer cleaning should remove cane fibers and juice residue from food-contact surfaces, followed by rinsing, sanitizing, drying, and a readiness check. Start by stopping and isolating power, then clean only the parts and areas identified in the machine’s current instructions. A clean exterior is not proof that the feed area, rollers, juice path, and outlet are clean.
What commercial sugarcane juicer cleaning must cover
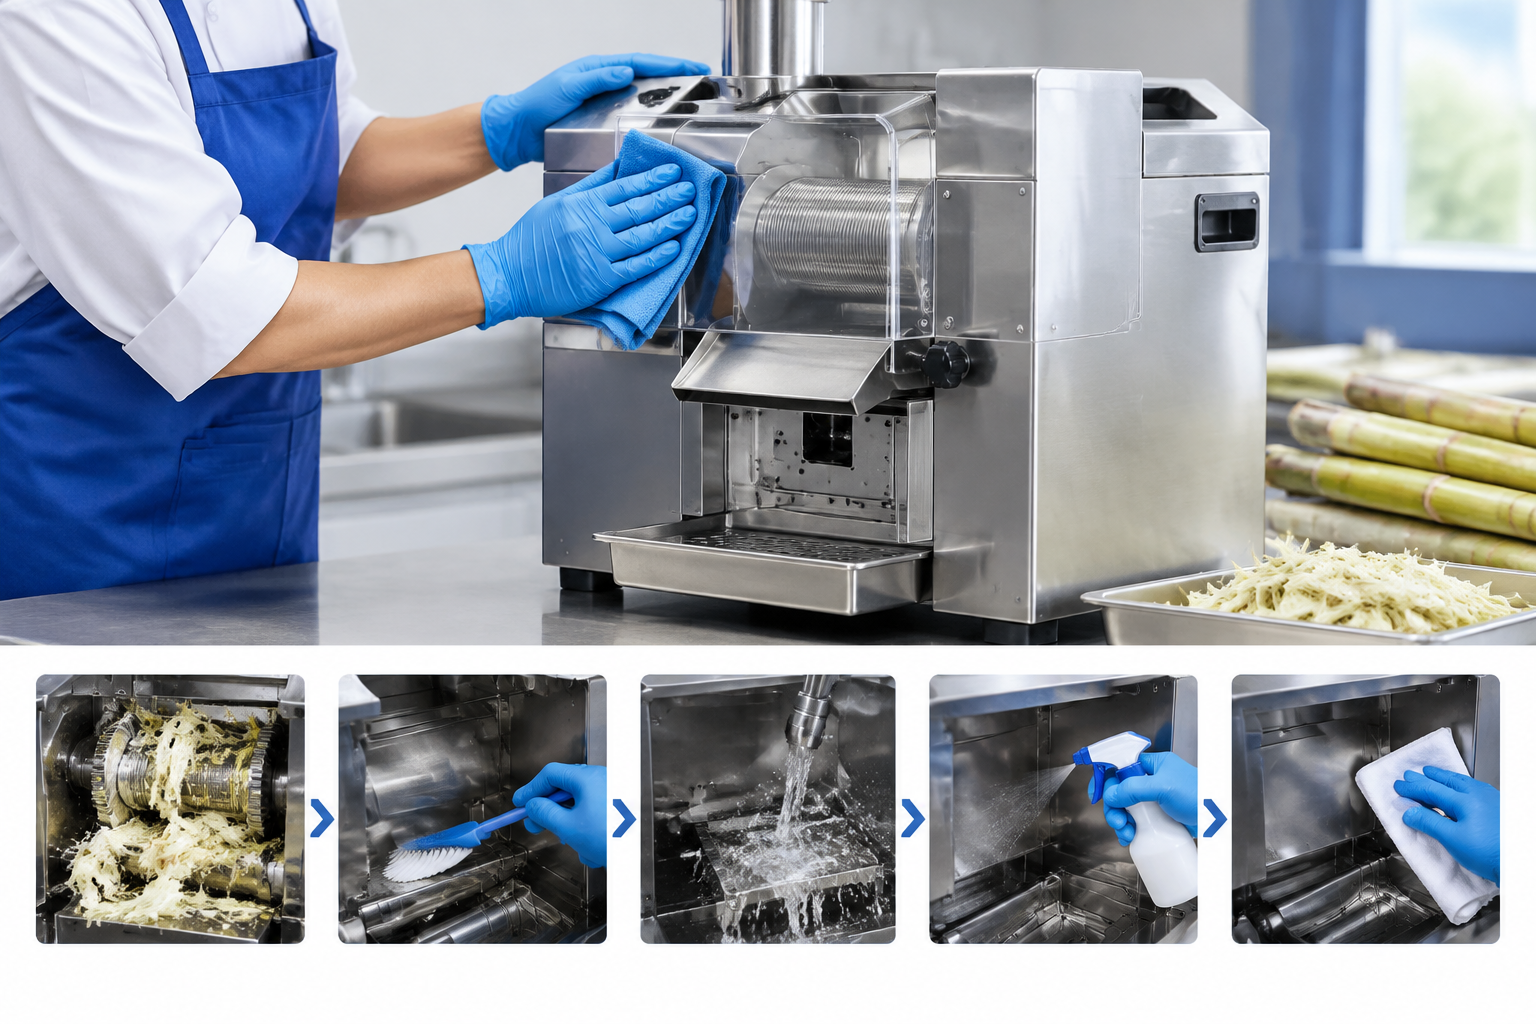
Commercial sugarcane juicer cleaning is the planned removal of cane fibers, juice, and other visible residue from the machine and its food-contact path, followed by the washing, rinsing, sanitizing, and drying steps required by the manufacturer and applicable food-safety procedures. It is a routine operating task, not simply a wipe of the outer panels.
Fresh cane leaves wet, fibrous residue around the feed area and extraction components. Juice can also collect where it drains toward a collection vessel. Residue left in hard-to-see areas can dry and become more difficult to remove. The cleaning routine therefore needs to address both visible surfaces and accessible parts of the juice path.
For a U.S. food business, use the machine manual alongside the cleaning and sanitation procedures required by the business and local authority. Product labels matter too: a sanitizer must be appropriate for the intended food-contact use and applied according to its label, including concentration and contact time. Do not substitute a general-purpose cleaner or assume that a rinse alone sanitizes a surface.
Definition: Cleaning removes food soil and residue. Sanitizing is a separate step that reduces microorganisms on a surface after it has been cleaned. Sanitizing does not replace washing, and visible cleanliness alone does not confirm that a surface has been sanitized correctly.
Identify food-contact surfaces and model-specific access
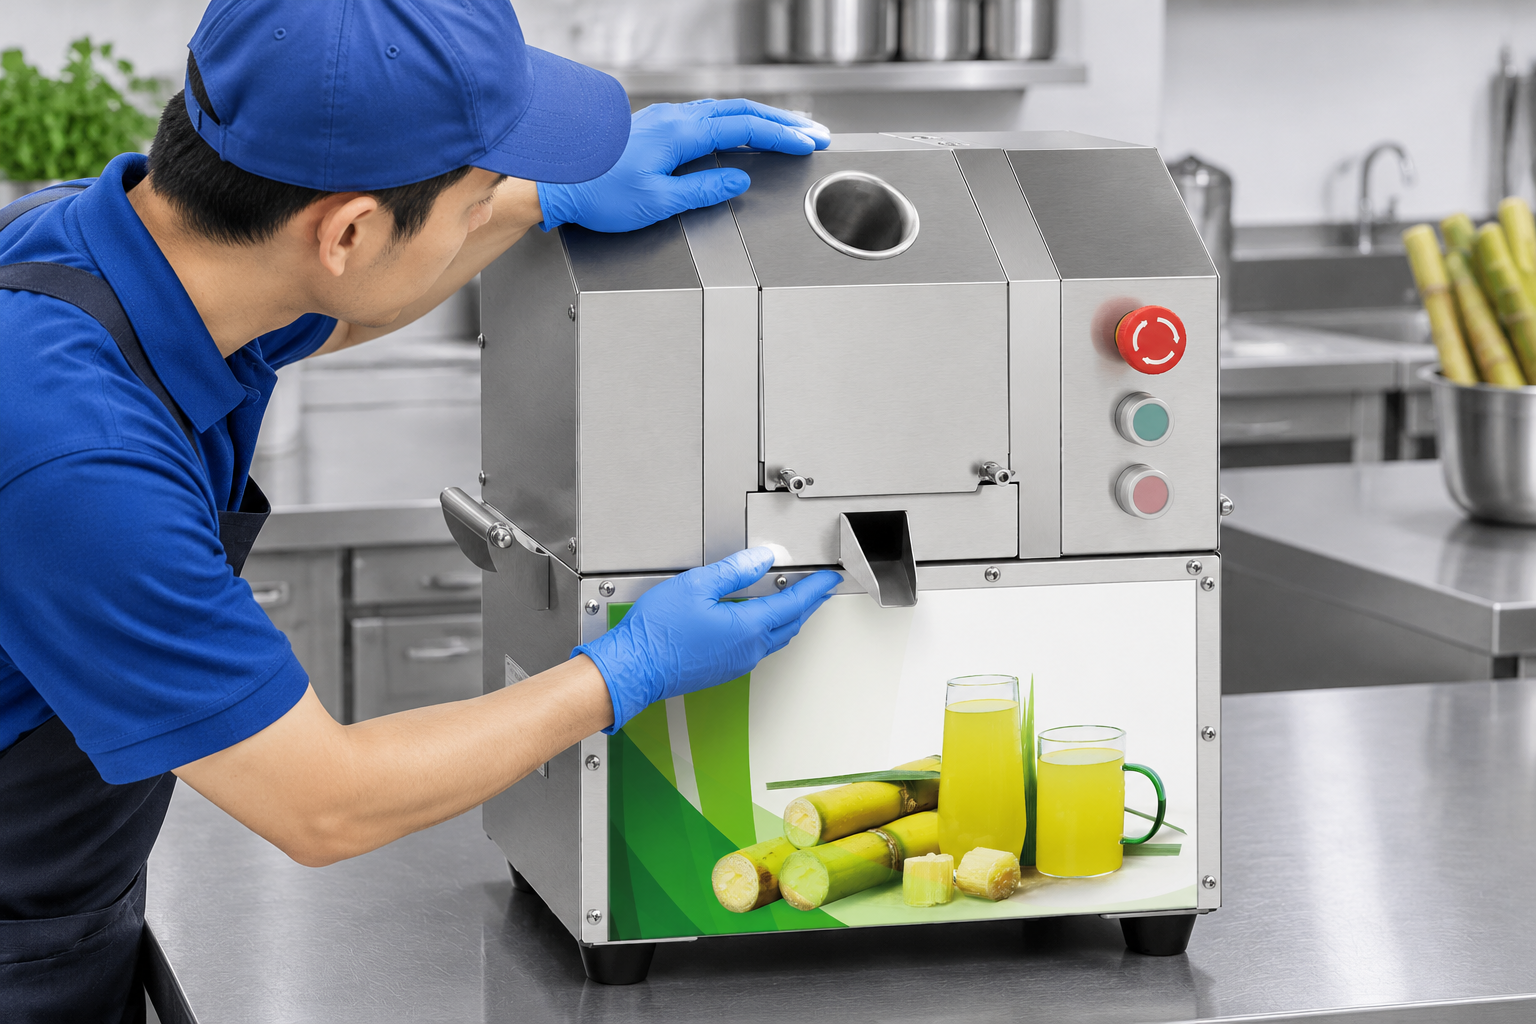
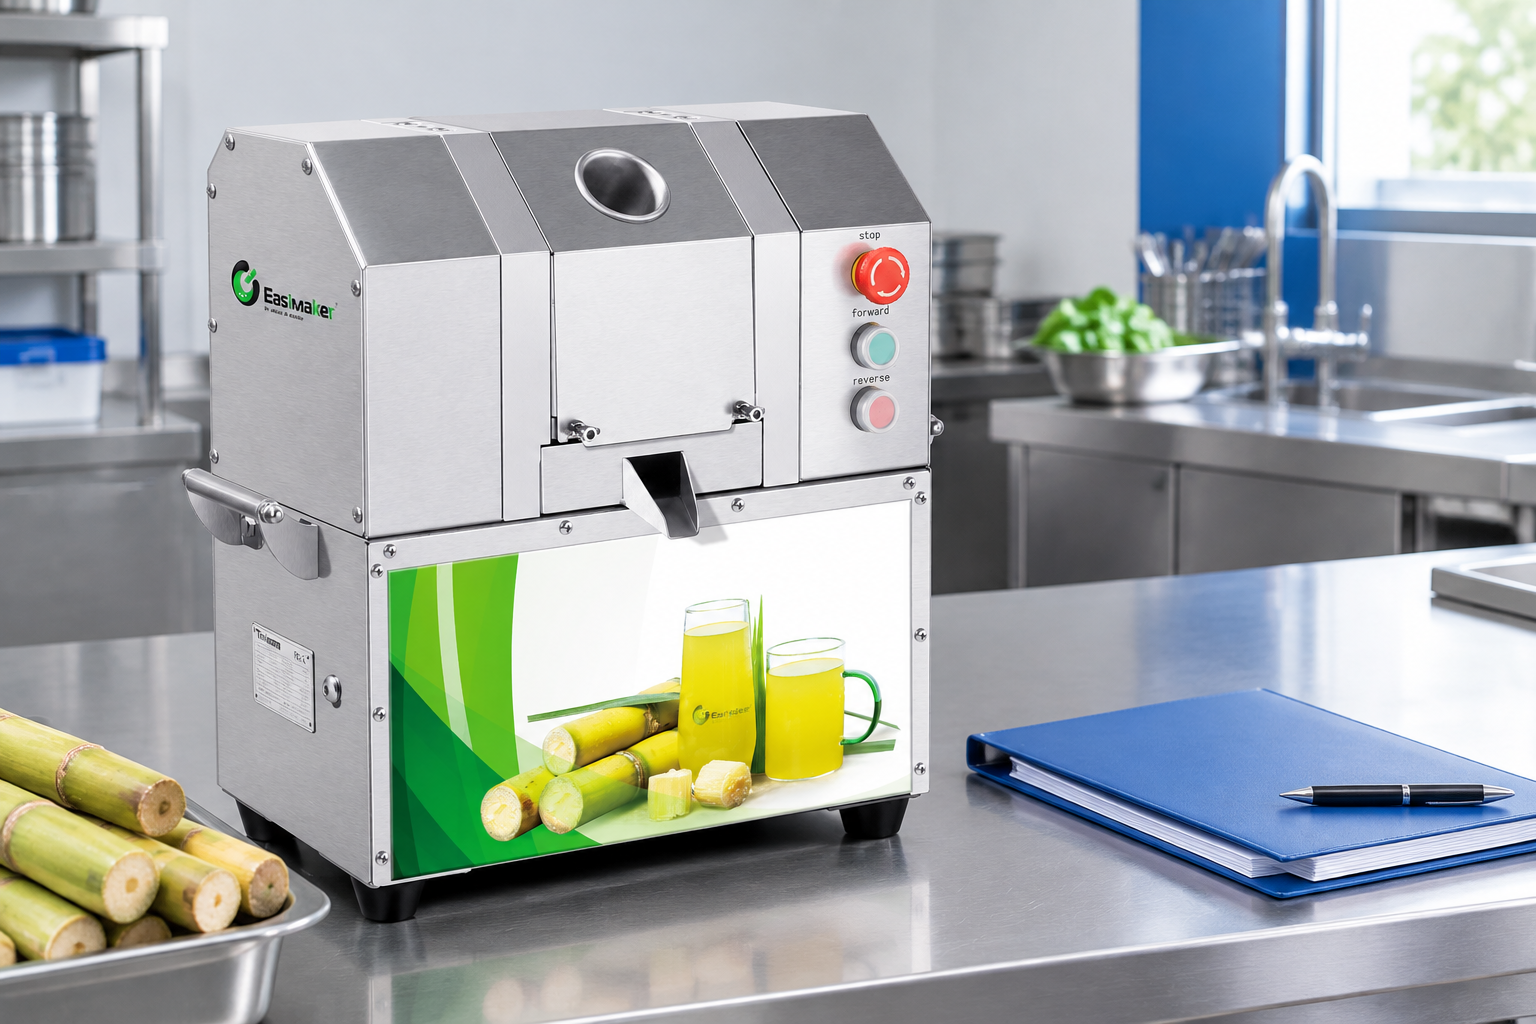
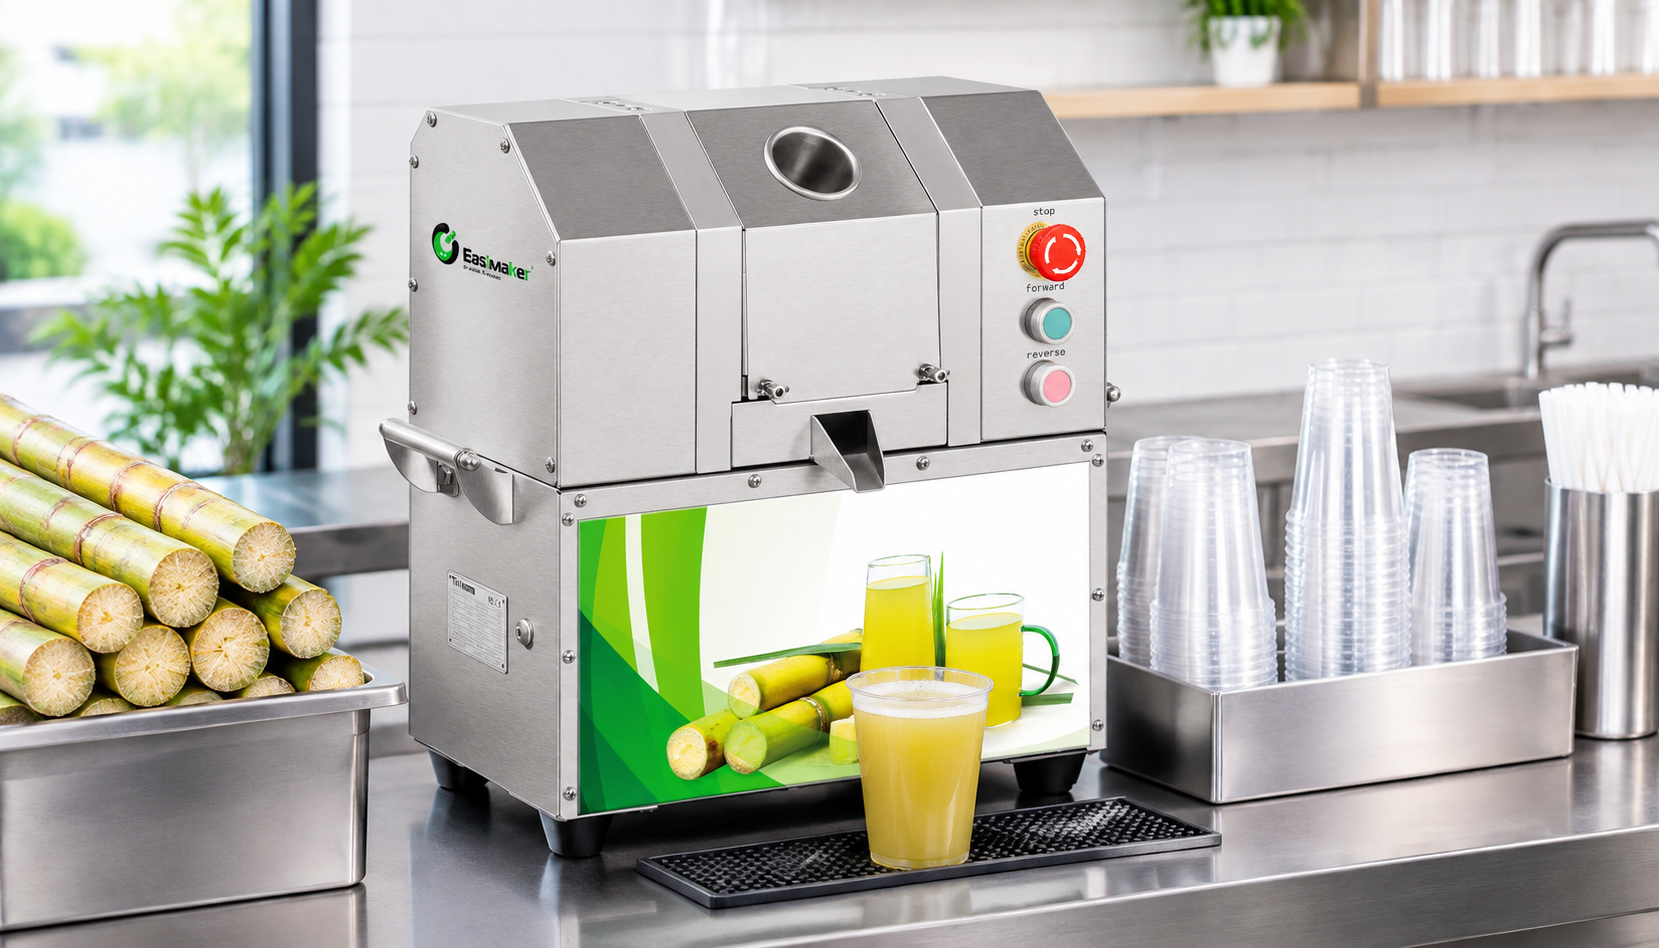
Before starting, identify which parts contact cane or juice, which nearby surfaces can collect splashes, and which components the operator is permitted to remove. On a typical machine, areas to check may include the feed opening and surrounding surfaces, accessible roller surfaces, juice collection channel or chute, outlet, removable trays or guards, and the receiving container. The exact layout differs by model, so treat this as a checklist of areas to verify, not a claim that every machine has removable parts.
Read the current manual before disassembly. It should clarify safe shutdown, authorized removal, cleaning tools and agents, restrictions on water exposure, reassembly, and any parts that require service rather than operator access. If instructions are missing or unclear, stop before dismantling covers or reaching into a roller assembly. Ask the manufacturer or supplier for model-specific guidance.
Do not infer cleanability from appearance. A transparent viewing window can help an operator see some areas during service, but it does not replace opening authorized access points, inspecting surfaces, or completing the cleaning and sanitation procedure. Likewise, enclosed panels do not tell an operator whether internal food-contact components are accessible for routine cleaning.
Keep cleaning tools separate from tools used for unrelated tasks, and use brushes or cloths appropriate to the parts being cleaned. Avoid abrasive materials or chemicals that could damage finishes or leave residues unless the manual explicitly permits them.
How to clean a sugarcane juice machine: a practical procedure
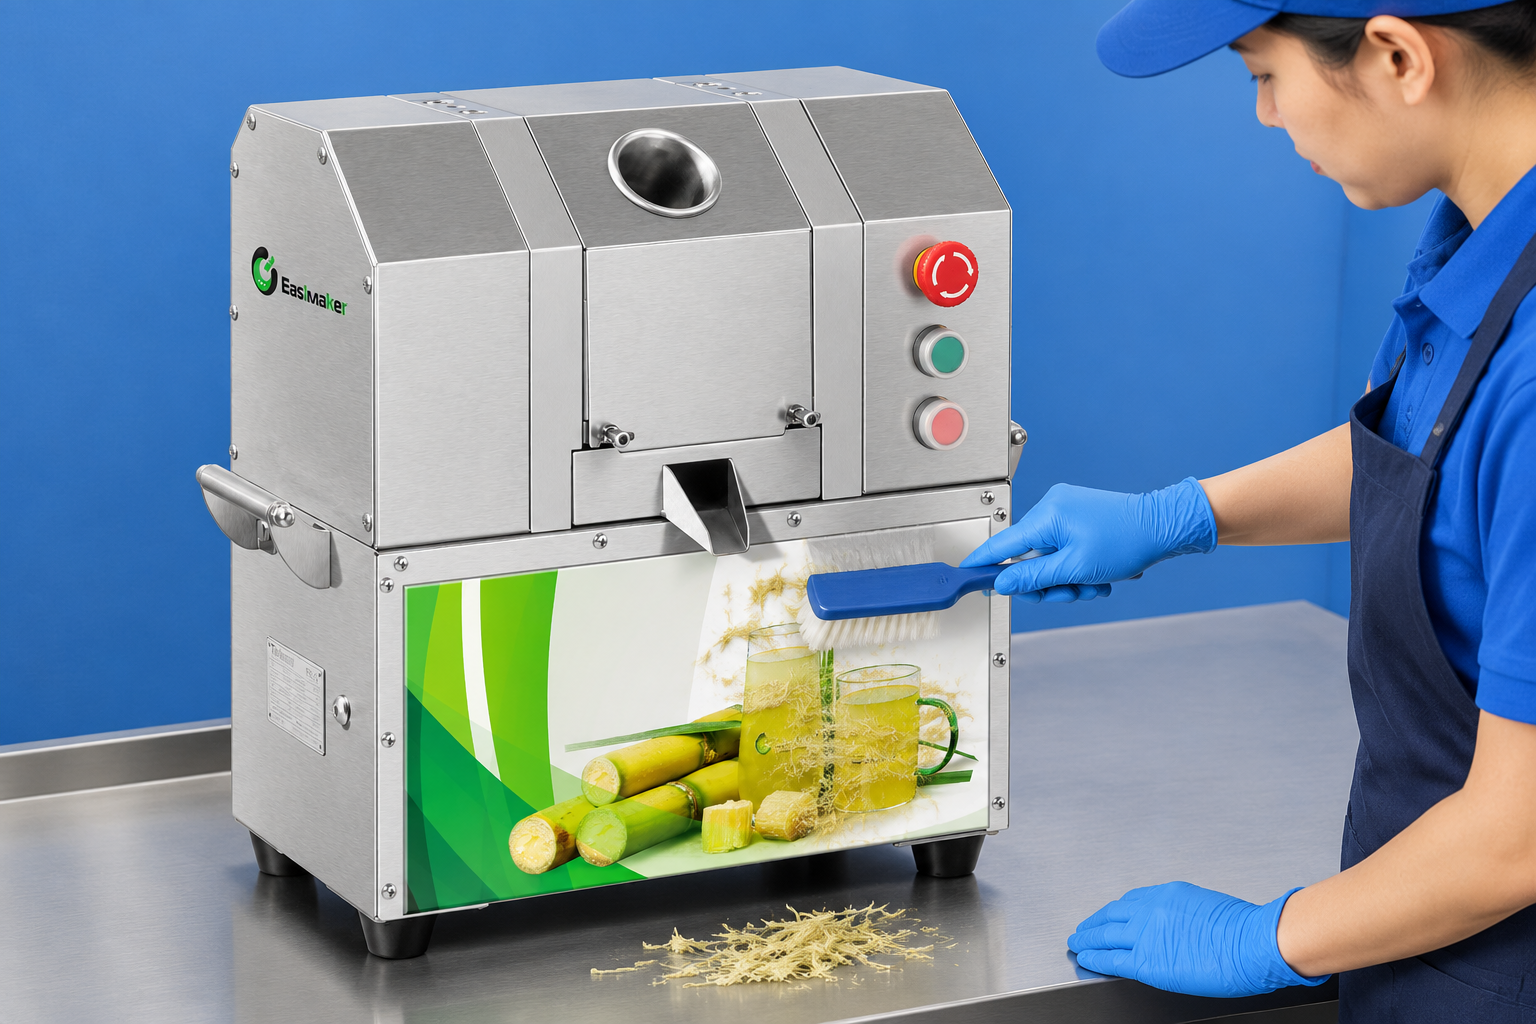
Use this sequence as an operating framework, then adapt it to the model manual and the sanitation procedure used at your site. It is not authorization to remove parts that the manual identifies as service-only.
- Stop service and clear the station. Remove cups and juice containers from the work area. Dispose of or handle remaining juice and bagasse according to your site procedures. Keep clean items away from the dirty cleaning zone.
- Shut down and isolate power. Turn the machine off and disconnect it from the power source using the method specified by the manufacturer. Make sure moving parts have stopped. Do not clean near rollers or reach into the feed area while the machine can operate.
- Remove loose residue. Use a suitable brush, scraper, or cloth to remove accessible cane fibers and wet residue. Work carefully and avoid pushing debris deeper into openings. Do not use fingers to clear a jam or reach into an inaccessible mechanism.
- Remove only authorized components. Follow the manual’s order and handling instructions for any operator-removable tray, chute, guard, or other part. Keep small parts together so they can be inspected and correctly reinstalled.
- Wash food-contact surfaces. Apply the approved detergent and use the method and water exposure permitted by the manual. Clean the feed area, accessible extraction surfaces, juice path, outlet, and removed components. Pay attention to joints and contact points where fibers can lodge.
- Rinse as directed. Remove detergent and loosened soil using the specified rinsing method. Prevent water from entering motors, switches, electrical enclosures, bearings, or other restricted areas.
- Sanitize and allow the required contact time. Apply a sanitizer suitable for the intended food-contact surface, following its label and your site procedure. Confirm the required concentration with the method specified for that product. Do not assume a quick spray or immediate wipe meets the label directions.
- Air-dry or dry as instructed. Let parts drain and dry using the approved method. Use only clean materials if the procedure requires wiping. Avoid recontaminating cleaned parts by placing them on a dirty counter or handling them with unclean hands or gloves.
- Inspect and reassemble. Look for remaining fibers, sticky residue, damage, missing fasteners, or incorrect seating. Reinstall components in the sequence given by the manual. Never operate the machine with a required guard or component missing.
- Return to service only after a readiness check. Confirm the machine is dry where required, correctly assembled, and ready for operation under the site’s food-safety procedure. Reconnect power only after cleaning is complete and the work area is clear.
If residue is stuck in an area that cannot be reached through normal operator access, do not improvise with tools or disassemble further. Consult the manual or contact technical support.
Cleaning checkpoints and manual-dependent precautions
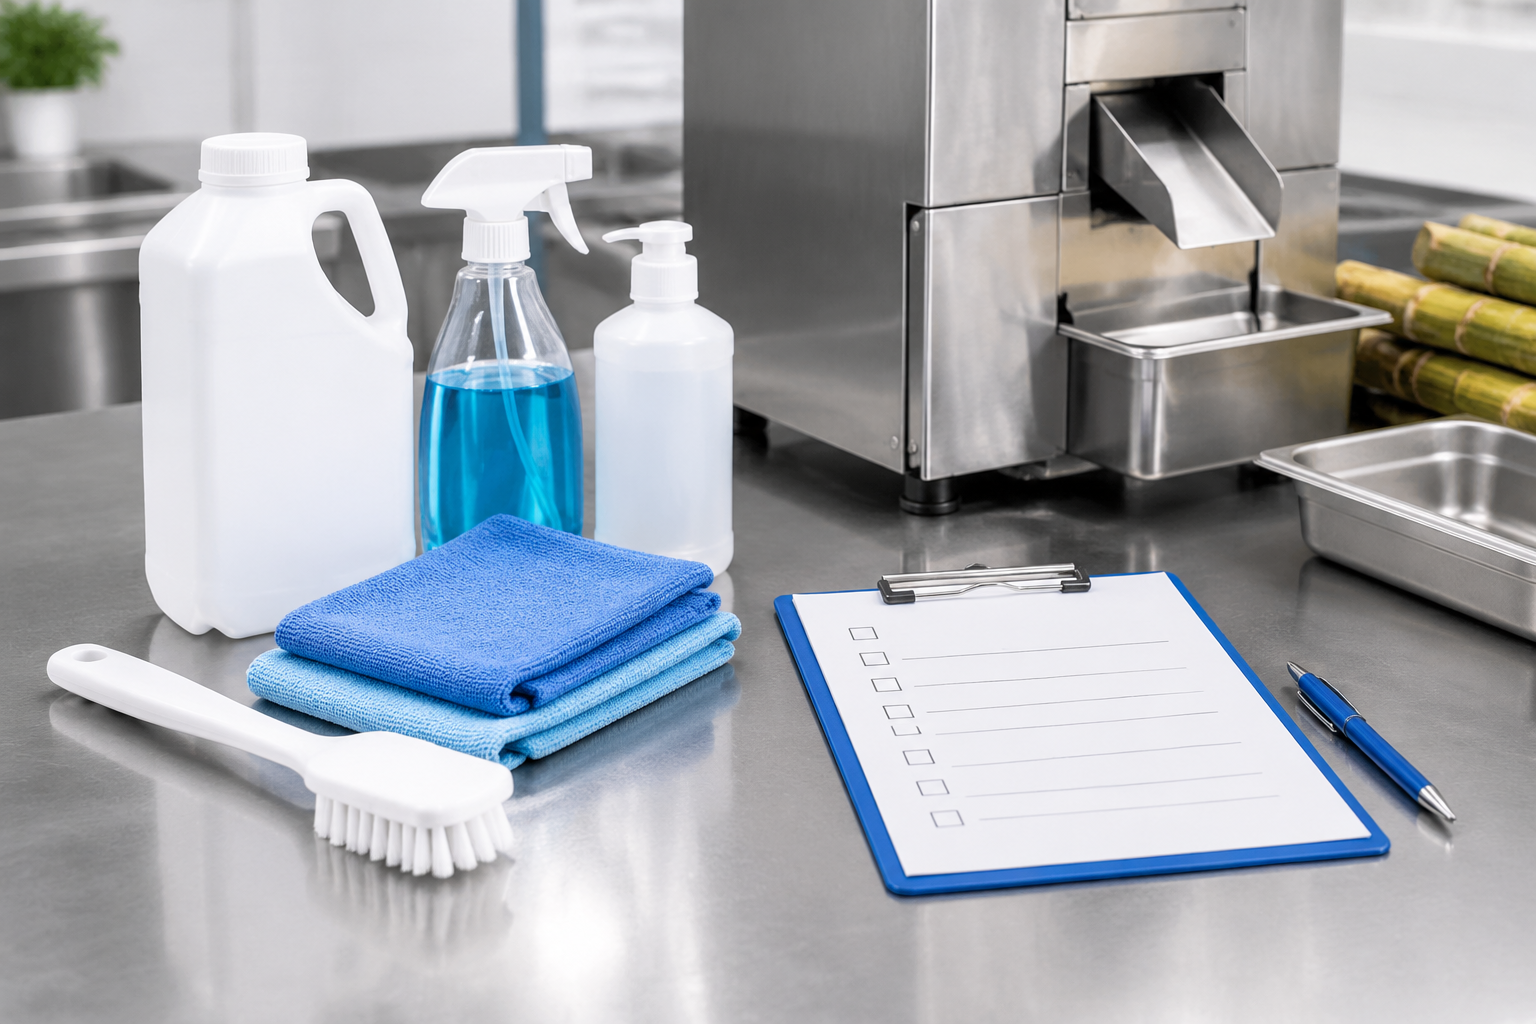
Use the table as a shift checklist. The manual takes precedence on access, disassembly, cleaning agents, and water exposure. Some machines may not have a user-removable part at every point listed.
| Area | Cleaning checkpoint | Precaution |
|---|---|---|
| Feed area | Remove cane fibers and wipe the accessible opening and surrounding food-contact surfaces. | Isolate power first; do not reach into the feed mechanism. |
| Accessible rollers | Inspect and clean only the surfaces reachable by the approved method. | Do not remove covers or use tools inside the roller assembly unless the manual permits it. |
| Juice collection path | Check accessible channels, guides, or collection surfaces for sticky residue. | Keep rinse water away from restricted electrical and mechanical areas. |
| Outlet or chute | Clean the surface that directs juice into the receiving container. | Check whether it is removable; do not force a fixed component. |
| Removable components | Wash, rinse, sanitize, dry, inspect, and reinstall as directed. | Track parts and confirm correct seating before operation. |
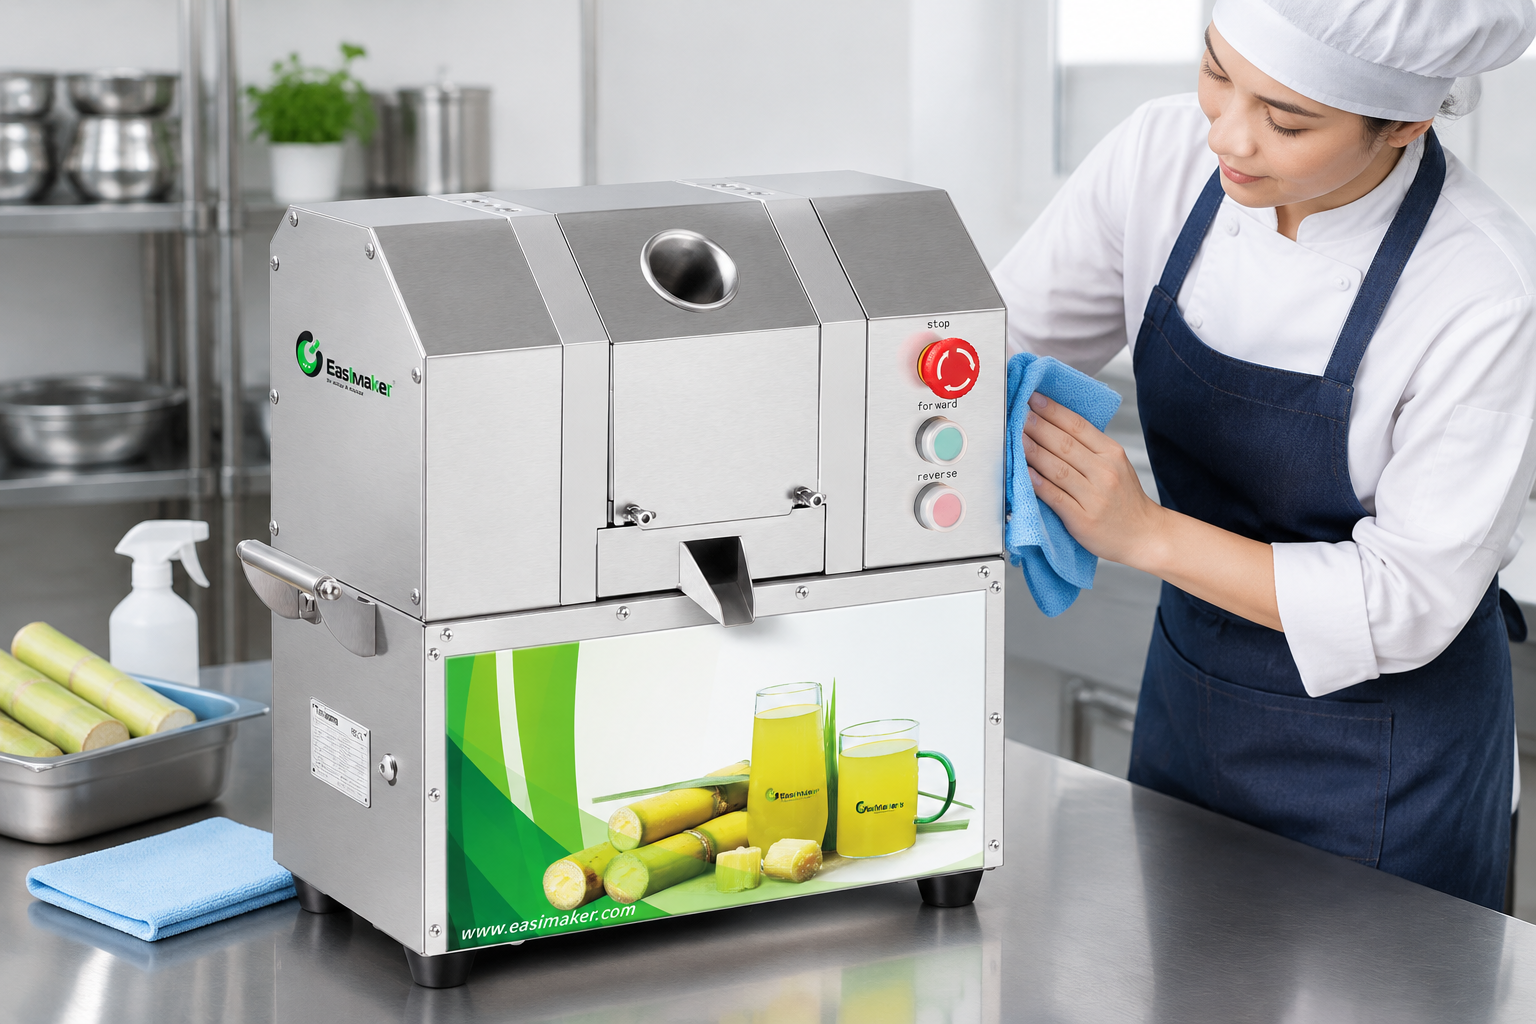
| Exterior and controls | Wipe splashes and residue from exterior surfaces. | Use a damp cloth only where permitted; do not spray controls or openings. |
Do not hose down a juicer unless the manufacturer explicitly identifies that model and cleaning method as suitable. A machine’s location near a sink, its metal exterior, or a general water-resistance claim is not enough to establish that hose rinsing is safe. If you need a faster cleaning method, ask the supplier for written instructions for the exact model.
Review model instructions and evaluate cleaning access before buying
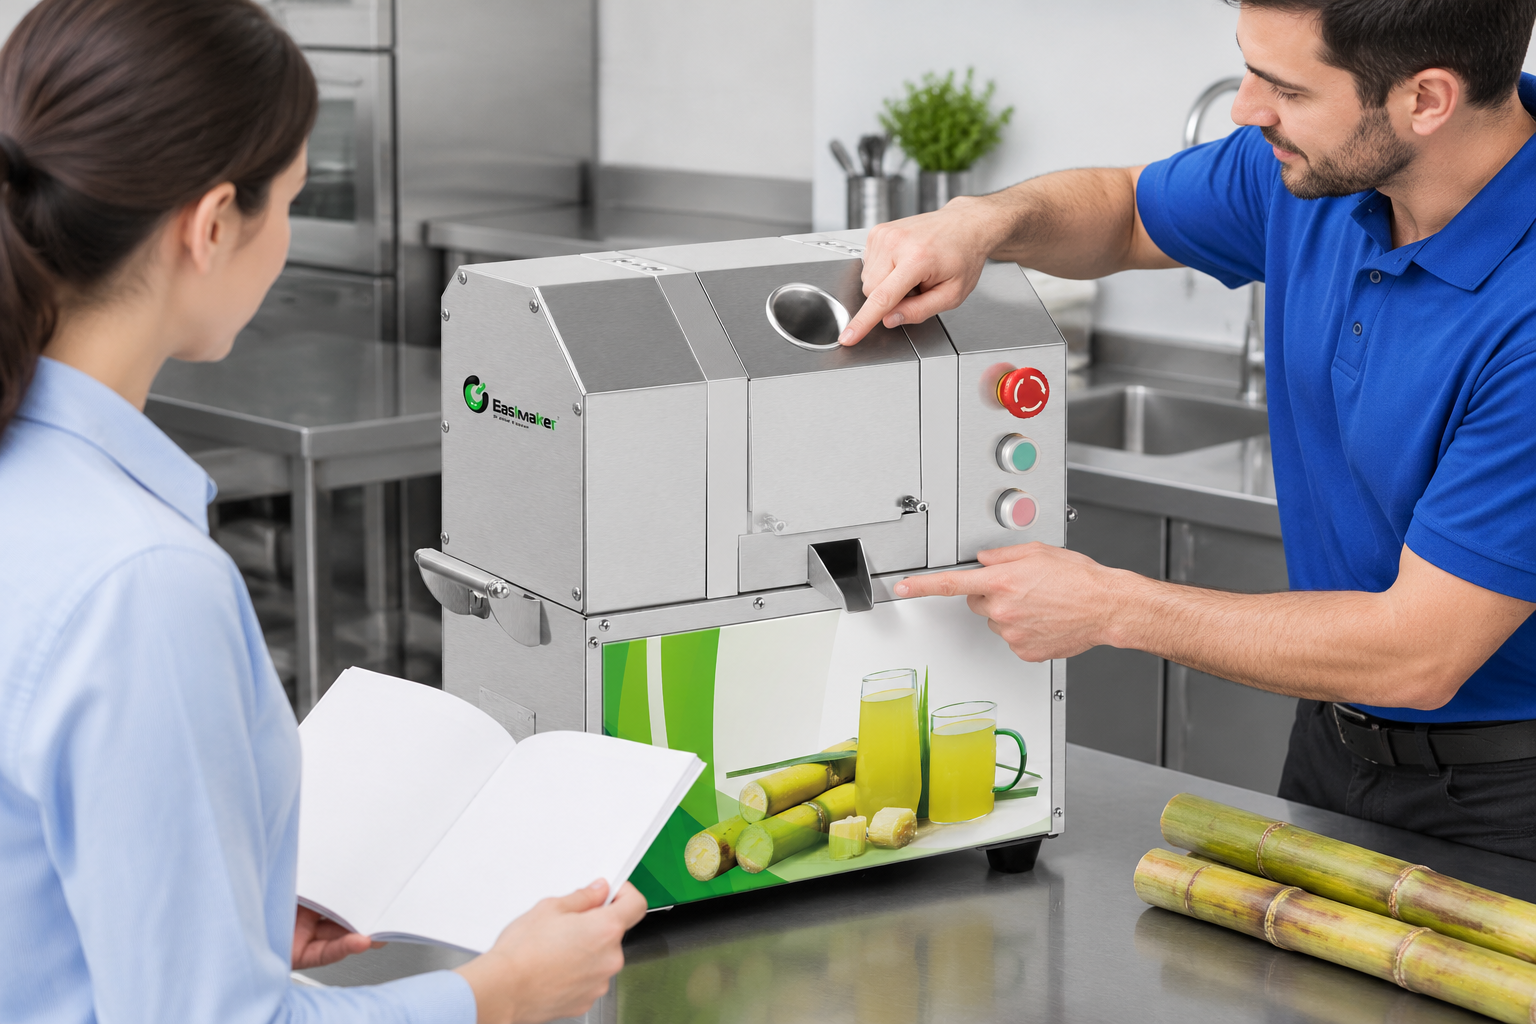
Cleaning access should be part of equipment evaluation, not a question postponed until after installation. Ask a supplier to show the full cleaning sequence on the exact configuration being quoted. The demonstration should cover shutdown and power isolation, the parts operators may remove, the complete food-contact path, the approved cleaning method, drying, inspection, and reassembly.
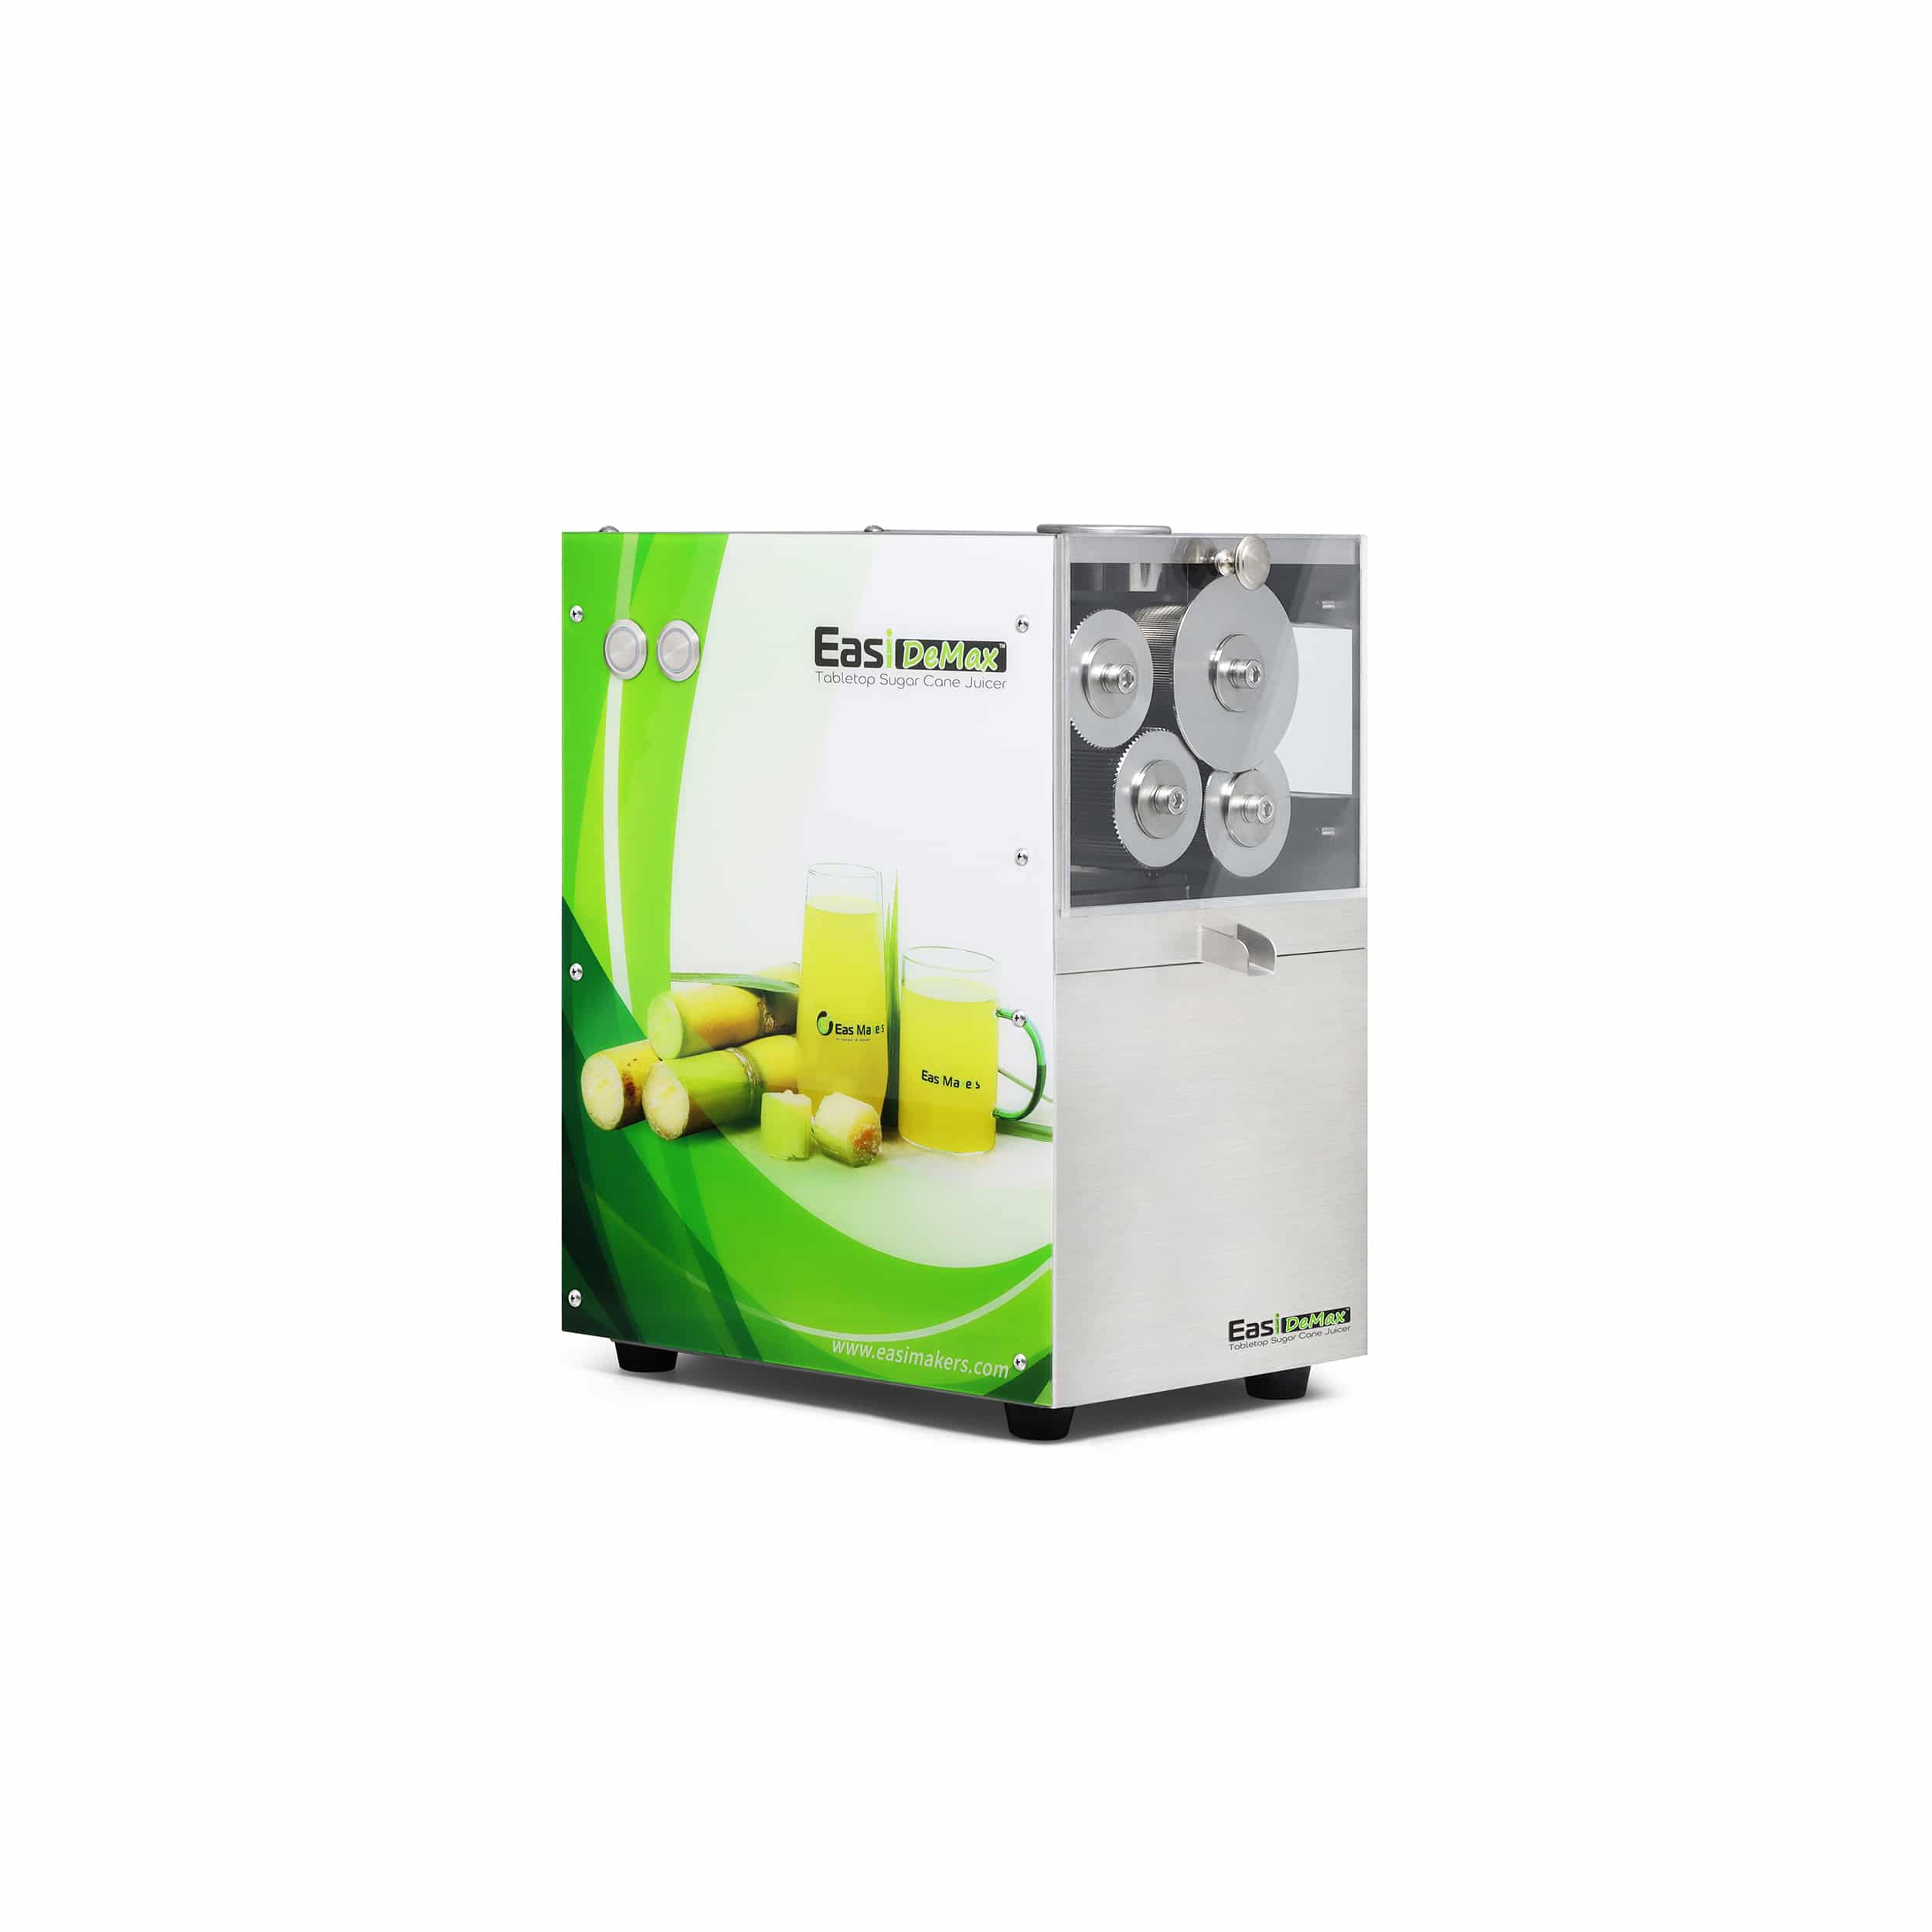
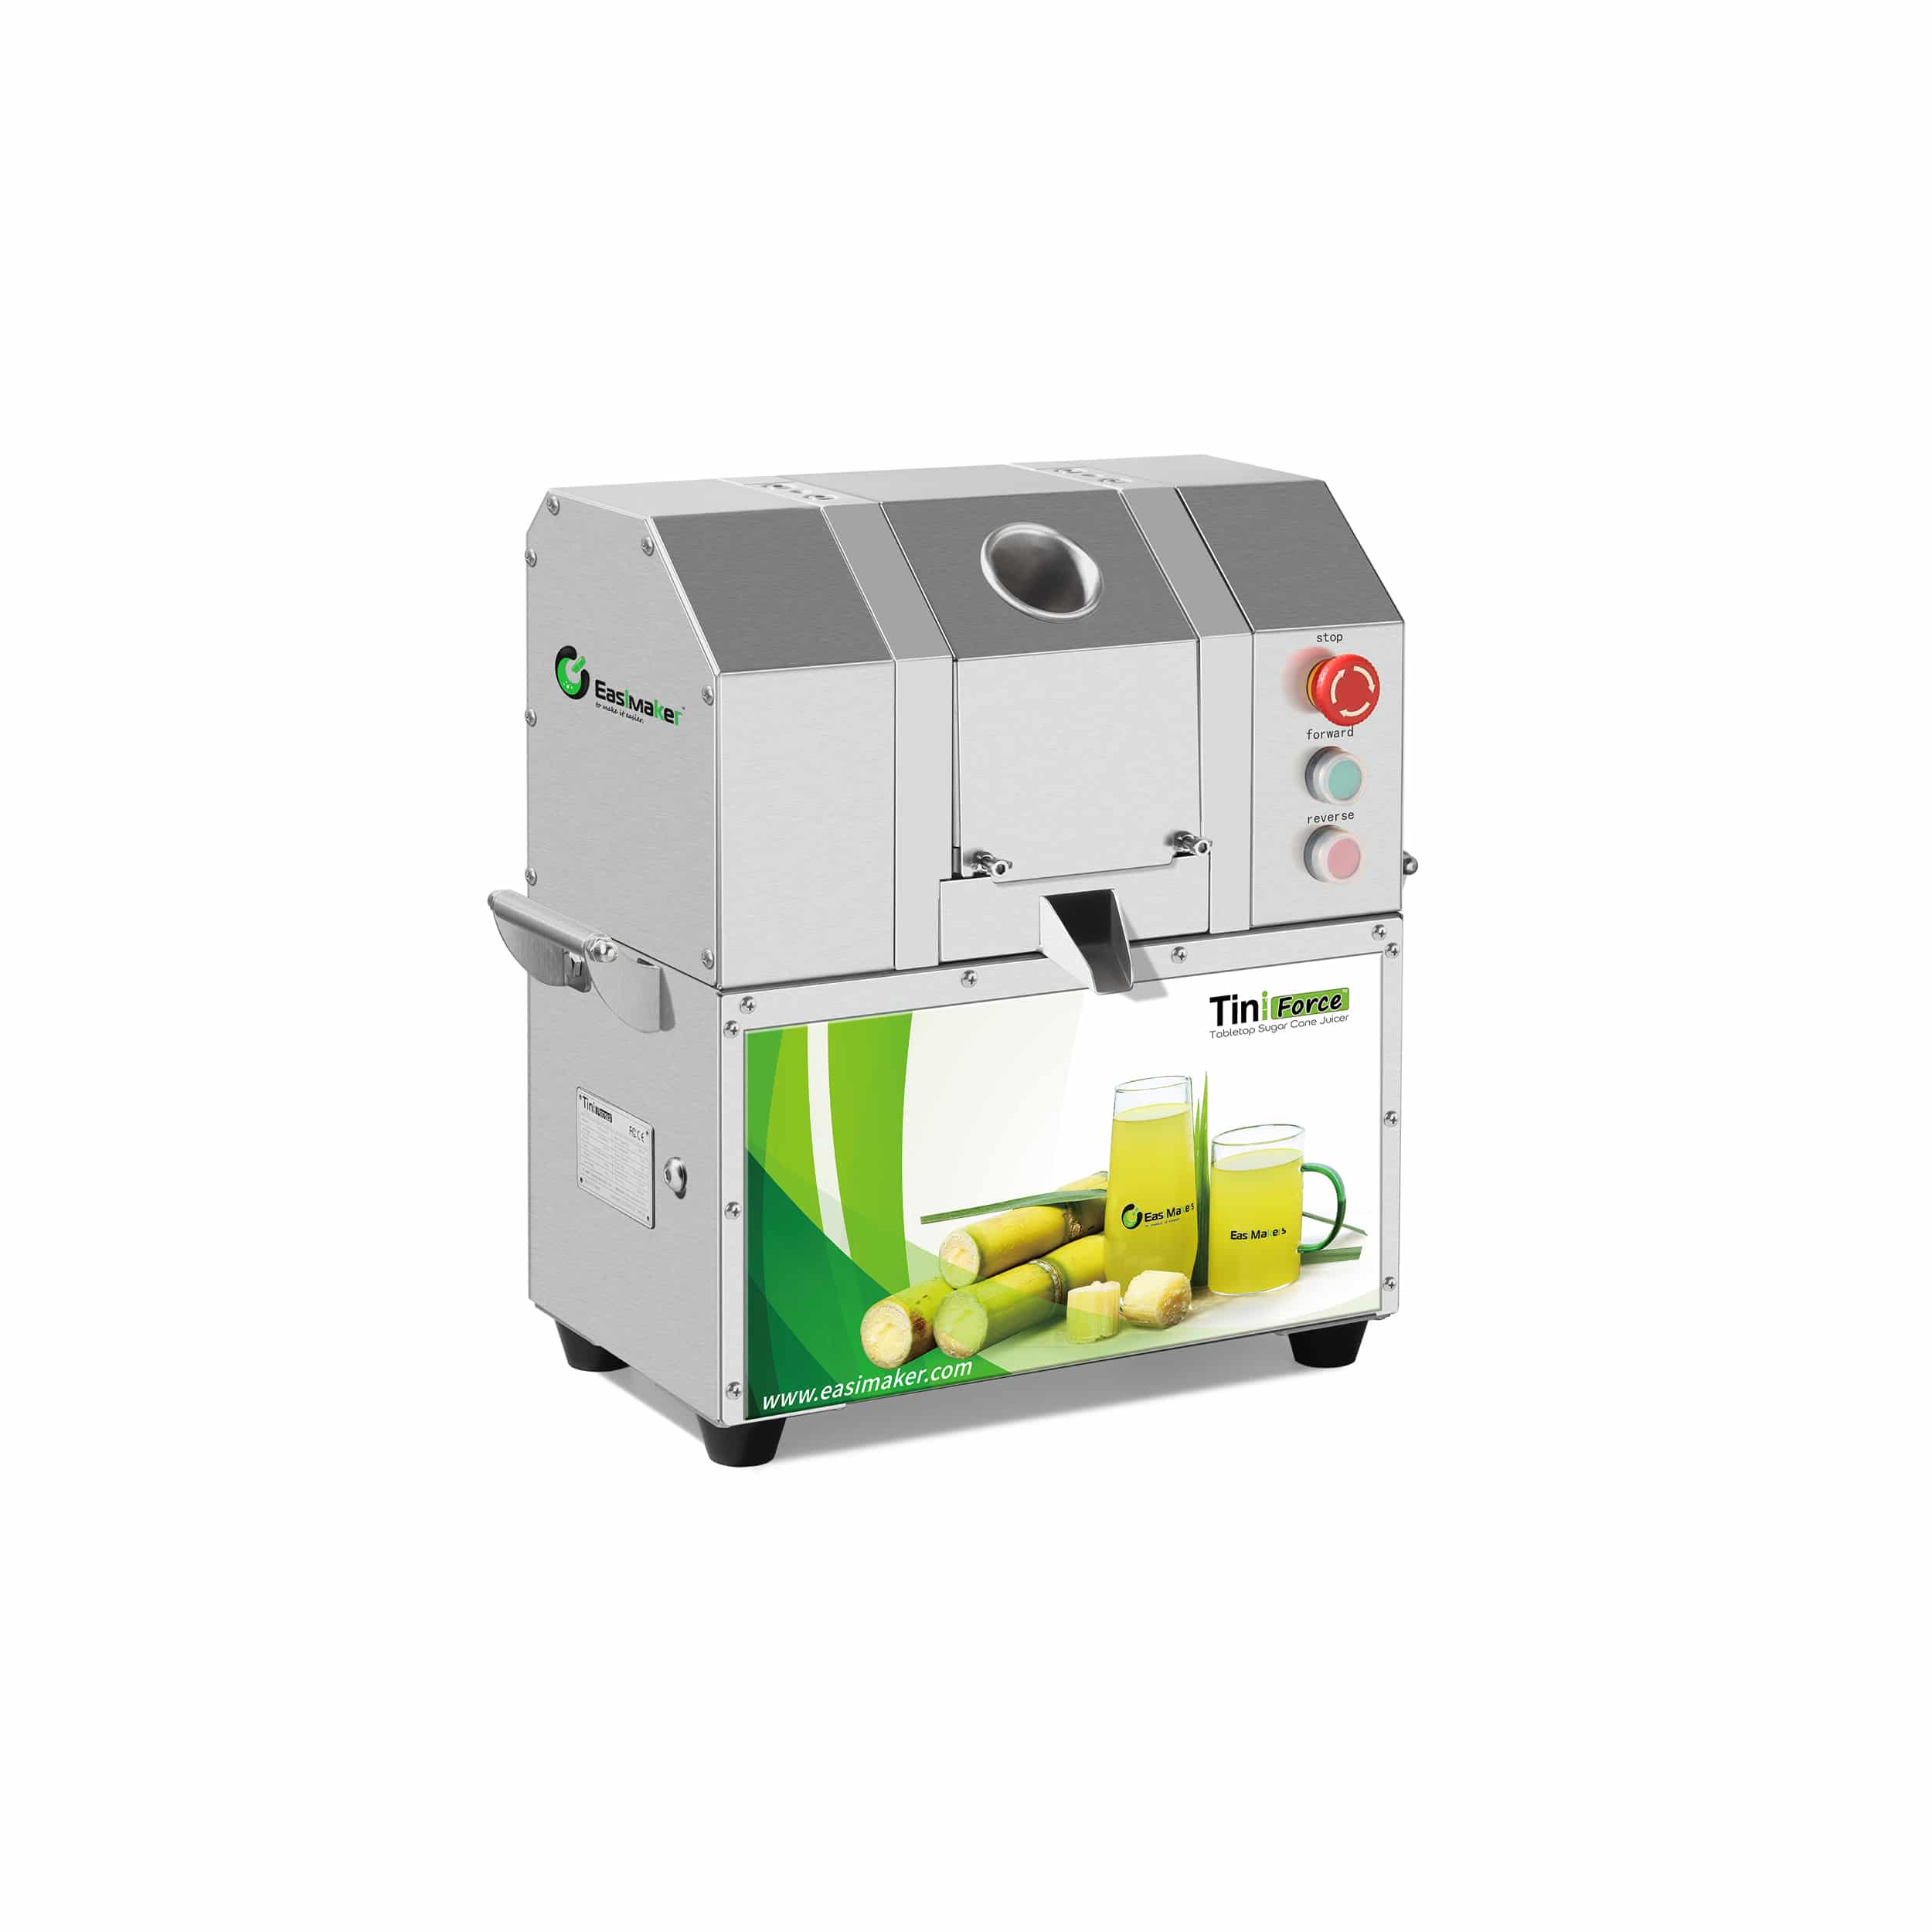
Buyers considering the TiniForce S3 compact machine or the EasiDeMax S4 tabletop machine should review the current model manual before setting staff procedures. Confirm which parts are intended for routine operator cleaning, what cleaning products and tools are permitted, and what areas must remain dry. Product configuration and instructions should be confirmed for the specific unit being purchased.
For the EasiDeMax S4, a transparent viewing window may provide visibility into some machine areas. It does not establish that all surfaces are visible, accessible, or clean, and it does not replace cleaning, sanitation, or inspection. For either model, do not assume components are removable based only on photographs or a product description.
Include cleaning access in a demonstration checklist. Can staff reach the authorized food-contact surfaces without unsafe hand placement? Are removable parts identifiable and manageable? Can residue be seen and removed without contacting restricted components? Are manual instructions and support available in a form the operator can use? These practical questions help buyers assess whether a machine fits the actual shop routine.
Make the cleaning routine repeatable across shifts
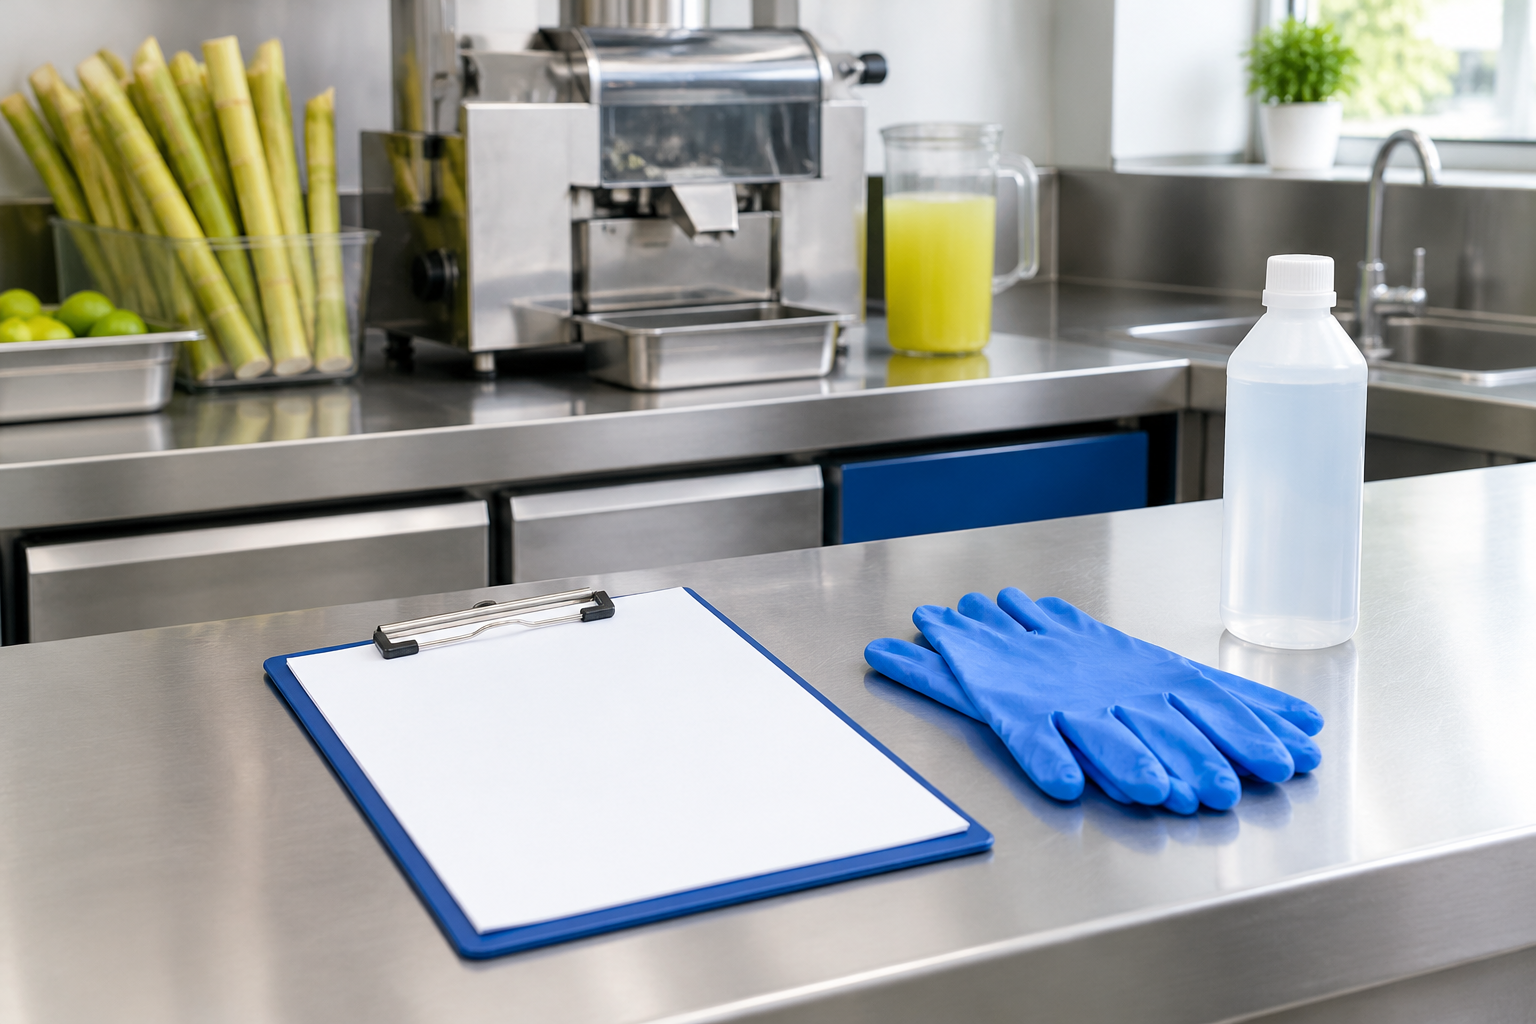
A written procedure helps staff perform the same sequence and gives managers a clear way to verify completion. Keep it specific to the machine model and the products approved for the site. Avoid generic instructions such as “wash thoroughly” without identifying the areas, steps, and responsible person.
A useful record can include the machine identifier, date and shift, operator initials, cleaning steps completed, sanitizer product and any required concentration check, inspection result, and any fault or residue that could not be removed. The exact recordkeeping requirements depend on the business’s food-safety plan and applicable local rules; use those requirements as the standard.
Train operators to distinguish routine cleaning from maintenance. Cleaning staff should not adjust rollers, remove service-only covers, lubricate components, or repair electrical parts unless the manufacturer’s instructions and their training explicitly authorize the task. If a seal appears damaged, a part is missing, or cleaning exposes a defect, keep the machine out of service until the issue is assessed.
At the start of the next service period, verify that the machine is assembled correctly, clean and dry as required, and free of cleaning materials. Confirm the outlet and collection vessel are ready for use. If the machine was stored or left idle, follow the manual’s pre-operation checks rather than assuming yesterday’s cleaning guarantees readiness today.
For additional routine-care context, use the site’s maintenance and support resource and keep model-specific cleaning instructions accessible to staff. Cleaning records complement, but do not replace, the required sanitation procedure or local food-safety controls.
Plan commercial sugarcane juicer cleaning around access
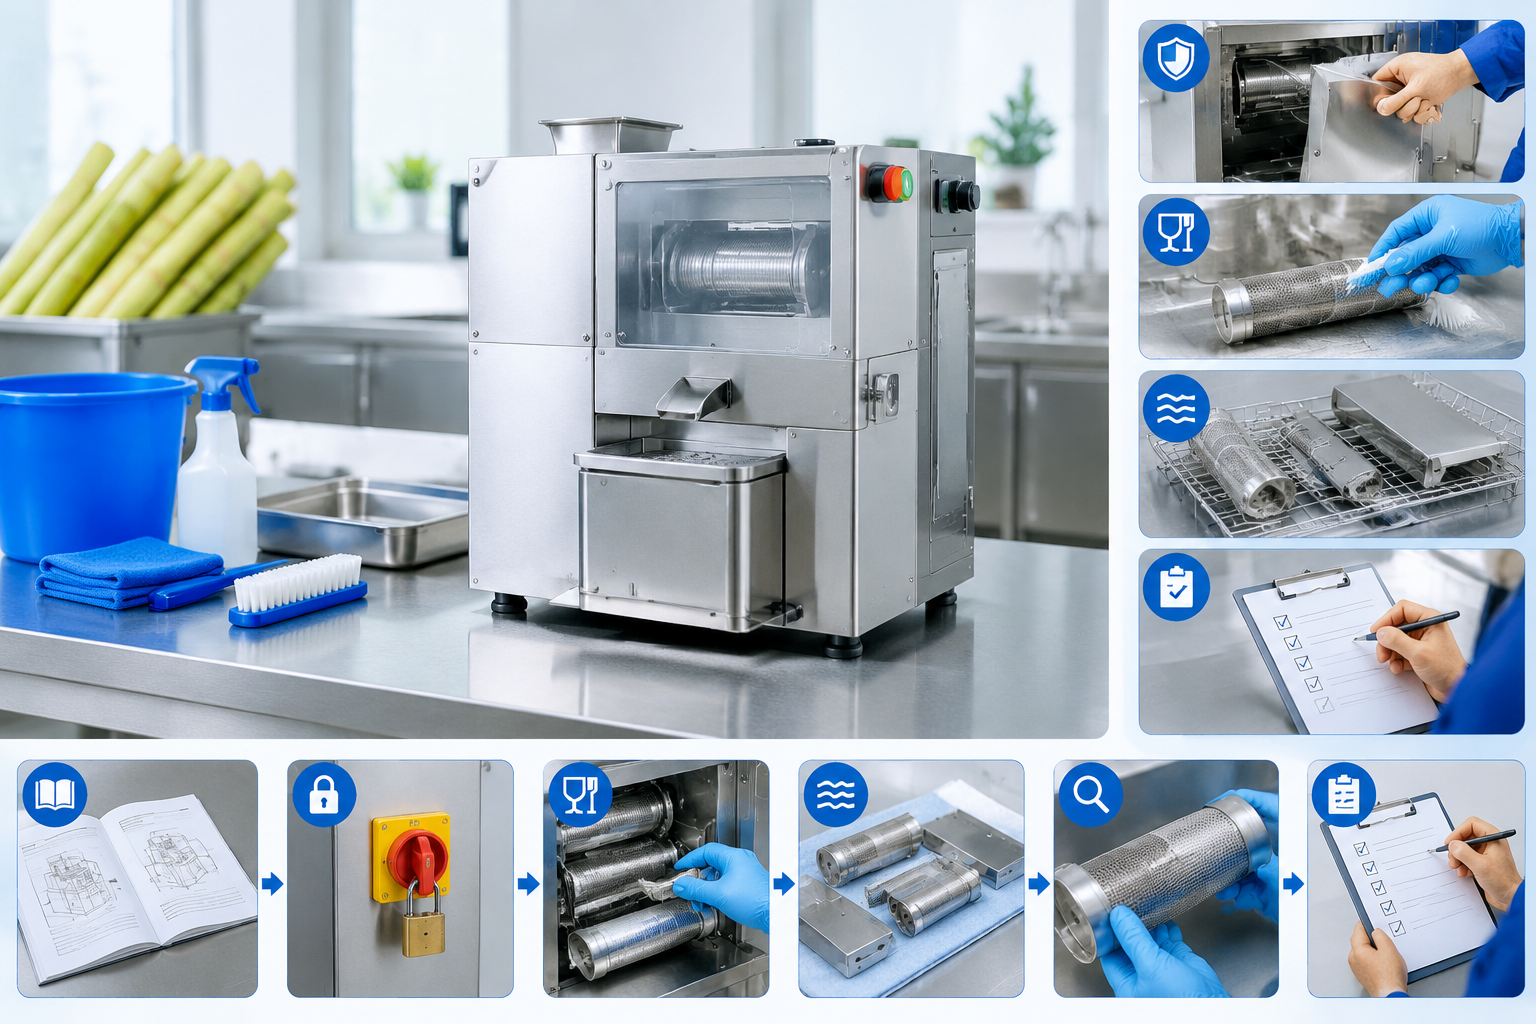
Reliable commercial sugarcane juicer cleaning depends on a clear sequence, safe power isolation, access to food-contact surfaces, correct sanitizer use, and a final inspection. Follow the current manual and site food-safety procedure, document completion where required, and make cleaning access part of any equipment demonstration or purchase decision.
FAQ
How often should a commercial sugarcane juicer be cleaned?
Clean at the intervals required by the machine manual and your site’s food-safety procedure. Remove residue during service as needed to prevent buildup, and complete the required cleaning and sanitation routine at the end of service or whenever the procedure calls for it. Do not rely on one universal frequency for every machine or operation.
What is the difference between cleaning and sanitizing?
Cleaning removes food soil, juice, and fibers from a surface. Sanitizing is a separate step after cleaning that reduces microorganisms when performed with an appropriate product and according to its label directions. Sanitizer does not work as a substitute for removing visible residue.
Can a sugarcane juice machine be rinsed with a hose?
Only if the manufacturer explicitly approves hose rinsing for the exact model and specifies how to protect restricted areas. Do not assume that a metal exterior or a machine’s location near water makes washdown safe. Follow the manual and keep water away from electrical components and other restricted areas.
Which parts can operators remove for cleaning?
That depends on the machine. Remove only components the current manual identifies as operator-removable, and use its prescribed sequence. Do not force a fixed chute, remove service covers, or reach into roller assemblies unless the manufacturer’s instructions permit it.
What cleaning information should a buyer request before purchase?
Ask for the current manual and a demonstration of shutdown, power isolation, authorized disassembly, food-contact access, permitted cleaning agents and tools, water restrictions, sanitizing guidance, drying, inspection, and reassembly. Confirm how staff can get model-specific support if a surface is difficult to reach or residue remains.
Find the Right Sugarcane Juicer or Food Processing Solution
Tell us your product interest, expected output, market, and project requirements. Our sales team can recommend a suitable machine, provide technical guidance, and discuss OEM/ODM or distribution options. For a cleaning question, include the model and serial number so the team can direct you to the relevant instructions.