How to Clean a Sugarcane Juice Machine: Daily SOP

Table of Contents

A daily cleaning SOP for commercial sugarcane juice machines: isolate power, remove cane residue, clean accessible food-contact parts, rinse, sanitize, dry, inspect, and reassemble according to the machine manual.

Daily Cleaning SOP at a Glance
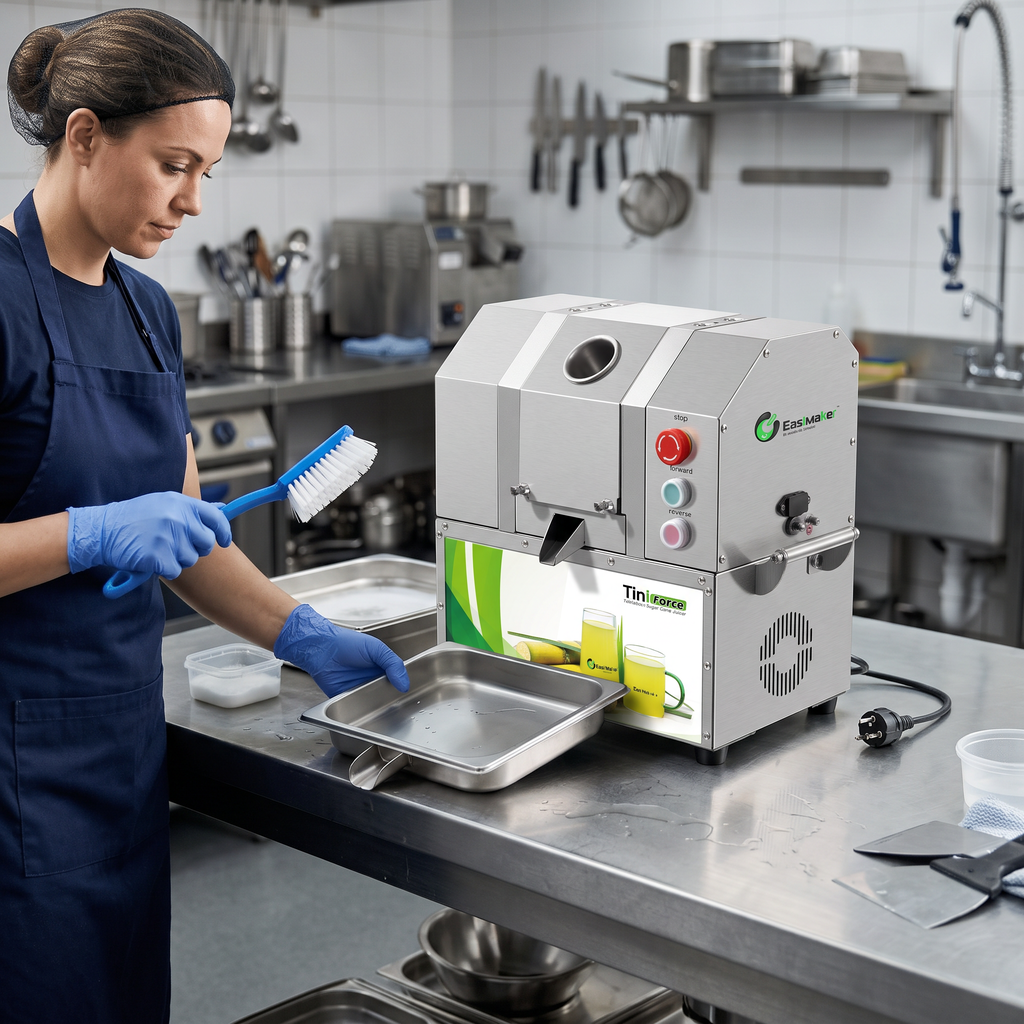
Commercial sugarcane juice machine prepared for daily cleaning

To clean a sugarcane juice machine each day, stop production, switch off and isolate the power supply, remove remaining cane fibre, and clean all accessible food-contact areas following the machine manual. Wash removable parts with a food-equipment-safe detergent, rinse with clean water, apply a suitable food-contact sanitizer at its labelled concentration and contact time, then allow parts to air dry before reassembly.

The exact disassembly points, cleaning tools, and approved chemicals depend on the machine model and local food-safety requirements. Never direct high-pressure water at motors, switches, electrical connections, bearings, or sealed areas unless the manufacturer specifically permits it. A consistent end-of-day routine is more reliable than attempting to remove dried residue at the next opening.

This SOP is intended for commercial operators. It should be adapted to the instructions supplied with the machine and to the hygiene procedures required by the local authority, site manager, or food business.

Why Daily Cleaning Matters
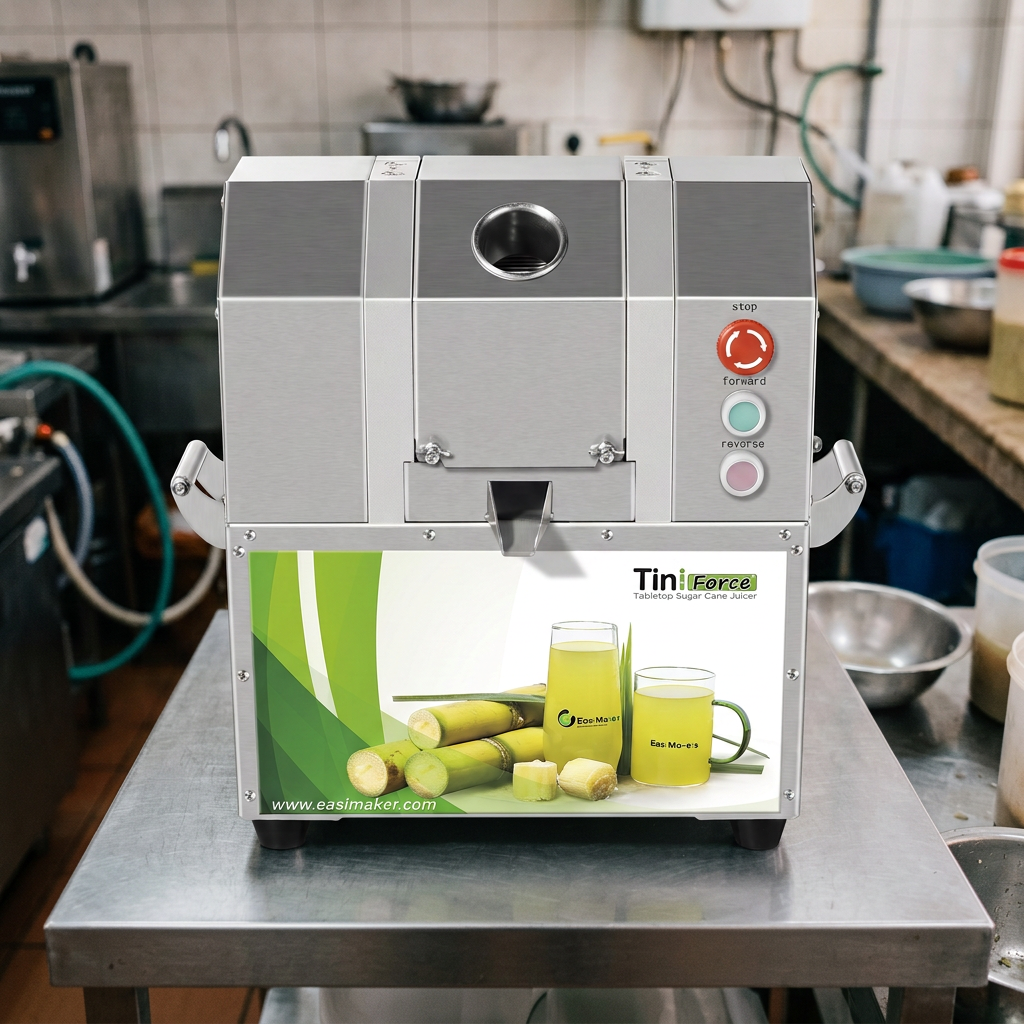
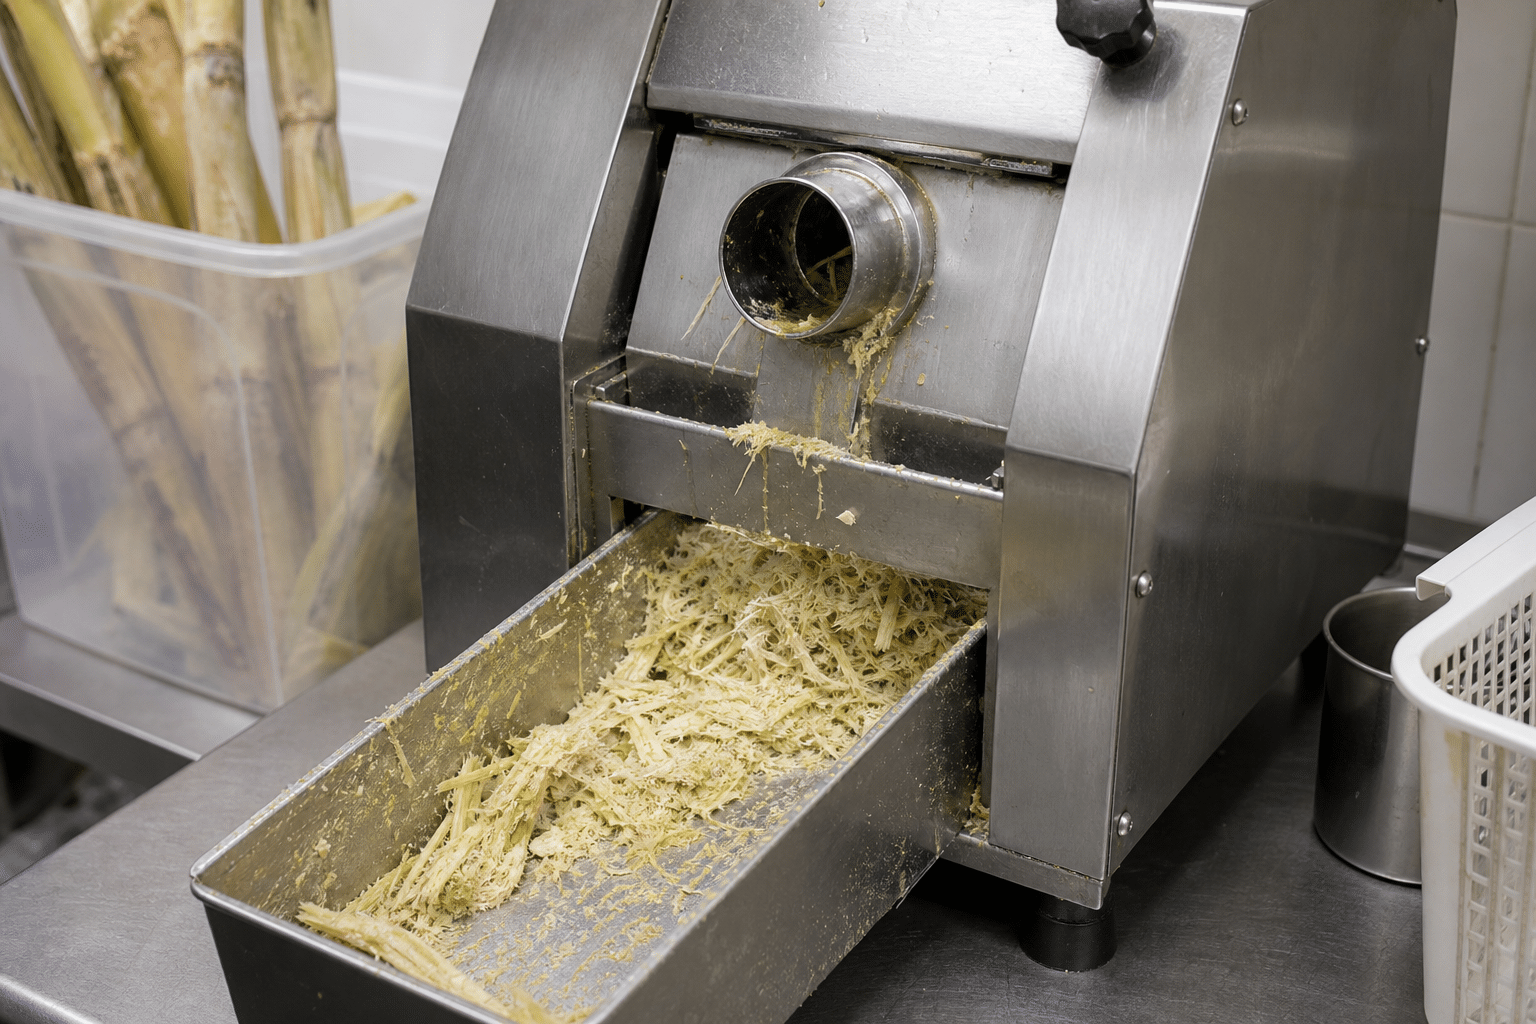
Sugarcane fibre residue in accessible areas of a commercial juicer

Sugarcane juice leaves fibrous bagasse, juice film, and fine particles around rollers, feed openings, juice paths, guards, trays, and collection containers. Once residue dries, it is harder to remove and can interfere with normal operation. A daily cleaning routine helps operators keep food-contact surfaces ready for the next service period and makes early wear or damage easier to spot.

Cleaning and maintenance are connected, but they are not the same task. Cleaning removes visible residue and soil. Sanitizing is a separate step performed after effective cleaning and rinsing. Maintenance covers inspection, adjustment, replacement, and service activities. Combining these terms can lead to missed steps, especially when staff change shifts.

Before setting a cleaning routine, review the equipment documentation and identify the parts the operator may remove safely. For buyers evaluating access, parts availability, and support before purchase, this guide on questions to ask a sugarcane juicer manufacturer can help define the practical points to confirm.

Prepare the Machine Safely
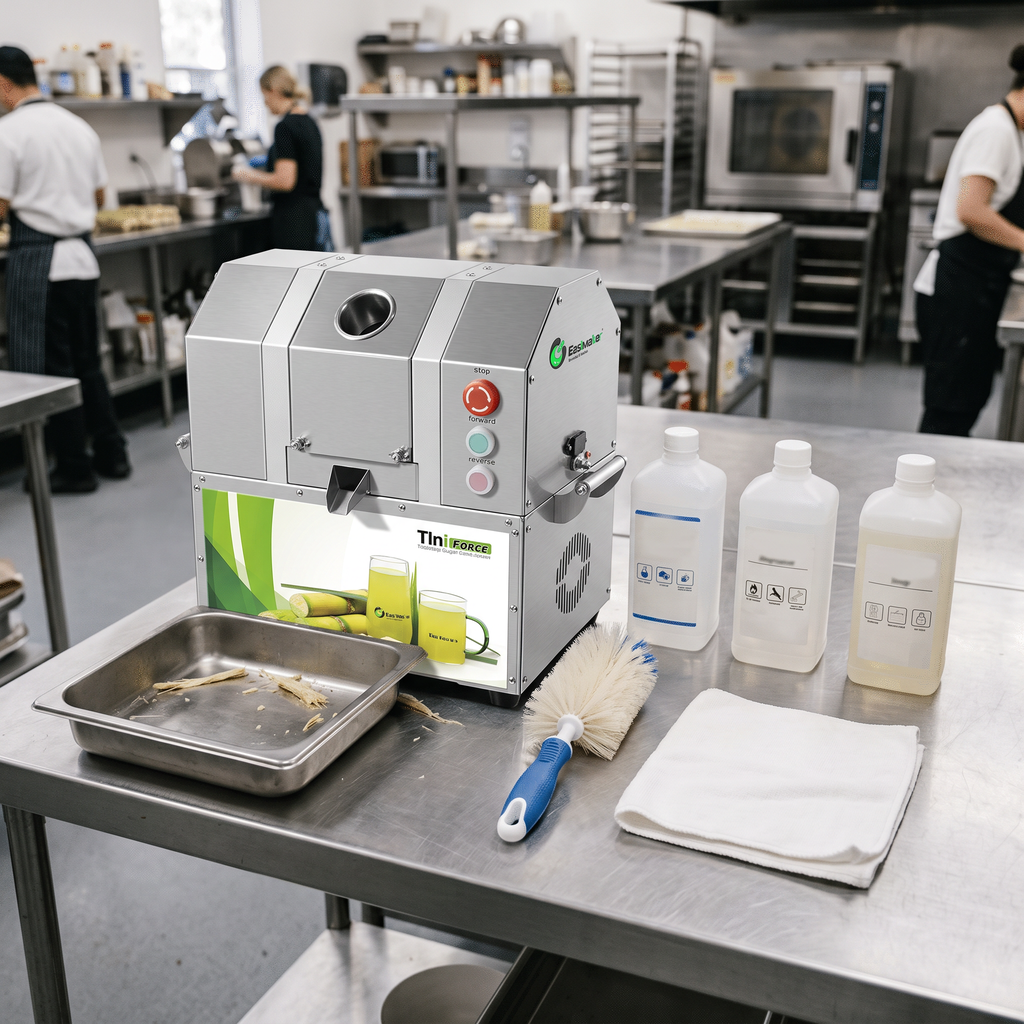
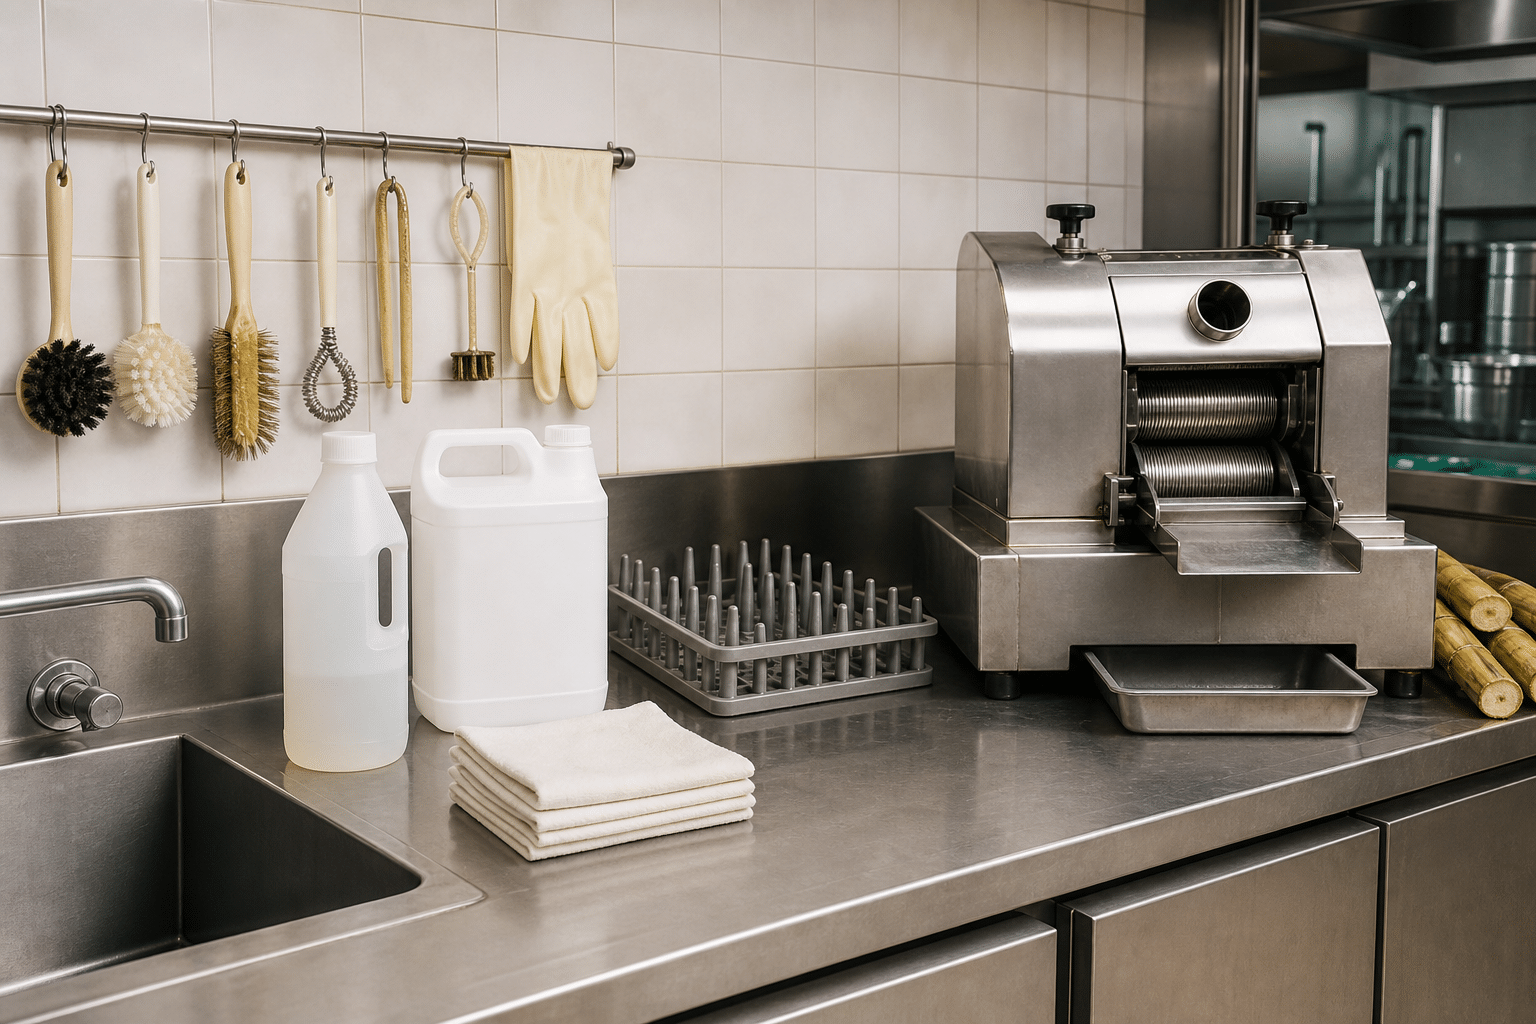
Approved cleaning tools prepared beside a commercial sugarcane juice machine

Begin cleaning only after the final cane has passed through the machine and the rollers or crushing mechanism have stopped completely. Switch the machine off using its normal control, then isolate it from the electrical supply. Follow the site lockout procedure where one is used. Do not clean a moving machine, reach into a feed opening, or rely only on an operator switch when removing guards or accessing the crushing area.

Prepare the supplies before dismantling anything:

  • Clean food-equipment brushes sized for the machine’s accessible areas.
  • A non-abrasive cloth or sponge for smooth external surfaces.
  • A food-equipment-safe detergent used as directed by its supplier.
  • Clean potable water for rinsing where the manual permits wet cleaning.
  • A food-contact sanitizer compatible with the surface materials.
  • Clean drain trays, containers, and a designated area for removable parts.
  • Disposable gloves or other personal protective equipment required by the cleaning chemical instructions and site policy.

Avoid improvised metal tools, steel wool, aggressive scouring pads, or chemicals that may damage stainless steel, coatings, plastics, seals, or labels. Do not mix cleaning chemicals. If a chemical label, safety data sheet, or local procedure gives a different dilution, protective-equipment, or rinse requirement, follow that instruction.

Step-by-Step Daily Cleaning SOP
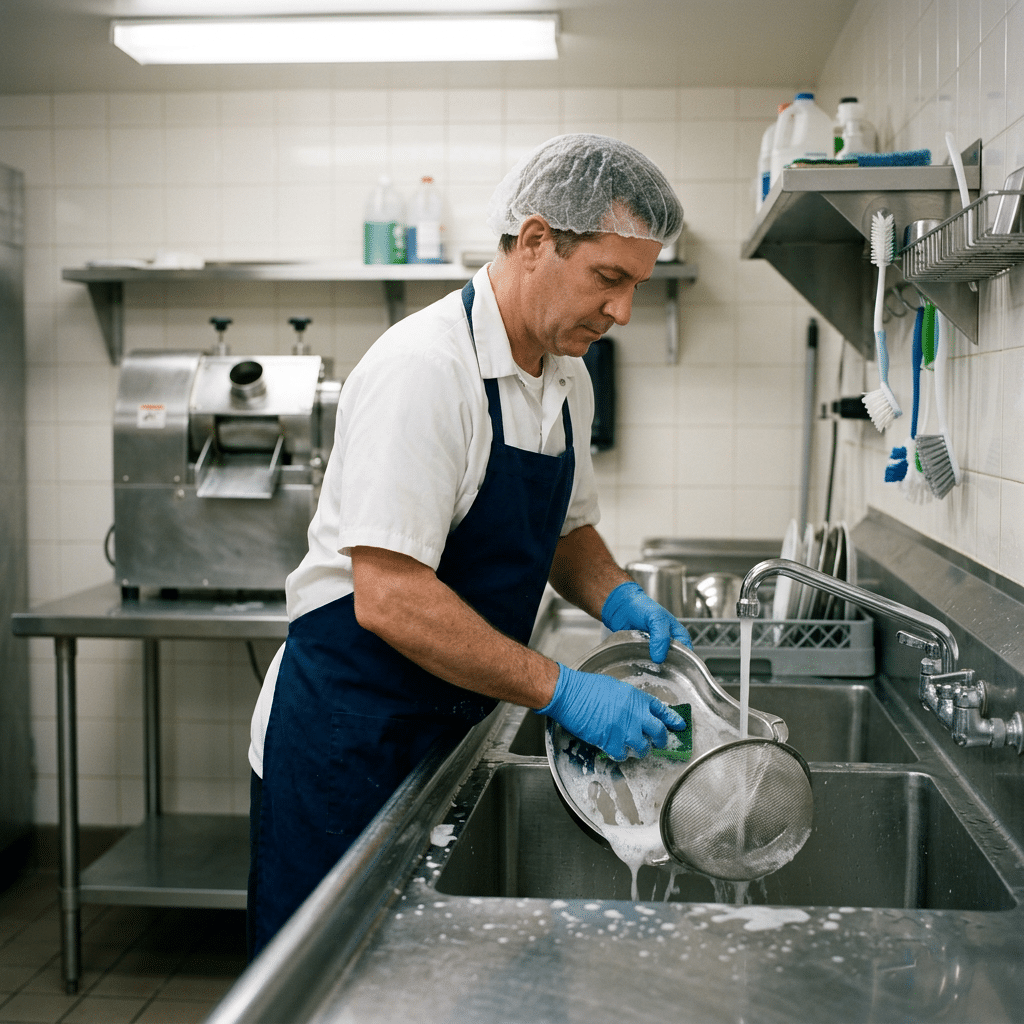
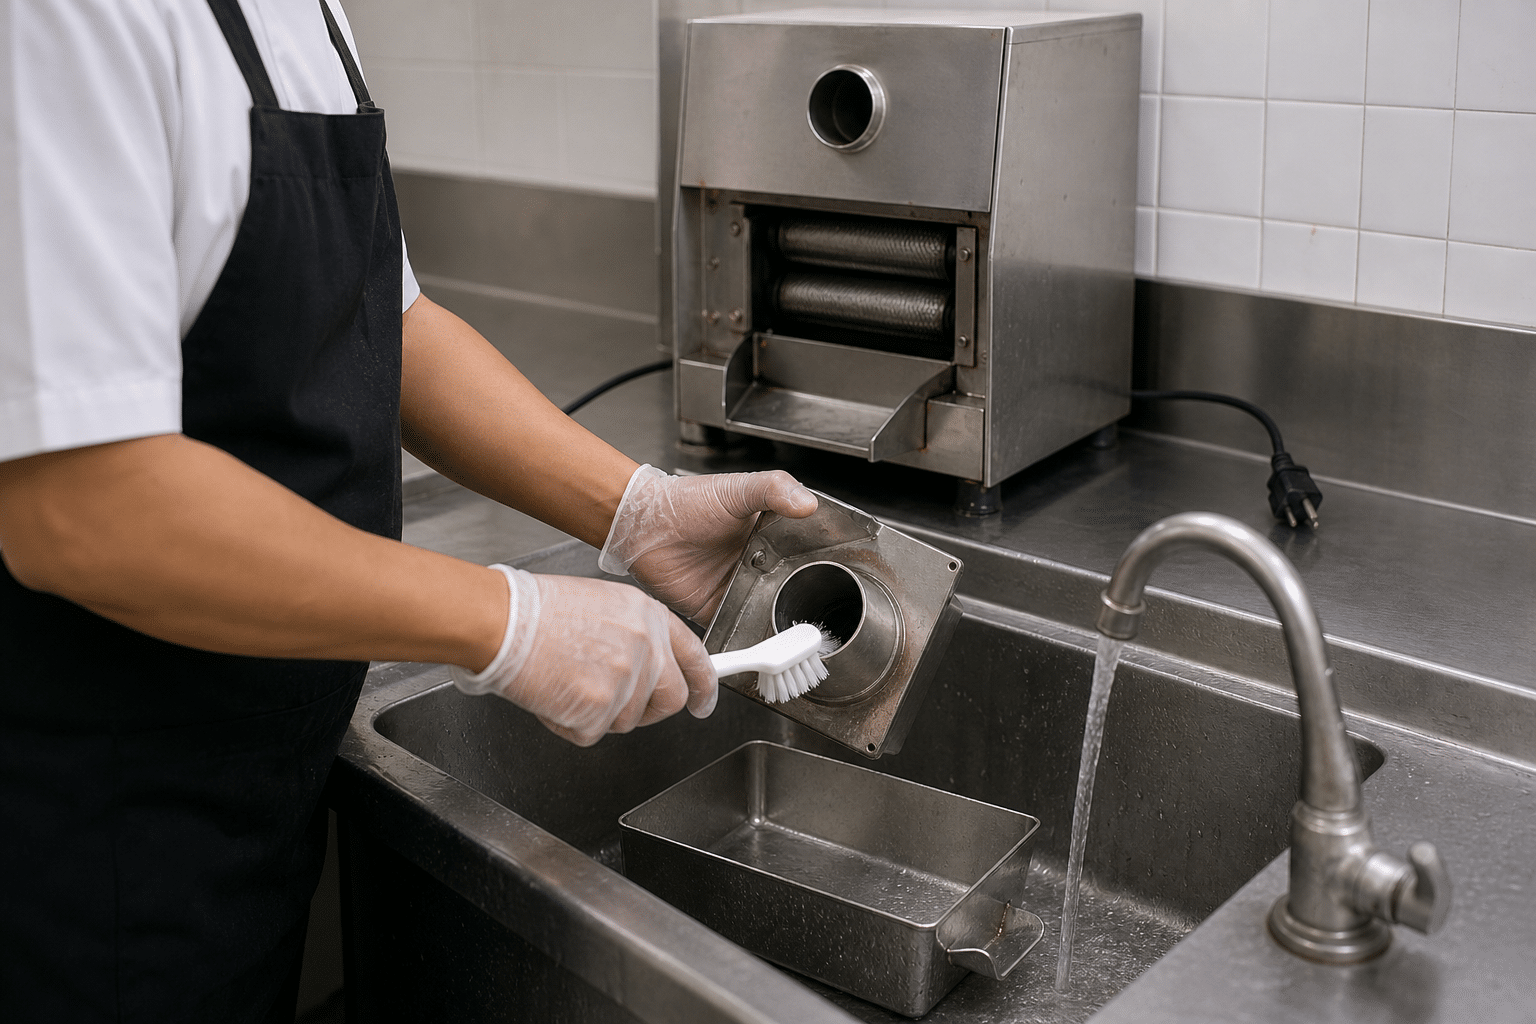
Washing removable parts from a commercial sugarcane juice machine
  1. Clear product residue. With the machine isolated, remove loose cane fibre from the feed area, discharge area, tray, splash guards, and other accessible locations. Use a designated brush or scraper that is approved for the machine. Collect bagasse and waste promptly so it does not spread over clean surfaces.
  2. Remove operator-serviceable parts. Take off only the guards, covers, juice trays, strainers, collection containers, or other removable components identified in the manual. Place small items in a clean container so fasteners and parts are not lost. Do not force components that do not release normally.
  3. Wash removable food-contact parts. Apply detergent according to its instructions. Brush joints, corners, mesh, juice channels, and the undersides of trays where residue may collect. A detergent wash should physically remove soil; sanitizer is not a substitute for this step.
  4. Clean fixed accessible surfaces. Wipe or brush the accessible roller area, feed chute, discharge area, external housing, handles, and surrounding splash zones using the method approved for the machine. Use a controlled amount of water. Keep liquid away from electrical controls, motor ventilation, transmission components, and any area not designed for washdown.
  5. Rinse when required. Rinse detergent from parts and surfaces with clean water, following the detergent label and machine instructions. Residual detergent can affect the sanitizer step and may leave an unwanted residue.
  6. Clean the work area. Empty and clean the waste container, wash the drip area, and clean the bench or stand around the machine. A clean machine placed back into an unclean splash zone can quickly become contaminated again.

Where a model has enclosed rollers, internal juice pathways, or parts that require tools to access, do not assume they should be opened during every shift. Follow the manufacturer schedule. Unauthorized dismantling can create safety risks, introduce alignment problems, or compromise components that need trained service.

Sanitize, Dry, and Reassemble

After surfaces are visibly clean and rinsed as required, sanitize food-contact parts and accessible food-contact surfaces with a product suitable for the material and intended use. Use the concentration, application method, contact time, and rinse instruction on the sanitizer label. More chemical is not automatically better: an incorrect concentration can be ineffective, leave residue, damage materials, or create unnecessary handling risk.

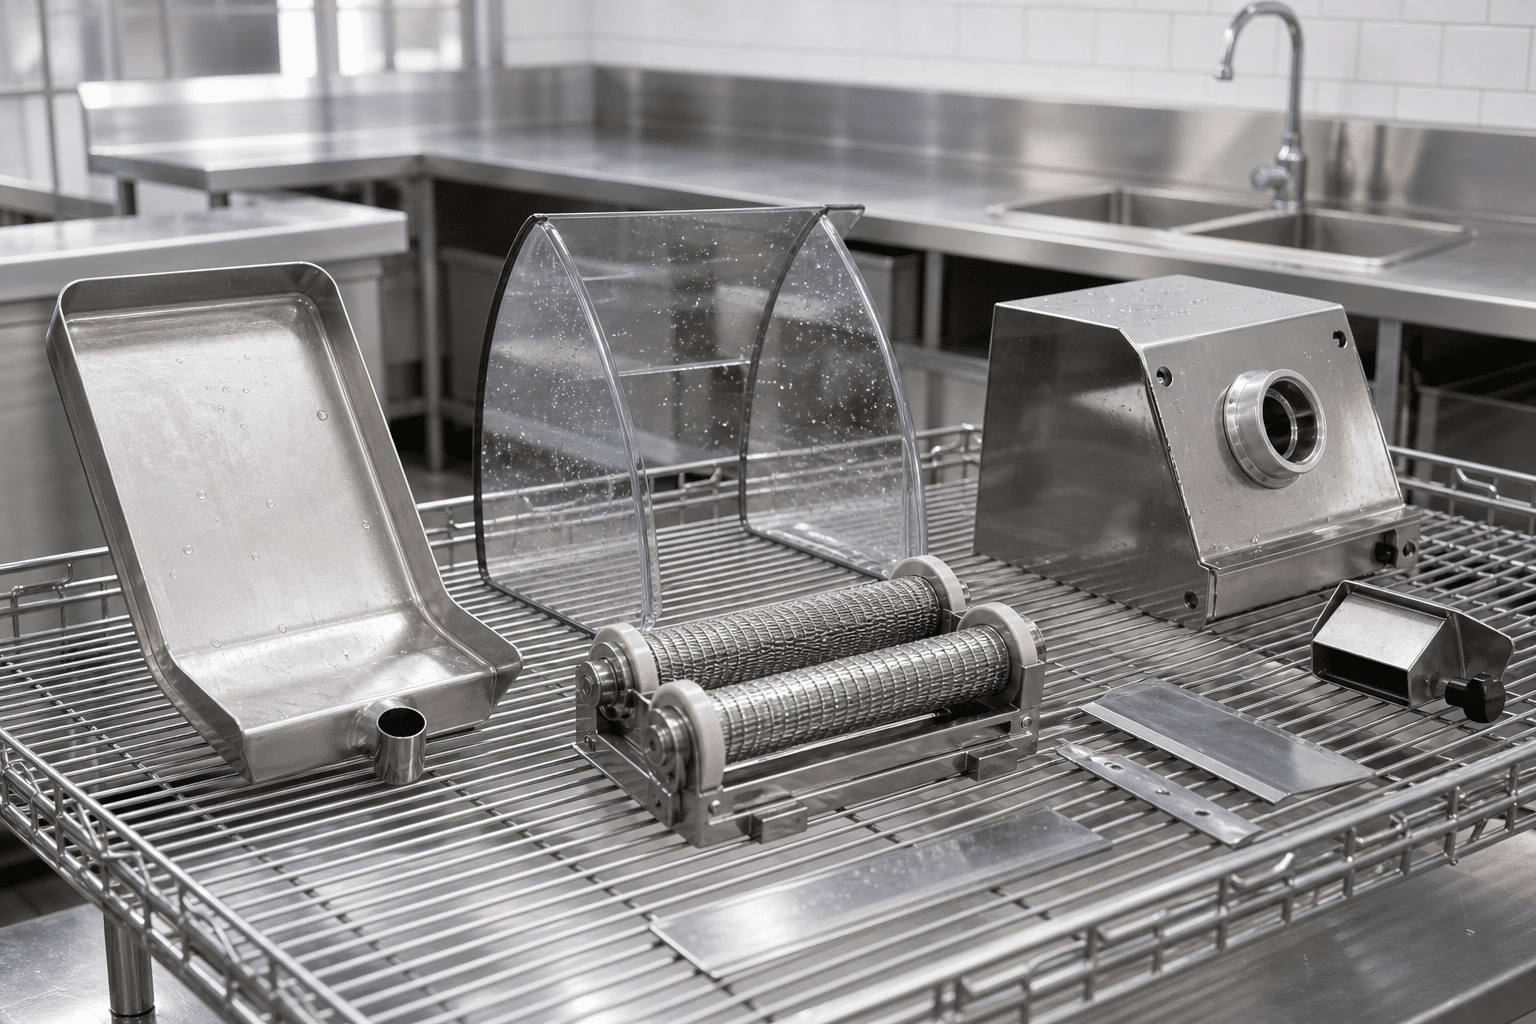
Allow cleaned parts to air dry on a clean rack or protected surface. Drying with an unclean cloth can reintroduce residue. If a site procedure permits cloth drying, use only a clean designated cloth and replace it when soiled. Ensure juice containers, strainers, trays, and any removable guards are fully dry before reassembly.

Reinstall parts in the correct orientation and secure guards before restoring power. Confirm that no brush, cloth, fastener, packaging, or cleaning item remains in the feed or crushing area. Reassembly is a functional safety step, not just the end of cleaning.

For distributors or brands establishing documented product specifications and service expectations, the OEM sugarcane juicer guide for distributors and brands outlines considerations such as target market, electrical configuration, parts planning, and after-sales support.

Daily Inspection Before Restart

Once the machine is clean, dry, and assembled, carry out a short visual inspection before the next production period. Check that guards and trays are correctly fitted, controls are dry and unobstructed, and the power cable shows no visible damage. Look for loose fasteners, cracked covers, damaged seals, unusual roller surface wear, leaks, or parts that no longer fit correctly.

During the next start-up, listen for unusual noise and observe the machine from a safe position. If a guard will not close, a part binds, a control behaves unexpectedly, or the machine makes an unfamiliar sound, stop using it and follow the service process specified by the supplier or manufacturer. Cleaning staff should report these observations rather than attempting an unapproved repair.

Keep a distinction between normal operator checks and technical service. Routine wiping, approved removable-part washing, and visual inspection belong in a daily SOP. Electrical work, roller alignment, drive-system service, and repairs should be handled by qualified personnel following the applicable documentation.

Common Cleaning Mistakes to Avoid

  • Cleaning after residue has dried: End-of-day cleaning is usually easier and more controlled when completed promptly after service.
  • Using sanitizer on visibly dirty surfaces: Soil should be removed first with the correct washing process.
  • Flooding the machine: Excess water can reach areas that are not intended for washdown, including controls and drive components.
  • Using abrasive tools: Scratches and damaged surfaces may become harder to clean and can shorten the usable life of parts.
  • Skipping hidden but accessible areas: Tray undersides, strainer mesh, juice collection points, guard edges, and splash zones need deliberate attention.
  • Reassembling while wet or incomplete: Missing or incorrectly fitted guards can create operational and safety problems.
  • Using a generic SOP without checking the model manual: Similar-looking machines can have different safe disassembly, cleaning, and service requirements.

Train every operator on the same sequence, including what they are permitted to remove and when they must escalate an issue. A short, clear SOP posted in the cleaning area is generally more useful than a long procedure that staff cannot follow during a busy close-down.

Create a Repeatable Cleaning Record

A simple record supports consistency across shifts and locations. The form can include the date, machine identification, cleaning start and finish time, operator initials, detergent and sanitizer used, any visible issue, and the action taken. Keep the form practical: the aim is to confirm that the required work happened and to make recurring issues visible.

For example, repeated notes about difficult-to-clean residue around a tray, a loose guard, or a worn seal may indicate a training need, a replacement part requirement, or a need for service. Records also help managers verify that opening and closing responsibilities are clear.

When selecting a commercial sugarcane juice machine, consider cleaning access alongside output needs, electrical compatibility, local service arrangements, spare parts, and intended operating environment. For machine selection, technical questions, or support planning, contact Easimaker to discuss the appropriate equipment and service requirements for your market.
How to Clean a Commercial Meat Bone Saw Safely

Table of Contents

A commercial meat bone saw must be cleaned with the power isolated, removable parts handled safely, food residues removed before they dry, and all food-contact surfaces washed, sanitised, dried, and inspected before reassembly. This guide sets out a practical routine for butchers, processors, and commercial kitchens.

The safe cleaning sequence

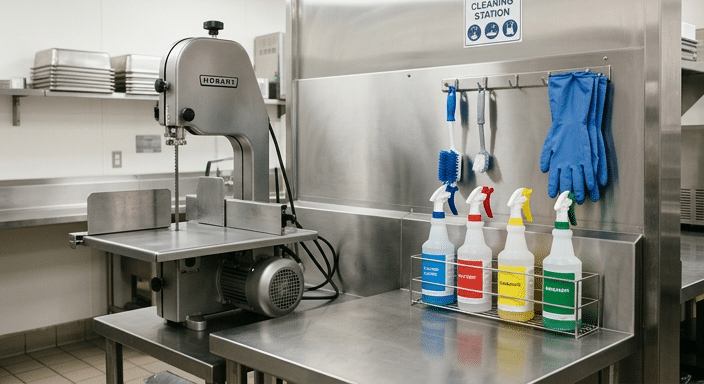
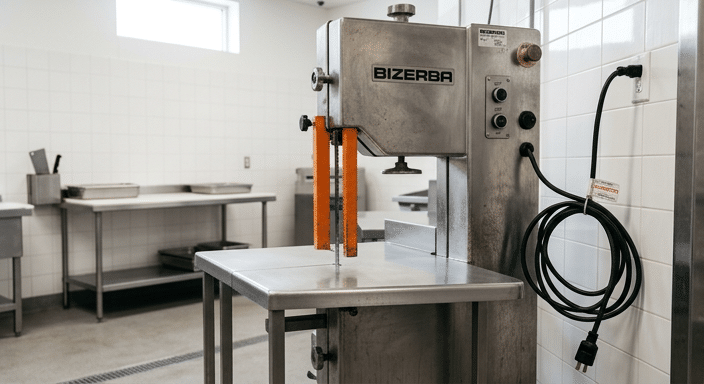
Isolated commercial meat bone saw before cleaning

To clean a commercial meat bone saw safely, stop the machine, disconnect and isolate its electrical supply, wear suitable cut-resistant hand protection, remove the blade and removable food-contact parts according to the machine manual, then wash, sanitise, dry, inspect, and reassemble each component before the next use.

Do not clean a saw while it is connected to power or while the blade can move. Do not direct a high-pressure water jet at electrical controls, motor areas, bearings, or seals unless the manufacturer specifically permits that method. The correct details can vary by model, so the operating manual and the cleaning chemicals’ instructions always take priority.

A reliable routine has seven stages: isolate the machine; remove product debris; disassemble accessible parts; wash with an approved detergent; rinse where required; sanitise at the correct concentration and contact time; then air-dry, inspect, and reassemble. Completing the steps in that order helps reduce cross-contamination risk, protects operators from blade injuries, and makes faults easier to identify before production resumes.

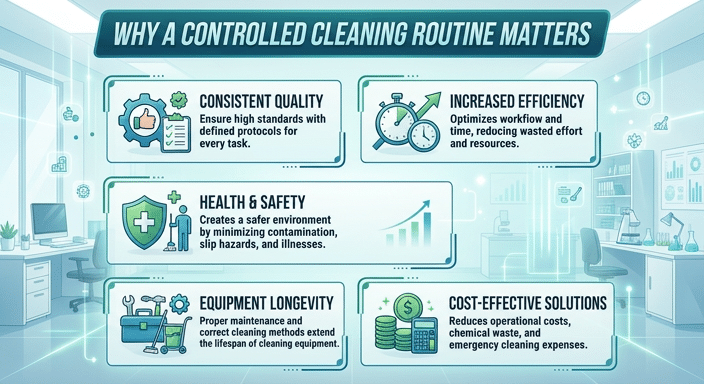
Why a controlled cleaning routine matters

Why a controlled cleaning routine matters

Bone saws handle raw meat, fat, connective tissue, bone fragments, and moisture. These materials can collect on the blade, table, blade guides, guards, pushers, scrapers, doors, and joints between components. If residue is allowed to dry, cleaning becomes slower and more difficult. It can also conceal damage, wear, or a loose part that should be corrected before the next shift.

Cleaning is not simply an end-of-day appearance task. It is part of food hygiene, operator safety, and machine care. Detergent removes grease and visible soil; a compatible sanitiser is used after effective washing to reduce microorganisms on clean surfaces. Sanitiser does not work properly through meat residue or fat, so it should not replace washing.

A disciplined routine also supports cutting quality. Bone debris around guides or the blade path can affect how the product moves through the saw. For operational guidance that helps control residue during production, see how to reduce bone dust when using a meat band saw. Cleaning still remains necessary even when cutting practices reduce loose bone particles.

Assign responsibility clearly. Operators should know who cleans the machine, who checks it before release for use, what chemicals are approved, and where the cleaning record is kept. In businesses with several shifts, this prevents an assumption that a previous team has completed a task that was only partly done.

Prepare the machine and work area

Cleaning supplies and protective equipment prepared for a commercial meat bone saw

Begin only after all cutting has stopped and product has been removed from the immediate work area. Move finished product and exposed ingredients away from the cleaning zone to prevent splash or aerosol contamination. Remove loose packaging, cartons, and tools that could become wet or obstruct access.

Switch the saw off using its normal control, disconnect it from the electrical supply, and apply the site’s lockout or isolation procedure where applicable. Confirm that the blade has fully stopped. A stop button alone is not a substitute for electrical isolation during cleaning and disassembly.

Wear the personal protective equipment required by your risk assessment. This commonly includes protective apron or clothing, footwear with good grip, and cut-resistant gloves when handling the blade. Chemical-resistant gloves and eye protection may also be appropriate when mixing or applying cleaning products. Cut-resistant gloves help with blade handling, but they do not make unsafe blade handling acceptable.

Prepare only cleaning chemicals that are suitable for food-processing equipment and compatible with the saw’s materials. Follow the chemical supplier’s label for dilution, temperature, contact time, rinsing requirements, and personal protective equipment. Do not mix cleaning products. In particular, never mix chlorine-based products with acids or other chemicals, because hazardous gases can result.

Use dedicated brushes, cloths, and containers that are clean and in good condition. A narrow brush can be useful around guides and crevices; a larger brush or cloth can be used for broad stainless-steel surfaces. Avoid abrasive pads or harsh tools that may scratch food-contact surfaces unless the manufacturer permits them. Scratches can make future cleaning harder and may accelerate corrosion.

Remove components safely

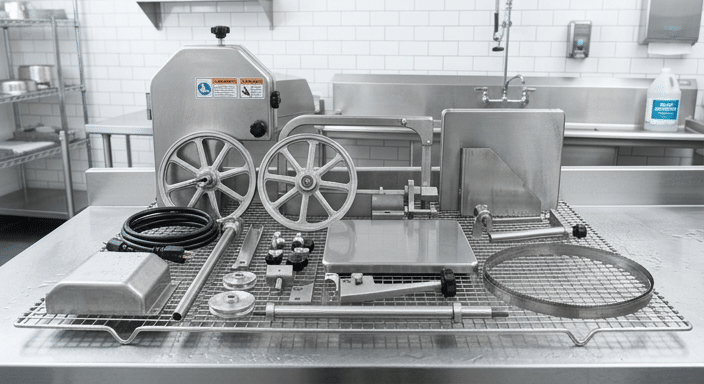
Refer to the saw’s manual before removing any component. The removable parts differ between models, but may include the blade, blade guard, upper and lower wheel covers, table insert, product pusher, scrap tray, and guide-related components. Only remove parts that the manufacturer identifies as operator-removable for cleaning.

Remove loose debris first

Use a brush or scraper intended for food equipment to remove loose meat, fat, and bone particles from accessible areas. Work carefully and direct debris away from your body. Do not use bare fingers to clear material close to the blade teeth, guides, or narrow slots.

Handle the blade as a sharp component

When the machine manual permits blade removal, release tension and remove the blade following the stated sequence. Hold it in a controlled manner, keep your hands away from the teeth, and avoid allowing the blade to spring open. Place it in a designated blade-cleaning area or carrier. Do not leave a removed blade on a bench where it can be knocked, stepped on, or mistaken for waste.

Do not force guards, knobs, or guide parts. Resistance can indicate that a fastener is still engaged, residue is binding the component, or the part is not designed to be removed in that direction. Forcing parts can damage threads, distort guards, or create a safety issue when the machine is reassembled.

Good cutting setup reduces unnecessary residue and makes cleaning easier. Operators who need to review production handling can use this guide to meat band saw cutting techniques for consistent portions, alongside the machine’s own operating instructions.

Wash, sanitise, and dry removable components

Cleaned removable components of a commercial meat bone saw drying on a rack

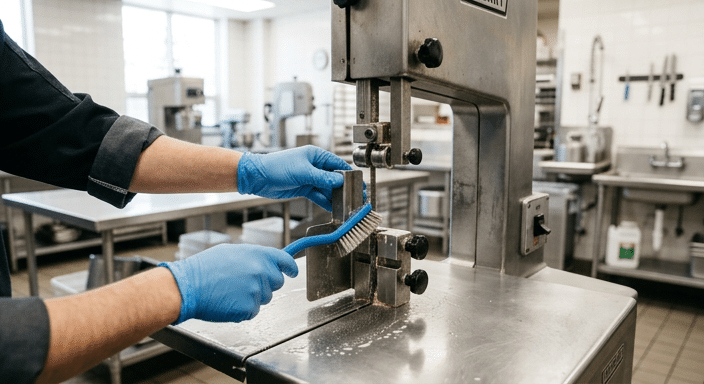
Wash removable components in a dedicated sink or cleaning area using warm water and the approved detergent, following the chemical supplier’s instructions. The objective is to remove visible food residue, fat, and protein film from every accessible surface. Give particular attention to the table insert, pusher, blade guards, scrap collection parts, guide surfaces, and the blade itself if the manual allows it to be washed.

Use brushes sized for the component. Brush from a controlled position and keep hands away from sharp teeth. Do not use a cloth wrapped around the blade because the cloth can catch on teeth and pull a hand toward the cutting edge. Where a component has slots, seams, fasteners, or hollow areas, inspect them closely for trapped residue.

Rinse washed parts if required by the detergent instructions. Then apply a food-contact-surface sanitiser at the correct dilution and for the full stated contact time. Using too little chemical, shortening contact time, or applying sanitiser over unwashed soil can make the process ineffective. Using a stronger solution than instructed is also not a substitute for correct procedure and can damage materials or leave an unsuitable residue.

Allow components to air-dry on a clean rack or approved clean surface. Avoid wiping them dry with a cloth that may reintroduce contamination or leave fibres behind. Do not store cleaned parts in a damp enclosed space. Moisture can encourage corrosion, leave water marks, and create conditions that require re-cleaning before use.

Inspect each part under adequate lighting after it dries. It should be free from visible meat, fat, bone debris, detergent residue, and damage. If a part cannot be cleaned effectively, remove it from service and have the issue assessed according to your maintenance process.

Clean the fixed machine surfaces

Cleaning the fixed table and guide surfaces of a commercial meat bone saw

After removable parts are out of the way, clean the fixed surfaces of the saw: the frame, table area, door edges, accessible wheel housing surfaces, guide mounts, product feed area, and surrounding splash zones. Start by removing dry or loose debris, then apply detergent using a cloth, brush, or low-pressure method approved for the machine.

Keep water and chemical solution away from electrical controls, switches, plugs, motor ventilation openings, bearings, and any other area identified in the manual. Wipe these areas with a suitable lightly dampened cloth if the manufacturer permits it. Never assume a stainless-steel exterior means all areas of the machine can be hosed down.

Clean from cleaner areas toward dirtier areas and from higher surfaces toward lower surfaces so you do not spread residue back onto cleaned sections. Pay attention to the underside of the table, the junctions around guards, and the area beneath or behind the blade path, where debris can be missed during a quick visual check.

Rinse only where the detergent instructions and machine guidance allow. Then sanitise the cleaned food-contact and adjacent exposed surfaces using the correct method for the sanitiser. Observe the required contact time. Let the machine air-dry with covers open only where this is safe and permitted, so accessible moisture can evaporate before reassembly.

While cleaning, look for signs of wear such as cracked guards, loose hardware, damaged scrapers, hard-to-clean corrosion, or a guide that no longer holds its setting. These observations are valuable because they occur when surfaces are visible and the machine is isolated. Record defects and do not return the saw to use until safety-related faults have been addressed.

Inspect and reassemble the saw before use

Reassemble the saw only when all parts are clean, dry, and in serviceable condition. Follow the manual’s reassembly order. Refit guards, inserts, trays, and guide components securely, and make sure there are no cleaning tools, cloths, fasteners, or packaging materials left inside the machine.

Fit and tension the blade only as specified by the manufacturer. Confirm that the blade is correctly seated on the wheels and guides, with the teeth facing in the required cutting direction. Incorrect blade fitment can damage the saw, cause poor cutting, or create a serious safety risk. Close and secure covers before reconnecting power.

Before processing food, complete the pre-use check required by your site. This may include confirming that guards are fitted, doors are closed, the table and pusher move correctly, the blade is appropriately tensioned, and emergency-stop and interlock functions are operating as intended. Do not bypass a guard, switch, or interlock to speed up restart.

Run the saw empty only if the manufacturer permits a functional check after cleaning. Listen and observe from a safe position. Unusual vibration, rubbing, noise, or blade tracking should be investigated before product is loaded. For a broader review of selecting and maintaining a saw around your operation, see the commercial bone saw machine buying checklist for butchers.

Set a cleaning frequency and record routine

Cleaning frequency should be based on the food safety procedures that apply to your operation, the products being processed, and the manufacturer’s instructions. In many commercial environments, a full clean is completed at the end of each production period and whenever the saw changes from one task to another in a way that could create contamination risk. Visible build-up should be removed promptly and safely rather than left until it becomes difficult to clean.

Use a short, practical cleaning checklist. It can include isolation confirmed; blade and removable components cleaned; fixed surfaces washed and sanitised; parts air-dried; defects recorded; guards refitted; and pre-use check completed. A signed or digital record makes the process consistent across staff and helps supervisors identify recurring issues.

Build preventive maintenance into the same system, but keep it distinct from routine washing. Blade condition, tracking, tensioning components, guide wear, door seals, fasteners, and electrical parts may need periodic inspection by a trained person. Cleaning reveals problems; it does not replace maintenance. Where a manual gives a different interval or procedure, follow the manual.

Staff training matters most at the points with the highest risk: isolation, blade removal, chemical handling, cleaning around the blade path, and reassembly. New staff should be shown the model-specific procedure and supervised until they can complete it correctly. A general method is useful, but it cannot replace the instructions for the machine installed in your facility.

Avoid common cleaning mistakes

The most common problems are usually procedural rather than complicated. Avoid these mistakes:

  • Cleaning before isolation: never rely only on the normal stop control when disassembling or cleaning around the blade.
  • Sanitising a dirty surface: remove meat residue and fat with detergent first, then sanitise the cleaned surface.
  • Using unsuitable chemicals: use only products compatible with food equipment and the saw materials, mixed and applied as directed.
  • Flooding protected parts: do not spray motors, switches, electrical connections, bearings, or seals unless the manufacturer explicitly allows it.
  • Handling a blade casually: remove, wash, carry, and store it with controlled movements and suitable protection.
  • Reassembling wet parts: allow components to dry and inspect them before fitting them back to the saw.
  • Ignoring damage found during cleaning: record faults and remove the machine from service when a defect affects safety, cleanability, or reliable operation.

A bone saw that is easy to access, clean, inspect, and service is generally easier to manage over its working life. When comparing equipment for a new operation or replacement purchase, this guide to choosing a commercial meat bone saw machine can help you assess cleaning access alongside cutting requirements, workspace, electrical supply, and service support.

How to Clean a Commercial Sugarcane Juicer Properly

Table of Contents

A commercial sugarcane juicer should be cleaned after each service period and fully cleaned at the end of the day. This practical guide explains the correct shutdown, disassembly, washing, sanitising, drying, and inspection process for commercial operators.

The correct way to clean a commercial sugarcane juicer

The correct way to clean a commercial sugarcane juicer

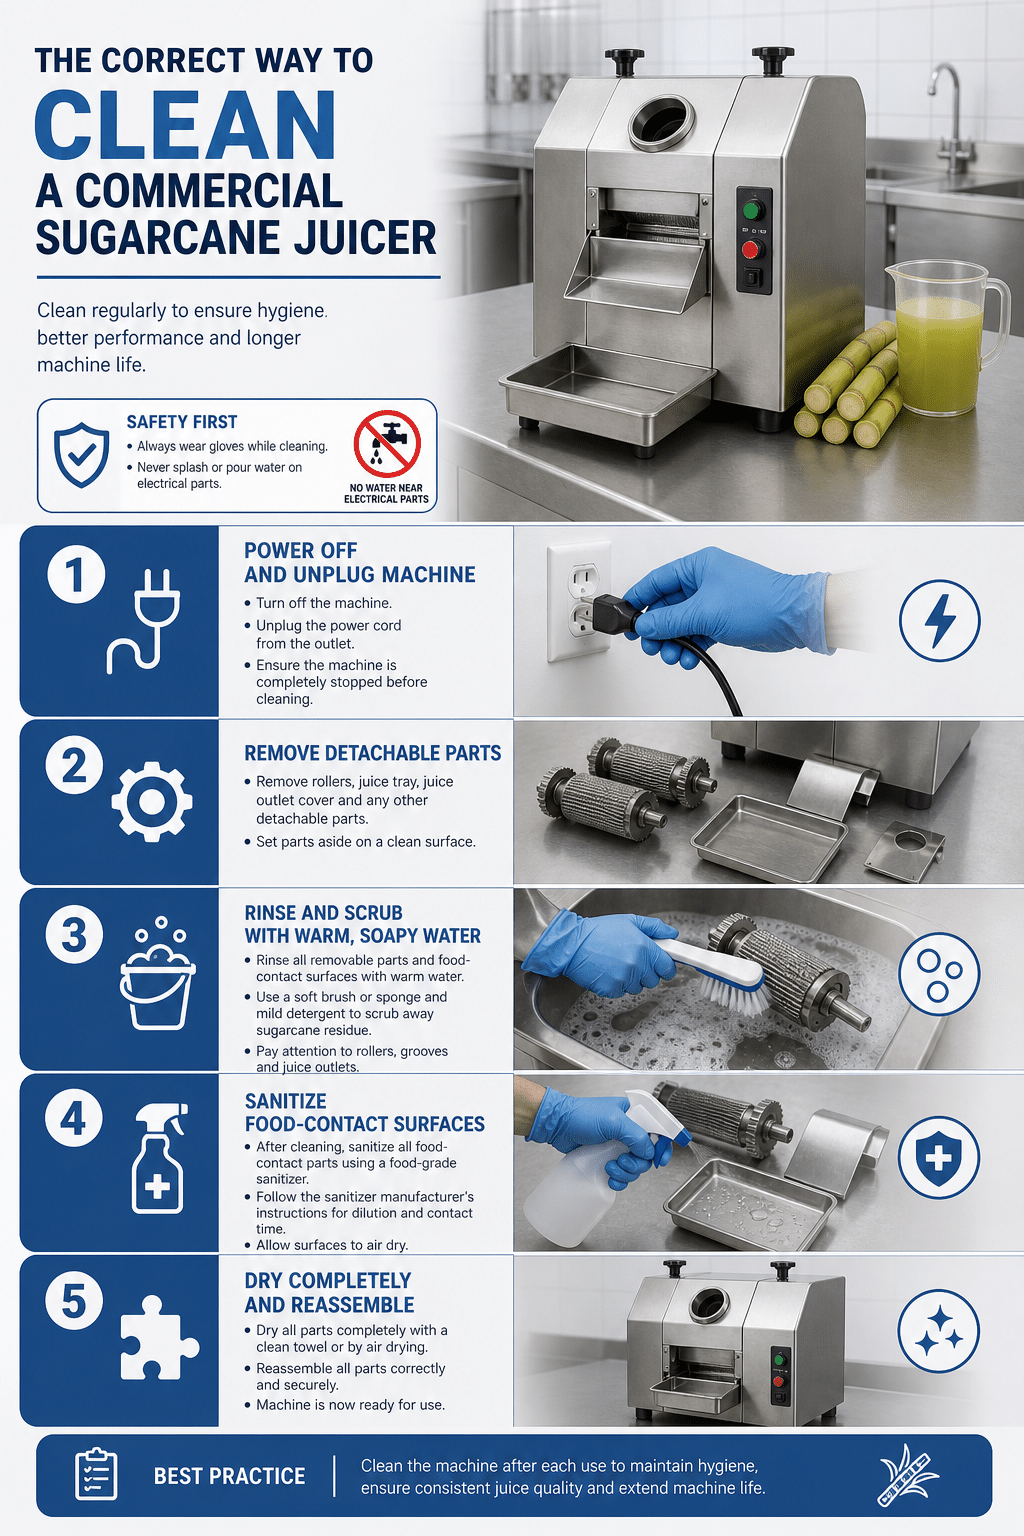
To clean a commercial sugarcane juicer properly, switch it off, unplug it, remove cane residue, take off only the parts identified as removable in the machine manual, wash food-contact parts with warm water and suitable detergent, rinse, sanitise where required, air-dry completely, and reassemble after inspection.

Do not hose down or immerse the motor housing unless the manufacturer specifically confirms that the machine is designed for that washdown method. Sugarcane juice is sticky, and fibres can collect around rollers, guards, spouts, trays, and drainage areas. A quick wipe is not a full clean. Operators need to remove visible debris, clean residues from accessible food-contact surfaces, and keep moisture away from electrical parts.

The exact disassembly sequence, approved chemicals, and whether a component is dishwasher-safe vary by model. Always treat the operating manual for your specific machine as the final instruction. This guide provides a reliable daily process for most commercial roller-type sugarcane juicers.

Why daily cleaning matters for sugarcane juice operations

Sugarcane fibre and juice residue on accessible parts of a commercial juicer

Fresh cane leaves juice, fine bagasse fibres, and natural sugars on the machine. If these residues remain in place, they can become difficult to remove, affect the cleanliness of the work area, attract pests, and make the next shift slower to start. Residue can also hide around roller edges, the juice outlet, collection tray, and crevices behind guards.

Cleaning has two separate purposes. Cleaning removes juice, fibre, soil, and grease using water, detergent, friction, and rinsing. Sanitising is a separate step that uses an appropriate food-equipment sanitiser on an already clean surface, following the product label for dilution and contact time. Sanitiser is not a substitute for removing sticky deposits first.

Daily attention also supports equipment reliability. Bagasse caught in accessible areas can interfere with smooth operation, while dried sugar residue can make covers, trays, and outlet parts difficult to remove. Good housekeeping around the machine should be part of the wider hygiene plan, including the counter, waste container, drainage area, and cane-preparation station. For site-level controls, review these pest control and sanitation practices for sugarcane juice bars.

Prepare safely before cleaning

Cleaning supplies prepared beside an unplugged commercial sugarcane juicer

Cleaning should begin only after production has stopped. Assign the task to trained staff who understand the machine controls and the site sanitation procedure.

Shut down and isolate the machine

  1. Stop feeding cane and allow the rollers to clear as far as normal operation permits.
  2. Switch off the machine using its normal control.
  3. Disconnect the power supply before reaching near rollers, guards, or the juice outlet.
  4. Wait until all moving parts have stopped completely.

Never clean inside a running machine or attempt to remove trapped fibre while rollers are moving. If cane is jammed, use the model-specific clearing procedure rather than forcing tools or hands into the feed area. This guide to processing thick sugarcane stalks without jamming can help operators reduce avoidable stoppages during service.

Gather the right cleaning supplies

  • Clean food-safe brushes in suitable sizes for the outlet, tray, and accessible crevices.
  • Warm potable water and a detergent suitable for food equipment.
  • Clean cloths or disposable towels for external surfaces.
  • An approved food-contact sanitiser, used exactly as directed on its label and in line with local requirements.
  • A clean drying rack or designated clean area for removable components.
  • Appropriate personal protective equipment required by your workplace or chemical supplier.

Avoid steel wool, sharp metal scrapers, or abrasive pads unless the manufacturer explicitly permits them. These can scratch surfaces and create places where residue is harder to remove.

Step-by-step: how to clean a sugarcane juicer

Operator washing removable commercial sugarcane juicer components with a food-safe brush

Use this workflow at the end of the day, after a long service period, or whenever visible residue has built up. Adapt it to the manual and food-safety procedure for your particular juicer.

1. Remove cane waste and loose fibres

Remove the bagasse collection container and discard cane waste according to your site procedure. Use a dry brush or scraper approved for the machine to remove loose fibres from accessible external areas. Do not push brush handles, knives, or other tools between rollers.

2. Remove approved detachable parts

Take off parts such as the juice tray, outlet cover, splash guard, feed guide, or collection container only where the manual identifies them as removable. Place fasteners and small parts in a clean, controlled location. Photographing the correct assembly during staff training can reduce reassembly errors.

3. Wash the removable food-contact parts

Wash parts in warm water with detergent. Use brushes to work around corners, spouts, seams, and undersides where sugar film can remain. Change wash water when it becomes visibly dirty. Rinse with clean potable water so detergent is not left on food-contact surfaces.

4. Clean fixed surfaces carefully

Use a damp cloth and brush to clean accessible fixed surfaces, including the machine exterior, feed opening, visible roller surroundings, juice outlet area, and tray supports. Apply water to the cloth or brush rather than pouring it directly over the machine. Keep liquid away from switches, cable entries, ventilation openings, motor areas, and any part not designed for washdown.

Water resistance varies between models and installations. Before using any spray or washdown method, understand the equipment’s stated protection level and the limitations of that rating. Read more about IP ratings and washdown safety for commercial sugarcane juicers.

5. Inspect while the machine is open

Look for trapped fibre, dried juice, cracks, loose guards, damaged seals, unusual roller wear, or a juice outlet that does not drain freely. Cleaning is the best time to spot a developing issue before the next service period. Do not restart the machine if a safety guard is missing, a part will not fit correctly, or damage is visible.

Sanitise, dry, and reassemble correctly

Clean sugarcane juicer components air-drying on a sanitary rack

After washing and rinsing, sanitise removable food-contact components and accessible food-contact surfaces when required by your food-safety plan. Use a sanitiser intended for food-contact equipment. Follow its label for dilution, temperature, contact time, and any rinse requirement. More chemical does not mean better sanitation; an incorrectly mixed product can leave residue, damage materials, or fail to work as intended.

Allow components to air-dry fully on a clean rack or clean surface. Avoid drying food-contact parts with used bar towels, which can transfer soil back to a clean component. Do not reassemble parts while they are wet if moisture could be trapped in a closed area.

Once dry, reassemble in the documented order. Check that guards, trays, outlet components, and collection containers are seated correctly. Wipe the exterior, clean the counter and floor around the machine, and fit a fresh bagasse bin liner if your operation uses one. Before the next shift, complete a visual pre-operation check in accordance with the machine manual.

A documented cleaning record is useful for multi-shift juice bars, kiosks, cafés, and foodservice teams. Record the date, time, operator, cleaning chemicals used where required, and any defects found. This creates a clear handover between shifts and supports a consistent preventive care routine.

Common sugarcane juicer cleaning mistakes to avoid

  • Cleaning only the visible exterior: Juice residue often remains under trays, around the outlet, and in seams or guard edges.
  • Using sanitiser on dirty surfaces: First wash and rinse away sugar film and fibres; then sanitise if required.
  • Spraying electrical areas: High-pressure or uncontrolled water can create an electrical and equipment-risk issue. Use only the washing method approved for the model.
  • Leaving bagasse in the bin overnight: Empty the waste container and clean the surrounding area as part of closing duties.
  • Using unsuitable brushes or abrasives: Damaged surfaces can become harder to clean. Use non-damaging tools appropriate for food equipment.
  • Ignoring reassembly checks: A cover or guard fitted incorrectly can create an operational and safety concern.
  • Waiting for a fault before inspecting: Routine checks during cleaning can reveal abnormal wear or loose parts earlier.

Some problems that appear to be cleaning issues are actually maintenance issues. For example, recurring poor drainage, abnormal noise, difficult roller movement, or repeated jamming should be assessed rather than masked with extra cleaning effort.

A practical commercial cleaning schedule

The right frequency depends on volume, ambient conditions, local rules, and your written food-safety system. However, a practical baseline is to clean during service as needed and complete a thorough clean at closing.

Timing Recommended focus
Before opening Check that the machine is dry, correctly assembled, visibly clean, and free of old cane fibre or juice residue.
During service Remove spilled juice, empty bagasse before it overfills, keep the outlet and work surface clean, and pause for cleaning if contamination or residue is observed.
At shift change Wipe and inspect key external and food-contact areas, replace soiled containers or cloths, and communicate any issue to the incoming operator.
End of day Perform the full shutdown, disassembly, wash, rinse, sanitise where required, air-dry, inspection, and reassembly process.
Scheduled maintenance interval Inspect machine condition and follow the manufacturer’s maintenance schedule for components that require professional attention.

For a more structured approach, use a written checklist that separates daily sanitation from periodic equipment inspection. Our guide to a preventive maintenance schedule for commercial sugarcane juicers explains how routine checks can be organised alongside day-to-day cleaning.

When cleaning is not enough: signs to arrange service

Stop using the juicer and seek qualified support when you find damage to guards or electrical components, persistent leakage from an area that should remain dry, unusual noise or vibration, a roller that does not move normally, repeated jamming, loose parts, or components that no longer fit securely. Do not attempt electrical repairs or unapproved roller adjustments during routine cleaning.

Keep the model, serial information, cleaning records, and a clear description of the symptom available when requesting help. This allows a service team or distributor to understand the operating context and advise more efficiently. Consistent cleaning protects daily hygiene, while correct maintenance and trained service protect the machine over its working life.