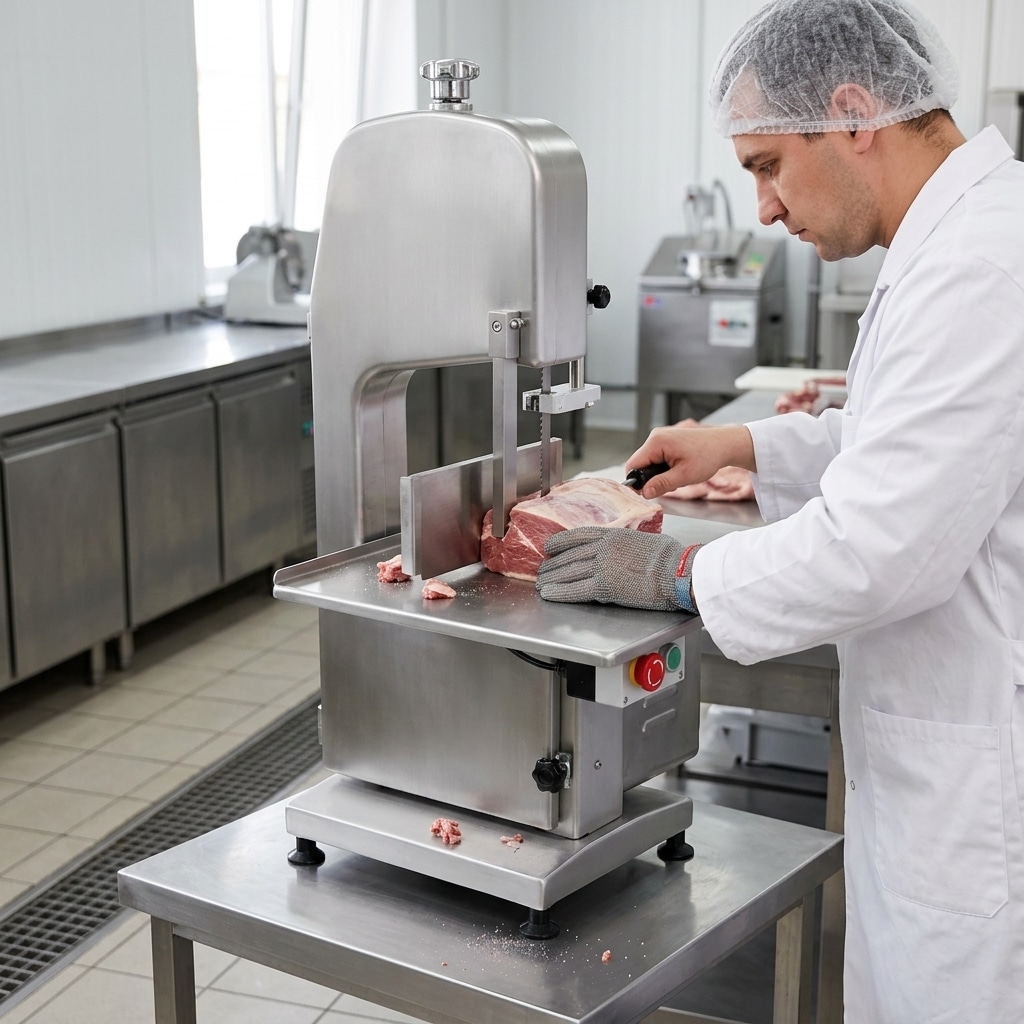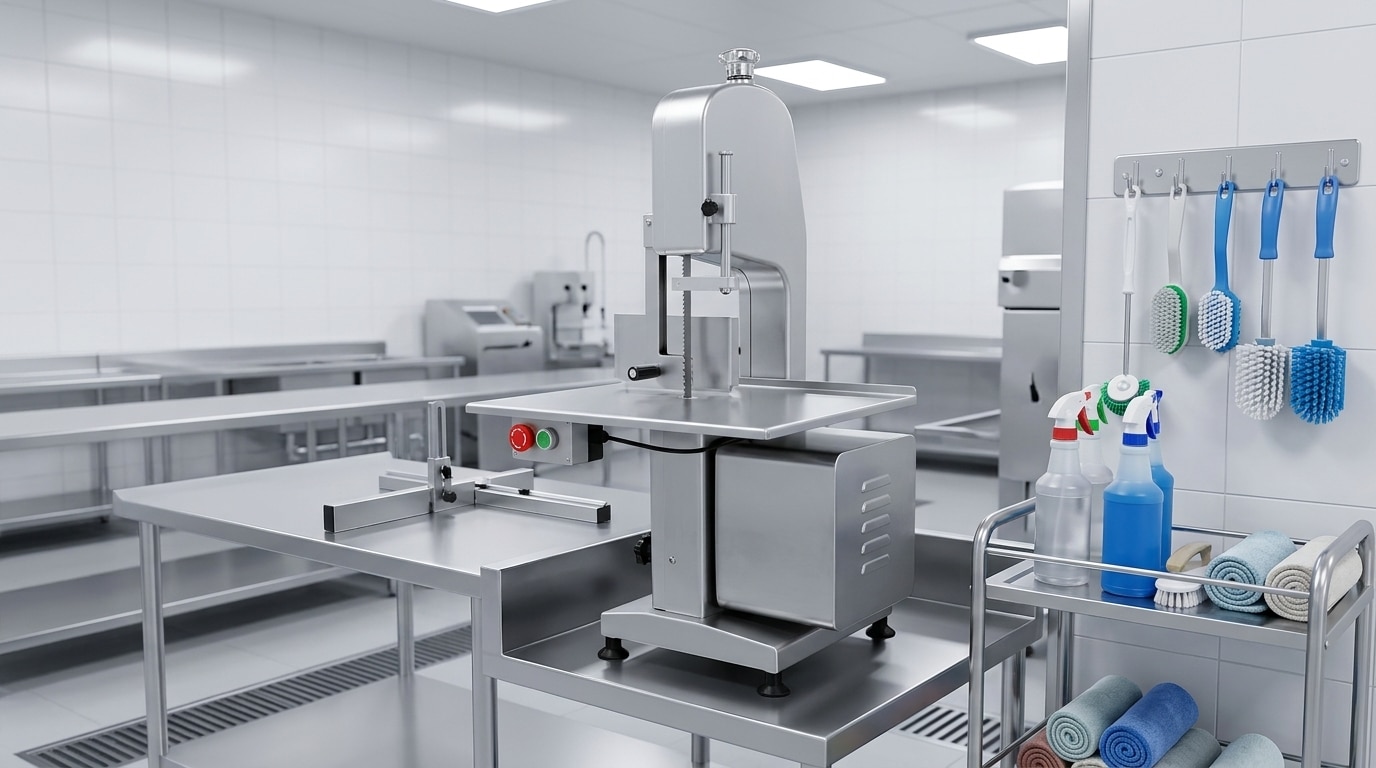
How to Reduce Bone Dust When Using a Meat Band Saw

Table of Contents

Bone dust cannot always be eliminated when cutting bone, but it can usually be reduced through correct blade selection and condition, stable product preparation, controlled feeding, proper guide and tension settings, and a disciplined cleaning routine.

The short answer: control the cutting source
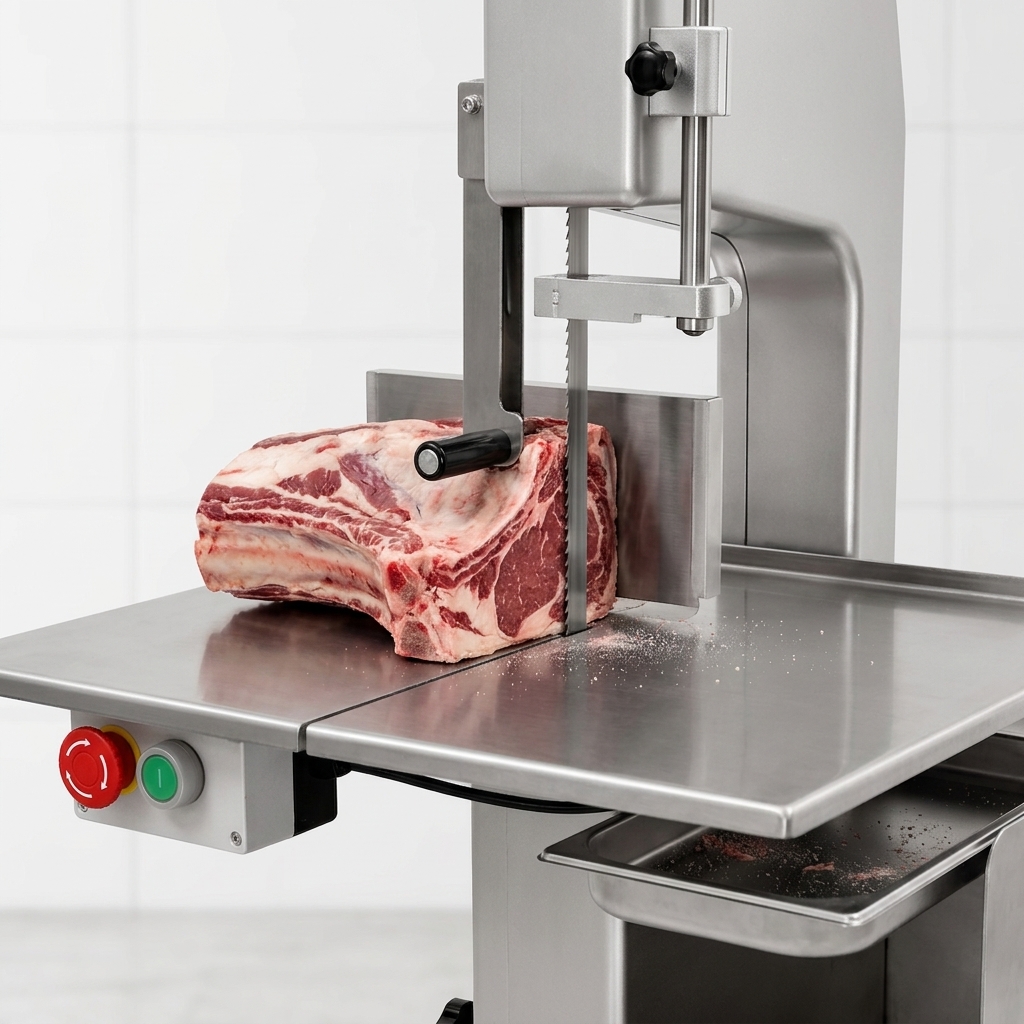
Controlled setup for cutting bone-in meat on a commercial band saw

To reduce bone dust when using a meat band saw, use a sharp and suitable blade, keep the product stable and properly chilled, feed it through the blade at a steady rate, and keep the saw correctly adjusted and clean. Bone dust is usually created when the blade crushes, rubs, wanders, or tears through bone instead of making a controlled cut.

Some fine bone particles are a normal result of cutting bone-in meat, especially on dense or irregular bones. The practical objective is not to promise a completely dust-free cut. It is to minimise visible residue, prevent it from spreading around the cutting area, and remove it safely before the product moves to the next process.

For commercial operators, this starts with a documented routine. Inspect the blade and guides before production, prepare product consistently, train staff to avoid forceful feeding, and clean the machine at the right intervals. These basic controls also support safer operation. Review the commercial bone saw safety and maintenance protocols alongside your machine manual and site procedures.

What causes bone dust on a meat band saw?

Bone dust is the fine residue and small fragments released at the cut line. It can remain on the meat surface, collect on the table, or enter seams and hard-to-clean areas of the saw. Larger chips and splinters are related concerns, but they are not exactly the same as fine dust.

The most common causes are mechanical and operational:

  • A dull or damaged blade: A worn cutting edge rubs and crushes material, increasing friction and fragmented residue.
  • An unsuitable blade pattern: Blade tooth form and spacing should suit the product, including its bone density, cut size, and whether it is fresh or tempered. A one-size approach may not produce the cleanest result on every item.
  • Incorrect tension or guide alignment: A blade that is not set according to the machine manufacturer’s instructions can deflect or vibrate during the cut.
  • Forced or uneven feeding: Pushing too hard can cause the blade to bind, while twisting the product can pull the cut line away from the intended path.
  • Unstable product: Loose pieces, uneven surfaces, and thawed or soft product are harder to control and can lead to chattering at the bone.
  • Poor housekeeping: Dust from an earlier cut can be transferred to subsequent portions if the table, guides, pusher, and surrounding area are not cleaned promptly.

Look at the pattern, not just the amount. Residue concentrated on one side may point to drift, guide wear, or uneven feeding. A sudden rise after a consistent production period may indicate a blade that needs inspection or replacement.

Start with the right blade condition and specification
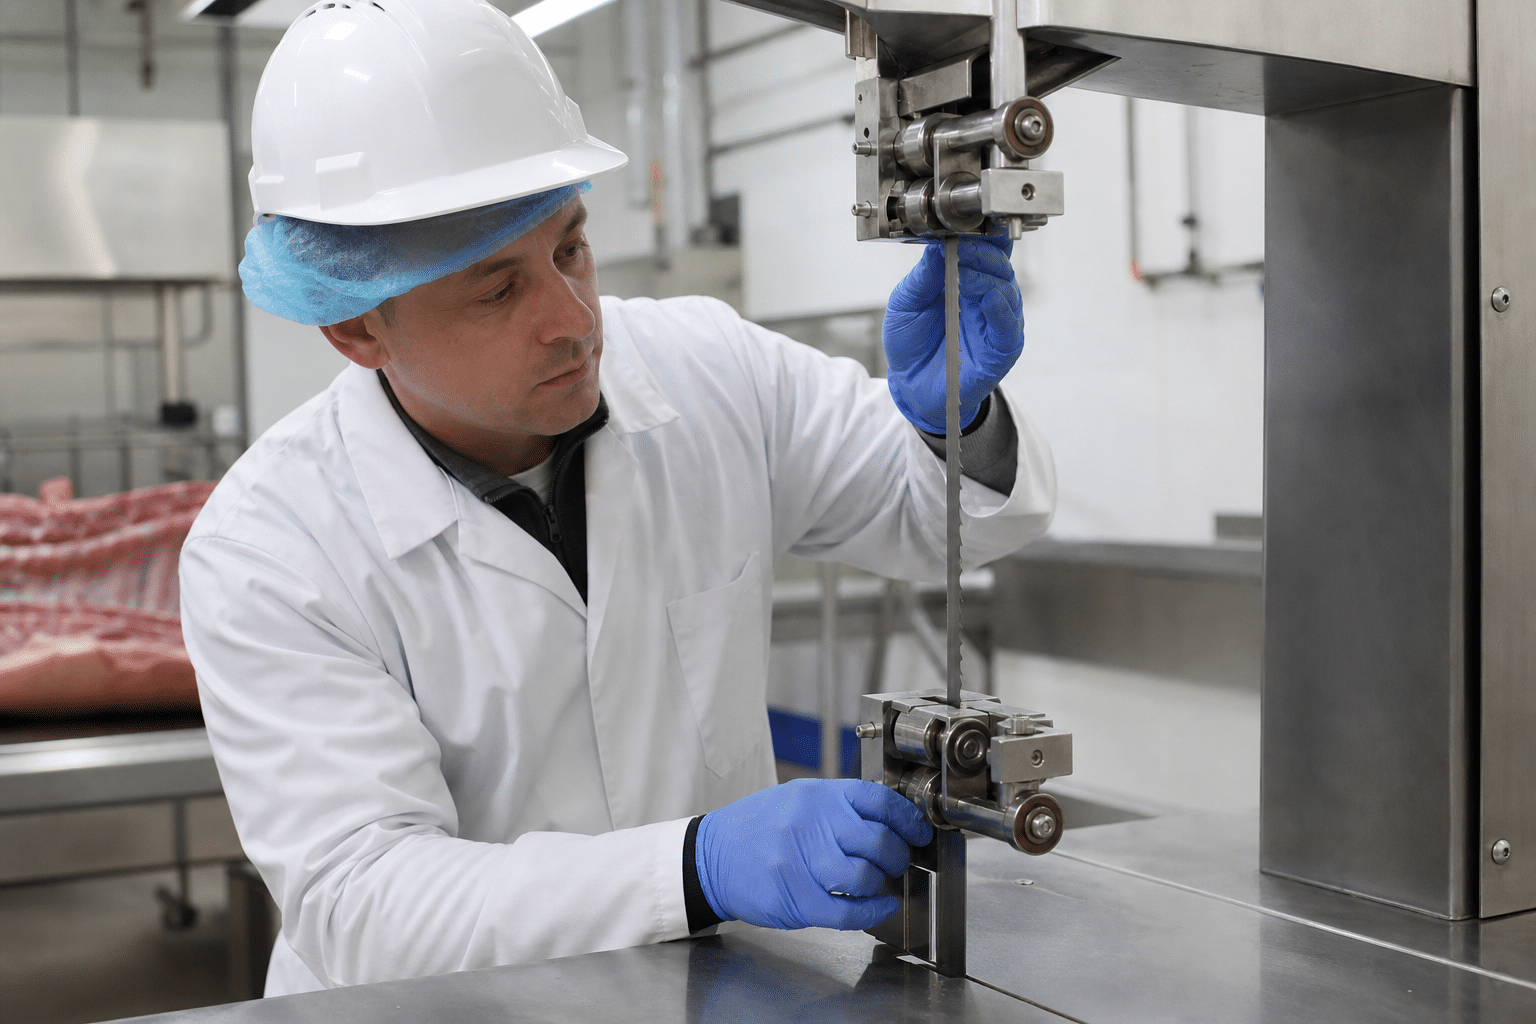
Inspection of a meat band saw blade and guide assembly

Blade condition is one of the strongest controllable factors in bone-dust reduction. Inspect a blade before use and whenever the cut quality changes. Replace a blade that is visibly damaged, has missing or bent teeth, shows corrosion, tracks poorly, or requires extra force to cut. Continuing to use a poor blade can increase residue and make the operation less predictable.

Select the blade specification using the saw manufacturer’s approved range and the actual products being cut. Discuss tooth configuration, blade width, and material with the blade supplier or equipment provider. The correct choice depends on factors such as whether you cut poultry, ribs, joints, frozen blocks, or other bone-in portions. Do not assume that a blade that performs well on one product will be ideal for all products.

Install and tension the blade only as stated in the equipment manual. Over-tensioning can place unnecessary stress on the blade and machine components. Under-tensioning can contribute to blade wander and vibration. After fitting a blade, confirm that it tracks correctly and that the guards are in place before production begins.

If repeated dust problems coincide with frequent blade changes, tracking difficulty, or inconsistent cuts, inspect the full system rather than blaming the blade alone. The commercial bone saw buying checklist for butchers is also useful for reviewing blade compatibility, cleaning access, service requirements, and the overall fit of a saw for your workload.

Prepare meat and bone for a cleaner cut
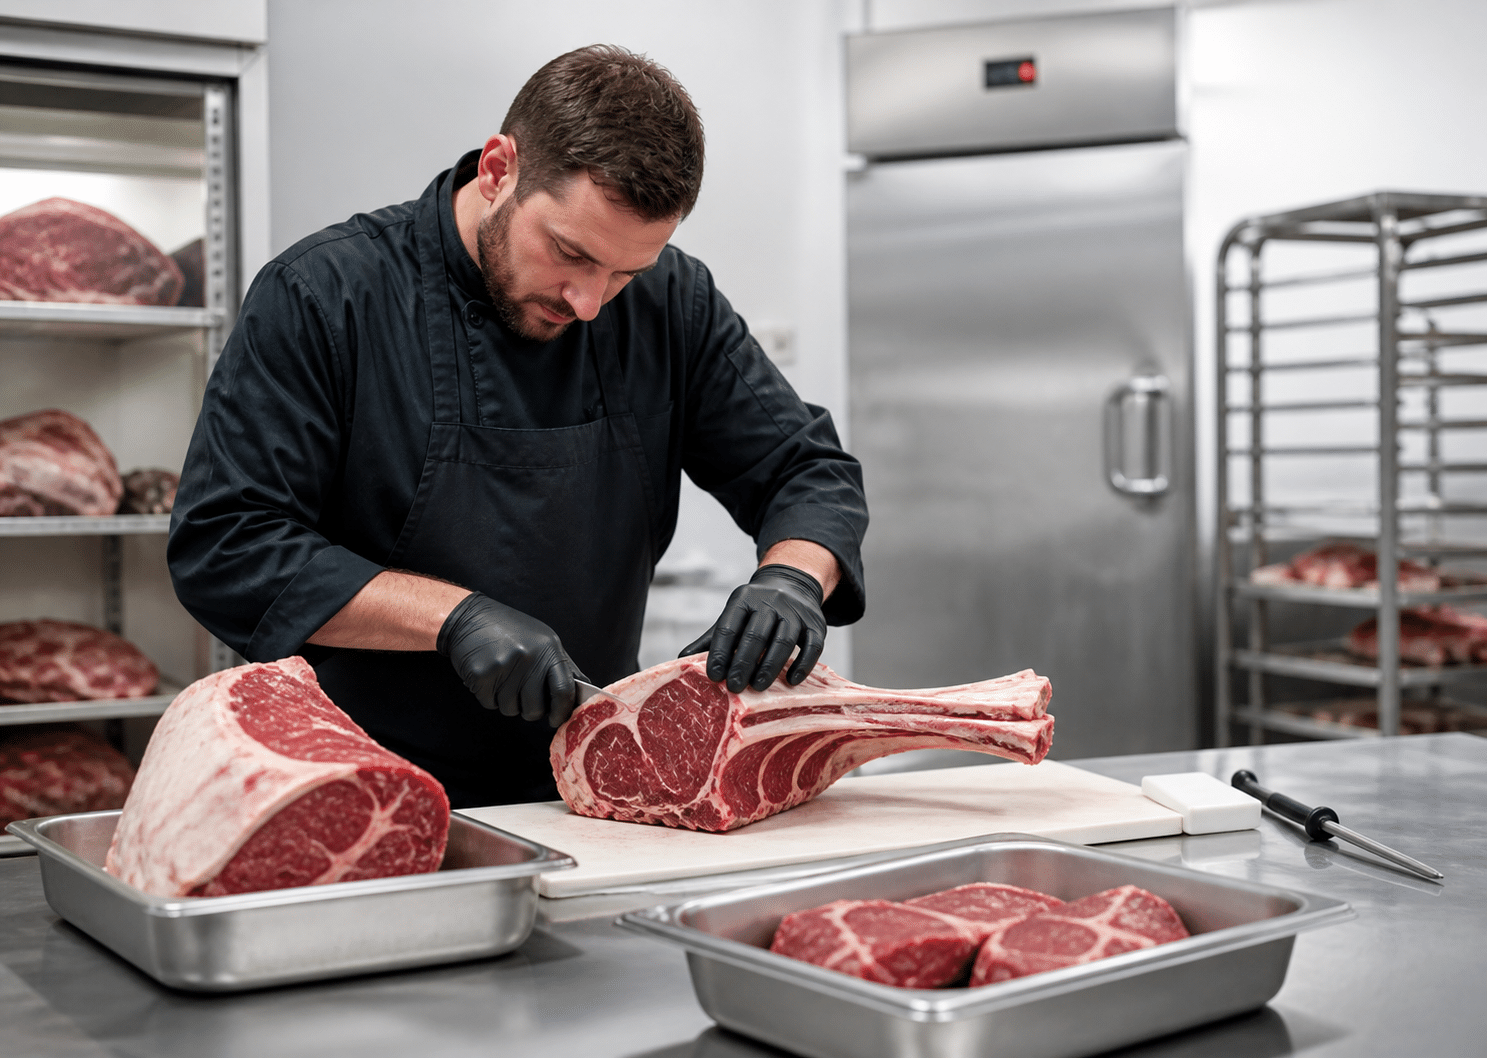
Chilled bone-in meat prepared for stable band saw cutting

Product condition affects how smoothly the blade enters and exits bone. Prepare items to create a stable, repeatable presentation on the saw table. Remove loose packaging, ties, labels, and any non-product material before cutting. Check for foreign objects and separate product that is outside your planned cutting condition.

Keep product within the temperature range required by your food-safety plan and local rules. In many operations, firmer, well-chilled product is easier to hold and cut consistently than product that is soft or partially thawed. However, the right condition depends on the specific protein, cut, and process. Avoid using temperature changes solely to solve a cutting problem without checking product-quality and food-safety requirements.

Trim loose flaps where appropriate, and place the broadest stable surface on the table. For irregular joints or small pieces, use an approved pusher or holding device rather than trying to hold the product close to the blade. Never use hands or improvised tools to force the item through the cut.

Plan the cut line before starting. A deliberate route through the bone reduces mid-cut stopping, twisting, and re-cutting. Where an item must be divided into multiple portions, decide the order that maintains the best support for the remaining piece.

Use controlled feed technique

A well-maintained saw can still create excess bone dust if the product is fed poorly. The operator should guide the product smoothly into the blade with consistent, moderate pressure. Let the blade cut; do not use sudden force to overcome resistance.

Keep the product flat and supported on the table. Feed it in a straight line, without rocking or twisting. Turning a joint while it is already engaged with the blade can widen the kerf, create friction, and leave a rougher surface. If the piece moves unexpectedly, stop feeding, move it safely clear as allowed by the procedure, and reposition it before continuing.

Use the fence, gauge, pusher, or other approved accessory when it helps maintain a repeatable position. This is particularly important for portion cutting, where a consistent setup can reduce both operator variation and unnecessary rework. Set the upper blade guide as close as practical to the product while retaining safe clearance, following the machine instructions.

Operators should treat an unusual cutting sound, vibration, increased resistance, or a change in cut appearance as a reason to pause and inspect. These signs may indicate blade wear, guide adjustment issues, product movement, or a developing mechanical fault. Continuing through the problem usually creates more waste and more cleaning work.

Check machine setup, guides, and work area

Before the shift, check that the saw is stable, the table is clean, and the work area provides enough room to load, cut, and remove product without crowding. Poor workspace flow can encourage rushed handling and awkward product angles.

Inspect the blade guides, guide adjustment mechanism, blade scrapers where fitted, wheels, door closures, and guards according to the manufacturer’s maintenance instructions. These parts help control blade travel and contain residue within the intended cutting area. Do not remove guards, bypass interlocks, or modify the machine to gain access or speed up cleaning.

Confirm that the fence or gauge is secure if it is being used. A loose or poorly positioned guide can cause inconsistent portions and repeat cuts. Check that product trays and collection containers are placed so that cut pieces can be moved without passing over unclean areas.

Only use an extraction or collection method if it is designed for the equipment and accepted by your food-safety and workplace-safety procedures. An improvised vacuum attachment may obstruct the work area, create a cleaning issue, or interfere with the machine. Never use compressed air to blow bone dust from a food-processing saw; it can spread residue into the air, onto nearby surfaces, and into areas that are difficult to clean.

Remove dust safely and clean between tasks
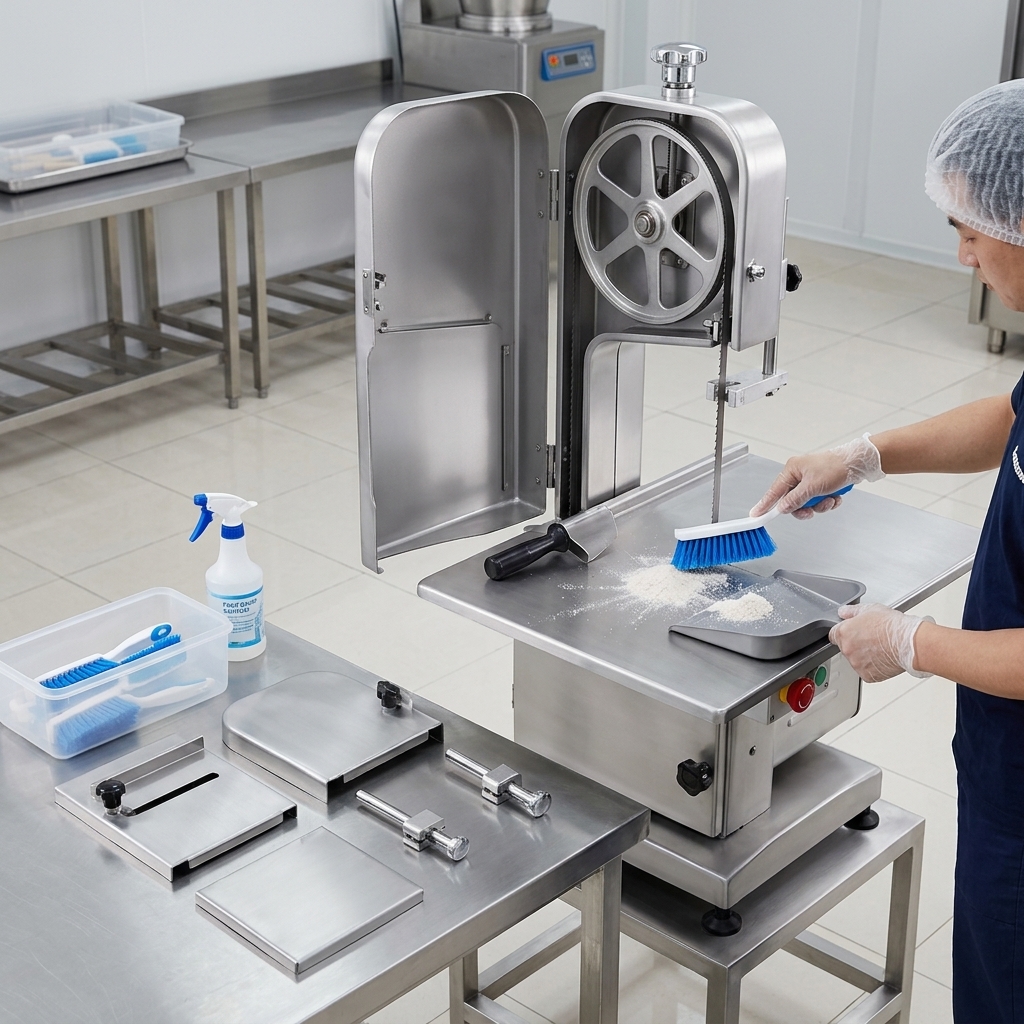
Safe cleaning of a commercial meat band saw after bone cutting

Dust control is incomplete if residue remains on the machine or is carried onto finished portions. Build cleaning into the production routine rather than waiting until visible buildup is heavy. The frequency should reflect the products handled, production schedule, local requirements, and your site sanitation plan.

Before cleaning, stop the machine, isolate it from its power source, and follow the lockout or isolation procedure required at your site. Wear suitable protective equipment. Use tools that are approved for the task to remove visible debris from the table, fence, pusher, blade area, collection points, and accessible guards. Treat the blade as sharp even when it is stationary.

Then clean and sanitise the machine according to its manual and your validated sanitation procedure. Food-contact surfaces, splash zones, and residue collection areas all need attention. Avoid directing high-pressure water at bearings, electrical parts, or areas that the manufacturer identifies as unsuitable for washdown. Reassemble the machine correctly, check that all guards are secure, and allow required surfaces to dry or drain before restarting.

The cleaning sequence of remove residue, wash, rinse, sanitise, and inspect is a useful operating principle across food equipment. For a broader example of structured sanitation controls, see this guide on cleaning and sanitising commercial food-processing equipment. Always adapt the procedure to the bone saw manual, chemicals in use, and your own food-safety plan.

Common mistakes that increase bone dust

The following practices often make a bone-dust problem worse:

  • Waiting too long to replace a poor blade. Extra feed pressure is not a substitute for a sharp, properly selected blade.
  • Using the same settings for every product. Different bone-in products may need different blade choices, guide positions, or handling methods.
  • Cutting unstable pieces without a pusher or support. Product movement causes inconsistent cuts and raises safety risks.
  • Twisting the product during the cut. This increases blade side loading and can create rough edges and residue.
  • Allowing residue to accumulate. Existing dust can spread to later cuts and conceal areas that need cleaning.
  • Blowing debris away with air. This spreads contaminants instead of removing them under control.
  • Ignoring recurring machine symptoms. Blade drift, vibration, rubbing noise, or poor tracking need investigation before they become a larger maintenance issue.

Record recurring issues by product type, operator, blade batch, and shift where practical. This makes it easier to distinguish a training issue from a blade-selection or machine-condition issue. A short log can be more useful than relying on memory when deciding what to change.

Daily checklist for lower bone dust

Use this practical checklist at the start of production and whenever cut quality changes:

  1. Confirm the blade is clean, undamaged, sharp enough for the job, and correctly installed.
  2. Check blade tracking, tension, guides, guards, table condition, and cutting accessories according to the machine manual.
  3. Prepare product at the required handling condition and remove packaging or foreign material.
  4. Set up the fence, gauge, pusher, and product collection area for a stable, direct workflow.
  5. Make the first cuts with controlled feed pressure and inspect the cut surface and residue pattern.
  6. Pause if the saw vibrates, pulls to one side, requires unusual force, or leaves a noticeably rough cut.
  7. Remove residue using the approved isolation and cleaning procedure at planned intervals and between incompatible tasks.
  8. Record blade replacement, adjustments, cleaning, and unresolved defects for the next shift or maintenance team.

A consistent routine helps operators reduce avoidable bone dust without compromising safe handling or sanitation. The correct final settings will always depend on the individual saw, blade specification, product type, and operating procedures supplied by the manufacturer and your site.
Meat Band Saw Cutting Techniques for Consistent Portions

Table of Contents

Consistent portions from a meat band saw depend on stable product temperature, correct blade condition, a repeatable guide setting, controlled feed pressure, and disciplined cleaning. This guide explains how butchers and food processors can build a reliable cutting routine.

How to Cut Consistent Portions on a Meat Band Saw

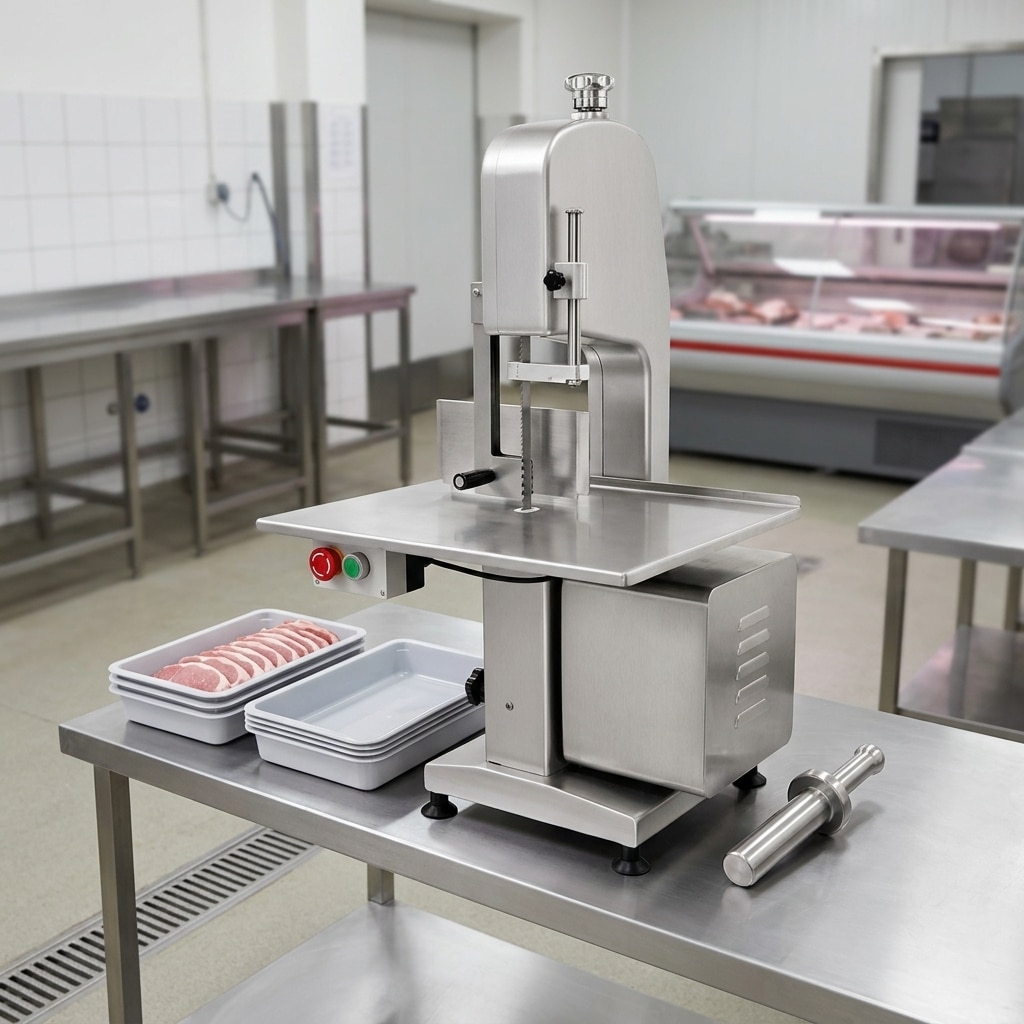
Commercial meat band saw with a thickness guide set for portion control

The most reliable meat band saw cutting technique is to prepare product to a stable cutting condition, set the fence or thickness guide before the run, keep the product supported against the guide, and feed it steadily with the correct pusher or holding device. Do not use speed or force to compensate for poor setup. Consistent portions come from a repeatable system rather than from operator judgement alone.

For butcher shops, meat processors, wholesalers, and central kitchens, the practical controls are straightforward: use a suitable and properly tensioned blade, keep the table and guides clean, square the product where possible, make a test cut, check the first pieces against the required specification, and recheck at planned intervals. Separate cutting routines may be needed for boneless chilled meat, bone-in cuts, and firm frozen product because each material behaves differently at the blade.

Before production begins, confirm the machine-specific operating procedure, guards, blade condition, electrical isolation method, and local food-safety requirements. A commercial meat band saw is often also called a bone saw, but the correct method always depends on the product and the machine manufacturer’s instructions.

What Is a Meat Band Saw?

A meat band saw is a food-processing machine that uses a continuous band blade running around wheels to cut meat and, on suitable machines, bone-in or frozen products. The worktable supports the product while a fence, guide, or measuring arrangement helps the operator set a repeatable cut width. Depending on the market, it may be described as a meat saw, butcher saw, bone saw, or commercial bone saw.

It is useful where a business needs repeated cross-cuts or portion cuts that would be slow or difficult to maintain by hand. Typical applications include cutting bone-in pieces, portioning firm blocks, preparing chops, dividing ribs, and producing uniform raw material for a downstream process. It is not a substitute for trimming, deboning, or knife-finishing work; those tasks require their own tools and trained handling methods.

The machine should be selected according to the largest product cross-section, product temperature, expected workload, available space, cleaning access, power supply, and service plan. For a broader equipment assessment, use this commercial bone saw buying checklist for butchers before comparing models.

Prepare the Product and Machine Before Cutting

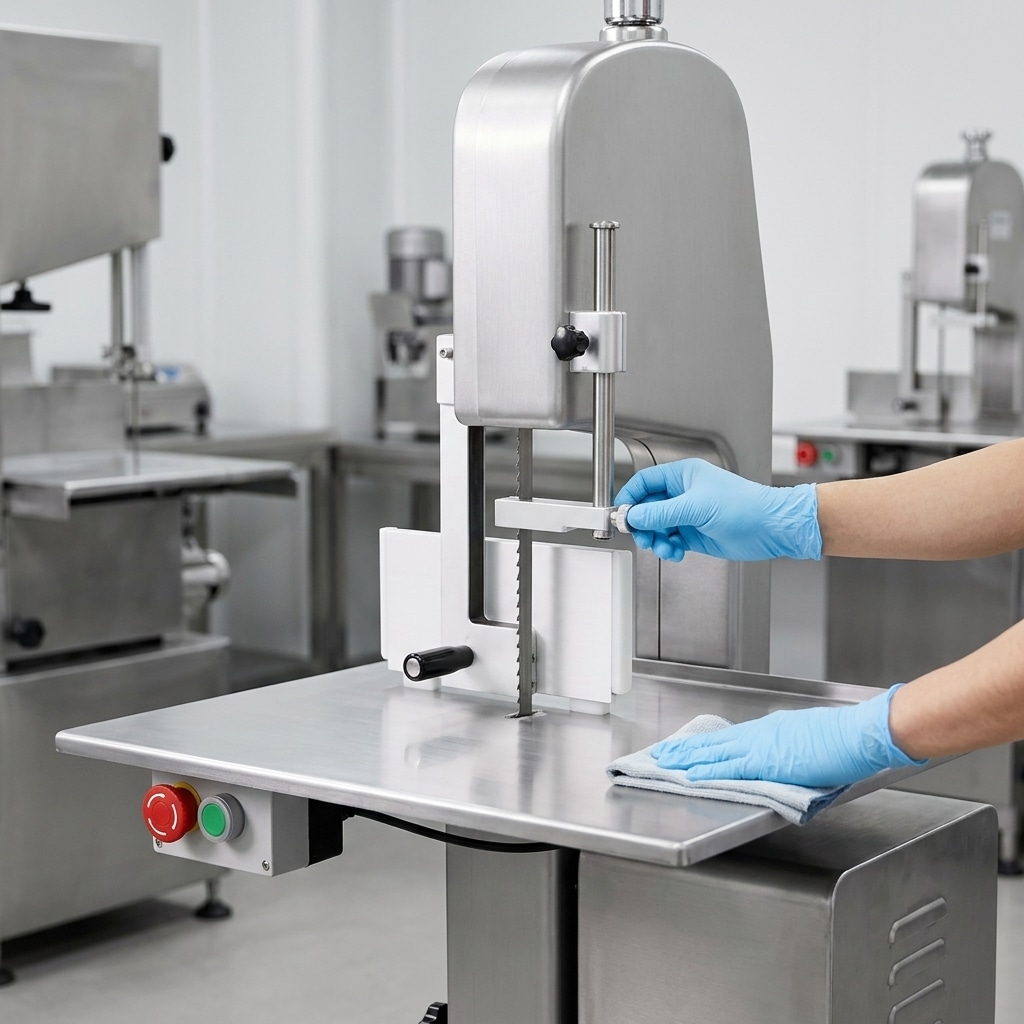
Operator inspecting the guide and clean table of a commercial meat band saw

Portion consistency starts before the blade is switched on. Product that is soft, partly thawed, unevenly shaped, or not fully supported can flex during cutting. This may produce slices that vary in thickness, rough cut faces, or a cut that does not remain square. Prepare the raw material so it can sit securely on the table and travel through the blade in a controlled line.

Prepare the product

  • Use a consistent product state: Group products by chilled, firm frozen, or other approved production condition. Avoid mixing conditions in one cutting run without resetting the method.
  • Remove loose packaging and foreign material: Follow your site’s approved preparation procedure. Never cut through materials that are not intended for the blade.
  • Create a stable reference face: Where the product specification permits, square one end or trim an unstable surface before portioning the full batch.
  • Sort by size: Cutting similar-sized pieces together reduces repeated guide changes and makes inspection easier.
  • Plan for bone orientation: For bone-in products, establish the intended presentation and cutting direction before starting the run.

Prepare the machine

  • Clean and inspect the table, fence, pusher, blade area, and collection area according to the approved sanitation procedure.
  • Confirm that guards, doors, interlocks, blade guides, and the fence are correctly positioned. Do not operate equipment with a missing, damaged, or bypassed safety component.
  • Inspect the blade for obvious damage, contamination, poor tracking, or signs that it no longer cuts cleanly. Replace or service it in accordance with the manufacturer procedure.
  • Set the guide to the required nominal thickness and lock it securely. Make a measured test cut before releasing production pieces.

For detailed daily checks, cleaning sequence, and blade-related precautions, see these safety and maintenance protocols for commercial bone saw machines.

Core Meat Band Saw Cutting Techniques

Safe steady feeding technique for a commercial meat band saw

The objective is to move product through the cutting zone without twisting, lifting, rocking, or forcing it. The operator should use the machine’s intended fence, carriage, pusher, or product-holding accessory. Hands should remain outside the defined danger area at all times; use a suitable pushing device when the remaining piece becomes small or difficult to control.

1. Establish the thickness with the fence, not by eye

Set the guide to the target dimension using the machine scale only as an initial reference unless it has been verified for the current setup. Cut one or more test pieces, measure them with an appropriate tool, and adjust the fence if needed. Once accepted, keep the setting locked and document it when the product specification requires traceability.

2. Keep the reference face against the guide

Place the squared or stable face firmly against the fence throughout the cut. If the product drifts away from the guide, the slice can taper. A stable, light lateral contact is usually more useful than excessive pressure. Pressing too hard can distort soft meat or create unnecessary resistance.

3. Feed at a steady rate

Use deliberate, even forward movement. A feed rate that is too fast can lead to tearing, vibration, blade deflection, or poor surface finish. Feeding too slowly may also encourage the operator to pause in the cutting zone. The appropriate rate depends on the product, blade condition, and saw design. Train operators to respond to changes in sound, resistance, and cut quality by stopping and checking the setup rather than increasing force.

4. Control long, irregular, and bone-in pieces

Long pieces need support at both the infeed and outfeed sides so their weight does not pull the cut out of square. Irregular items may need an approved fixture, a stable orientation, or a preliminary cut to create a flat contact surface. With bone-in products, choose a direction that keeps the item stable and follows the required portion specification. Do not attempt to rotate or reposition a product while it is in contact with a moving blade.

5. Manage the last piece safely

As the remaining piece becomes shorter, it may no longer be safely controlled by hand. Use the supplied pusher or another approved accessory and follow the machine manual. If a desired end piece cannot be safely held, stop and use an alternative approved cutting method. Yield goals should never override safe handling.

A Repeatable Portion-Cutting Workflow

A documented workflow helps different operators achieve the same result and makes deviations easier to identify. The exact records will vary by business, product, and local requirements, but the following sequence is a practical starting point.

  1. Review the production specification. Confirm the product identity, target portion dimension or weight range, cut orientation, packaging plan, and any inspection requirement.
  2. Prepare a controlled batch. Use product in the planned cutting condition and group pieces that have similar size and shape.
  3. Inspect and set up the saw. Complete the pre-use check, fit or verify the blade as required, set the guide, and ensure the work area is clean and clear.
  4. Run and measure test cuts. Inspect the cut face and measure thickness, or weigh portions when weight is the controlling specification. Adjust the setup before the main run.
  5. Cut using one repeatable motion. Keep each item against the guide, use steady feed pressure, and place cut portions in the designated clean container or transfer area.
  6. Verify during the run. Check portions at a frequency that suits the process risk and product variation. Recheck after a blade change, guide adjustment, interruption, or change of product condition.
  7. Separate nonconforming pieces. Identify off-spec portions immediately so they can be reworked, repurposed, or handled according to the site’s procedure.
  8. Clean down and record issues. At the end of the batch, follow the approved cleaning routine and note blade, guide, product, or process issues for the next shift.

If the saw is part of a wider sausage or formed-meat process, consistent portioning should be coordinated with upstream preparation. For example, raw material temperature and cut size can affect subsequent mixing; see guidance on making consistent meat texture with a bowl cutter when planning the full workflow.

Common Causes of Inconsistent Cuts

When portions vary, the source is usually a combination of product condition, setup, blade performance, and operator handling. Address the underlying cause before increasing speed or changing the target setting.

  • Tapered slices: The product may not be held against the fence, the reference face may be uneven, or the product may be unsupported and pulling away during the cut.
  • Variable thickness: Check whether the fence has moved, whether the setting was verified with a measured test cut, and whether operators are using the same product orientation.
  • Ragged or torn surfaces: Review blade condition, product condition, feed method, and whether the item is suitable for the current blade and machine setup.
  • Uneven bone-in portions: Confirm the intended cutting direction, product stability, guide setting, and whether the incoming pieces vary too much in anatomy or size for a single fixed setting.
  • Product slipping or rocking: Stop the run and create a stable face, use an approved holding method, or process the item with another suitable technique. Do not attempt to control an unstable piece by placing hands closer to the blade.
  • Output drifting over time: Look for blade wear, accumulated residue around guides or the fence, loose adjustments, changing product temperature, or inconsistent operator practice.

A simple corrective-action record can be valuable: note the product, time, portion deviation, observed cause, action taken, and result. This creates useful evidence for training and preventive maintenance without relying on memory alone.

Safe, Clean Operation Protects Portion Quality

Clean and organized commercial meat band saw workstation

Safety, sanitation, and cut consistency are closely connected. Residue on the table or guide can affect how product tracks. A worn blade can affect both surface quality and operator control. Poorly organized infeed and outfeed areas can cause operators to rush or reach across the machine. A clean, orderly saw station is therefore part of portion control, not merely an end-of-shift requirement.

Build the following practices into the operating standard:

  • Train only authorized personnel on the specific machine and retain the machine manual at the point of use or in an accessible controlled system.
  • Keep guards, doors, blade protection, guide assemblies, and pushers in place and usable. Never defeat a safety function to save time.
  • Switch off and isolate the machine before cleaning, blade work, adjustment beyond normal operating controls, or clearing a jam, following the applicable lockout or isolation procedure.
  • Use food-safe cleaning chemicals and concentrations that match the site’s sanitation plan and the equipment manufacturer’s guidance. Rinse and dry as required before reassembly.
  • Inspect food-contact areas after cleaning and before production. Ensure removable components are reinstalled correctly.
  • Keep a planned spare blade and maintenance arrangement appropriate for the operation, rather than continuing to cut with a blade that no longer performs acceptably.

For businesses comparing footprints and work patterns, this guide to tabletop versus floor bone saws can help assess how layout, product handling, and cleaning access affect daily operation.

Match the Saw to the Work

Good technique cannot overcome a machine that is unsuitable for the product or production environment. Before purchasing or specifying a commercial meat band saw, define the product range, maximum piece dimensions, proportion of bone-in work, product temperature at cutting, expected operating pattern, available bench or floor space, electrical supply, washdown and cleaning requirements, and local service access.

Also consider the workflow around the saw. There should be enough infeed space to load product safely, sufficient outfeed space to collect portions without obstructing the operator, and a hygienic route to the next stage. A larger machine is not automatically the better choice; the correct decision is the one that supports the product, operator, cleaning method, and daily workload without creating unnecessary complexity.

When discussing a machine with a supplier, provide representative product dimensions and photos where appropriate, describe whether products are boneless, bone-in, chilled, or frozen, and explain the target cut types. This enables a more useful technical discussion about fit, setup, operator workflow, consumables, and after-sales support.