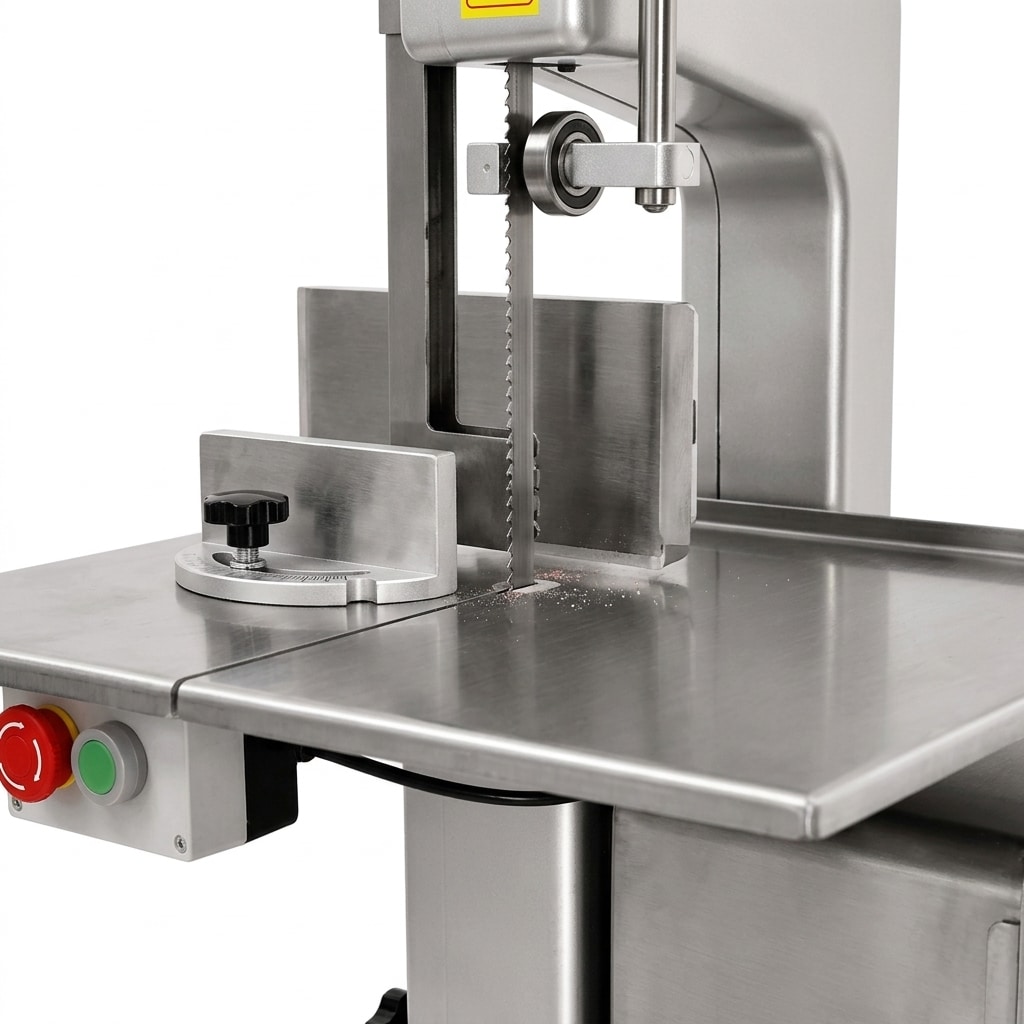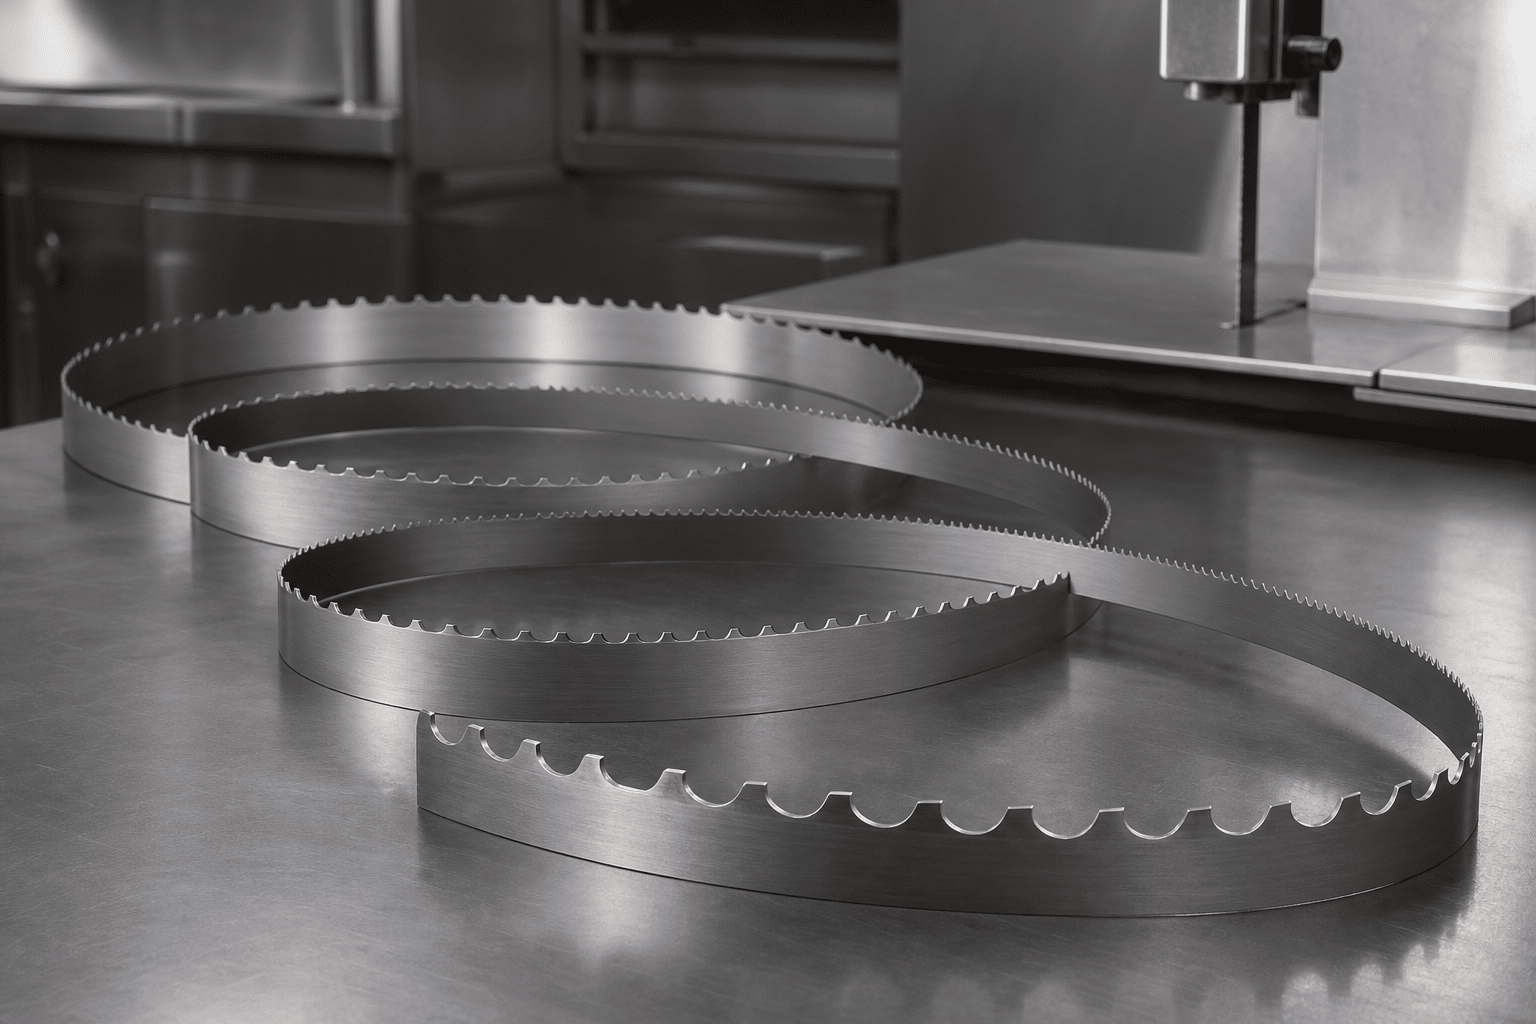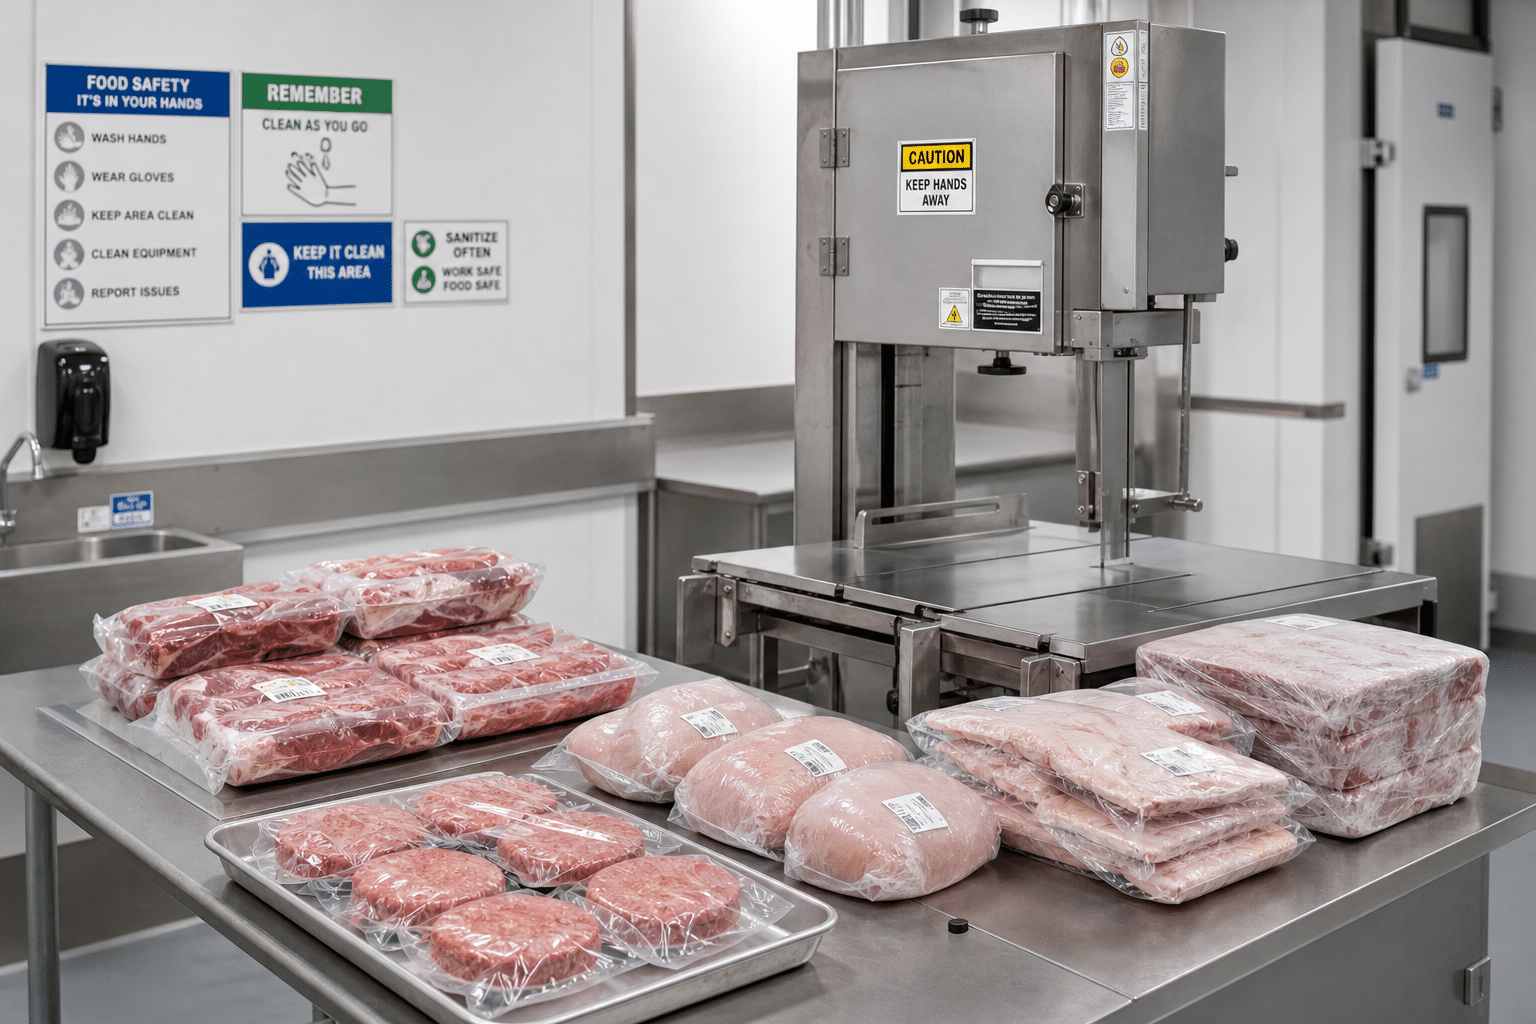
How to Clean a Commercial Meat Bone Saw Safely

Table of Contents

A commercial meat bone saw must be cleaned with the power isolated, removable parts handled safely, food residues removed before they dry, and all food-contact surfaces washed, sanitised, dried, and inspected before reassembly. This guide sets out a practical routine for butchers, processors, and commercial kitchens.

The safe cleaning sequence
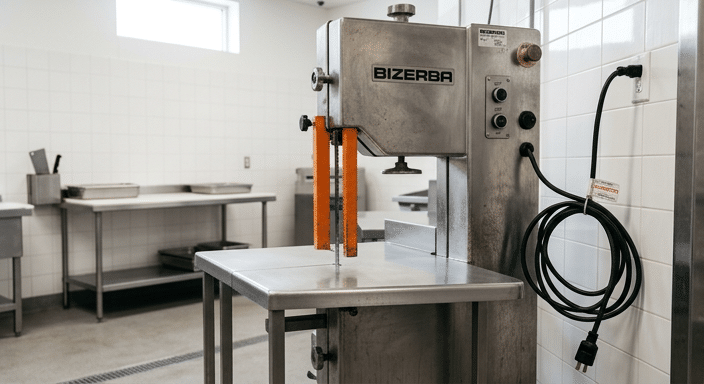
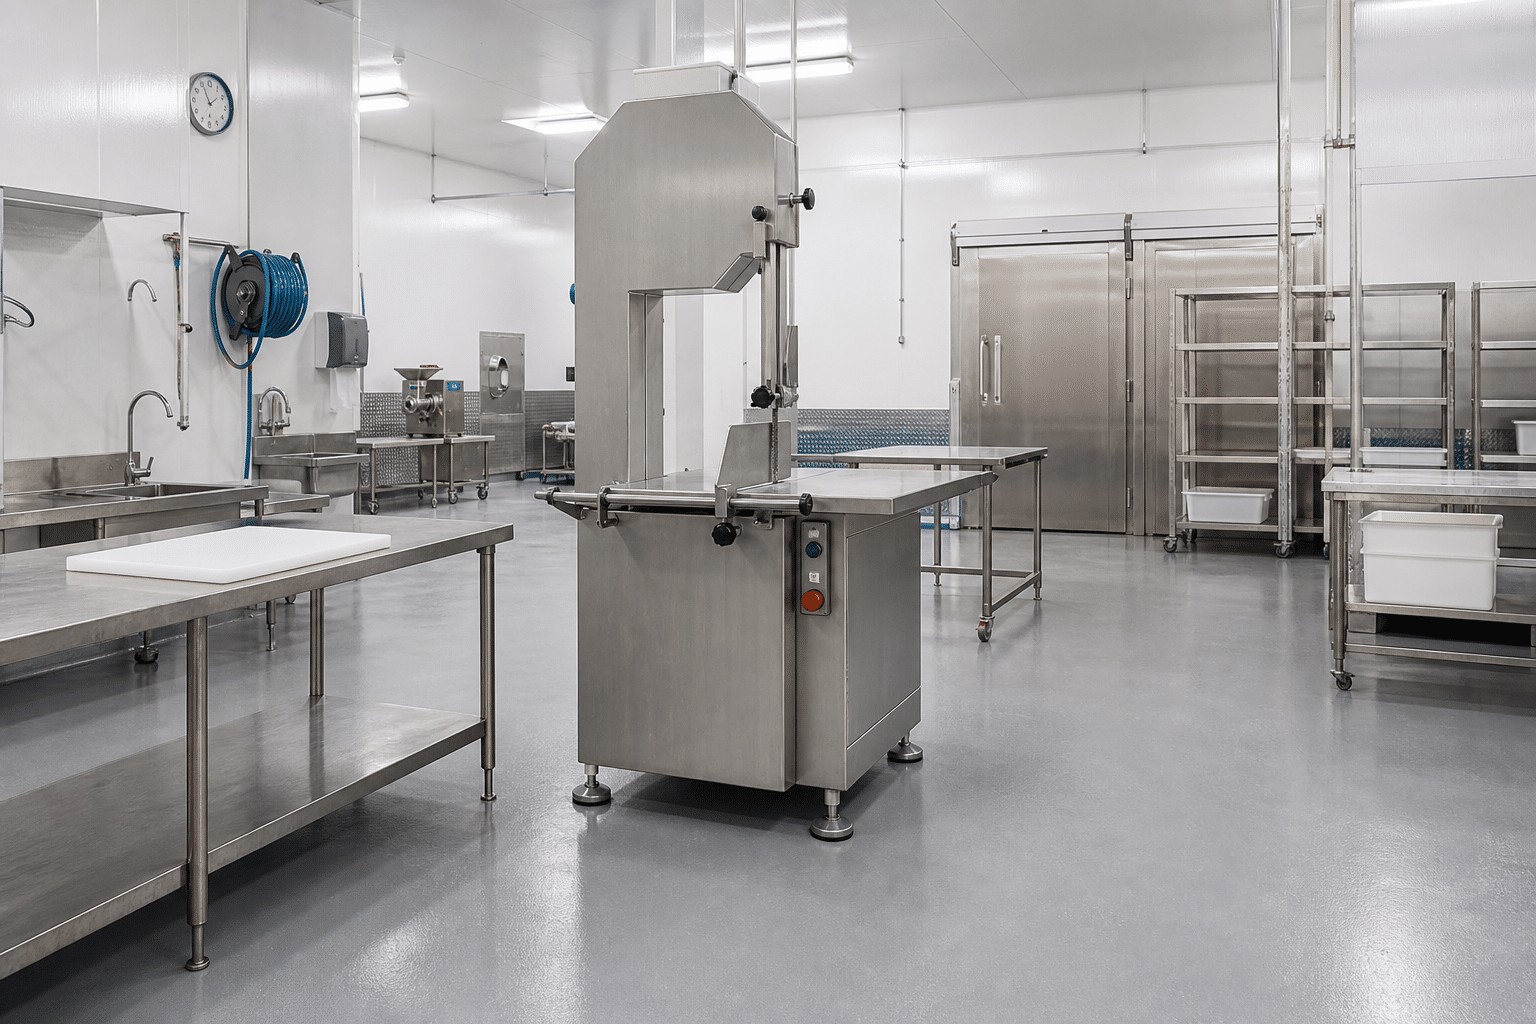
Isolated commercial meat bone saw before cleaning

To clean a commercial meat bone saw safely, stop the machine, disconnect and isolate its electrical supply, wear suitable cut-resistant hand protection, remove the blade and removable food-contact parts according to the machine manual, then wash, sanitise, dry, inspect, and reassemble each component before the next use.

Do not clean a saw while it is connected to power or while the blade can move. Do not direct a high-pressure water jet at electrical controls, motor areas, bearings, or seals unless the manufacturer specifically permits that method. The correct details can vary by model, so the operating manual and the cleaning chemicals’ instructions always take priority.

A reliable routine has seven stages: isolate the machine; remove product debris; disassemble accessible parts; wash with an approved detergent; rinse where required; sanitise at the correct concentration and contact time; then air-dry, inspect, and reassemble. Completing the steps in that order helps reduce cross-contamination risk, protects operators from blade injuries, and makes faults easier to identify before production resumes.

Why a controlled cleaning routine matters
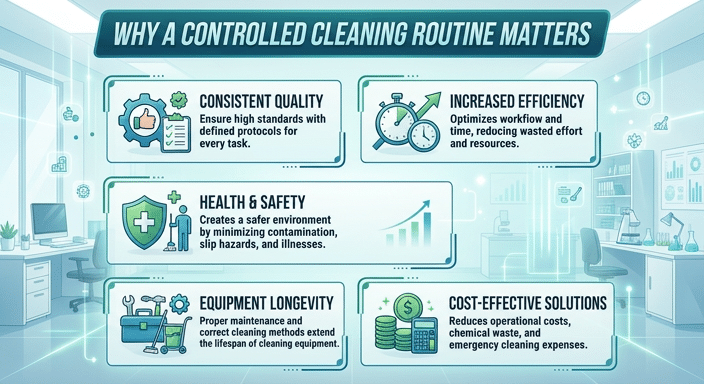
Why a controlled cleaning routine matters

Bone saws handle raw meat, fat, connective tissue, bone fragments, and moisture. These materials can collect on the blade, table, blade guides, guards, pushers, scrapers, doors, and joints between components. If residue is allowed to dry, cleaning becomes slower and more difficult. It can also conceal damage, wear, or a loose part that should be corrected before the next shift.

Cleaning is not simply an end-of-day appearance task. It is part of food hygiene, operator safety, and machine care. Detergent removes grease and visible soil; a compatible sanitiser is used after effective washing to reduce microorganisms on clean surfaces. Sanitiser does not work properly through meat residue or fat, so it should not replace washing.

A disciplined routine also supports cutting quality. Bone debris around guides or the blade path can affect how the product moves through the saw. For operational guidance that helps control residue during production, see how to reduce bone dust when using a meat band saw. Cleaning still remains necessary even when cutting practices reduce loose bone particles.

Assign responsibility clearly. Operators should know who cleans the machine, who checks it before release for use, what chemicals are approved, and where the cleaning record is kept. In businesses with several shifts, this prevents an assumption that a previous team has completed a task that was only partly done.

Prepare the machine and work area
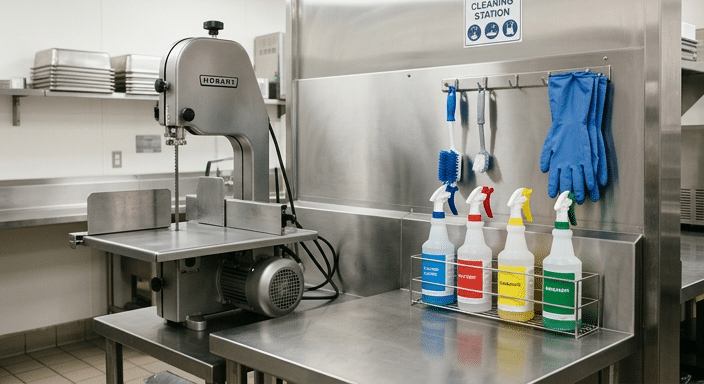
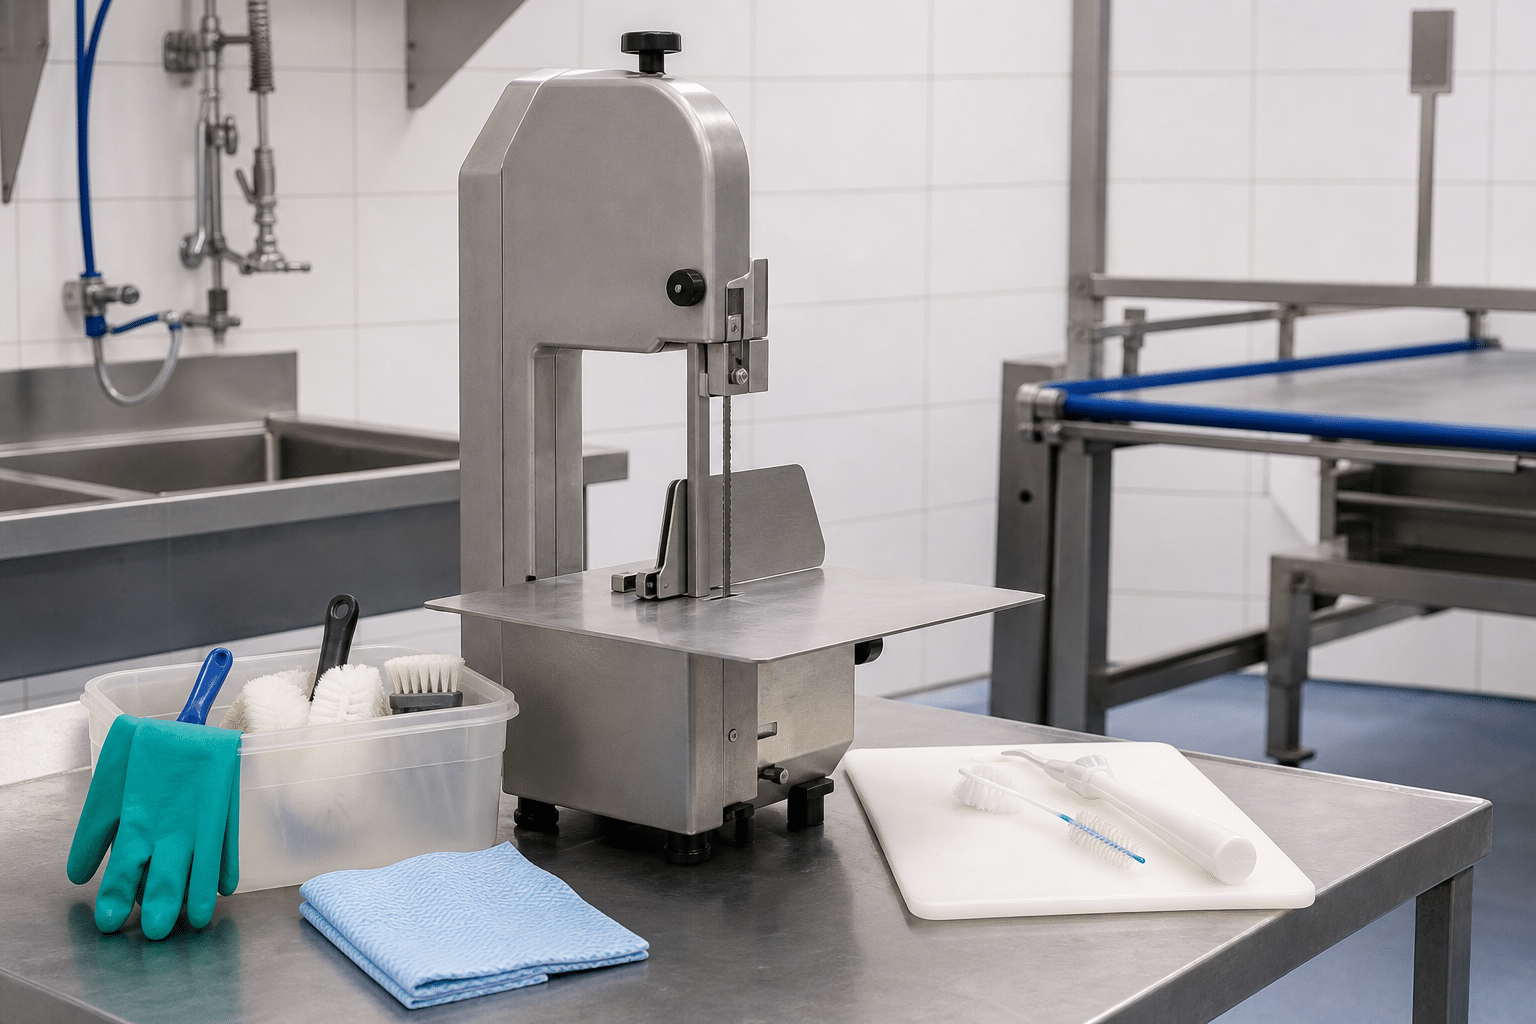
Cleaning supplies and protective equipment prepared for a commercial meat bone saw

Begin only after all cutting has stopped and product has been removed from the immediate work area. Move finished product and exposed ingredients away from the cleaning zone to prevent splash or aerosol contamination. Remove loose packaging, cartons, and tools that could become wet or obstruct access.

Switch the saw off using its normal control, disconnect it from the electrical supply, and apply the site’s lockout or isolation procedure where applicable. Confirm that the blade has fully stopped. A stop button alone is not a substitute for electrical isolation during cleaning and disassembly.

Wear the personal protective equipment required by your risk assessment. This commonly includes protective apron or clothing, footwear with good grip, and cut-resistant gloves when handling the blade. Chemical-resistant gloves and eye protection may also be appropriate when mixing or applying cleaning products. Cut-resistant gloves help with blade handling, but they do not make unsafe blade handling acceptable.

Prepare only cleaning chemicals that are suitable for food-processing equipment and compatible with the saw’s materials. Follow the chemical supplier’s label for dilution, temperature, contact time, rinsing requirements, and personal protective equipment. Do not mix cleaning products. In particular, never mix chlorine-based products with acids or other chemicals, because hazardous gases can result.

Use dedicated brushes, cloths, and containers that are clean and in good condition. A narrow brush can be useful around guides and crevices; a larger brush or cloth can be used for broad stainless-steel surfaces. Avoid abrasive pads or harsh tools that may scratch food-contact surfaces unless the manufacturer permits them. Scratches can make future cleaning harder and may accelerate corrosion.

Remove components safely

Refer to the saw’s manual before removing any component. The removable parts differ between models, but may include the blade, blade guard, upper and lower wheel covers, table insert, product pusher, scrap tray, and guide-related components. Only remove parts that the manufacturer identifies as operator-removable for cleaning.

Remove loose debris first

Use a brush or scraper intended for food equipment to remove loose meat, fat, and bone particles from accessible areas. Work carefully and direct debris away from your body. Do not use bare fingers to clear material close to the blade teeth, guides, or narrow slots.

Handle the blade as a sharp component

When the machine manual permits blade removal, release tension and remove the blade following the stated sequence. Hold it in a controlled manner, keep your hands away from the teeth, and avoid allowing the blade to spring open. Place it in a designated blade-cleaning area or carrier. Do not leave a removed blade on a bench where it can be knocked, stepped on, or mistaken for waste.

Do not force guards, knobs, or guide parts. Resistance can indicate that a fastener is still engaged, residue is binding the component, or the part is not designed to be removed in that direction. Forcing parts can damage threads, distort guards, or create a safety issue when the machine is reassembled.

Good cutting setup reduces unnecessary residue and makes cleaning easier. Operators who need to review production handling can use this guide to meat band saw cutting techniques for consistent portions, alongside the machine’s own operating instructions.

Wash, sanitise, and dry removable components
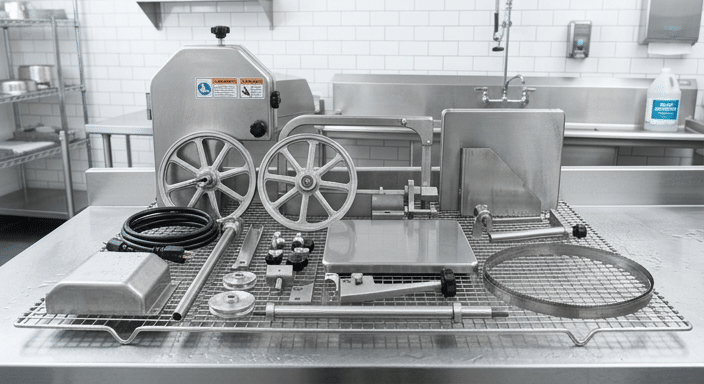
Cleaned removable components of a commercial meat bone saw drying on a rack

Wash removable components in a dedicated sink or cleaning area using warm water and the approved detergent, following the chemical supplier’s instructions. The objective is to remove visible food residue, fat, and protein film from every accessible surface. Give particular attention to the table insert, pusher, blade guards, scrap collection parts, guide surfaces, and the blade itself if the manual allows it to be washed.

Use brushes sized for the component. Brush from a controlled position and keep hands away from sharp teeth. Do not use a cloth wrapped around the blade because the cloth can catch on teeth and pull a hand toward the cutting edge. Where a component has slots, seams, fasteners, or hollow areas, inspect them closely for trapped residue.

Rinse washed parts if required by the detergent instructions. Then apply a food-contact-surface sanitiser at the correct dilution and for the full stated contact time. Using too little chemical, shortening contact time, or applying sanitiser over unwashed soil can make the process ineffective. Using a stronger solution than instructed is also not a substitute for correct procedure and can damage materials or leave an unsuitable residue.

Allow components to air-dry on a clean rack or approved clean surface. Avoid wiping them dry with a cloth that may reintroduce contamination or leave fibres behind. Do not store cleaned parts in a damp enclosed space. Moisture can encourage corrosion, leave water marks, and create conditions that require re-cleaning before use.

Inspect each part under adequate lighting after it dries. It should be free from visible meat, fat, bone debris, detergent residue, and damage. If a part cannot be cleaned effectively, remove it from service and have the issue assessed according to your maintenance process.

Clean the fixed machine surfaces
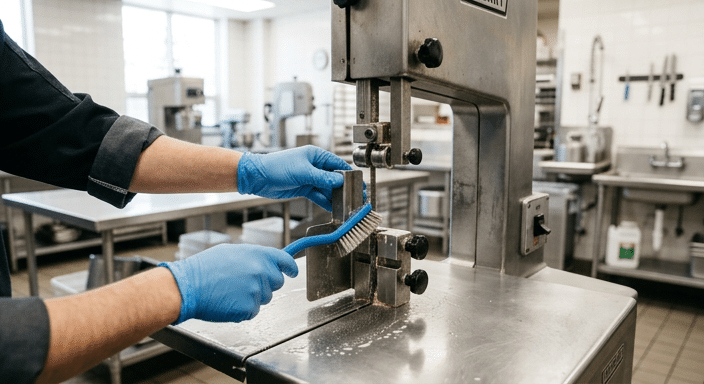
Cleaning the fixed table and guide surfaces of a commercial meat bone saw

After removable parts are out of the way, clean the fixed surfaces of the saw: the frame, table area, door edges, accessible wheel housing surfaces, guide mounts, product feed area, and surrounding splash zones. Start by removing dry or loose debris, then apply detergent using a cloth, brush, or low-pressure method approved for the machine.

Keep water and chemical solution away from electrical controls, switches, plugs, motor ventilation openings, bearings, and any other area identified in the manual. Wipe these areas with a suitable lightly dampened cloth if the manufacturer permits it. Never assume a stainless-steel exterior means all areas of the machine can be hosed down.

Clean from cleaner areas toward dirtier areas and from higher surfaces toward lower surfaces so you do not spread residue back onto cleaned sections. Pay attention to the underside of the table, the junctions around guards, and the area beneath or behind the blade path, where debris can be missed during a quick visual check.

Rinse only where the detergent instructions and machine guidance allow. Then sanitise the cleaned food-contact and adjacent exposed surfaces using the correct method for the sanitiser. Observe the required contact time. Let the machine air-dry with covers open only where this is safe and permitted, so accessible moisture can evaporate before reassembly.

While cleaning, look for signs of wear such as cracked guards, loose hardware, damaged scrapers, hard-to-clean corrosion, or a guide that no longer holds its setting. These observations are valuable because they occur when surfaces are visible and the machine is isolated. Record defects and do not return the saw to use until safety-related faults have been addressed.

Inspect and reassemble the saw before use

Reassemble the saw only when all parts are clean, dry, and in serviceable condition. Follow the manual’s reassembly order. Refit guards, inserts, trays, and guide components securely, and make sure there are no cleaning tools, cloths, fasteners, or packaging materials left inside the machine.

Fit and tension the blade only as specified by the manufacturer. Confirm that the blade is correctly seated on the wheels and guides, with the teeth facing in the required cutting direction. Incorrect blade fitment can damage the saw, cause poor cutting, or create a serious safety risk. Close and secure covers before reconnecting power.

Before processing food, complete the pre-use check required by your site. This may include confirming that guards are fitted, doors are closed, the table and pusher move correctly, the blade is appropriately tensioned, and emergency-stop and interlock functions are operating as intended. Do not bypass a guard, switch, or interlock to speed up restart.

Run the saw empty only if the manufacturer permits a functional check after cleaning. Listen and observe from a safe position. Unusual vibration, rubbing, noise, or blade tracking should be investigated before product is loaded. For a broader review of selecting and maintaining a saw around your operation, see the commercial bone saw machine buying checklist for butchers.

Set a cleaning frequency and record routine

Cleaning frequency should be based on the food safety procedures that apply to your operation, the products being processed, and the manufacturer’s instructions. In many commercial environments, a full clean is completed at the end of each production period and whenever the saw changes from one task to another in a way that could create contamination risk. Visible build-up should be removed promptly and safely rather than left until it becomes difficult to clean.

Use a short, practical cleaning checklist. It can include isolation confirmed; blade and removable components cleaned; fixed surfaces washed and sanitised; parts air-dried; defects recorded; guards refitted; and pre-use check completed. A signed or digital record makes the process consistent across staff and helps supervisors identify recurring issues.

Build preventive maintenance into the same system, but keep it distinct from routine washing. Blade condition, tracking, tensioning components, guide wear, door seals, fasteners, and electrical parts may need periodic inspection by a trained person. Cleaning reveals problems; it does not replace maintenance. Where a manual gives a different interval or procedure, follow the manual.

Staff training matters most at the points with the highest risk: isolation, blade removal, chemical handling, cleaning around the blade path, and reassembly. New staff should be shown the model-specific procedure and supervised until they can complete it correctly. A general method is useful, but it cannot replace the instructions for the machine installed in your facility.

Avoid common cleaning mistakes

The most common problems are usually procedural rather than complicated. Avoid these mistakes:

  • Cleaning before isolation: never rely only on the normal stop control when disassembling or cleaning around the blade.
  • Sanitising a dirty surface: remove meat residue and fat with detergent first, then sanitise the cleaned surface.
  • Using unsuitable chemicals: use only products compatible with food equipment and the saw materials, mixed and applied as directed.
  • Flooding protected parts: do not spray motors, switches, electrical connections, bearings, or seals unless the manufacturer explicitly allows it.
  • Handling a blade casually: remove, wash, carry, and store it with controlled movements and suitable protection.
  • Reassembling wet parts: allow components to dry and inspect them before fitting them back to the saw.
  • Ignoring damage found during cleaning: record faults and remove the machine from service when a defect affects safety, cleanability, or reliable operation.

A bone saw that is easy to access, clean, inspect, and service is generally easier to manage over its working life. When comparing equipment for a new operation or replacement purchase, this guide to choosing a commercial meat bone saw machine can help you assess cleaning access alongside cutting requirements, workspace, electrical supply, and service support.
Tabletop vs Floor Bone Saws: Which Fits Your Operation?

Table of Contents

A tabletop bone saw is usually the practical choice for compact, moderate-volume cutting stations, while a floor bone saw better suits operations that need a dedicated cutting area, larger work surface, or more continuous processing. The right decision depends on workflow, product size, sanitation access, electrical supply, and operator safety—not machine size alone.

Quick Answer: Tabletop or Floor Bone Saw?

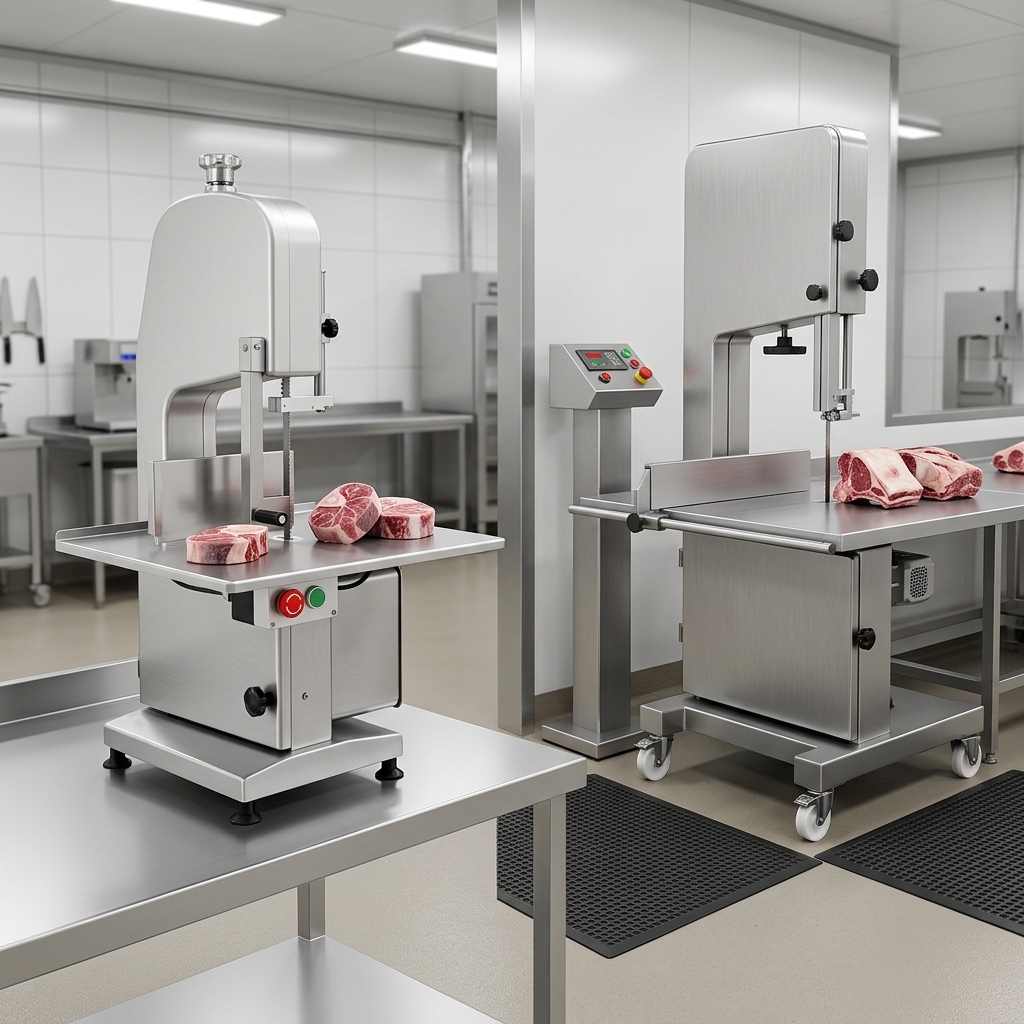
Tabletop and floor commercial bone saws in separate hygienic food-processing workstations

For most buyers comparing a tabletop vs floor bone saw, the correct choice comes down to the cutting station you are building.

A tabletop bone saw is generally suitable when you have a sound, hygienic bench, limited floor area, moderate cutting demand, and a workflow based on short processing periods. It can be a sensible format for butcher counters, small meat shops, restaurant preparation areas, and specialist retail operations where the machine must fit into an existing work line.

A floor bone saw is generally more suitable when the saw is a dedicated production station. It may be the better fit for larger cuts, repeated portioning work, higher daily handling volume, or facilities that can allocate permanent floor space around the machine for loading, cutting, collection, and cleaning.

Do not assume that a larger machine is automatically the better commercial choice. A floor-standing unit can create an inefficient workflow if it is oversized for the available room or difficult to clean around. Equally, a tabletop unit can become a poor fit if operators lack enough bench strength, clear working space, or room to handle incoming and cut product safely.

Understanding Tabletop and Floor Bone Saws

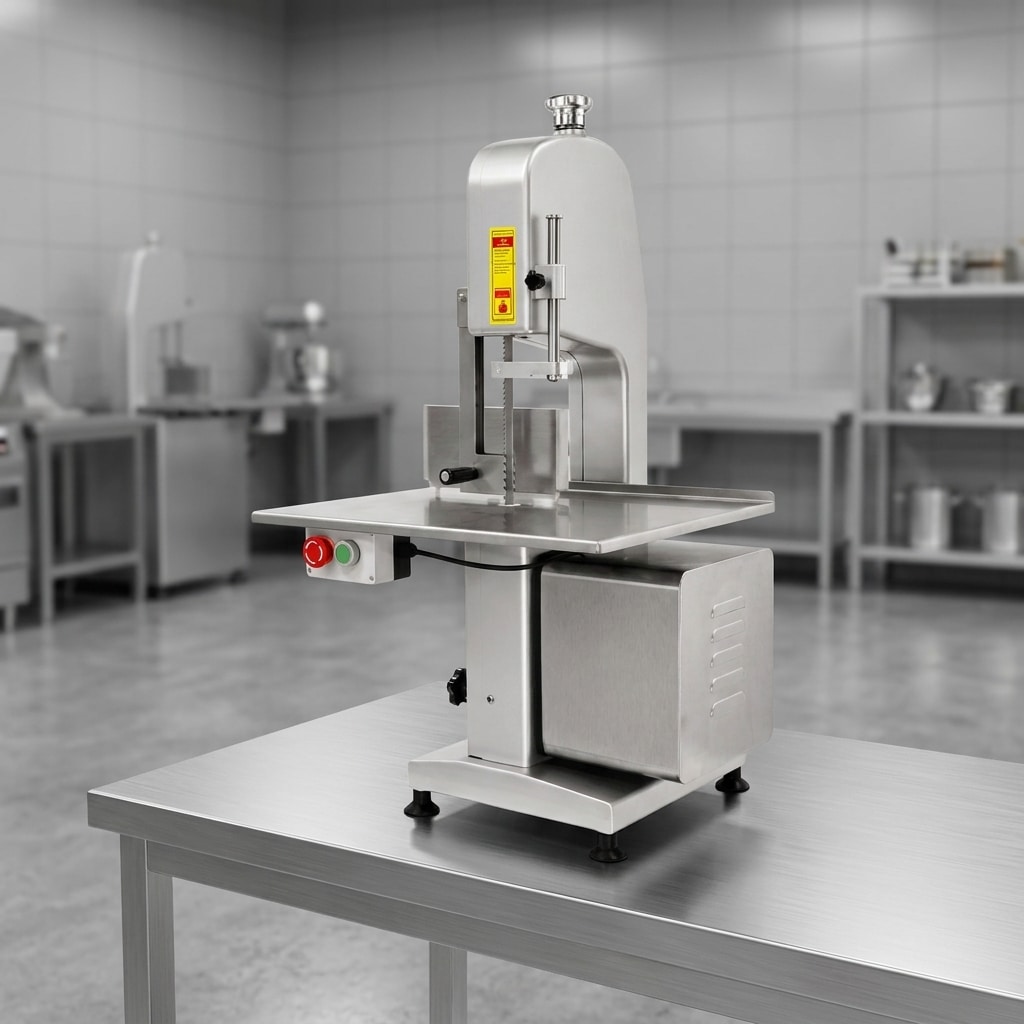
Commercial tabletop bone saw installed on a stainless-steel workbench

Commercial bone saws are commonly used to portion meat, poultry, fish, and bone-in products. Depending on the machine design and the product being processed, they may also be described as meat band saws. They use a continuous saw blade running through a guarded cutting area, with a work table that supports the product during the cut.

Tabletop models are designed to sit on a suitable workbench or purpose-built stand. Their compact format helps businesses use vertical space rather than allocate a full floor position. However, the supporting surface is part of the installation: it must be stable, level, hygienic, correctly sized, and capable of supporting the machine and normal handling activity.

Floor models are freestanding machines that occupy a defined work zone. Their format can make sense where a business wants a dedicated cutting area and more room for product handling. In practice, the useful difference is not simply height. It is how the machine integrates with receiving, chilled storage, preparation tables, packaging, waste handling, and cleaning routines.

Specifications differ substantially by model. Before comparing formats, review the manufacturer’s published dimensions, cutting clearance, table arrangement, blade specification, electrical requirements, guarding, and cleaning instructions for the exact machine under consideration.

Choose by Workflow, Not Footprint Alone

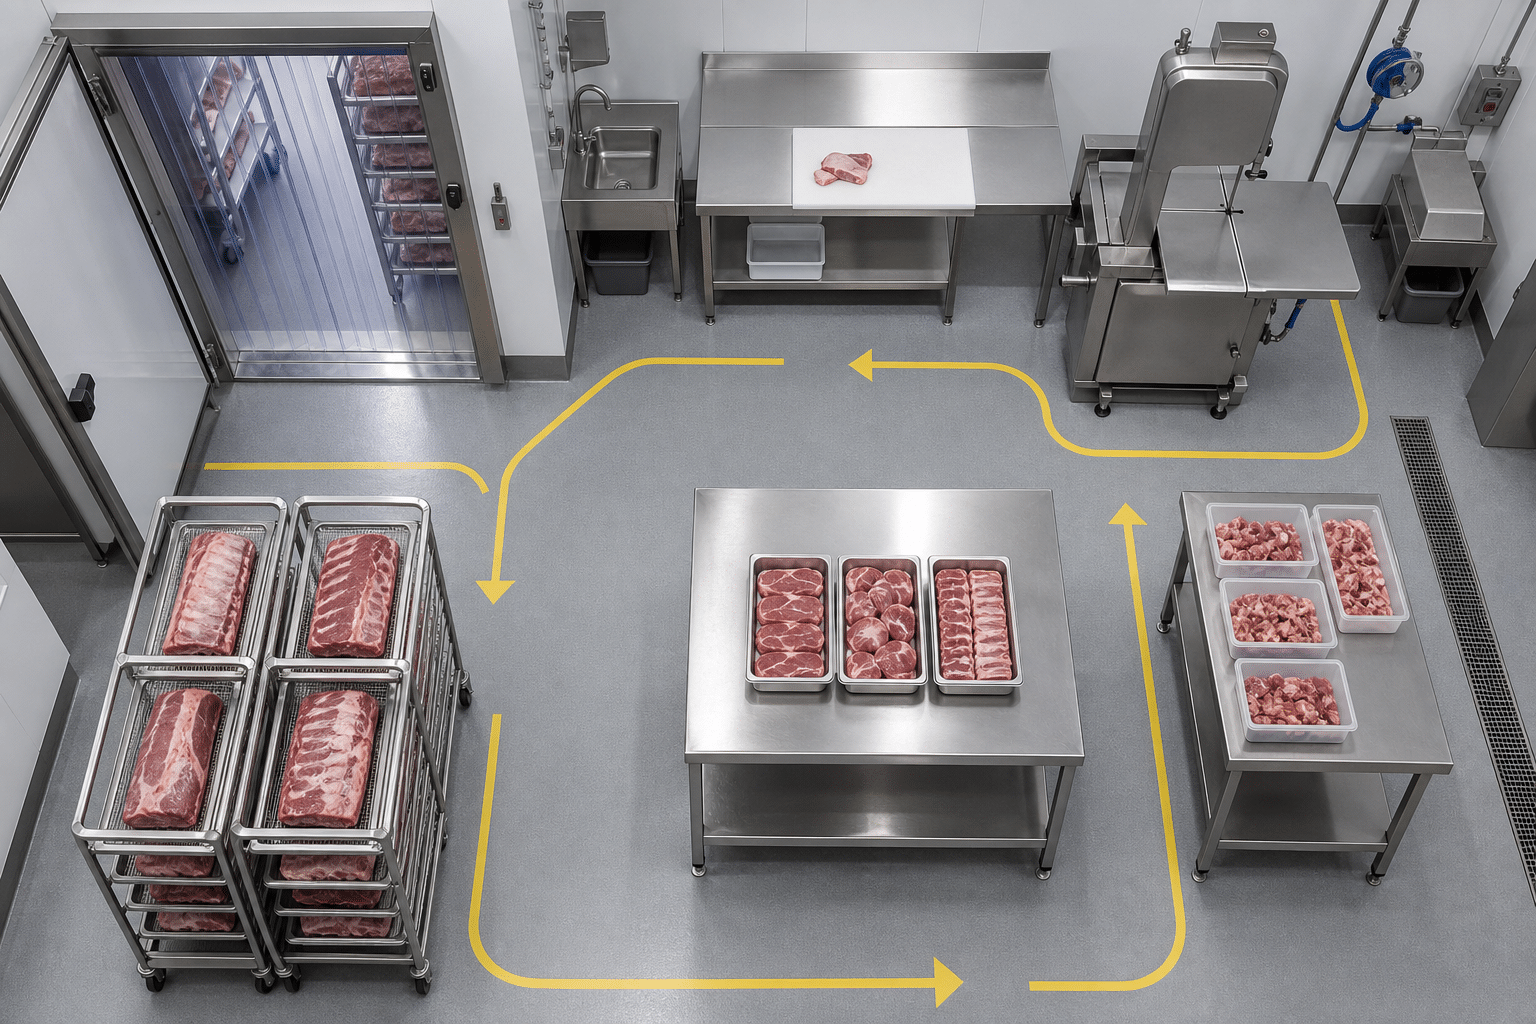
Planned meat-processing workflow with a dedicated bone saw cutting station

Start the selection process by mapping one normal working day. Identify where product arrives, where it is kept chilled, where it is unwrapped, where it is cut, and where portions go next. This simple exercise often makes the right format clearer than a catalogue comparison.

When a tabletop bone saw may fit best

  • You have a compact preparation room or retail backroom.
  • Cutting is one step within a broader preparation task rather than a continuous production activity.
  • A properly designed stainless-steel workbench or equipment stand is already available.
  • Operators need the saw close to other counter-height preparation equipment.
  • Product can be staged safely before and after cutting without blocking walkways.

When a floor bone saw may fit best

  • The saw will be used frequently throughout the day.
  • You need a permanent, dedicated cutting station with clear access on all working sides.
  • The product mix includes larger or awkward bone-in pieces that need more handling room.
  • Your facility can support an orderly flow from chilled storage to cutting, packing, and sanitation.
  • You want to avoid placing a heavy machine on an existing bench that was not designed for the task.

Also consider downstream preparation. Where portioned material moves into grinding, mixing, or further processing, the saw should be positioned to reduce unnecessary carrying and cross-traffic. In larger food-preparation workflows, a commercial bowl cutter workflow guide can help teams consider how separate processing stations should be arranged and sequenced.

Key Selection Criteria for Commercial Buyers

Use the following criteria to compare a tabletop and floor machine on an operational basis.

1. Product range and cutting envelope

List the products you expect to cut, including typical dimensions, temperature condition, bone density, and the largest occasional item. The available cutting clearance and work-table layout must suit real products, not only the average item. If products arrive frozen or partially frozen, confirm that the intended use is permitted by the machine supplier and applicable local food-safety rules.

2. Daily workload pattern

Consider whether cutting occurs in short batches, at retail service intervals, or as a sustained production task. A compact tabletop machine can be efficient for intermittent work. A floor unit may support a more organised dedicated station when demand is frequent or product handling is more involved. Avoid selecting solely by a claimed output figure; actual results depend on product condition, cut type, operator technique, blade condition, and safe working procedures.

3. Available work area

Measure more than the machine footprint. Allow space for the operator, product trays, safe loading, discharge of cut pieces, cleaning access, and unobstructed passage. A tabletop saw also requires a stable support surface with enough surrounding clearance. A floor saw requires an appropriate floor location that does not conflict with doors, drains, cold-room access, or emergency routes.

4. Electrical compatibility

Confirm voltage, frequency, phase, plug type, earthing, and local installation requirements from the rating plate and product documentation before purchase. Electrical requirements are model-specific and can vary by market. Equipment should be installed by a qualified person where local rules require it.

5. Cleaning access and hygiene controls

Look carefully at how the blade area, table, guides, guards, doors, and residue collection areas can be accessed for daily cleaning. A machine that is difficult to clean consistently can create avoidable downtime and food-safety risk. Your cleaning chemicals and method should always follow the machine manual and your site’s hygiene programme.

6. Service and spare-parts planning

Blade replacement, tensioning checks, guide adjustment, and inspection of safety components should be practical within your maintenance plan. Ask about documentation, recommended routine checks, replacement parts, and the support process before committing to a machine.

Installation and Workspace Planning

Floor bone saw with clear workspace around a dedicated cutting area

A well-planned installation protects both productivity and safe handling. For a tabletop saw, confirm that the bench or stand is level, rigid, corrosion-resistant, easy to clean, and designed for the installed equipment load. Do not place a machine on a movable, damaged, or unsuitable counter simply because the footprint appears to fit.

For a floor saw, plan the location as a complete workstation. The operator needs room to position product, use the supplied pusher or handling tools, collect cut portions, and access controls without reaching across the blade path. The area should also allow safe cleaning and inspection with the machine isolated from power.

In either format, consider these practical points:

  • Keep the machine away from congested routes and door swings.
  • Provide suitable lighting so operators can see the work surface and product clearly.
  • Keep packaging materials, loose tools, and unnecessary containers out of the cutting zone.
  • Plan separate clean and raw-product handling areas in line with your food-safety procedures.
  • Check drainage, wall clearance, and washdown arrangements against the machine documentation.
  • Make sure power isolation is accessible and that the electrical supply matches the machine requirement.

Before commissioning, document the intended use, train operators on the specific machine, and retain the operating manual at the site. A correct layout cannot replace operator training, but it makes safe practices easier to maintain during busy periods.

Cleaning, Safety, and Maintenance Requirements

Commercial bone saw prepared for safe cleaning and routine inspection

Whether you select a tabletop or floor unit, operating discipline matters more than the format. Bone saws involve a moving blade and sharp cut surfaces. The machine must be used only by trained personnel who understand the manufacturer instructions, site procedures, and relevant local workplace and food-safety requirements.

Basic operating controls should include keeping hands clear of the blade path, using the supplied pusher or product-holding method where applicable, ensuring guards are correctly fitted, avoiding unstable product positioning, and stopping the machine before clearing jams or carrying out adjustments. Never bypass safety devices or improvise a guard, blade, or electrical repair.

Daily hygiene should begin after the machine is safely shut down and isolated according to its instructions. Remove product residue from accessible areas, clean and sanitise components as permitted by the manufacturer, dry parts where required, and reassemble correctly before the next use. Do not direct water or cleaning chemicals at electrical components unless the equipment documentation specifically permits the method.

A preventive maintenance routine should include inspection of blade condition, blade tracking and tension where applicable, guards, table surfaces, guides, fasteners, switches, and electrical cable condition. Replace worn or damaged parts promptly with compatible parts. For a practical overview, review these bone saw safety and maintenance protocols alongside the instructions for your exact machine.

Common Buying Mistakes to Avoid

The following errors can lead to avoidable installation changes, difficult cleaning routines, or an inefficient cutting line.

  • Choosing only by machine dimensions: A compact unit may still need significant operator and tray clearance, while a large machine may not improve workflow if it is poorly positioned.
  • Ignoring the support surface: Tabletop equipment is only as stable and hygienic as the bench or stand beneath it.
  • Buying for the average product only: Check the largest, heaviest, and most awkward products expected during normal operation.
  • Overlooking power supply details: Do not assume that voltage or plug arrangements match your site. Verify all electrical requirements before shipment and installation.
  • Separating purchasing from sanitation planning: Cleaning access, local washdown practices, chemical compatibility, and drainage should be reviewed before the machine arrives.
  • Underestimating operator training: The safest machine design still depends on correct setup, product handling, cleaning, and inspection by trained staff.

A more reliable buying process is to prepare a short site brief covering product types, daily workflow, room dimensions, utility details, hygiene procedures, and operator requirements. This gives suppliers enough information to advise on a suitable equipment format without relying on assumptions.

Making the Final Decision

Choose a tabletop bone saw when a compact, stable, easy-to-integrate counter-height station matches your product mix and workload. Choose a floor bone saw when you need a permanent cutting zone with more surrounding handling space and a workflow built around regular processing activity.

The best decision is based on the complete operating picture: product dimensions, cutting frequency, available room, bench or floor suitability, cleaning access, local electrical supply, operator training, and support requirements. Ask suppliers to assess these factors against the documented specifications of the exact model, rather than relying on a broad tabletop-versus-floor label.

Easimaker Technology Limited supports commercial buyers with practical equipment discussions for daily food-processing operations. If your business also requires adjacent preparation equipment, it is useful to evaluate each station as part of one coordinated production flow rather than purchasing machines in isolation.

Meat Band Saw Blade Selection Guide for Commercial Kitchens

Table of Contents

The correct meat band saw blade must match the saw manufacturer’s required dimensions and the products being cut. Use a coarser tooth pitch for frozen meat and bone-in cuts, then confirm blade length, width, thickness, material, and safe operating procedures before ordering.

Quick Answer: How to Select a Meat Band Saw Blade

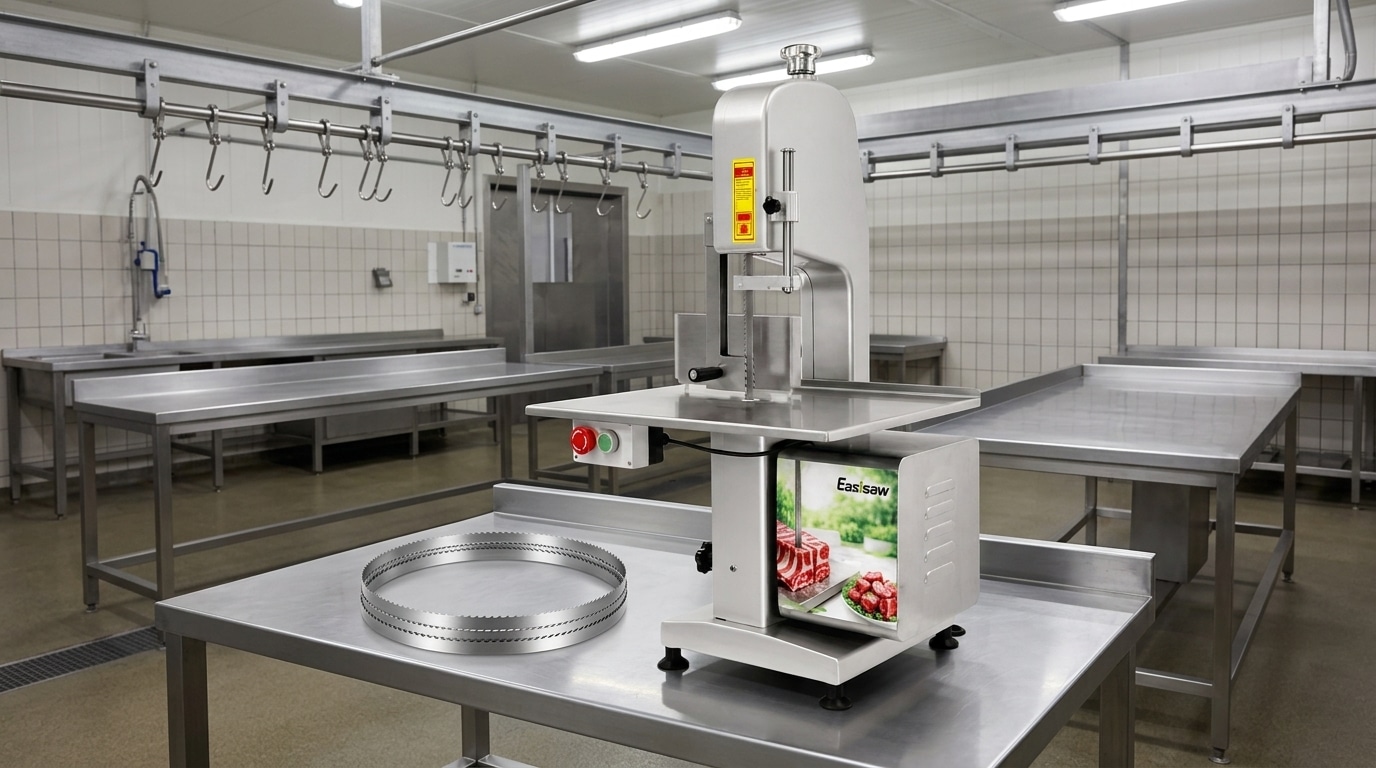
Commercial meat band saw with a replacement blade in a professional food preparation area

For reliable meat band saw blade selection, start with the exact blade dimensions specified for the machine: length, width, thickness, and tooth pitch. Then match the tooth pattern and pitch to the product. Frozen meat and bone-in cuts usually need a coarser, more open tooth configuration, while fresh boneless meat generally needs a finer cutting pattern for a cleaner portioning cut. The correct blade is not simply the sharpest available blade; it is the blade that fits the saw, suits the product temperature and composition, and can be cleaned and replaced safely within the kitchen’s operating routine.

Before placing an order, verify the saw model, the manufacturer-approved blade specification, the material being cut, and the electrical and guarding condition of the machine. Blade choices should always support the machine manual and local food-safety procedures rather than replace them.

What a Meat Band Saw Blade Does

Close-up of a meat band saw blade and guide area on a commercial saw

A meat band saw blade is a continuous, flexible toothed band that travels around the saw wheels and passes through the work table. It is used to portion meat, poultry, fish, and selected bone-in or frozen products where a knife or slicer is not appropriate. In commercial kitchens, butcher shops, meat preparation rooms, and food-processing operations, blade selection affects cut quality, waste control, cleaning workload, and operator safety.

Unlike a general workshop blade, a blade used for food preparation must be selected with sanitation and product handling in mind. The blade must also run correctly on the machine’s wheel system, guides, tensioning mechanism, and guards. A blade that is the wrong length may not tension correctly. A blade with unsuitable width or thickness may track poorly or place unnecessary stress on the machine. A tooth configuration that does not suit the product can produce rough cuts, excessive drag, or rapid dulling.

Blade performance depends on the complete setup, not the blade alone. Saw cleanliness, blade tension, guide adjustment, operator feed pressure, product condition, and the condition of the wheels all influence the result. For operational context, review these commercial bone saw safety and maintenance protocols alongside the instructions for your own saw model.

The Main Blade Selection Factors

Commercial band saw blade sections showing different tooth spacing

Use the following factors in order. Machine compatibility comes first, because even an otherwise suitable blade cannot be used safely if its dimensions do not match the saw.

1. Blade length

Blade length is the full circumference of the continuous band. It must match the machine manufacturer’s requirement. Do not estimate it from the table size or use a blade from a similar-looking saw. Check the data plate, operator manual, previous verified blade packaging, or the machine supplier’s parts list. If the old blade is damaged or its size is unknown, measure it only as a cross-check, not as the sole ordering reference.

2. Blade width

Width is measured from the tooth tip to the back edge of the blade. A wider blade generally offers more stability for straight cuts, provided the saw is designed for it. A narrower blade may be specified for particular machines or cutting tasks. Always stay within the width range approved for the saw and its guides.

3. Blade thickness

Thickness affects flexibility, tracking, and durability. The correct thickness depends on the wheel diameter and design of the specific saw. A thicker blade is not automatically better. If it is outside the recommended specification, it may not flex correctly around the wheels or may create tracking problems.

4. Tooth pitch and teeth per inch

Tooth pitch is commonly described by teeth per inch, often shortened to TPI. A lower TPI means fewer, larger teeth with more space between them. A higher TPI means more, smaller teeth. Larger tooth gullets can clear heavier material more effectively, while smaller teeth can support a smoother cut in suitable products. The correct choice depends on whether the product is frozen, fresh, boneless, bone-in, fatty, or prone to producing small fragments.

5. Tooth form and blade material

Suppliers may offer different tooth forms and blade materials. Availability and suitability vary by market and saw model. Ask the supplier to identify the intended application rather than selecting only by a generic description such as “meat blade.” Confirm whether the blade is intended for food-use environments, the exact saw type, and the products in your menu or production plan.

Match the Blade to the Product Being Cut

Commercial kitchen workstation prepared for chilled and frozen meat cutting

Product condition has a direct effect on blade choice. The same operation may need different replacement blades when it processes both fresh boneless meat and frozen bone-in portions. Build the selection around the most demanding regular task, or keep clearly identified blade stock for separate approved applications where the machine manufacturer permits it.

Frozen meat and bone-in products

Frozen product and bone place greater cutting demand on the blade. In many applications, operators use a coarser tooth pitch because the larger tooth spaces can help clear material during heavier cuts. However, the saw manufacturer’s approved blade specification remains decisive. Do not use a finer blade merely to improve surface appearance if the product is likely to overload or clog the tooth spaces.

Fresh boneless meat

Fresh boneless cuts often benefit from a tooth pitch selected for controlled, tidy portioning. The objective is a consistent cut without pulling, tearing, or compressing the product unnecessarily. Product temperature, fat content, portion thickness, and feed technique all affect the result. If cut quality changes, inspect the blade condition and saw setup before changing to a different pitch.

Poultry, fish, and mixed preparation work

Poultry and fish may include bone, skin, soft tissue, or variable product temperatures. A single blade specification may not be the best choice for every task. Discuss the actual product list with the equipment or blade supplier, including whether products are chilled, partially frozen, or fully frozen. This practical product review is more useful than choosing by the broad label “meat saw blade.”

Where a kitchen combines sawing with other preparation processes, plan each workstation around its own cutting method and cleaning requirements. For example, a commercial bowl cutter workflow for high-volume food preparation is a separate process and should not be treated as a substitute for portioning with a band saw.

Confirm Compatibility Before Ordering

A purchasing record reduces costly ordering errors. Keep a verified blade specification sheet for every saw in the operation. It should include the machine brand and model, blade length, width, thickness, tooth pitch, preferred product application, and the supplier’s reference code where available. Record the date the specification was confirmed and retain a copy of the relevant manual page.

Before ordering replacement blades, check:

  • the exact saw model and serial or production reference where applicable;
  • the manufacturer-specified blade length, width, and thickness;
  • the tooth pitch and tooth form approved for the intended products;
  • whether the saw will be used for fresh, frozen, boneless, or bone-in materials;
  • the blade material and packaging condition required by your purchasing and hygiene procedures;
  • the quantity needed to support planned blade changes without storing stock beyond its suitable condition.

Also confirm the machine’s power connection, isolation method, and service condition before returning it to use after a blade change. The principles in this guide to checking commercial food-equipment power requirements are useful for verifying rating-plate information, although the saw’s own manual is the controlling document for its electrical requirements.

Blade Handling, Cleaning, and Replacement

Safe inspection and cleaning of a commercial meat band saw

A correctly selected blade still requires correct handling. Blades are sharp, flexible, and can spring open when unpacked. Only trained personnel should remove, install, tension, or dispose of them. Isolate the machine from its power supply before blade work, follow the machine’s lockout or disconnection procedure, and use the personal protective equipment required by the site.

Cleaning should follow the saw manufacturer’s instructions and the operation’s food-safety plan. Remove product residues from accessible approved areas, clean and sanitise the relevant food-contact parts as specified, and ensure components are dry where required before reassembly. Do not force water or cleaning chemicals into electrical areas, bearings, or other components unless the equipment documentation explicitly permits the method.

Replace a blade when inspection shows damage, corrosion, missing or damaged teeth, cracking, kinks, tracking problems, or a noticeable decline in cutting performance. Do not continue using a blade that has contacted an unsuitable surface or has been mishandled. Dull blades can encourage excessive feed force, which reduces control and may affect cut consistency.

A scheduled maintenance process helps operators identify blade-related issues before they interrupt service. The planning approach in this bone saw maintenance and safety guide can support a broader inspection routine, but always apply the checks and intervals required by the specific meat saw manufacturer.

Common Meat Band Saw Blade Selection Mistakes

The most frequent problems are preventable when purchasing, kitchen, and maintenance teams use the same verified specification.

  • Ordering by appearance: Blades that look similar can differ in length, width, thickness, and tooth pitch.
  • Using one blade for every product without review: Fresh boneless portions and frozen bone-in cuts can place different demands on the blade.
  • Ignoring the saw manual: A supplier recommendation should not override the machine manufacturer’s dimensional and safety requirements.
  • Changing pitch to solve a mechanical issue: Poor tracking, vibration, or uneven cuts may be caused by guides, wheel condition, tension, or operator technique rather than the tooth pitch.
  • Waiting too long to replace a damaged blade: Continuing with damaged or dull teeth can affect product quality and safe control.
  • Failing to record a proven specification: Without a confirmed reference, future orders rely on guesswork and can delay production.

Final Blade Selection Checklist

Use this checklist before approving a meat band saw blade purchase:

  • Confirm the exact machine brand and model.
  • Confirm manufacturer-approved blade length, width, and thickness.
  • Select tooth pitch and tooth form for the actual product mix.
  • State whether products are fresh, chilled, partially frozen, fully frozen, boneless, or bone-in.
  • Confirm that the blade material and supply format fit site hygiene procedures.
  • Inspect guides, wheels, guards, table components, and tensioning arrangements before fitting a new blade.
  • Train designated staff in safe installation, inspection, cleaning, and replacement.
  • Record the final specification so future purchasing is consistent.

The most dependable approach is to treat blade selection as part of the whole processing system: machine compatibility, product type, operator practice, cleaning, maintenance, and spare-parts planning. When the specification is uncertain, pause the order and confirm it with the saw manufacturer or a qualified equipment supplier.