Sugarcane Juicer Troubleshooting: Common Problems and Fixes

Table of Contents

A practical troubleshooting guide for commercial sugarcane juicer operators. Learn what to check first when a machine will not start, extracts poorly, jams, vibrates, leaks, or develops hygiene issues.

Start With These Safe Checks
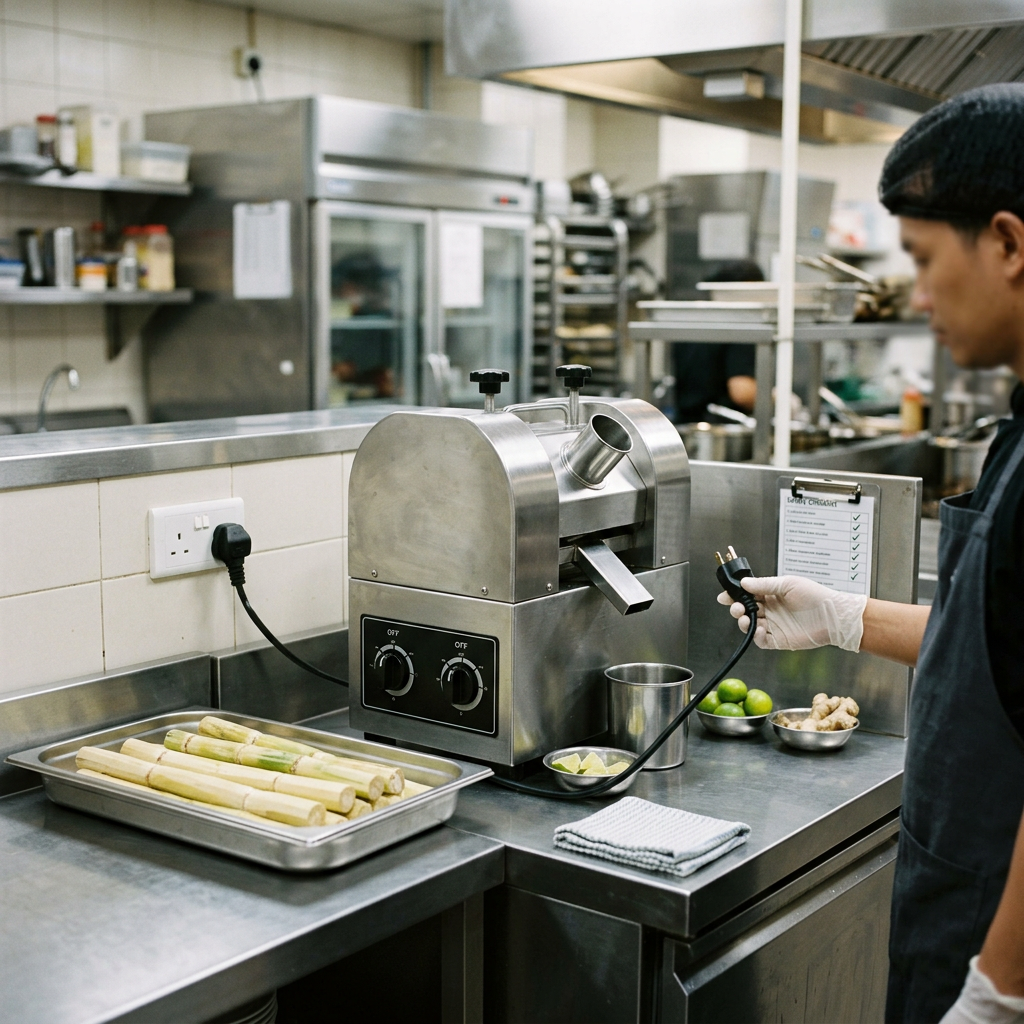
Commercial sugarcane juicer disconnected from power before inspection

The fastest way to resolve a sugarcane juicer problem is to stop the machine safely, isolate the power supply, and check the simple causes first: the correct electrical supply, a fully closed guard or cover, a cleared feed path, clean rollers, and secure removable parts. Do not place hands or tools into the feed opening or roller area while the machine is connected to power.

Many operating faults come from cane that is too dirty, excessively thick, poorly trimmed, or fed too quickly. However, repeated tripping, burning smells, damaged cables, loose guards, grinding sounds, or a machine that will not restart after basic checks should be handled by a qualified technician or the supplier’s service team.

Before restarting, record what happened: the time of the fault, whether cane was being processed, any sound or smell, and what the operator had already checked. This gives a technician useful information and helps prevent repeated trial-and-error actions.

Understanding Sugarcane Juicer Faults

A commercial sugarcane juicer separates juice from prepared cane by passing the cane through driven crushing rollers. Its practical performance depends on several connected systems: the electrical supply and controls, drive components, rollers and feed area, drainage path, guards, and the operator’s preparation and cleaning routine.

For sugarcane juicer troubleshooting, separate the symptom from the suspected cause. A low-output complaint, for example, may be caused by cane condition, inconsistent feeding, buildup on the rollers, or a mechanical issue. Replacing parts before checking preparation and cleaning can increase cost without fixing the underlying problem.

Commercial equipment is intended for repeated service, but it still needs appropriate installation, daily cleaning, and an operating pace suited to the machine. If you are comparing equipment classes or reviewing whether a current unit suits the workload, see this guide to commercial versus home sugarcane juicers.

Problem 1: The Machine Will Not Start
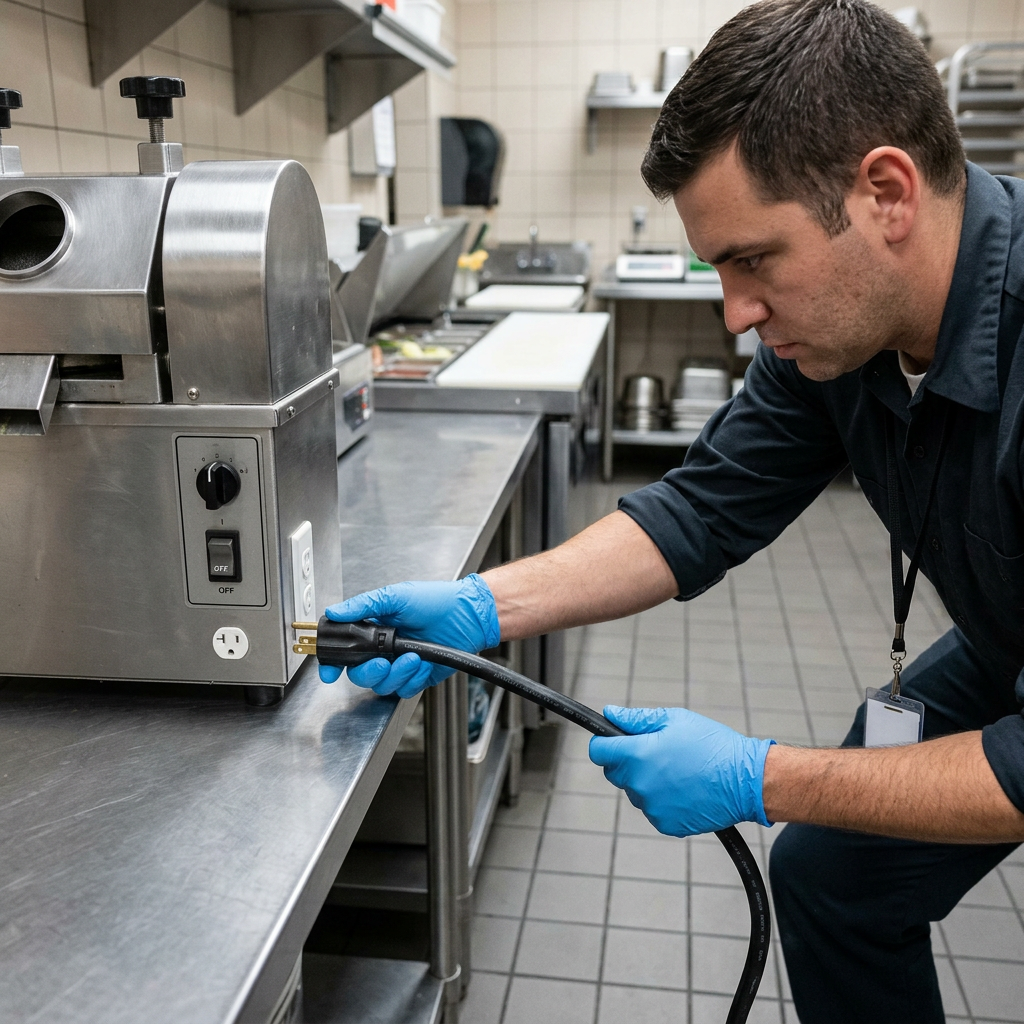
Checking the power connection for a commercial sugarcane juicer

Likely causes: no power at the outlet, an incorrect power supply, a switch or protective device not reset, a safety interlock or guard not correctly positioned, or an electrical component fault.

What to check

  1. Turn the machine off and unplug or isolate it before inspection.
  2. Confirm that the outlet, plug, cable, and any external isolator are in good condition. Do not use a damaged cable or plug.
  3. Check that the local voltage, frequency, and phase match the machine rating plate exactly.
  4. Make sure all required guards, covers, collection trays, and safety components are fitted as intended. Do not bypass an interlock or protective device.
  5. Allow the machine to cool if it stopped after extended work, then follow the manufacturer restart procedure.

If the correct supply is available but the machine remains unresponsive, do not open the electrical enclosure unless you are qualified and authorized to do so. Electrical diagnosis should be performed safely. Review the detailed guide to sugarcane juicer power requirements before installation or relocation, especially when the machine is moving to a different market or site.

Problem 2: The Machine Stops or Trips During Use

Likely causes: an overloaded feed, a jam, an unstable or unsuitable power supply, overheating, or a fault in the electrical or drive system.

First, stop feeding cane and isolate the machine. Wait until all movement has stopped. Remove cane only according to the safe clearing procedure in the machine manual; never pull material from moving rollers and never use metal tools near energized equipment.

Inspect the cane preparation process. Very thick sections, hard nodes, foreign material, or several pieces forced into the feed area can overload the machine. Wash cane thoroughly, remove debris, and cut it to a size the operator can guide steadily. Feed individual pieces at a controlled rate instead of pushing against resistance.

If a circuit breaker or protective device trips repeatedly, treat it as a fault condition rather than simply resetting it again. The cause may involve the supply, wiring, motor, controls, or mechanical load. For a focused fault-isolation process, read diagnosing electrical faults in commercial sugarcane machines.

Problem 3: Low Juice Extraction or Wet Bagasse
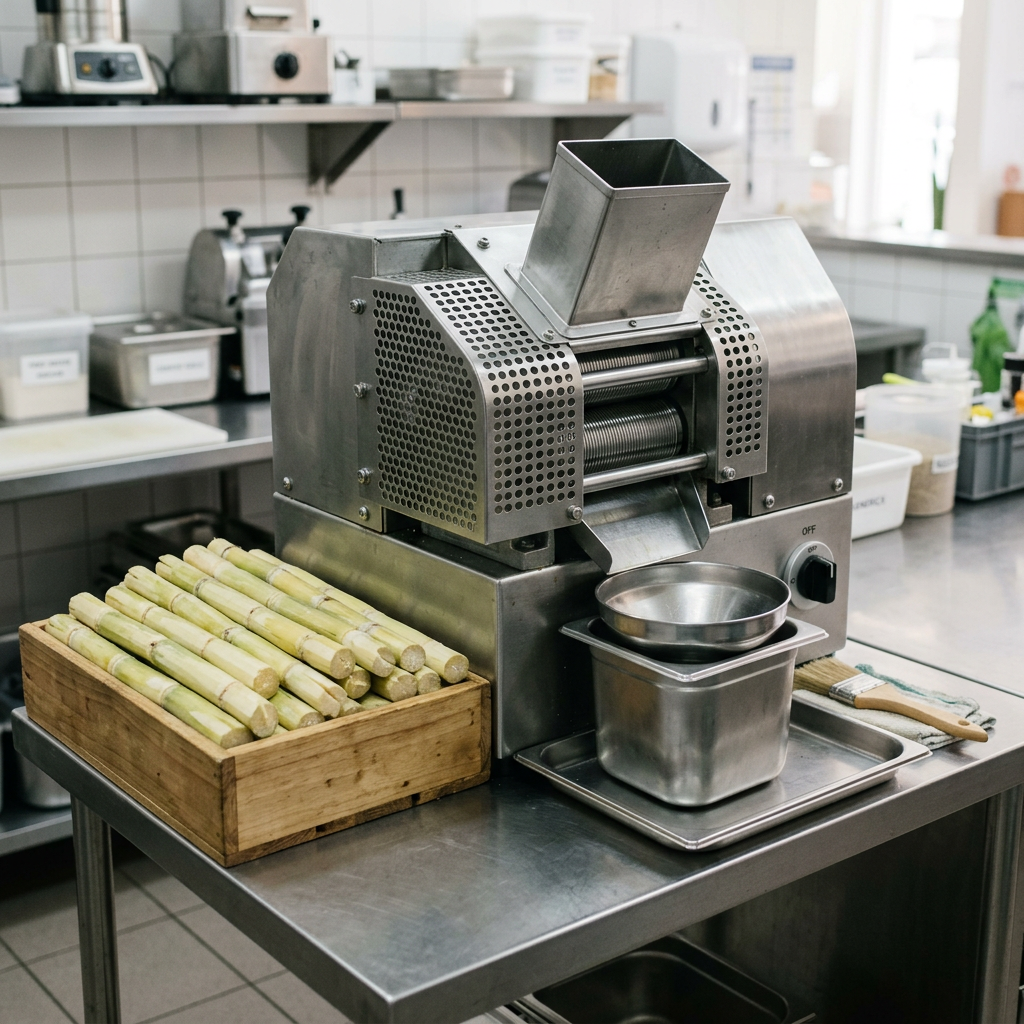
Prepared sugarcane and clean roller area for consistent juicing

Likely causes: cane quality or freshness, unsuitable cane size, inconsistent feeding, dirty roller surfaces, incorrect adjustment where the model permits adjustment, or wear in components that affect crushing.

Start with the cane, not the machine. Cane varies by variety, maturity, storage conditions, and diameter. Dry, old, damaged, or poorly stored cane may provide a different result from fresh, well-prepared cane. Compare performance using similar prepared cane before concluding that the machine has a mechanical issue.

Then clean the accessible food-contact and roller-area surfaces according to the manual. Fibres and sticky residue can affect grip and smooth feeding. Ensure operators are not rushing material through the rollers or feeding pieces that are difficult to control.

Do not change roller gaps, tension, or other factory settings unless the machine documentation specifically permits it and your team understands the procedure. Incorrect adjustment can reduce performance, damage parts, or create a safety risk. For a deeper process, see what to do when a sugarcane machine has low juice yield.

Problem 4: Cane Will Not Feed Properly or Jams

Likely causes: cane is too large or irregularly cut, debris is present, fibres have accumulated, the rollers are contaminated, or the operator is forcing material through the inlet.

Prepare cane consistently. Wash it, remove visible soil and foreign material, trim damaged ends, and cut pieces to a manageable size for the model in use. The operator should present the cane straight to the inlet and let the rollers take it in. Forcing cane sideways or pushing a second piece into a restricted feed path increases the chance of a jam.

After isolating the machine, inspect accessible areas for fibres and residue. Clean only with the approved method and tools. Check that juice and bagasse paths are not obstructed and that removable trays or guides are seated correctly.

If jams are frequent despite good cane preparation and cleaning, stop operating the machine until the cause is assessed. Recurrent jams can indicate a worn, misaligned, or damaged component, and continuing to force the machine may lead to more extensive repair.

Problem 5: Unusual Noise or Vibration

Likely causes: the machine is not level or is sitting on an unstable counter, fasteners or removable parts are loose, debris is in the processing area, or an internal drive component requires inspection.

A commercial sugarcane juicer should stand on a stable, level surface with enough surrounding space for safe feeding, cleaning, and access. With the machine switched off and isolated, check visible fasteners, trays, covers, and guards for secure fitting. Follow the manual for any routine checks that an operator is allowed to perform.

Do not continue normal production if you hear grinding, metal-on-metal contact, sudden knocking, or a new vibration that does not disappear after cleaning and confirming the installation surface. Do not remove protective covers to investigate moving parts. These symptoms should be reported promptly, together with a short video if it can be taken safely while standing clear of the machine.

When selecting or replacing equipment, consider the expected duty cycle, installation space, cane preparation process, and cleaning access—not only the purchase price. This sugarcane juicer cost budgeting guide explains the wider operating factors buyers should plan for.

Problem 6: Leaks, Residue, or Hygiene Concerns
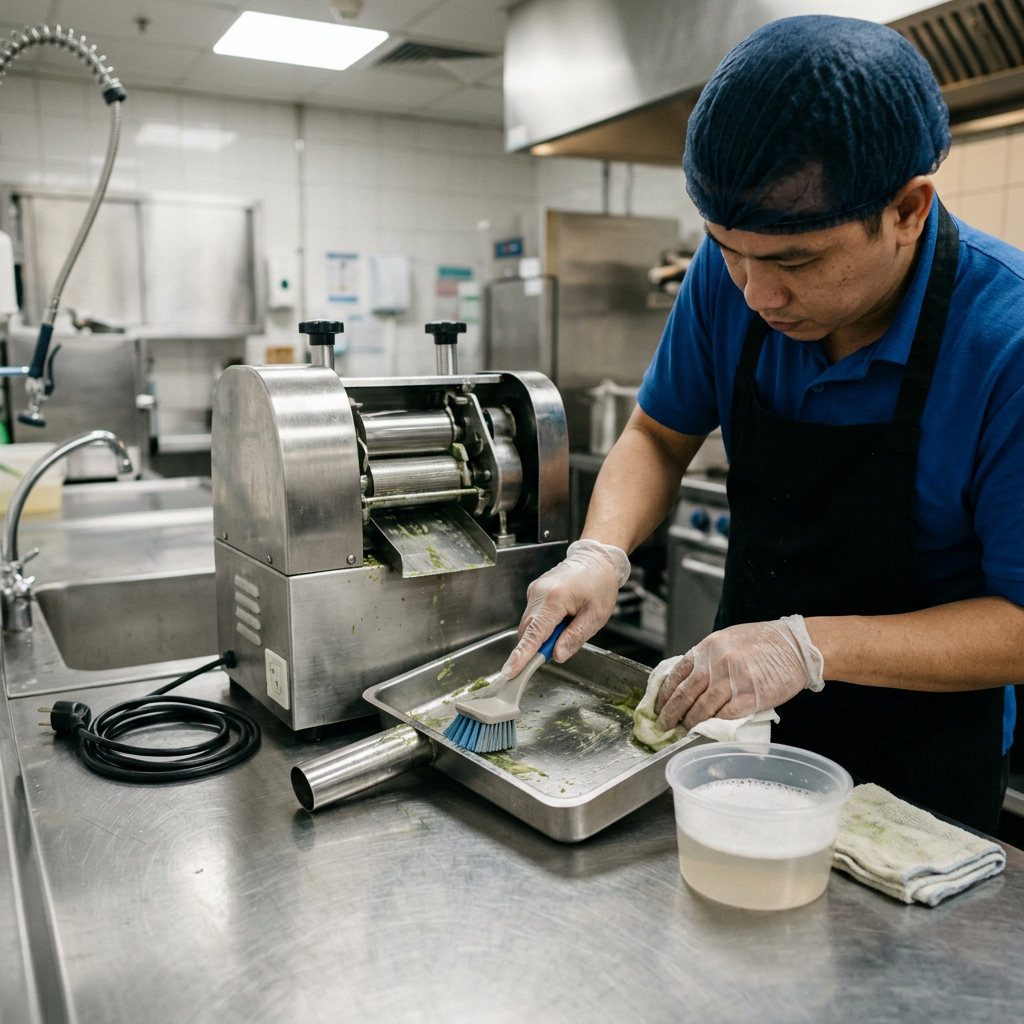
Cleaning the juice collection and drainage area of a sugarcane juicer

Likely causes: a blocked drainage path, an incorrectly installed juice tray or container, food residue around accessible components, worn seals where applicable, or incomplete cleaning between service periods.

Turn off and isolate the machine before inspecting the juice collection and drainage area. Confirm that containers are correctly placed and that accessible channels are free from fibre buildup. Follow the cleaning and reassembly sequence in the equipment manual. A part that is clean but incorrectly seated can still cause leakage or poor drainage.

Clean at the end of each operating period and whenever residue becomes visible. Use cleaning agents and methods that are suitable for food-contact equipment and compatible with the machine materials. Avoid abrasive tools or chemicals that the manufacturer does not approve. Dry accessible parts as required before reassembly and do not leave cane residue in the machine overnight.

A repeat leak after correct cleaning and assembly may indicate a component that needs replacement. Do not use makeshift seals, tape, or unapproved modifications on food-contact or protective areas.

When to Stop and Call for Service

Operators can safely handle routine cleaning, cane preparation, installation checks, and the basic checks allowed by the machine manual. Stop using the sugarcane juicer and arrange professional support when you find any of the following:

  • Repeated electrical trips, a burning smell, smoke, damaged wiring, or a hot plug or outlet.
  • Grinding, sharp knocking, visible damage, persistent vibration, or rollers that do not operate normally.
  • A jam that cannot be cleared using the documented safe procedure.
  • Recurring low extraction after comparable cane, correct preparation, and cleaning have been checked.
  • A safety guard, cover, switch, or food-contact component that is damaged, missing, or does not fit correctly.
  • A leak that continues after the machine has been cleaned and reassembled correctly.

When contacting support, provide the machine model, serial number if available, local power details, purchase or installation history, a description of the symptom, and clear photos or video where safe. This information helps the service team identify whether the next step is an operating correction, a replacement part, or a technician inspection.

Preventive Routine to Reduce Downtime

Consistent daily care prevents many sugarcane juicer troubleshooting calls. Build the following checks into the operating routine:

  • Before opening: inspect the plug, cable, guards, trays, and installation surface; confirm the feed and drainage areas are clean.
  • During service: use clean, suitably prepared cane; feed steadily; remove visible fibre buildup only after isolating power; listen for changes in normal operating sound.
  • After service: clean and dry accessible parts following the manual, clear juice and bagasse paths, and reassemble components correctly.
  • Periodically: schedule inspection of wear items and drive-related components by qualified personnel in line with the manufacturer guidance and your actual service volume.

Keep a simple maintenance log with cleaning completion, faults, parts replaced, and service visits. Over time, the record can reveal patterns such as recurring jams from a particular cane preparation method or electrical interruptions at a specific site. For more detailed planning, refer to the commercial sugarcane juicer maintenance guide.

A disciplined routine protects workflow, helps operators spot changes early, and supports a more informed service request when a technical problem does occur.
Sugarcane Juicer Spare Parts and Support Checklist

Table of Contents

A commercial sugarcane juicer needs more than routine cleaning to stay ready for service. This checklist helps operators identify critical spare parts, record the right machine information, plan support requests, and reduce avoidable downtime.

Quick Answer: What Spare Parts Should You Plan For?

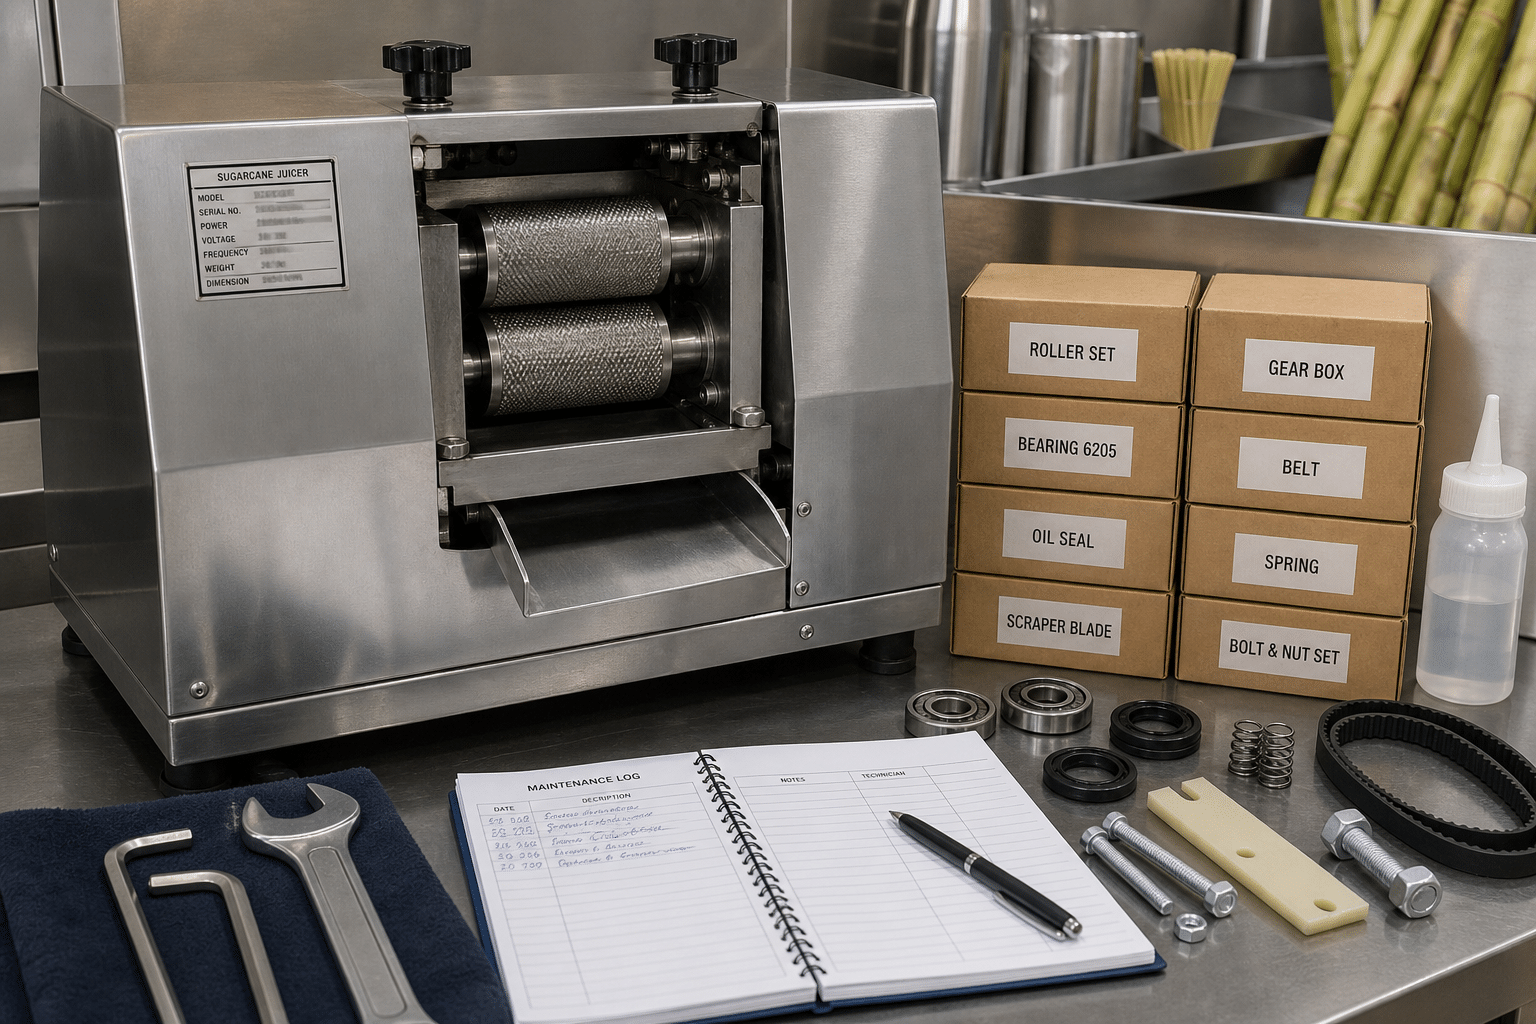
Organised spare-parts inventory for a commercial sugarcane juicer

For a commercial operation, the most useful sugarcane juicer spare parts are the parts that wear through normal use, can delay service when unavailable, or are needed to restore safe operation after a fault. A practical spares plan normally covers food-contact wear components, seals and scrapers where applicable, drive-system components, electrical protection items, and the correct fasteners or tools for approved servicing.

Do not order parts by appearance alone. Confirm the machine model, serial number, electrical specification, part description or reference, and clear photographs before placing an order. Keep a simple maintenance record and inspect the machine at defined intervals. This approach helps an operator spot wear early, request the right replacement part, and avoid keeping unsuitable inventory.

The exact parts list differs by machine design and local electrical configuration. Use the machine manual and the supplier’s technical guidance as the controlling reference. If you are comparing machine formats or planning spares for a new site, review the operational differences in this TiniForce S3 and EasiDeMax S4 comparison before standardising your purchasing list.

What Counts as a Sugarcane Juicer Spare Part?

A spare part is a replaceable component used to repair, maintain, or return a machine to its intended operating condition. For a sugarcane juicer, it is helpful to separate parts into four groups rather than treating all items as the same type of stock.

  • Routine wear parts: components subject to friction, repeated cleaning, pressure, or normal contact during processing. Their condition should be checked regularly.
  • Food-contact components: removable items, guards, collection components, seals, or other parts that come into contact with cane or juice, depending on the machine design. These require careful hygiene handling and model-specific identification.
  • Drive and mechanical components: items related to the transmission of power, alignment, movement, or crushing assembly. Replacement should follow the supplier’s service instructions.
  • Electrical and control components: switches, protection devices, wiring-related parts, and control components. These must match the machine’s electrical configuration and should be handled by a qualified technician where required.

Consumables such as approved cleaning materials may support daily operation, but they are not automatically spare parts. Keep them in a separate hygiene stock list. Likewise, do not substitute generic parts simply because they seem to fit. Material compatibility, dimensions, load, sealing performance, and electrical ratings can all matter.

Critical Spare Parts Checklist

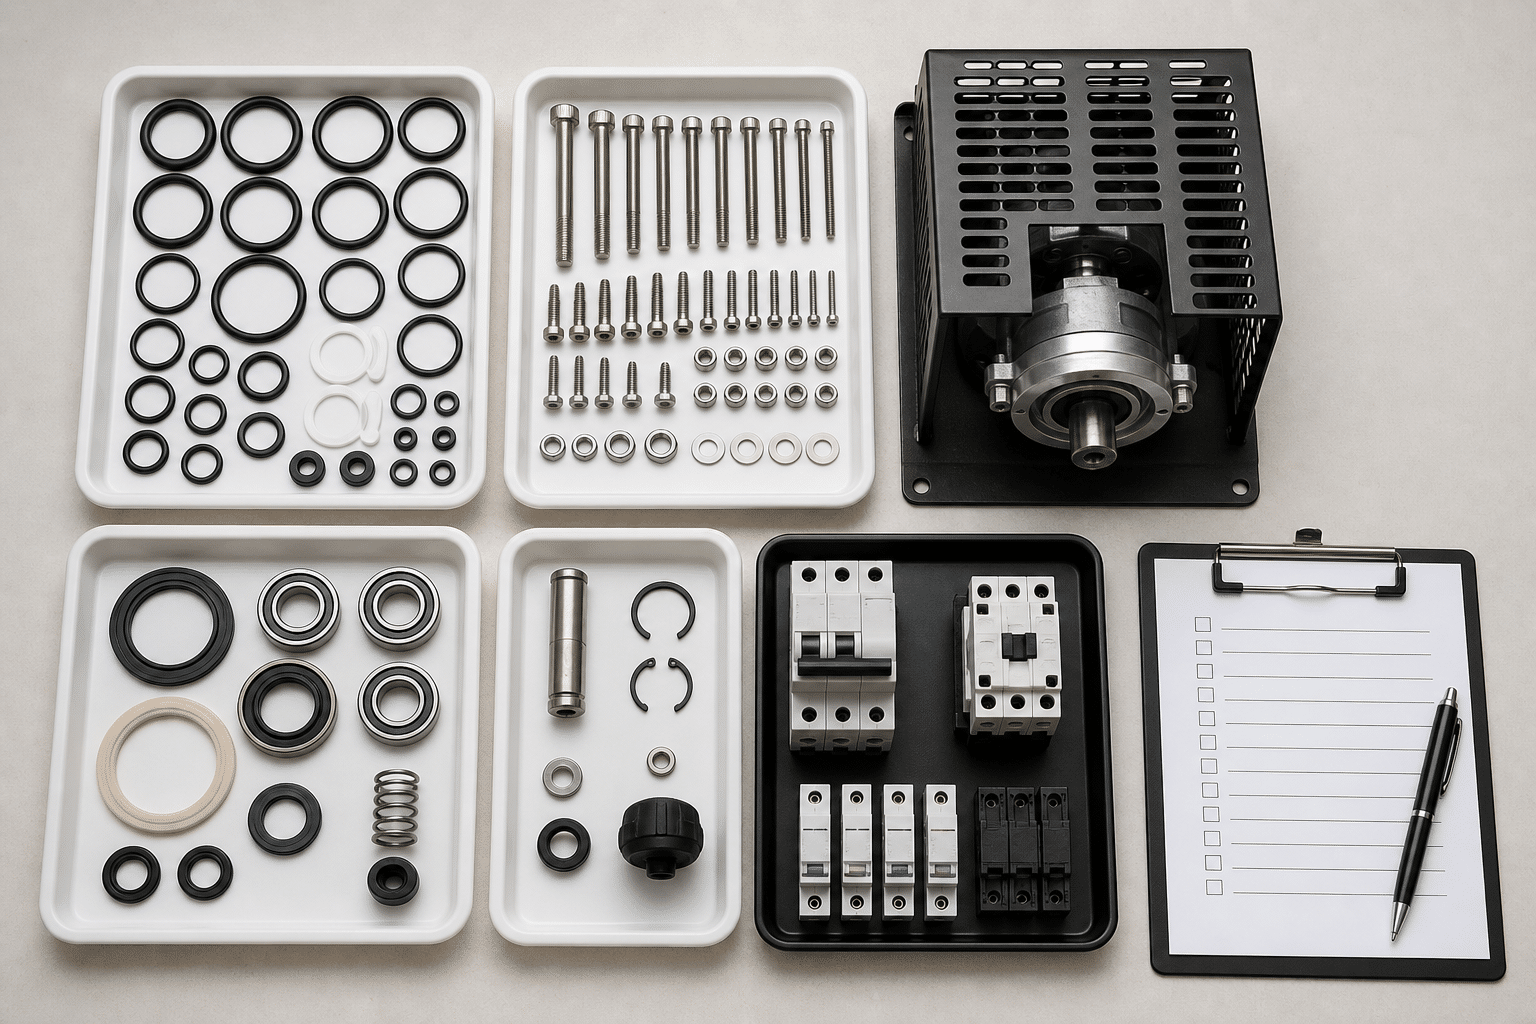
Organised commercial juicer spare components and service checklist

Build your stock list around the machine’s manual, actual service pattern, and supplier advice. The following checklist is a planning framework, not a claim that every machine uses every item.

1. Food-contact and cleaning-related items

  • Specified seals, gaskets, O-rings, or similar sealing components where fitted.
  • Approved juice collection or drainage components if these are removable or damage-prone.
  • Scrapers, wipers, or cleaning-related replaceable components where the model uses them.
  • Replacement fasteners for removable guards or food-zone assemblies, only when supplied or approved for the machine.

2. Mechanical and drive-related items

  • Machine-specific rollers, bearings, bushings, belts, chains, gears, couplings, or springs only where applicable to the design.
  • Specified roller or drive-assembly fasteners and retaining hardware.
  • Approved guards or covers if damage prevents safe use.

3. Electrical and control-related items

  • Correctly rated fuses or circuit-protection items where the manual identifies them as user-serviceable.
  • Model- and voltage-specific switches, buttons, connectors, or control parts when recommended by technical support.
  • An approved power cord or plug assembly only if it matches the local electrical requirements and machine specification.

For most operators, it is more sensible to hold a small quantity of high-turnover, approved wear items than to hold expensive assemblies without a clear maintenance plan. A failed major drive or electrical component may require diagnostic work before a replacement is selected. When planning a broader operating budget, include maintenance supplies, service access, and contingency stock alongside the machine purchase; this is covered in the commercial sugarcane juicer budgeting guide.

Information to Confirm Before Ordering Parts

Ordering the wrong component costs time and can create a safety or hygiene problem. Give the supplier enough information to identify the part accurately on the first request.

  1. Machine identification: record the brand, model, serial number, purchase date if known, and the country or region of installation.
  2. Electrical information: photograph the rating label and state the voltage, frequency, phase, and plug arrangement shown on the machine. Do not rely on a general description such as “standard power.”
  3. Part identification: provide the part number from the manual or parts diagram when available. If no number is visible, give the component name, location, dimensions where useful, and several clear photographs.
  4. Fault description: explain what happened before the issue, when it occurs, whether it is constant or intermittent, and what checks have already been completed.
  5. Machine condition: state whether there is unusual noise, vibration, resistance during operation, leakage, damage, overheating, or a tripped protective device. Do not continue using the machine if safe operation is uncertain.

Keep these details in a shared service log rather than in an individual employee’s phone. A consistent record is especially important for multi-site operators, distributors, and franchise systems. It also makes it easier to identify repeated failures that may be linked to cleaning practices, cane preparation, setup, or operating conditions.

How to Prepare an Effective Support Request

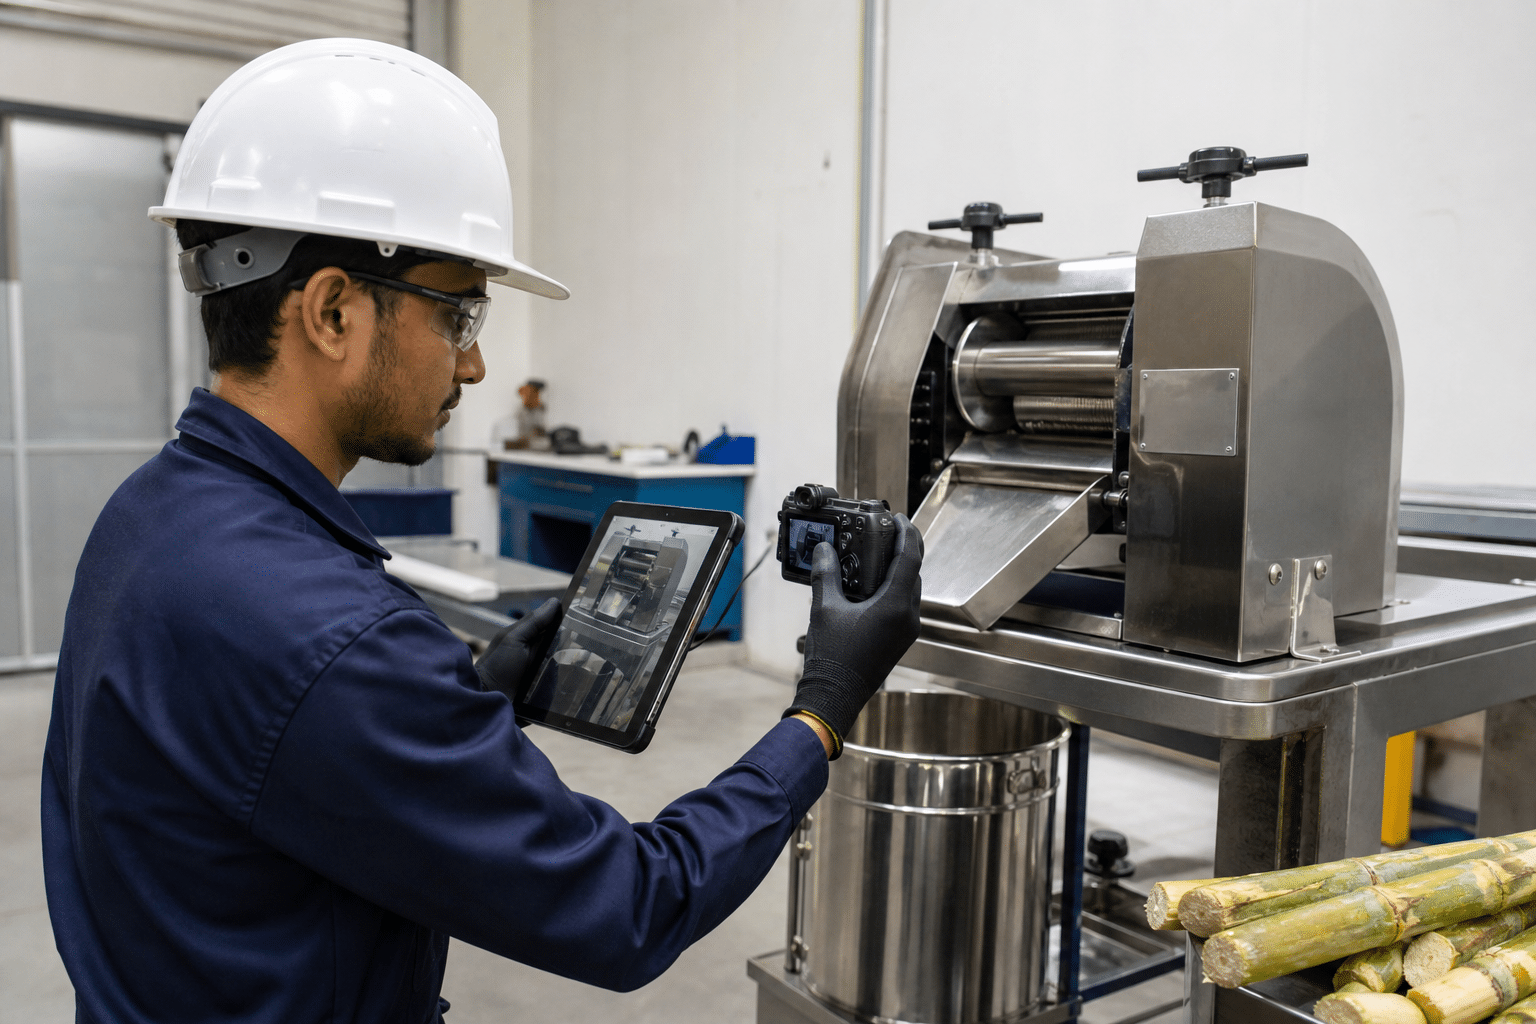
Technician documenting a commercial sugarcane juicer for a support request

A clear support request allows technical teams to decide whether an issue is likely related to cleaning, adjustment, wear, installation, operation, or a replacement component. Before contacting support, safely stop the machine if needed and prepare the following:

  • A photo of the machine rating label and a full photo of the machine.
  • Close-up photos of the affected area and any visible damage or wear.
  • A short video showing the issue, if it can be recorded without bypassing guards or creating risk.
  • The date of installation, approximate usage pattern, and the last cleaning or maintenance action.
  • The cane preparation process, including whether cane is washed, trimmed, or cut before feeding.
  • A description of any recent changes, such as relocation, electrical work, staff change, cleaning chemical change, or impact damage.

Describe observations rather than diagnosing the cause yourself. For example, “the machine stops after several seconds and the protective device trips” is more useful than “the motor has failed.” This gives the support team a better starting point and reduces the risk of an unnecessary part order.

For structured routine work, use a documented preventive maintenance schedule for a commercial sugarcane juicer alongside your support log. The schedule should be adapted to the model, operating hours, local conditions, and instructions supplied with the equipment.

Inspection, Cleaning, and Parts Storage

Many spare-parts problems begin with an incomplete cleaning routine, poor storage, or a missed inspection. Follow the cleaning and disassembly instructions for your specific machine. Turn off and isolate the equipment from power before cleaning, inspection, or any service activity, and do not defeat safety guards or interlocks.

At the end of service, inspect accessible areas for cane fibres, residue buildup, loose hardware, damaged guards, leakage, abnormal wear, and signs of corrosion. Clean parts with the products and methods approved for the machine materials. Abrasive tools or unsuitable chemicals can damage surfaces, seals, and clear components, so they should not be used unless the manufacturer specifically permits them.

Store spare parts clean, dry, labelled, and protected from dust, moisture, pests, direct sunlight, and chemicals. Keep food-contact components separate from lubricants, electrical items, and workshop materials. Retain parts in sealed bags or original packaging where possible, and mark each container with the machine model and part number. Rotate stock so older approved items are inspected before use.

Also consider cane preparation as part of maintenance control. Feeding cane that is poorly cleaned, excessively irregular, or not prepared according to the machine instructions can increase contamination risk and place unnecessary stress on processing components. The choice between different crushing approaches can affect workflow and maintenance planning; see this guide to single-pass and multi-pass sugarcane crushing for operational context.

Build a Downtime-Reduction Plan

A good parts plan is only one part of reliable daily operation. Create a simple downtime-reduction process that your shift teams can follow:

  1. Assign one person to own the machine asset record and approved parts list.
  2. Set inspection frequencies based on the manufacturer guidance and your real operating pattern.
  3. Record every replacement part, the reason for replacement, date, technician, and any observation from the repair.
  4. Set a reorder point for frequently used approved parts, allowing for supplier lead time and your peak-season needs.
  5. Train staff to recognise stop-use conditions and to report changes early.
  6. Review the log monthly to identify recurring issues and whether a process change is needed.

For operators with several locations, standardise models where practical and keep a central register of serial numbers, electrical configurations, approved suppliers, manuals, and service contacts. This makes it easier to transfer stock appropriately and prevents a part intended for one machine version from being installed on another.

Do not measure preparedness only by the number of parts on the shelf. The better measure is whether the team can identify the correct item, operate safely while awaiting service, and access the correct technical support when a fault is outside routine maintenance.

When to Stop the Machine and Call Support

Stop operating the machine, isolate it from power, and seek qualified support if you observe damaged guards, exposed wiring, burning smell, smoke, repeated electrical tripping, unexpected movement, persistent abnormal noise or vibration, significant leakage, or a part that no longer fits securely. The same applies if the machine has been dropped, flooded, modified, or connected to an unsuitable power supply.

Do not bypass a safety device, force a jammed assembly, or continue production to finish a rush period. Repeated resets, improvised repairs, and unapproved replacement parts can make diagnosis harder and may create further damage or risk. Use the manufacturer’s manual and approved technical channels for the next step.

A reliable support process starts with complete machine information, accurate photos, and a clear account of the issue. This allows the supplier or distributor to advise on the correct replacement part or whether on-site technical assessment is needed.