How to Prevent Bowl Cutter Blades From Dulling Early

Table of Contents

Bowl cutter blades dull early most often because of abrasive ingredients, hard foreign material, incorrect cutting technique, poor cleaning, or delayed sharpening. A controlled daily routine helps protect edge life and maintain a consistent cut.

The Short Answer
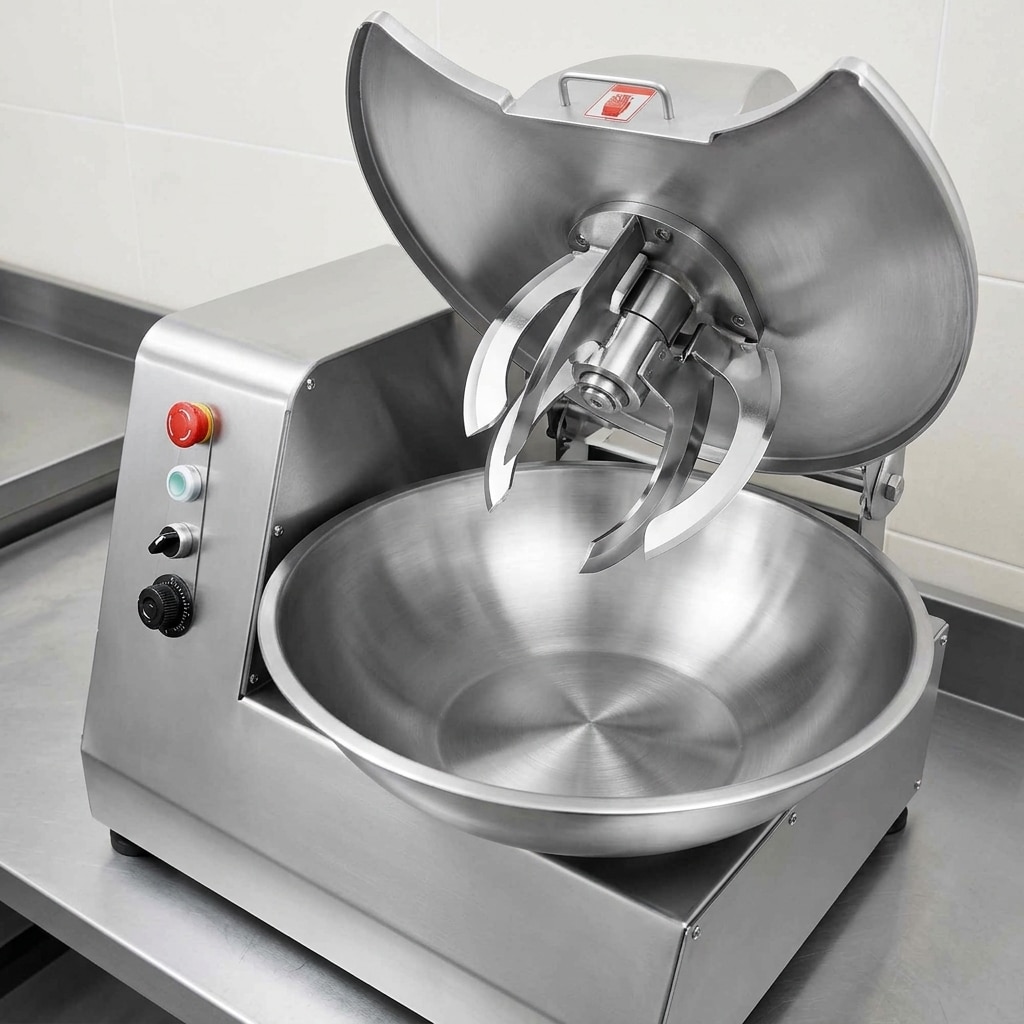
Clean bowl cutter blades ready for inspection

The best way to prevent bowl cutter blades from dulling early is to control what enters the bowl, use a cutting process that matches the product, clean blades with non-abrasive methods, and inspect the edge before it becomes noticeably worn. Blades should not routinely contact bone, metal, packaging clips, hard frozen blocks, or other foreign material unless the machine and blade specification expressly allow it.

For daily operation, keep ingredients within the machine’s intended preparation range, avoid forcing overloaded batches, use the correct blade speed and process sequence for the recipe, and remove residue soon after production. When an edge no longer produces a clean, even cut, arrange professional sharpening or replace the blade rather than continuing to run it.

Blade condition affects more than appearance. A sharp, intact edge supports predictable chopping, mixing, emulsifying, and batch handling. It can also help operators avoid extending cycles simply to compensate for a dull blade.

What Causes Bowl Cutter Blades to Dull Early?
Operator checking ingredients before bowl cutter processing

Early dulling is usually an operating or handling issue rather than a single equipment fault. Understanding the cause makes bowl cutter blade maintenance more effective.

  • Hard contamination: Bone fragments, metal clips, staples, wire, stones, broken packaging, and other hard debris can chip or roll an edge immediately.
  • Unsuitable product condition: Product that is excessively frozen, poorly trimmed, or presented in pieces beyond the cutter’s intended preparation method places high shock loads on the blades.
  • Abrasive ingredients: Certain spices, mineral-containing ingredients, coarse salt, and dry particulate ingredients can increase wear. This does not mean these materials cannot be processed; it means the recipe, sequence, and cleaning plan need attention.
  • Contact with the bowl or accessories: Incorrect blade clearance, a damaged bowl, loose hardware, or an incorrectly fitted assembly can allow unwanted contact. Stop the machine and investigate rather than continuing to operate.
  • Overprocessing: Repeatedly extending a cycle after the desired texture has been achieved creates unnecessary edge exposure, heat, and friction.
  • Incorrect cleaning tools: Abrasive pads, harsh scraping, careless stacking, and contact with other metal parts can damage a sharpened edge outside production.

Commercial bowl cutters are used for high-volume preparation because they combine chopping and mixing in one workflow. For a broader overview of where this equipment fits, see how commercial bowl cutters support high-volume food preparation. The exact blade, batch size, and process settings should always follow the machine supplier’s instructions and the approved recipe.

Prepare Products Before They Reach the Bowl
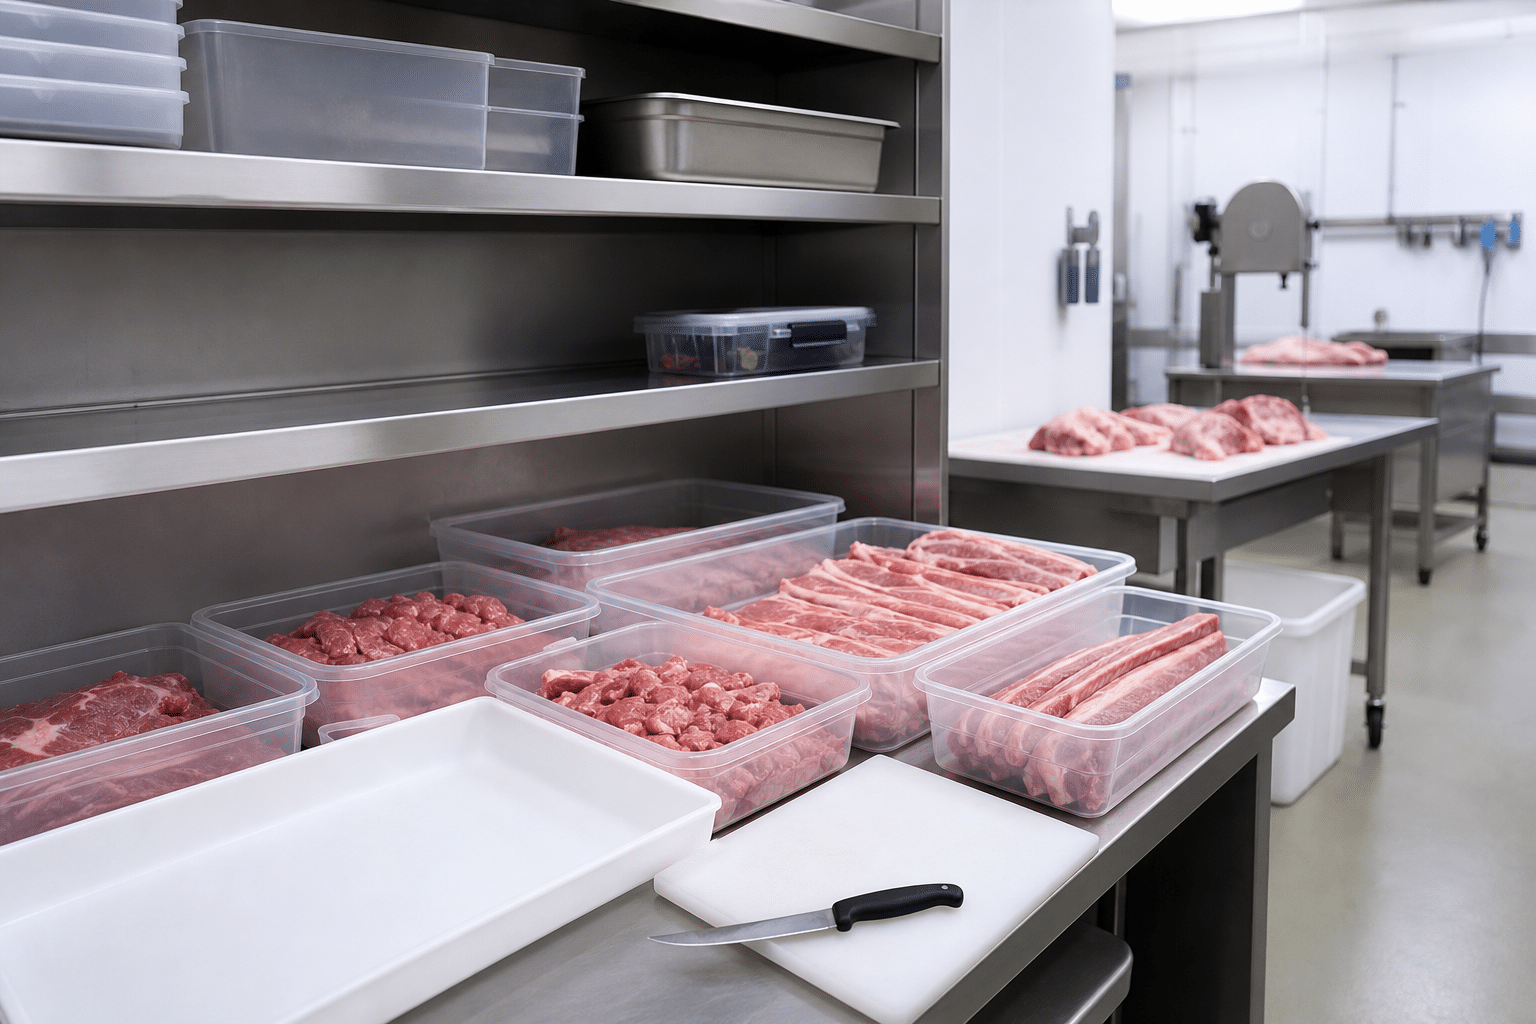
Prepared ingredients for a commercial bowl cutter

Good blade life starts at receiving and preparation, not at the cutter. Establish a simple pre-processing check so that operators do not use the bowl cutter as a substitute for trimming, deboning, thawing, or size reduction.

Remove hard material and packaging completely

Inspect incoming meat, fish, vegetables, and other raw materials for bone, shells, ties, labels, clips, and packaging fragments. Trim as required by the product specification. This step is particularly important when materials are transferred from boxed, vacuum-packed, or frozen storage formats.

Manage temperature and piece size

Use a product temperature and piece size that the cutter and recipe are designed to handle. An overly hard product can impact the blade rather than cut cleanly. Conversely, a soft or warm product may smear and encourage operators to lengthen the cycle unnecessarily. Cut large raw materials into manageable pieces before loading, and use only the approved method for tempering or thawing.

Use separate equipment where it improves preparation

Where meat must be portioned through bone or from frozen blocks, use equipment designed for that task before the product reaches the bowl cutter. The principles in this fresh versus frozen meat bone saw guide can help managers plan the correct upstream cutting method. A bowl cutter blade should not be expected to absorb the work of a saw or heavy-duty portioning process.

Also verify that spice blends, additives, and dry ingredients are free from damaged packaging and hard foreign matter. Use controlled scoops and closed containers where practical to reduce accidental contamination.

Use the Correct Cutting Process

Even a high-quality blade can lose its edge prematurely when the machine is run outside the approved process. Train operators to follow a documented sequence for each product rather than relying only on visual judgement.

  • Load batches within the machine’s stated working limits. Overloading can reduce circulation in the bowl and lead to longer cycles or uneven contact with the product.
  • Start with the speed and cutting stage specified for the recipe and equipment. Do not assume that maximum speed is the best setting for every ingredient.
  • Add ingredients in the planned order. For example, a recipe may require primary material to be cut first and dry or abrasive ingredients to be added later. The correct order depends on the formulation and the equipment instructions.
  • Stop the process once the required particle size, texture, or mix is achieved. Extra running time does not correct a dull edge and may increase product temperature or mechanical wear.
  • Do not reach into, scrape, or adjust the bowl while the machine is moving. Isolate power and follow the manufacturer’s safe shutdown procedure before any intervention.

Pay attention to changes in sound, vibration, cutting pattern, or processing time. These can indicate blade wear, incorrect loading, a loose component, or another condition requiring inspection. Routine safety and maintenance controls are also essential for other cutting equipment; review these commercial cutting equipment safety and maintenance protocols when developing site-wide practices.

Clean and Handle Blades Without Damaging the Edge

Cleaning protects hygiene and blade condition when it is done promptly and with the right tools. Residue left on the blade can dry and become difficult to remove, increasing the temptation to scrape aggressively. At the same time, cleaning must never place staff at risk from sharp edges.

First, stop the machine, isolate it from its power source, and wait until all moving parts have stopped. Follow the equipment manual for access, disassembly, and permitted cleaning procedures. Wear appropriate cut-resistant personal protective equipment where required by the site’s risk assessment.

  • Remove product residue with a soft brush, cloth, or approved non-metal tool.
  • Use cleaning chemicals at the concentration, temperature, and contact time recommended by both the chemical supplier and the equipment manufacturer.
  • Avoid wire brushes, grinding pads, and uncontrolled metal scrapers on sharpened edges.
  • Rinse and dry parts thoroughly where the cleaning procedure requires it. Do not leave blades soaking unless the equipment and chemical instructions permit this.
  • When blades are removed, place them in a dedicated protective holder or rack. Do not stack them loose in a sink, tray, or drawer.

Inspect the bowl and surrounding components during cleaning. A buildup of product, damaged seals, loose fittings, or wear that changes blade clearance should be addressed before the next production run. Cleaning also gives the operator the best opportunity to spot chips, corrosion marks, and damage near the blade mounting area.

Inspect Blades Before Wear Becomes a Production Problem

A short inspection at the start of each shift and during cleaning can prevent a small issue from becoming a damaged product batch or unplanned stoppage. The inspection should be visual and practical; operators should not touch or test sharp edges in an unsafe manner.

Look for the following signs:

  • Visible nicks, chips, bends, cracks, or corrosion.
  • An uneven edge or a bright, flattened line where the cutting edge should be sharp.
  • Loose fasteners, incorrect seating, or damage around the blade hub and mounting points.
  • Unusual clearance between blade and bowl, or evidence of contact such as scoring or metal marks.
  • A change in finished product appearance, including tearing, uneven particle size, or a need for longer processing.
  • Unexpected vibration, noise, or heat during operation.

Record the result of inspections in a simple maintenance log. Include the date, operator, product processed, observed condition, corrective action, and sharpening or replacement date. This creates useful evidence when deciding whether wear is normal, related to a particular ingredient, or connected to an operating practice.

If a blade is cracked, bent, severely chipped, loose, or suspected to have contacted metal, remove the machine from service in line with site procedure and have the issue assessed by an authorised technician or competent service provider. Do not attempt to straighten, weld, or improvise a repair to a food-processing blade.

Sharpen or Replace Blades at the Right Time
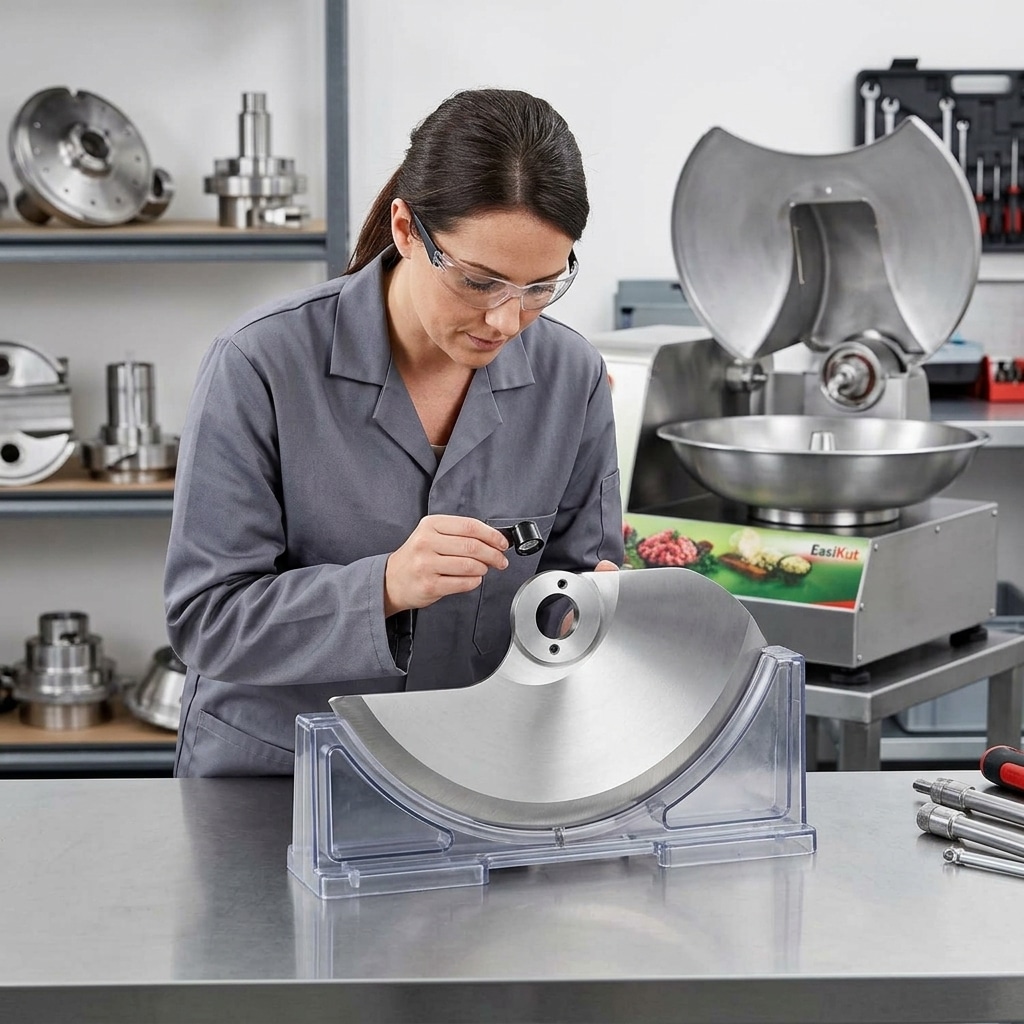
Bowl cutter blade secured for professional inspection

Sharpening restores a blade only when the blade remains structurally sound and within the manufacturer’s permitted service limits. It is not a solution for every defect. A professional sharpening provider should preserve the correct edge geometry, balance, finish, and mounting condition required for the specific blade.

Arrange an assessment when operators consistently observe slower cutting, reduced product uniformity, tearing instead of clean cutting, or a need to extend a previously proven process. Do not wait until the blade is heavily damaged. Continued operation with a dull blade can make the process less consistent and may cause operators to use unsuitable workarounds.

Before sending blades for sharpening, identify them clearly and keep sets together where applicable. Confirm with the machine supplier or blade provider:

  • the correct blade part number and intended application;
  • the permitted sharpening method and minimum service condition;
  • whether blades should be sharpened as a matched set;
  • the correct reinstallation and torque procedure; and
  • the inspection steps required before returning the machine to production.

Replace a blade when it has damage that cannot be safely corrected, has reached its permitted sharpening limit, no longer mounts correctly, or cannot deliver the required process result after approved service. Keep a documented spare-blade plan so that a necessary replacement does not turn into a rushed purchasing decision.

A Practical Blade Maintenance Routine

A clear routine is more reliable than waiting for an operator to report a problem. Adapt the following framework to the machine manual, product types, sanitation programme, and local food-safety requirements.

Before each shift

  • Confirm the machine is clean, correctly assembled, and free of loose parts.
  • Visually inspect blades, mountings, bowl condition, guards, and covers.
  • Verify that raw materials have been prepared according to the product specification.
  • Check that the operator understands the recipe sequence and safe stopping procedure.

During production

  • Monitor product texture, process time, sound, and vibration.
  • Do not process questionable material containing bone, packaging debris, or unknown hard objects.
  • Stop and investigate abnormal conditions immediately.

After each production period

  • Shut down and isolate the machine before cleaning.
  • Remove residue using approved tools and complete the sanitation procedure.
  • Inspect the blades again while the equipment is accessible.
  • Record defects and actions in the maintenance log.

At planned service intervals

  • Review sharpening history, replacement history, and recurring defect reports.
  • Check blade mounting hardware, bowl condition, clearances, and related components as specified by the manufacturer.
  • Arrange professional service when inspection results, production results, or the manual indicate it is due.

Keep the manufacturer’s manual available at the point of use. If instructions are missing or unclear, request the correct documentation before changing blade type, sharpening method, or assembly procedure.

Common Mistakes That Shorten Blade Life

Many blade-life problems are avoidable. The following practices should be corrected through training, supervision, and written procedures.

  • Using the cutter to process unsuitable hard material: Remove bone and foreign objects upstream instead of assuming the blade can tolerate occasional impacts.
  • Adding ingredients without a defined sequence: Abrasive dry ingredients or hard inclusions may need a particular timing. Follow the approved recipe.
  • Running longer when texture is poor: Check the blade, product preparation, and batch loading rather than automatically adding time.
  • Cleaning with whatever tool is available: A metal scraper or wire brush can harm an otherwise serviceable edge.
  • Storing removed blades unsecured: Loose storage creates risk to personnel and can cause edge-to-edge impact damage.
  • Ignoring minor changes: A small chip, unusual sound, or scoring mark is easier to address before it becomes a larger mechanical problem.
  • Using an unverified sharpening method: Improper grinding can alter edge geometry, create excess heat, or affect blade balance.

Similar discipline applies to other commercial cutting tools. For example, saw blades must match the intended machine and product type; this commercial meat band saw blade selection guide explains why blade application should be confirmed before operation. Do not transfer a sharpening practice or operating assumption from one machine type to another without checking the relevant manual.

Protect Blade Life and Product Consistency

Effective bowl cutter blade maintenance is a controlled operating system: prepare ingredients properly, keep hard contaminants out of the bowl, run approved batches and sequences, clean without abrasion, inspect routinely, and use qualified sharpening or replacement service when performance declines.

There is no universal sharpening interval because wear depends on the blade design, ingredients, product condition, batch pattern, operating method, cleaning practice, and equipment model. Use inspection findings and documented production results instead of a guessed schedule. For model-specific blade information, service limits, and assembly instructions, follow the documentation supplied with the machine.

A well-managed blade programme helps the operation maintain a predictable process while giving supervisors clearer information for training, maintenance planning, and spare-parts control.
How to Use a Bowl Cutter for Sausage Meat Preparation

Table of Contents

A bowl cutter can produce a consistent sausage meat mix when operators prepare chilled ingredients, follow a controlled loading sequence, monitor texture and temperature, and clean the machine thoroughly after use.

Quick answer: using a bowl cutter for sausage meat

To use a bowl cutter for sausage meat, begin with properly chilled, trimmed meat and measured ingredients. Load the lean meat first, cut it to the required particle size, then add salt and recipe-approved functional ingredients at the correct stage. Add fat, ice or chilled water, seasoning and other inclusions in a controlled sequence while watching the meat texture and temperature. Stop when the batch reaches the recipe standard, discharge it promptly, and clean and sanitise the machine before the next production run.

A bowl cutter is not simply a machine for making meat smaller. Its rotating bowl and high-speed knife set can chop, mix and, where the formula and process require it, help create a fine sausage batter. Good results depend on raw material temperature, ingredient order, knife condition, batch size, operator attention and a documented food-safety process. Always follow the machine manual, your validated recipe, and applicable local hygiene requirements.

What a bowl cutter does in sausage production

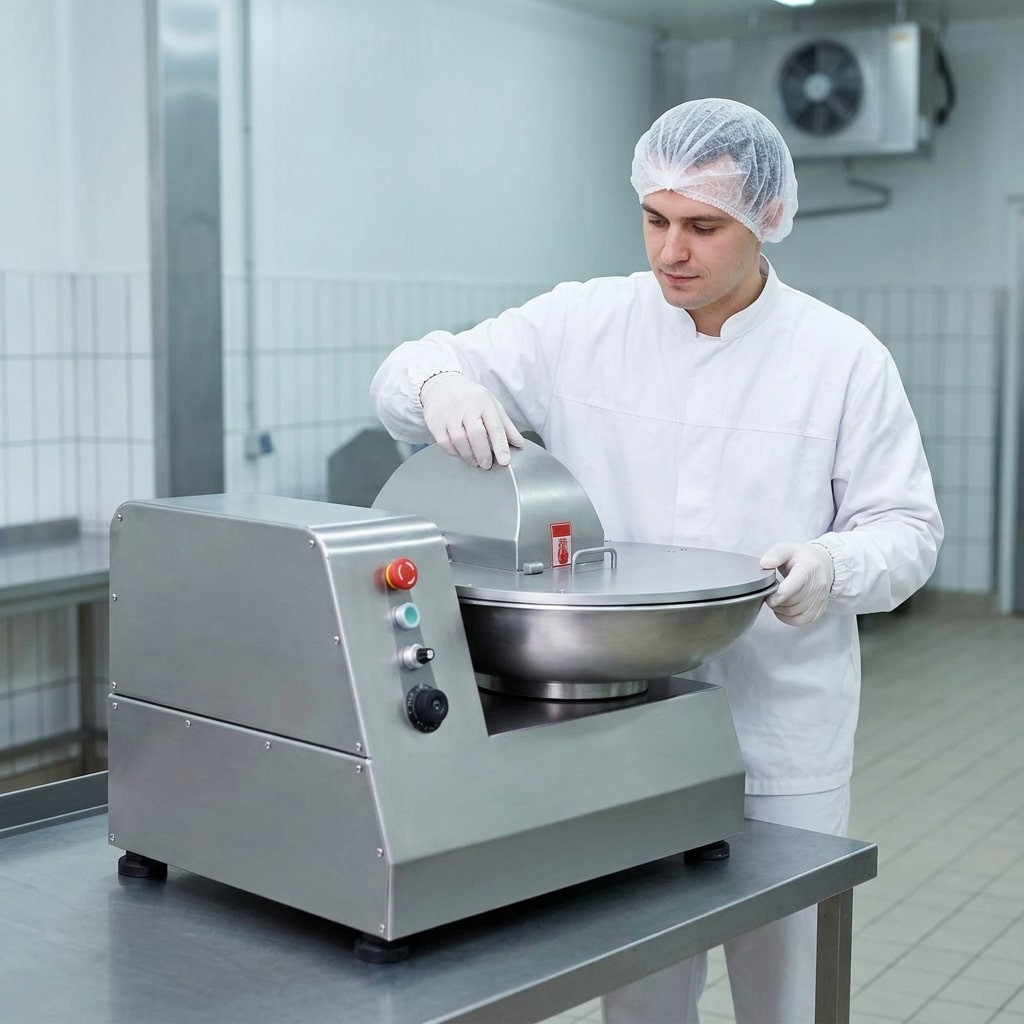
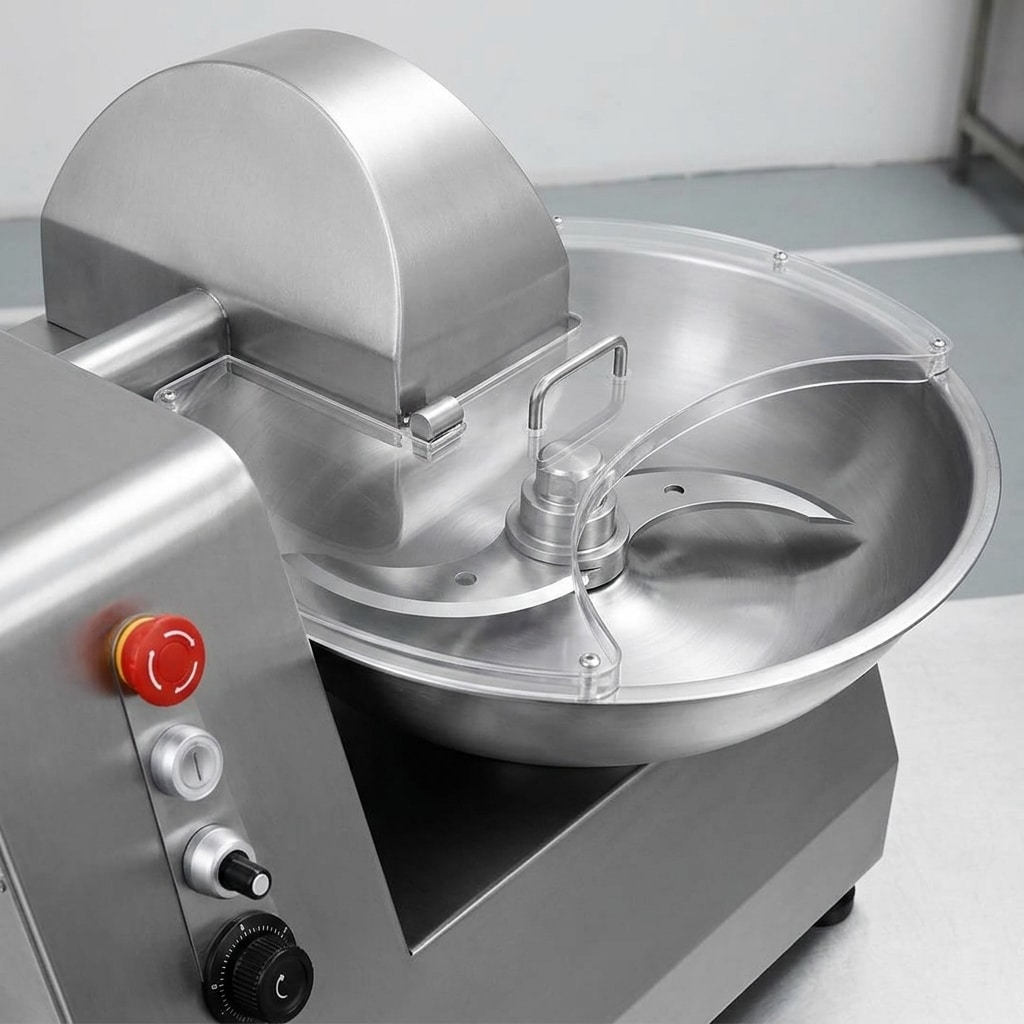
Key components of a commercial bowl cutter for sausage meat

A commercial bowl cutter, also called a meat bowl chopper, uses a rotating bowl to carry ingredients past a set of curved knives. Depending on the equipment design and operating settings, the knives chop the meat while the bowl movement continually presents fresh material to the knife area. This action combines size reduction and mixing in one controlled operation.

For sausage production, the machine may be used for coarse chopped mixes, medium-fine fillings or finely cut batters. The correct endpoint is determined by the product specification rather than by a single universal cutting time. A rustic fresh sausage, for example, normally needs visible meat and fat definition. A finer sausage formulation may require more cutting and a more uniform bind. The same machine can support different products only when the recipe, ingredient preparation and operating routine are adjusted accordingly.

The bowl cutter generally follows trimming, portioning and any needed pre-cutting steps. When operations need to turn large raw pieces into manageable pieces first, the cutting method should suit the condition of the meat. Our guide to choosing a bone saw for fresh and frozen meat explains why product condition matters during upstream cutting. Do not use a bowl cutter as a substitute for safely reducing oversized or bone-in material.

Compared with hand chopping or a basic mixer, a bowl cutter gives the operator more direct control over particle reduction. However, it also introduces heat through mechanical work. That is why chilled raw materials, short controlled cutting periods and temperature checks are central to sausage meat preparation.

Prepare ingredients and the production plan

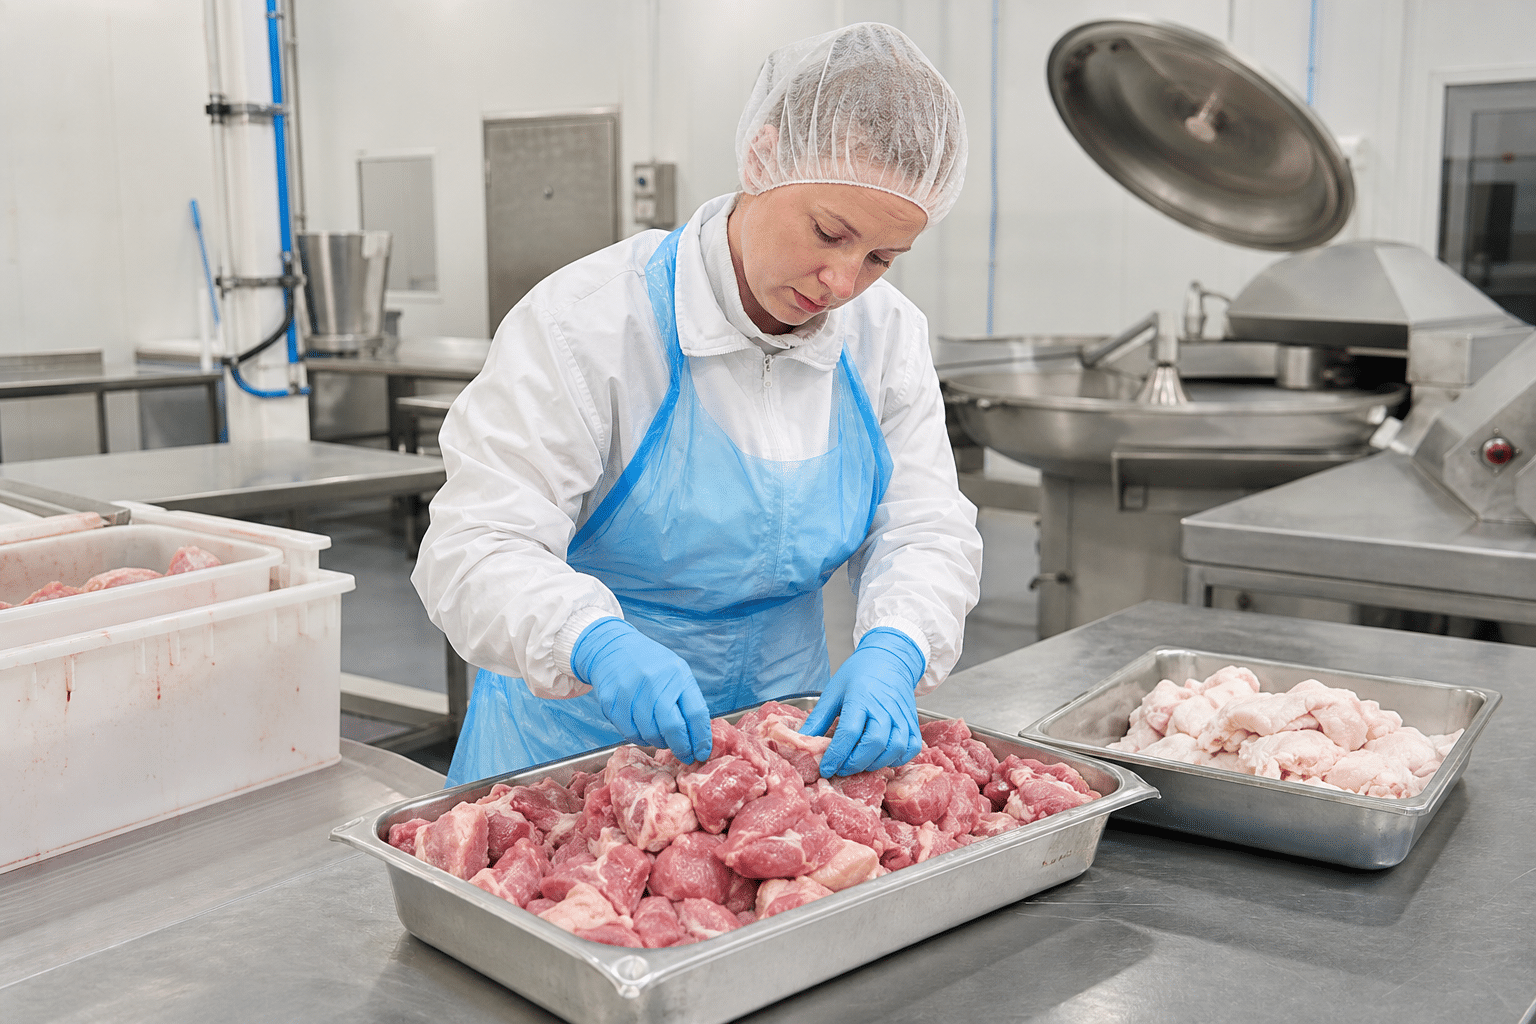
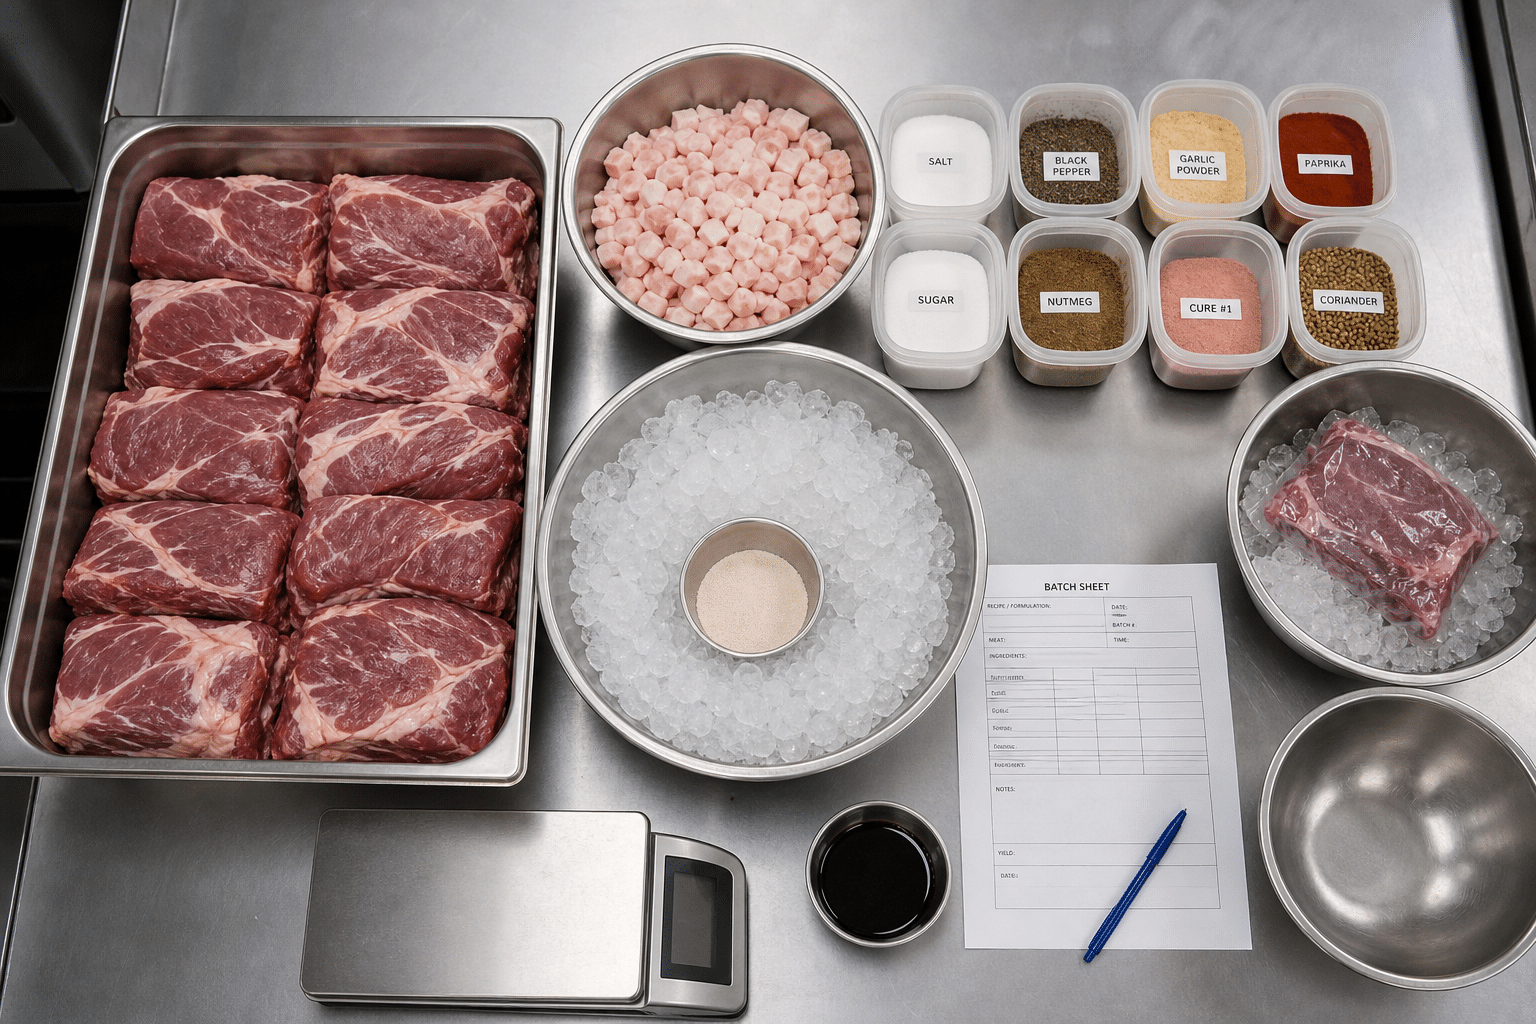
Chilled meat, fat, spices and ice staged for sausage meat preparation

Consistent sausage meat starts before the bowl turns. Prepare each batch from a written formulation and a clear process sheet. Record the intended batch size, meat and fat proportions, ingredient weights, loading order, target texture, temperature-control method, cut time or cutter setting, and the checks your site requires. A repeatable plan makes it easier to train operators and identify the cause if a batch differs from the standard.

Use suitable raw material condition

Meat and fat should be cleanly trimmed and chilled according to your food-safety plan and recipe. Material that is too warm can soften quickly during cutting and make temperature control difficult. Material that is excessively hard or frozen solid may not circulate and cut as intended, and can place unnecessary stress on the process. Cut meat and fat into pieces that can enter the bowl safely and move freely around it. Never force material into the knife zone.

Weigh every ingredient before starting

Pre-weigh salt, spices, curing ingredients where permitted and specified, ice or chilled water, and any non-meat ingredients. Verify labels and lot information according to your traceability procedure. Keeping ingredients ready before cutting reduces unnecessary delays with an open batch in the bowl. It also prevents an operator from adding an ingredient late because it was not prepared.

Separate ingredients by their purpose

It is useful to group ingredients into lean meat, fat, dry ingredients, liquid or ice, and visible inclusions such as herbs, vegetables or cheese where used. This does not mean every formula uses the same order. It means the operator can follow the specific recipe deliberately. In many processes, salt is added early enough to support the intended meat bind, while delicate inclusions are added later to avoid over-cutting. Use your product development and food-safety documentation to define the actual sequence.

For operations planning a larger preparation area, our article on commercial bowl cutters for high-volume food preparation outlines workflow considerations beyond the cutting step itself.

Inspect and set up the machine

Pre-operation safety inspection of a commercial bowl cutter

Perform a pre-operation inspection at the start of each shift and after any cleaning or knife change. Isolate power before reaching into the bowl or handling knives. Confirm that the bowl, knives, knife head, lid or cover, scraper and other removable parts are correctly fitted in accordance with the manufacturer instructions. Verify that guards and interlocks are present, undamaged and operational. Never bypass a safety device to save time.

Inspect knife edges for nicks, cracks, looseness or excessive wear. Dull knives can tear rather than cleanly cut the meat, prolong the operation and make it harder to achieve a consistent texture. Do not sharpen, adjust or replace knives unless the task is authorised and the correct safe procedure is available. A trained service technician or designated maintenance person should handle work outside normal operator checks.

Check that the bowl is empty and clean, the drainage and discharge area are clear, and the receiving container is ready. Select the operating mode or speed only after consulting the recipe and the machine manual. Names and available settings differ between bowl cutter models, so do not rely on a setting number from another machine. Before production, make sure the team understands the emergency stop location and keeps hands, utensils, gloves and loose clothing away from moving parts.

If your operation also cuts meat blocks or bone-in products upstream, apply separate equipment-specific procedures. The principles in these commercial bone saw safety and maintenance protocols are useful for maintaining a disciplined, guarded workflow around cutting equipment.

Step-by-step bowl cutter operating sequence

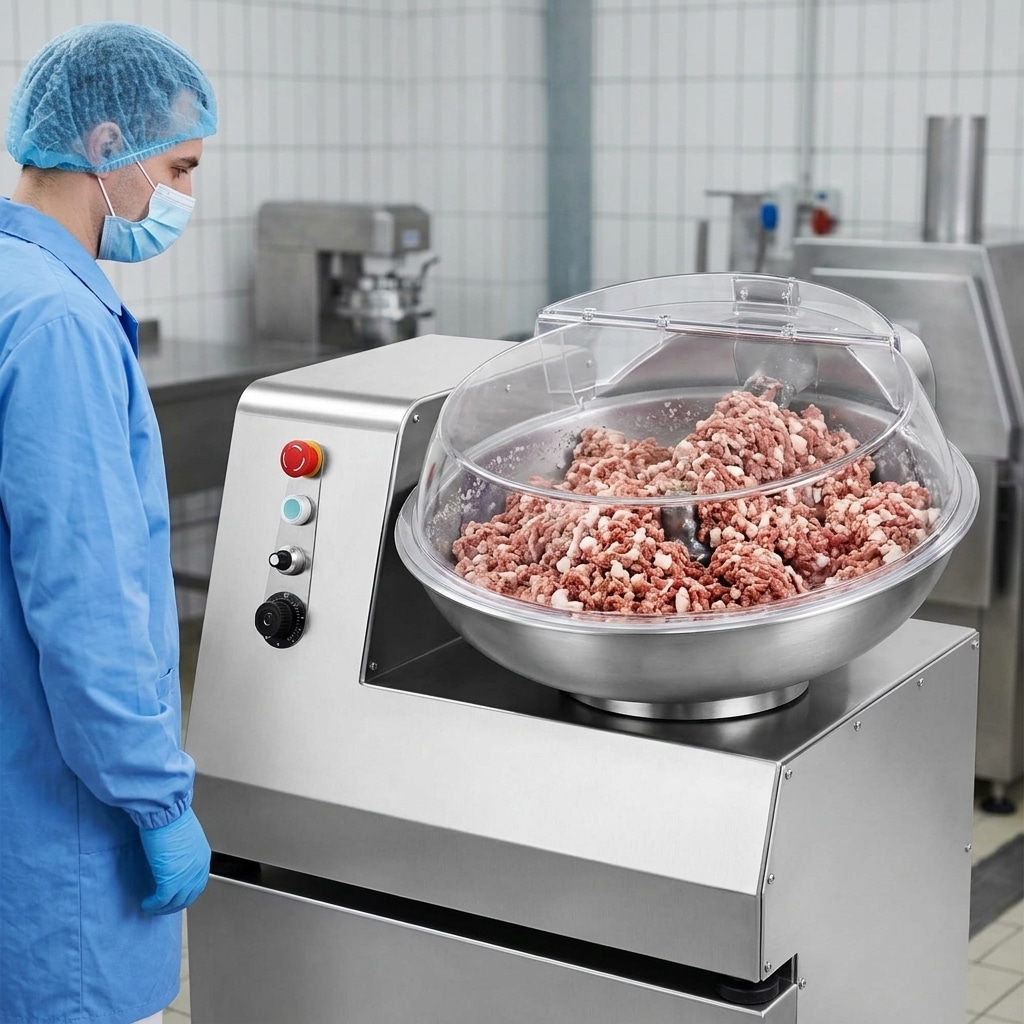
Sausage meat mixing in a commercial bowl cutter with safety cover closed

The following sequence is a practical operating framework, not a replacement for a validated formula or the manufacturer manual. Exact speeds, times and additions vary by sausage type, cutter design and raw material condition.

  1. Start with the prepared lean meat. Load only the batch quantity that the machine and recipe are designed to handle. Overfilling restricts circulation and can create uneven cutting. Begin at the appropriate setting and allow the meat to distribute around the bowl before judging the cut.
  2. Reduce the lean to the first required texture. Watch the product through the approved viewing area or by safely stopping and checking as your procedure permits. For a coarse product, this stage may be brief. For a finer product, it may continue until the lean has the specified particle size or develops the required cohesive character.
  3. Add salt and recipe-specified functional ingredients at the planned stage. Addition order matters because salt and certain ingredients affect the way meat binds and retains the intended texture. Add ingredients evenly rather than dropping a large quantity into one spot. Follow the approved formulation exactly, particularly for curing ingredients or allergens.
  4. Add chilled liquid or ice gradually where the recipe calls for it. This helps distribute the liquid and supports temperature control. Do not assume all formulas need the same quantity or form of added liquid. Additions should be measured, not estimated during production.
  5. Add fat at the product-specific point. Some sausages require distinct fat particles; others require a finer dispersion. Add the fat early or late only as the recipe specifies. Continue cutting only until the desired appearance and feel are achieved, because extended knife action can change the particle definition.
  6. Add spices and fragile inclusions with care. Dry seasoning needs adequate mixing, while visible ingredients may need a short, gentle final mixing stage to remain recognisable. Check distribution without exposing hands to the machine. If a manual inspection is needed, stop, isolate and follow the site’s safe access procedure.
  7. Verify the endpoint before discharge. Confirm the visual texture, distribution of fat and seasoning, product temperature and any other recipe controls. A correctly mixed batch should not be judged by time alone; raw material variation can change the required cutting period.

Operators should avoid repeatedly stopping and restarting simply to compensate for poor preparation. If material is not circulating, stop safely and investigate the cause. Possible reasons include an unsuitable batch size, pieces that are too large, raw material that is too hard, an incorrect ingredient sequence or a mechanical issue. Correct the underlying problem rather than reaching into an operating machine or extending the cut without control.

Control texture, temperature and batch consistency

Temperature control is one of the most important practical disciplines when using a bowl cutter for sausage meat. Fast knife action creates mechanical heat, and the batch can warm further if raw material is warm, knives are dull, the batch is overworked or the operator pauses too long between additions. The acceptable product temperature must be defined by your formulation, hazard analysis, local regulations and downstream process. Use a clean, calibrated probe and record checks as required by your production system.

Texture should be assessed against a written product standard. For a coarse sausage, check whether meat and fat pieces remain at the intended size and are evenly distributed. For a finer mixture, look for a uniform cut and the required degree of cohesion, without continuing so long that the batch loses the desired structure. Colour, surface appearance and the way the mix holds together can be useful observations, but they should support—not replace—defined process controls.

Batch consistency is improved by standardising the parts operators can control: incoming material condition, pre-cut piece size, batch weight, ingredient temperature, knife condition, loading order, settings and final checks. Keep a simple batch record. If a formula changes, document the change rather than allowing informal adjustments to become the new routine.

When raw materials require preparatory cutting, knife and blade condition upstream can also affect the workflow. This meat band saw blade selection guide covers the importance of matching a blade to the product and machine requirements.

Discharge, clean and prepare for the next batch

Cleaning food-contact components after bowl cutter sausage meat preparation

Once the batch meets the recipe standard, discharge it promptly into clean, suitable containers and move it to the next controlled production stage. Avoid leaving finished sausage meat in the bowl while preparing the next task. Cover, identify and hold the product in line with your site procedure, especially where multiple recipes, allergens or curing steps are involved.

After production, switch off and isolate the bowl cutter before cleaning. Remove product residue with tools approved for the machine; do not use hands near knife edges. Disassemble only the components that the manufacturer specifies for operator cleaning. Wash, rinse and sanitise food-contact parts using chemicals at the correct concentration and contact time for your sanitation programme. Allow parts to dry as required, then reassemble and inspect the machine before the next use.

Pay close attention to knife hubs, covers, bowl edges, scrapers, seals and discharge areas where residue can remain. Cleaning is not complete because surfaces look clean; your business should verify sanitation using the methods defined in its hygiene programme. Keep cleaning records, report damaged seals or guards, and schedule professional service when abnormal vibration, noise, poor cutting quality or control faults occur.

Common bowl cutter problems during sausage preparation

The mix is uneven

Uneven meat, fat or seasoning distribution can result from overloading, inconsistent pre-cut pieces, unsuitable ingredient order or insufficient circulation. Check the actual batch weight against the machine’s intended working range and review the staging procedure. Do not solve unevenness by automatically extending the cutting time, as this may change the product texture or temperature.

The sausage meat becomes too warm

Review the temperature of meat, fat and added liquid before loading. Also check whether knife wear, a long processing time, a delayed addition sequence or a poorly planned batch size is contributing. Hold the batch and follow your food-safety corrective-action procedure if it does not meet the defined control limit. Do not release product based only on appearance.

Fat particles are smeared or no longer distinct

This commonly indicates that the process needs review for raw material condition, cutting intensity, ingredient sequence or the specified endpoint. Confirm that the fat was prepared to the recipe requirement and that the operator did not continue cutting after the target texture was reached. A coarse sausage and a finely cut sausage should not be handled with the same visual standard.

The cutter vibrates, sounds unusual or cuts poorly

Stop the machine safely, isolate it and report the issue. Possible causes can include knife damage, incorrect fitting, worn components or another mechanical fault. Operators should not attempt unauthorised adjustment while the equipment is energised. Returning the machine to service should follow the manufacturer’s maintenance guidance and your site’s authorisation process.

Where a bowl cutter fits in a sausage preparation line

A bowl cutter is a practical choice for sausage producers, butcheries, central kitchens and food manufacturers that need controlled chopping and mixing in a compact process step. It is particularly useful when one operation prepares more than one sausage style and needs to manage coarse and fine textures with a documented process. The right equipment choice depends on the planned batch size, product range, raw material preparation method, available floor space, power supply, cleaning access, operator skill and expected daily workflow.

Before selecting a machine or setting up a production routine, map the complete flow: chilled receiving, trimming, pre-cutting, ingredient staging, bowl cutting, filling or forming, packaging, cold holding and cleaning. A machine that suits the cutting step but creates a bottleneck at discharge, filling or washdown may not suit the overall operation. Discussing the product range and actual workflow with an equipment supplier helps identify the information needed for a suitable recommendation.

The most reliable approach is simple: keep ingredients cold, work from an approved recipe, use only safely prepared raw material, control the cutting endpoint, record critical checks and clean thoroughly. These habits make a bowl cutter a more predictable part of daily sausage meat preparation.