Table of Contents
- Quick diagnosis before troubleshooting
- Machine will not start or stops unexpectedly
- Poor cut quality, slow cutting, or rough surfaces
- Blade drift, wandering cuts, and uneven portions
- Excessive vibration or unusual noise
- Excessive bone dust and product residue
- Blade breakage, derailment, and tracking problems
- Cleaning, maintenance, and when to call for service
A practical guide to diagnosing common commercial meat bone saw problems safely. Learn what to check when cuts become rough, the blade wanders, vibration increases, bone dust builds up, or the machine will not start.
Quick Diagnosis Before Troubleshooting
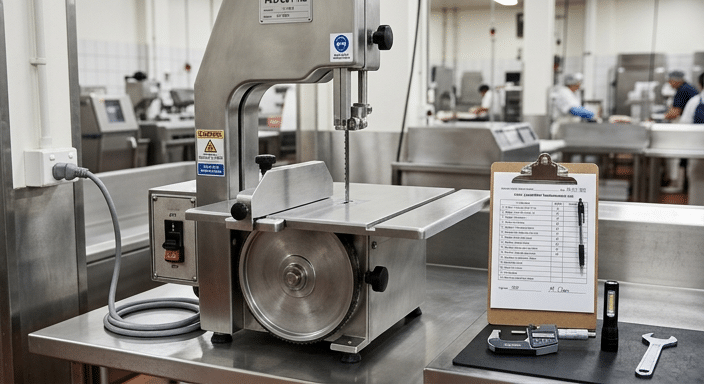
Commercial meat bone saw troubleshooting should begin with a safe, simple inspection: stop the machine, disconnect it from the power supply, and wait until the blade has fully stopped. Do not attempt to correct blade tracking, remove trapped product, clean the blade area, or inspect internal moving parts while the saw is connected to power.
Most cutting problems come from a small group of causes: a dull or damaged blade, incorrect blade tension or tracking, unsuitable product temperature, poor table or fence setup, accumulated residue, loose components, or an electrical supply issue. Start with the symptom that appeared first. For example, a saw that previously cut cleanly but now requires more feed force commonly needs a blade inspection. A problem that starts immediately after a blade change often points to blade installation, tension, or tracking.
Before making adjustments, record what the operator observed: the product type, approximate product condition, blade condition, whether the problem is constant or intermittent, and whether it began after cleaning, blade replacement, relocation, or service. This information makes diagnosis faster and gives a service technician useful context if the issue cannot be resolved on site.
Use the machine’s own operating manual as the authority for guard positions, approved blade type, tensioning procedure, lubrication points, electrical requirements, and service intervals. Machine designs differ, so general guidance should not override the manufacturer’s instructions.
Machine Will Not Start or Stops Unexpectedly
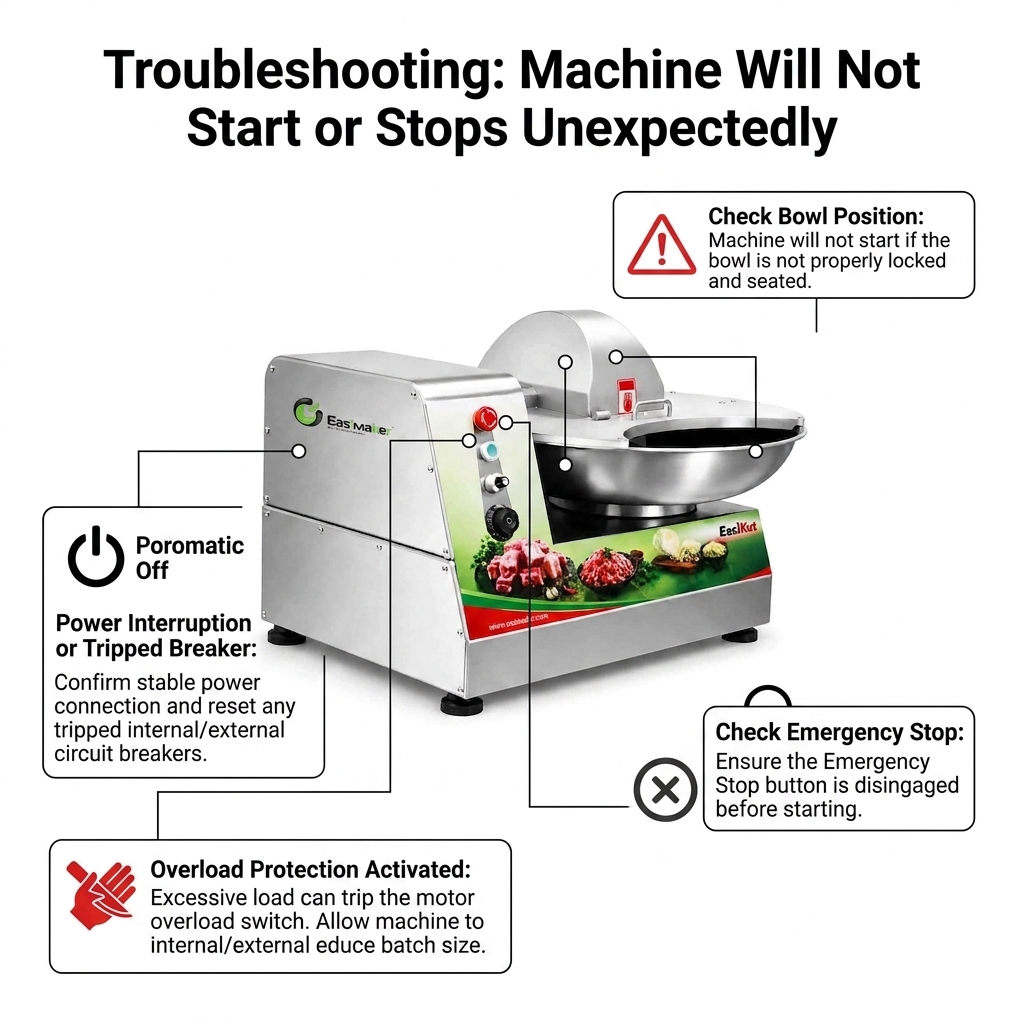
If a commercial meat bone saw will not start, first check the conditions that are intended to prevent operation. Confirm that the emergency stop has been released, guards and doors are fully closed and correctly positioned, and any interlock system is engaged. Many machines are designed not to run when a door or blade guard is open or misaligned.
Next, verify the external electrical supply. Check that the machine is connected to the correct supply, that the plug and cable show no visible damage, and that the local isolator, breaker, or protective device has not tripped. Do not repeatedly reset a breaker or bypass an interlock. A repeated trip, hot plug, damaged cable, burning smell, or visible electrical damage requires investigation by a qualified technician.
If the motor starts but stops during cutting, reduce the load only after safely stopping the machine and inspecting the blade and product. A dull blade, very hard product, excessive feed pressure, or a mechanical obstruction can increase load. Product should be prepared and handled in accordance with the machine manual and the operation’s food safety procedures. Do not force material through the blade to compensate for poor cutting performance.
Where the supply and safety devices appear normal but the saw remains inoperative, record the model, serial number, symptom, and any display or indicator condition before contacting service support. This is more useful than disassembling electrical covers without the required training.
Poor Cut Quality, Slow Cutting, or Rough Surfaces
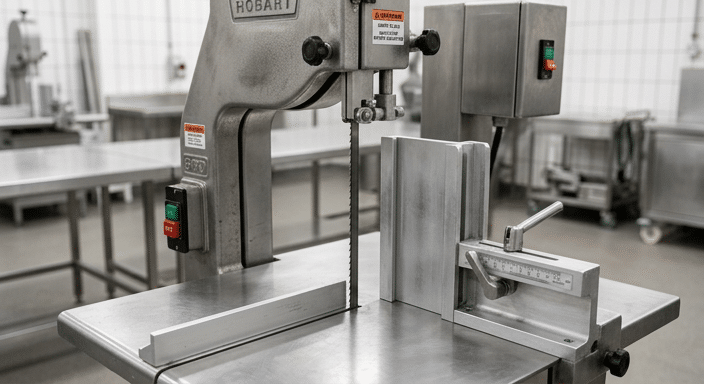
A sharp, correctly installed blade should cut with controlled, steady feed pressure. When operators need to push harder, cuts become rough, or product surfaces show tearing, splintering, or excessive marks, inspect the blade first. Look for missing teeth, damaged tooth set, corrosion, bent sections, heavy residue, or obvious dullness. Replace a worn or damaged blade with the correct blade specification for the machine and application.
Do not judge blade condition by age alone. Blade life varies with the material being cut, product temperature, sanitation routine, feed technique, and whether foreign material has contacted the blade. A blade can be unsuitable for continued use even if it has only been installed for a short period.
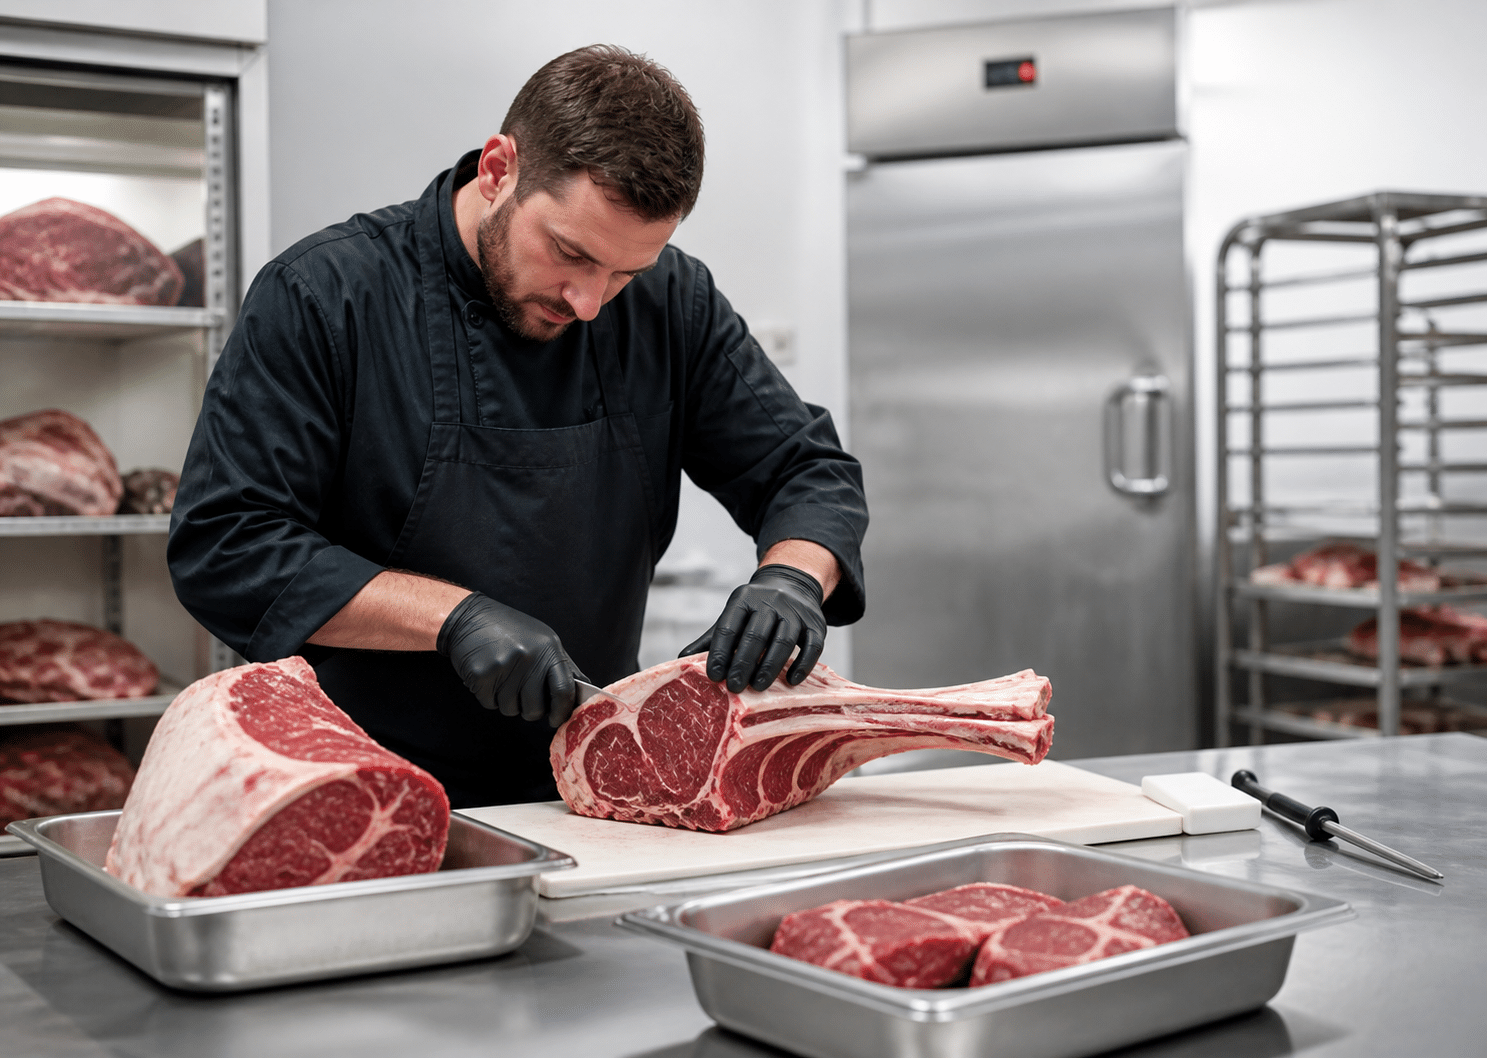
Product preparation also affects the cut. Product that is unstable, poorly supported, or in an unsuitable condition for the operation can move during the cut and produce inconsistent results. Set the guide or fence carefully, keep the worktable clean, and use the machine’s approved pusher or handling method. Operators should keep hands clear of the blade path at all times.
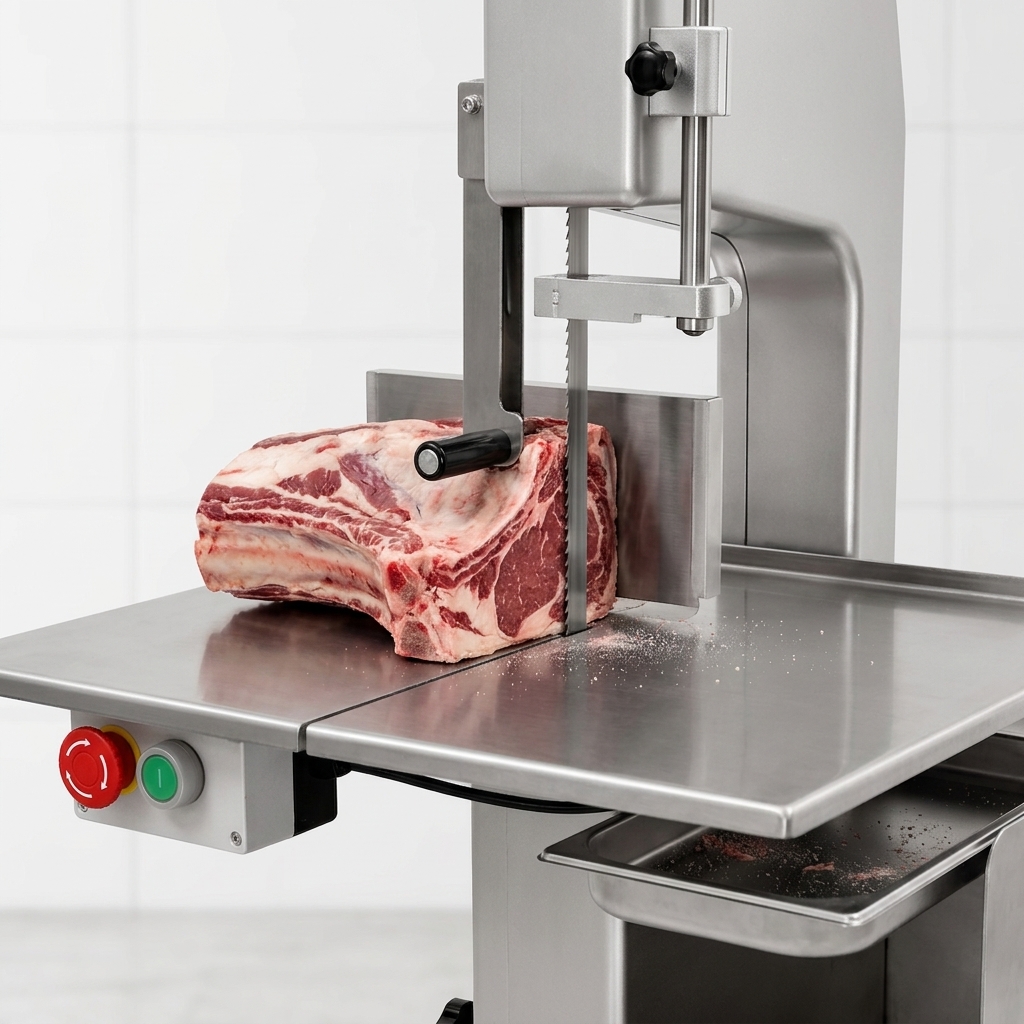
For consistent portion work, use a repeatable fence setting and a steady, controlled feed. The practical cutting guidance in meat band saw cutting techniques for consistent portions explains how blade condition, product stability, guide settings, and feeding technique work together.
If poor cuts continue after a correct blade replacement and setup check, inspect the guides, wheels, and table alignment according to the manual. Persistent cutting issues can indicate wear or misalignment that should be assessed by trained service personnel.
Blade Drift, Wandering Cuts, and Uneven Portions
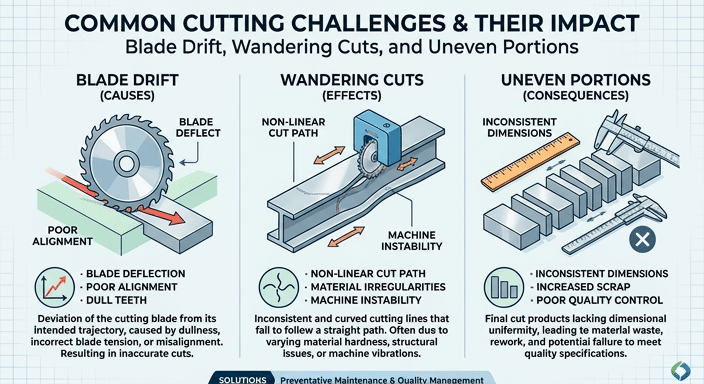
Blade drift describes a cut that moves away from the intended line or fence setting. It can lead to uneven portions, more trimming, and inconsistent presentation. Do not compensate by twisting the product or applying side pressure to the blade. Side loading can worsen the cut and may damage the blade.
First, inspect the blade for wear, tooth damage, bends, and residue. Then check that it is installed in the correct direction and that tension and tracking have been set using the machine’s specified procedure. A blade that is not correctly tensioned or tracked may move inconsistently through the product or fail to remain correctly positioned on the wheels.
Examine the upper and lower blade guides for product buildup, damage, and correct adjustment. Guides should support the blade as intended by the manufacturer without creating unnecessary friction. Also confirm that the fence is secure, the table is clean, and the product is supported flat against the guide where the cutting method requires it.
Uneven portions are not always a mechanical fault. Changing product shape, unstable pieces, inconsistent starting positions, and rushed feeding can all create variation. Establish a simple operator routine: inspect the blade before production, set the guide with a measured reference, make a test cut where appropriate, and check the first pieces before continuing a batch.
Excessive Vibration or Unusual Noise
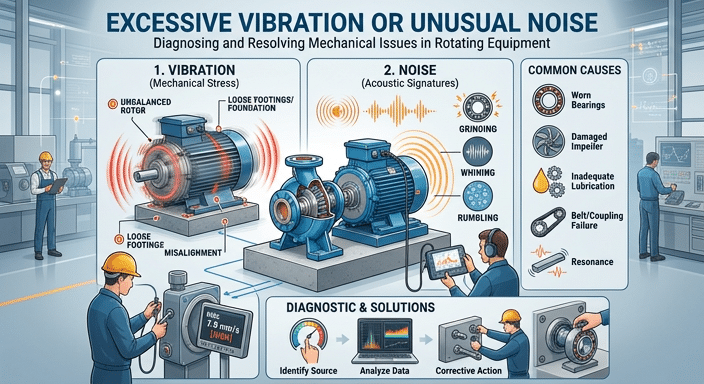
A change in vibration or noise deserves immediate attention. Stop the saw and isolate power before inspection. Check whether the machine is standing level and stable, whether its feet or mounting points are secure, and whether the worktable, fence, guards, and access panels are properly fastened. Loose parts can create noise and may affect cutting accuracy.
Inspect the blade for cracking, kinks, missing teeth, or incorrect seating. A damaged blade should be replaced, not straightened or repaired for reuse. Check for visible product debris around accessible guides, wheels, and the lower housing area, following the cleaning instructions for the machine. Built-up residue can interfere with normal movement and sanitation.
Do not remove guards or dismantle wheel, motor, bearing, or drive components to investigate a persistent mechanical sound unless you are authorized and trained to do so. Grinding, scraping, repeated knocking, wheel wobble, or vibration that remains after the blade and external fasteners have been checked may indicate a service issue. Continuing to operate in that condition can increase component damage and create a safety risk.
Routine inspection is the best control. Review the operational checks in commercial bone saw safety and maintenance protocols and adapt the frequency to your production schedule, machine manual, and hygiene procedures.
Excessive Bone Dust and Product Residue
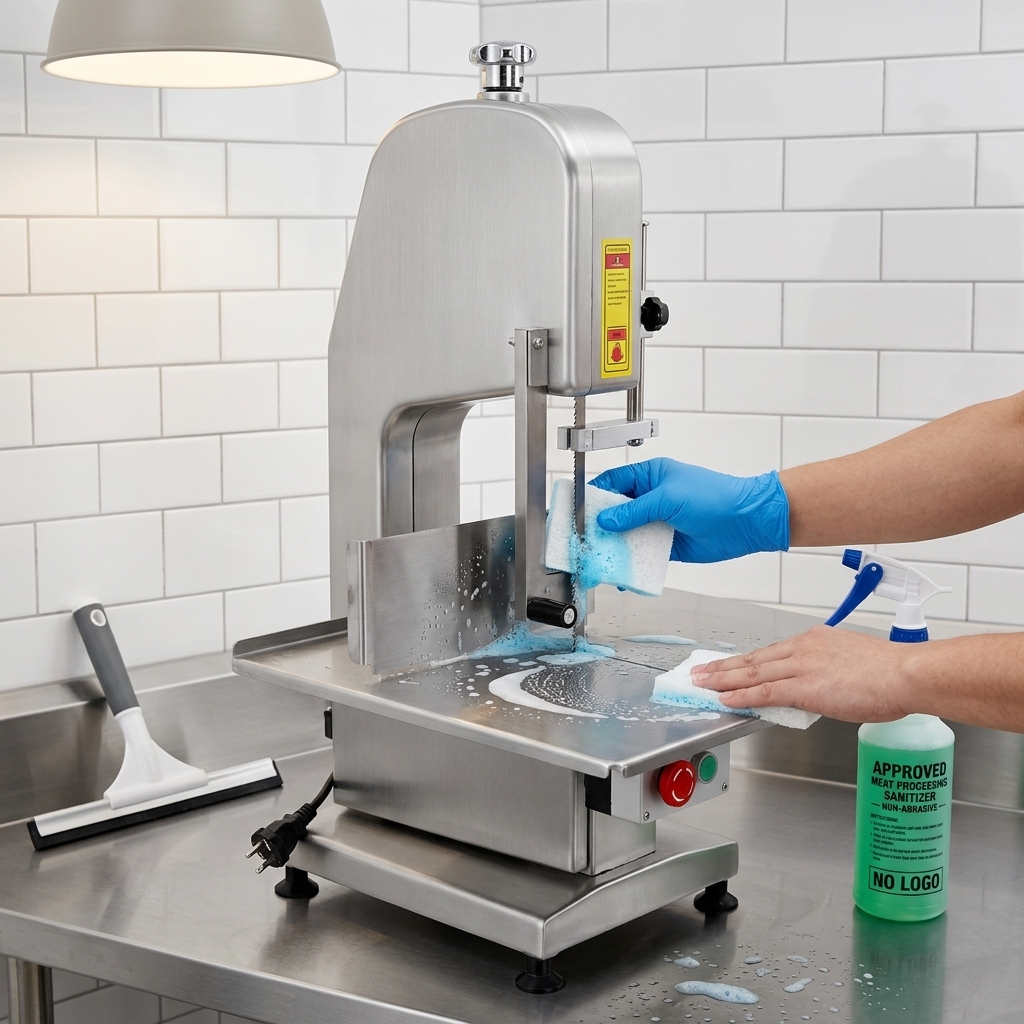
Some bone dust is an expected by-product of cutting bone, but a visible increase can indicate that the cutting process needs attention. Start with the blade. A dull, damaged, dirty, or unsuitable blade can produce a less controlled cut and increase residue. Use only the blade type and dimensions approved for the specific saw.
Product preparation and handling matter as well. Keep the work surface clean, position the product securely, and use steady feed pressure. Excessive force can make the cut less controlled. Avoid repeated passes through the same area unless the cutting procedure requires them, and do not use the saw to cut material outside its intended application.
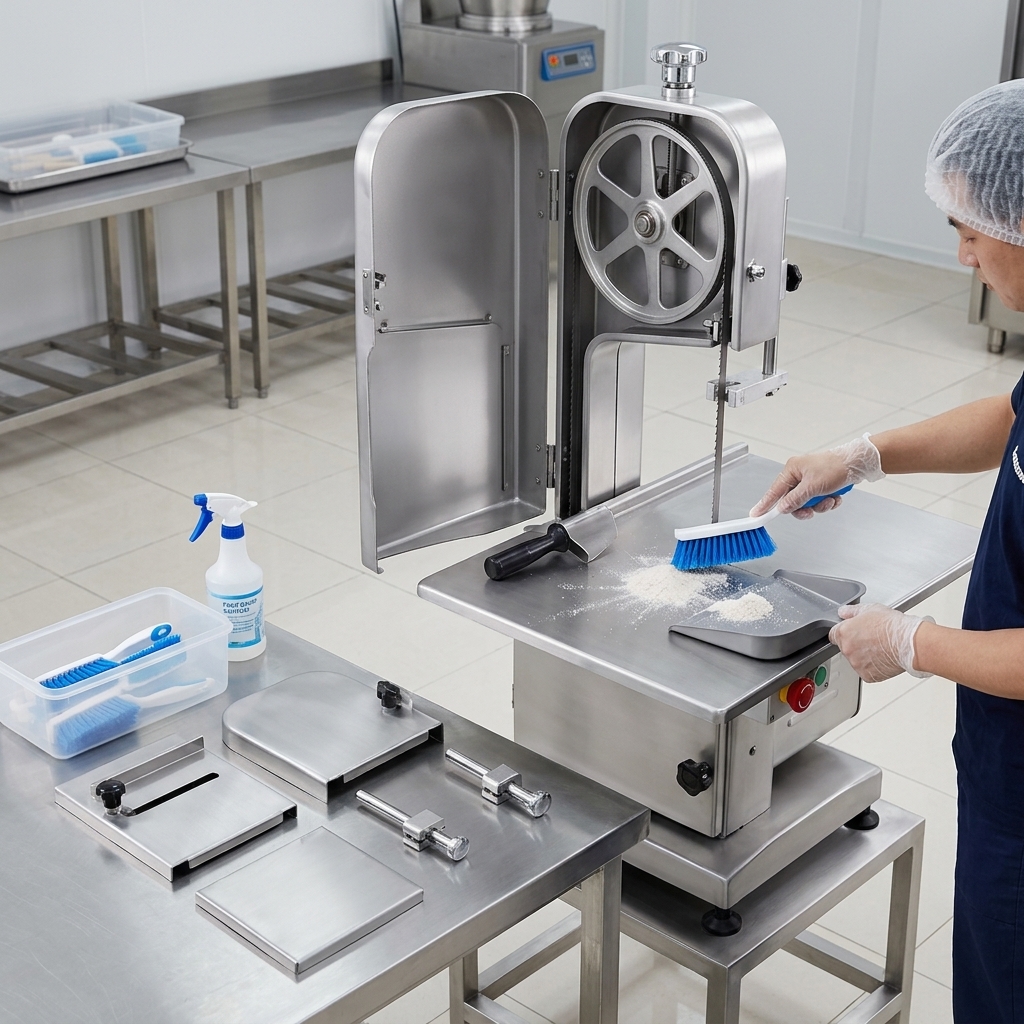
Cleaning between production tasks helps prevent residue from being carried into later cuts. After isolating the machine, follow the manufacturer-approved process for removing food debris, washing food-contact areas, sanitizing as required by the site’s program, drying, and reassembling. Pay close attention to blade guards, guides, table surfaces, and accessible collection areas, while following the manual’s instructions for safe blade handling.
For a closer review of contributing factors, see how to reduce bone dust when using a meat band saw. The aim is a controlled cutting process and appropriate hygiene management, not an unsupported promise that bone dust can always be eliminated.
Blade Breakage, Derailment, and Tracking Problems
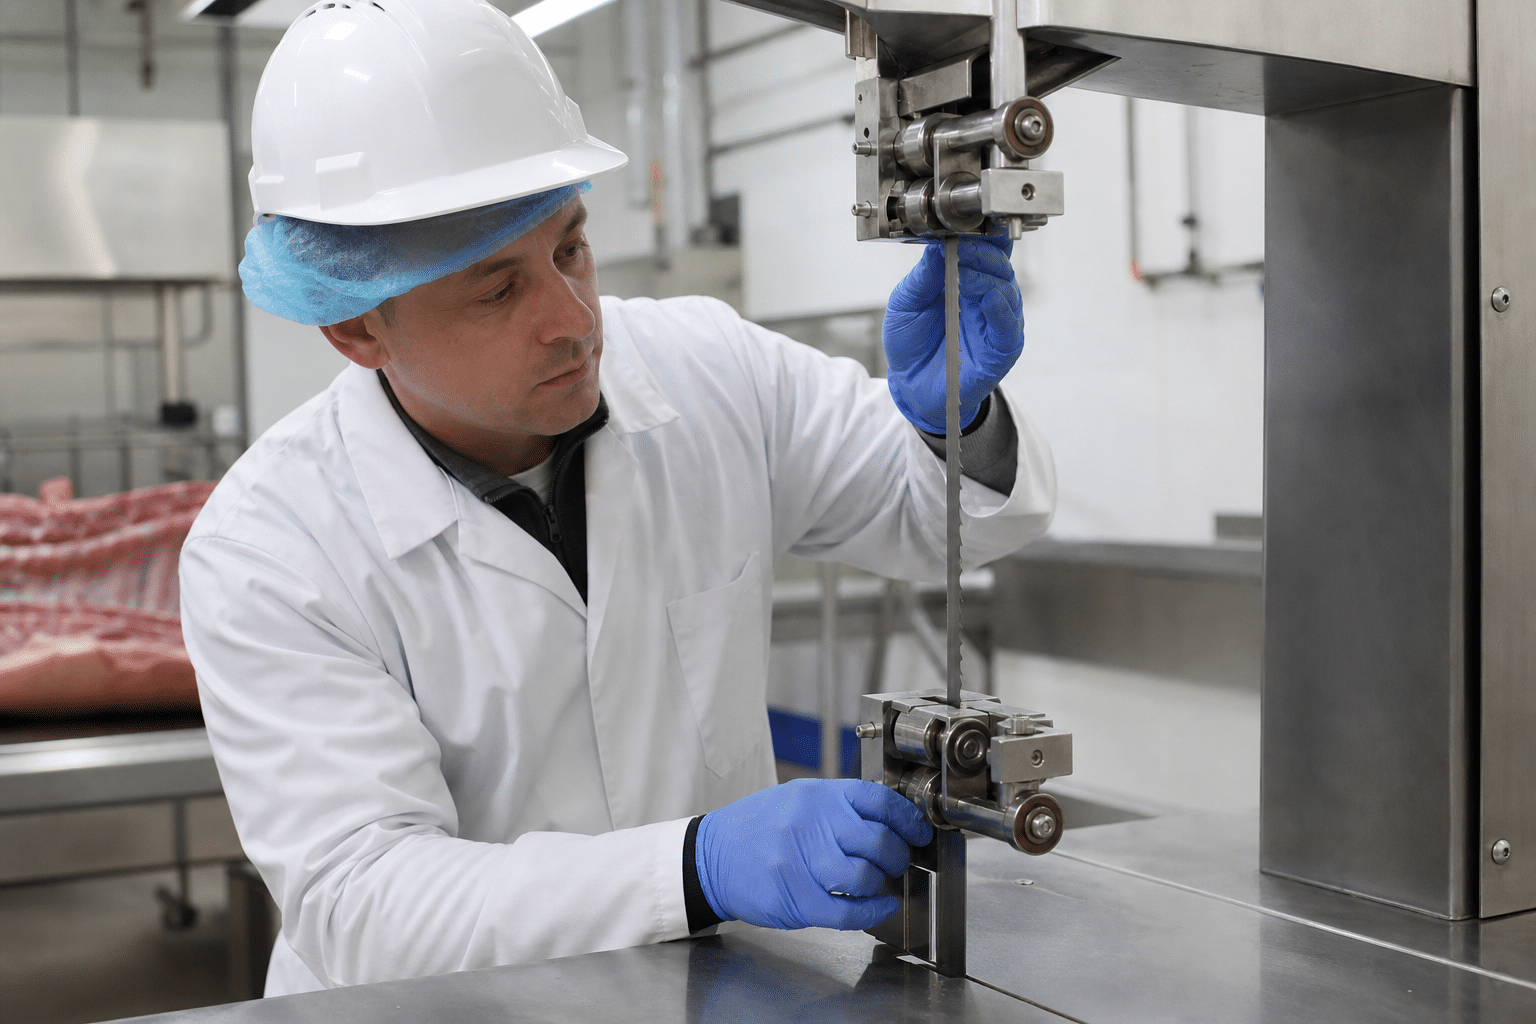
A broken, derailed, or repeatedly mis-tracking blade is a stop-work condition. Switch off and isolate the machine. Do not attempt to catch, refit, or tension a moving blade. Once the saw is safe, follow the manual’s blade removal procedure and wear the required protective equipment for blade handling.
Before fitting a replacement, inspect accessible parts for common causes: incorrect blade size or type, incorrect blade direction, damage from previous use, accumulated debris, guide problems, and incorrect tension or tracking. Confirm that the replacement blade matches the machine specification. A blade that is too long, too short, or otherwise incompatible should not be forced onto the wheels.
After installation, set tracking and tension only as specified for that model. Refit all guards and complete the required operational checks before processing product. If a newly installed, correct blade repeatedly leaves the wheels, do not continue making adjustments beyond the published procedure. Wheel alignment, guide condition, worn parts, or another mechanical cause may require a qualified technician.
Keep a basic blade log for high-use operations. Record installation date, reason for replacement, visible damage, and recurring symptom. This can reveal patterns such as early damage after a particular product type, cleaning method, or shift practice and supports better purchasing and maintenance decisions.
Cleaning, Maintenance, and When to Call for Service
Effective troubleshooting is supported by a routine that prevents avoidable faults. At the start of each shift, inspect the blade, guards, guide setting, fence, table condition, power cable, and emergency stop. During operation, stop the machine if cut quality changes, vibration develops, a guard is damaged, or product accumulates in an area that should be kept clear.
At the end of production, isolate the machine and complete the documented cleaning and sanitation process. Cleanliness is both a food safety requirement and a reliability issue: residue can conceal blade damage, interfere with movable parts, and make inspection less effective. Do not use cleaning chemicals, water pressure, or tools in ways that conflict with the machine manual or your site’s procedures.
Schedule regular service based on machine use, operating conditions, and manufacturer guidance. A service visit is appropriate when there are repeated electrical trips, damaged safety devices, continuing vibration, wheel or bearing concerns, persistent tracking faults, damaged guards, or cutting problems that remain after normal blade and setup checks.
When reporting a fault, provide the saw model and serial number, blade specification, a clear description of the symptom, when it started, the product being cut, and photographs where safe and useful. Accurate information helps the supplier determine whether the next step is an operator adjustment, replacement part, blade change, or technical service.