Table of Contents
- Quick Answer: Preventive Maintenance Frequency
- Why Preventive Maintenance Matters
- Daily Sugarcane Juicer Service Checklist
- Weekly and Monthly Maintenance Tasks
- Periodic Service and Replacement Planning
- Maintenance Records and Operator Responsibilities
- When to Stop and Arrange Service
A preventive maintenance routine helps commercial sugarcane juice shops keep their juicers clean, safe to operate, and ready for daily service. Use this schedule to assign daily, weekly, monthly, and service-interval checks.
Quick Answer: Preventive Maintenance Frequency
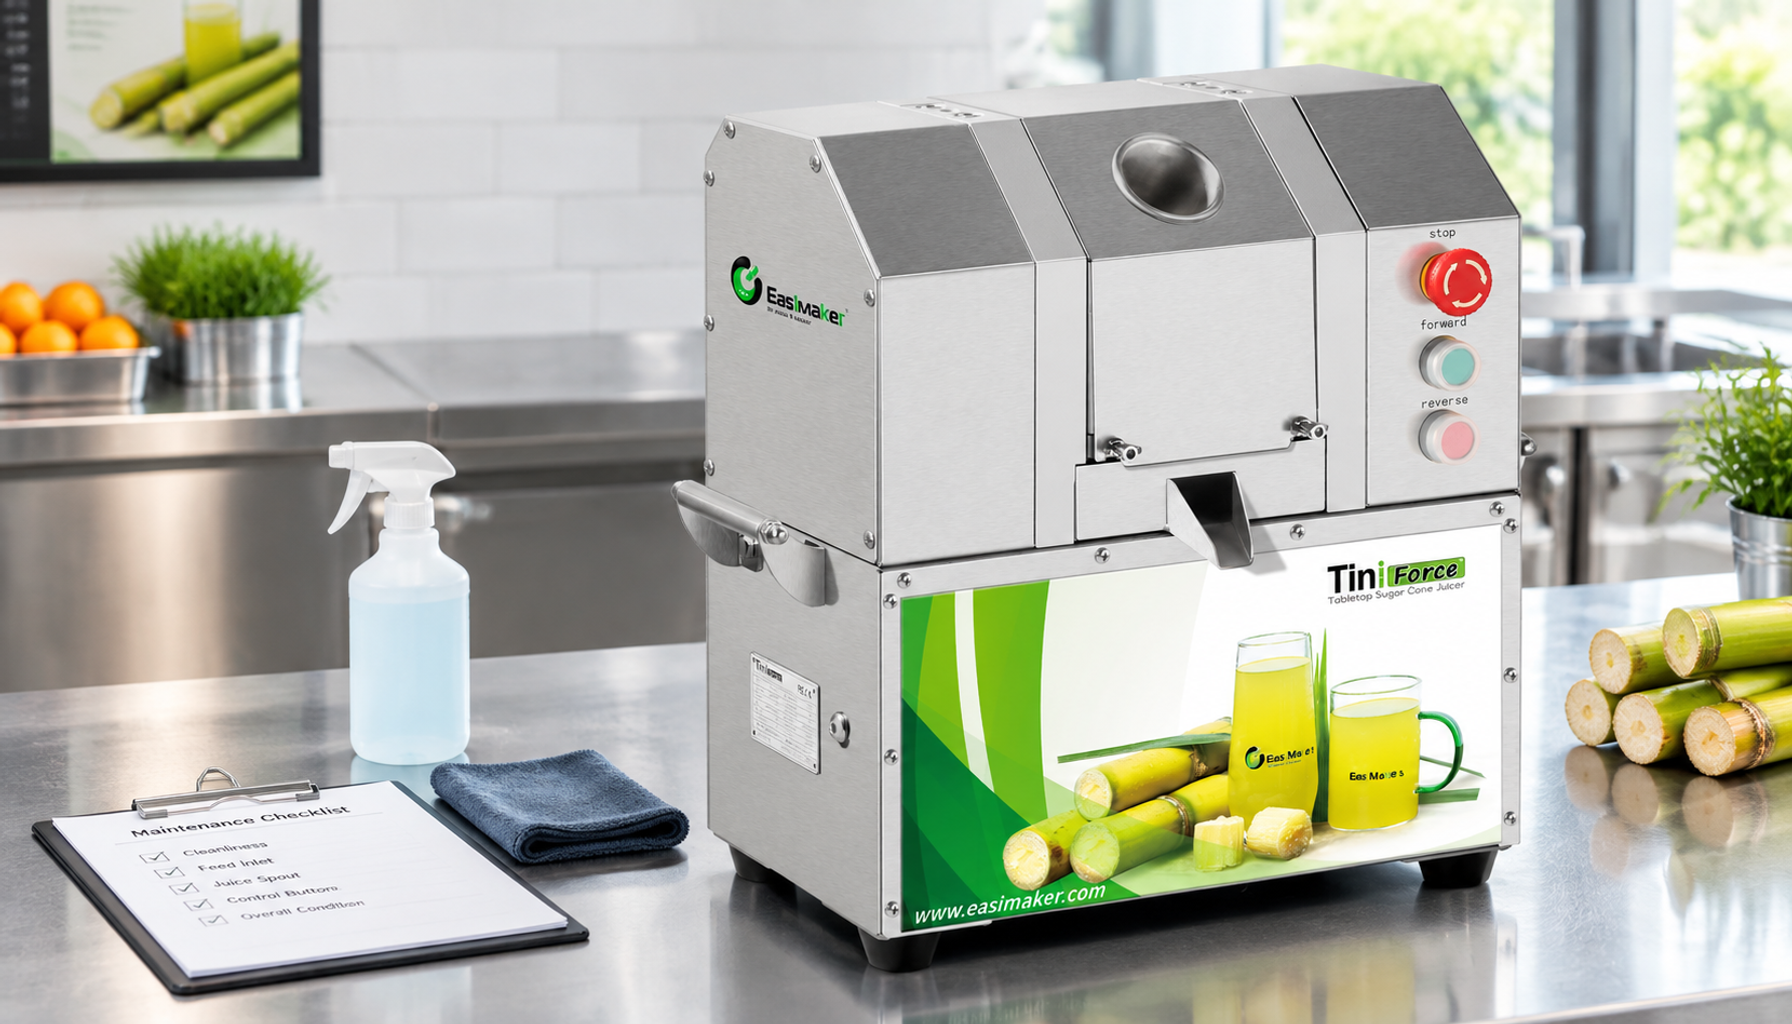
A commercial sugarcane juice machine maintenance schedule should include cleaning and inspection at the end of every service day, a more detailed check each week, functional and condition checks each month, and planned professional service or part replacement based on the machine manual, operating hours, cane condition, and actual wear.
The most important rule is simple: do not wait for a stoppage before checking the juicer. Sugarcane fibre, juice residue, moisture, vibration, and repeated loading can affect roller areas, guards, drainage, switches, fasteners, and the drive system over time. A short documented routine is generally easier to manage than an emergency repair during a busy trading period.
Always follow the manufacturer-specific manual for disassembly limits, approved cleaning products, lubrication instructions, electrical requirements, and replacement parts. If the manual differs from a general checklist, the manual takes priority.
Why Preventive Maintenance Matters in a Juice Shop
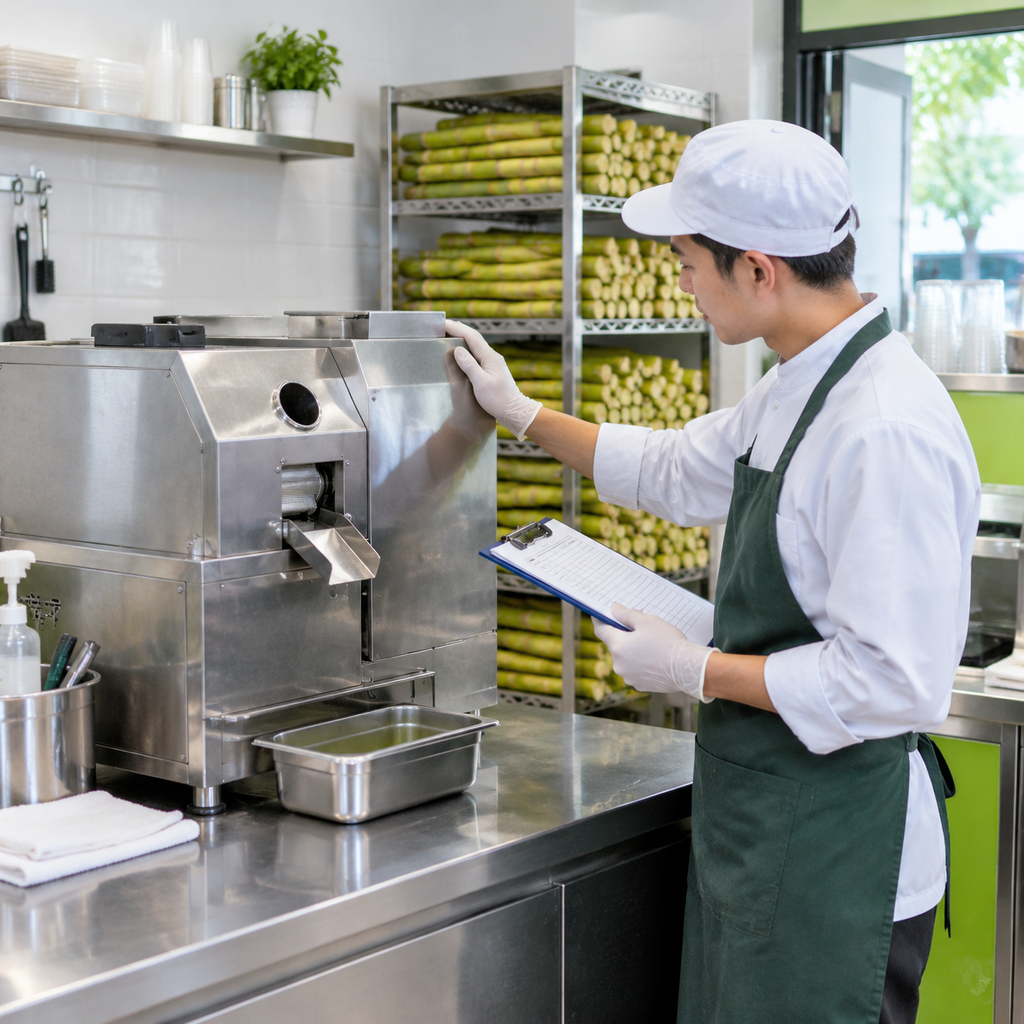
A commercial sugarcane juicer is both a food-contact work tool and a powered machine. Preventive maintenance supports four practical operating goals:
- Hygiene control: removing visible cane fibre and juice residue reduces the chance that old residue remains in accessible food-contact and drainage areas.
- Reliable workflow: regular checks can identify loose parts, obstructed outlets, worn components, or unusual operation before they interrupt service.
- Operator safety: guards, covers, controls, feet, and power connections should remain secure and functional.
- More predictable costs: planned inspection and timely replacement are easier to budget than unplanned downtime.
Maintenance is not the same as cleaning. Cleaning removes food residue and prepares the machine for hygienic use. Preventive maintenance adds inspection, tightening where permitted, condition monitoring, and timely service. Both should be built into the shop’s opening and closing routines.
For a broader sanitation routine around raw cane, staff handling, serving surfaces, and records, use this commercial sugarcane juice hygiene checklist for shops.
Daily Sugarcane Juicer Service Checklist
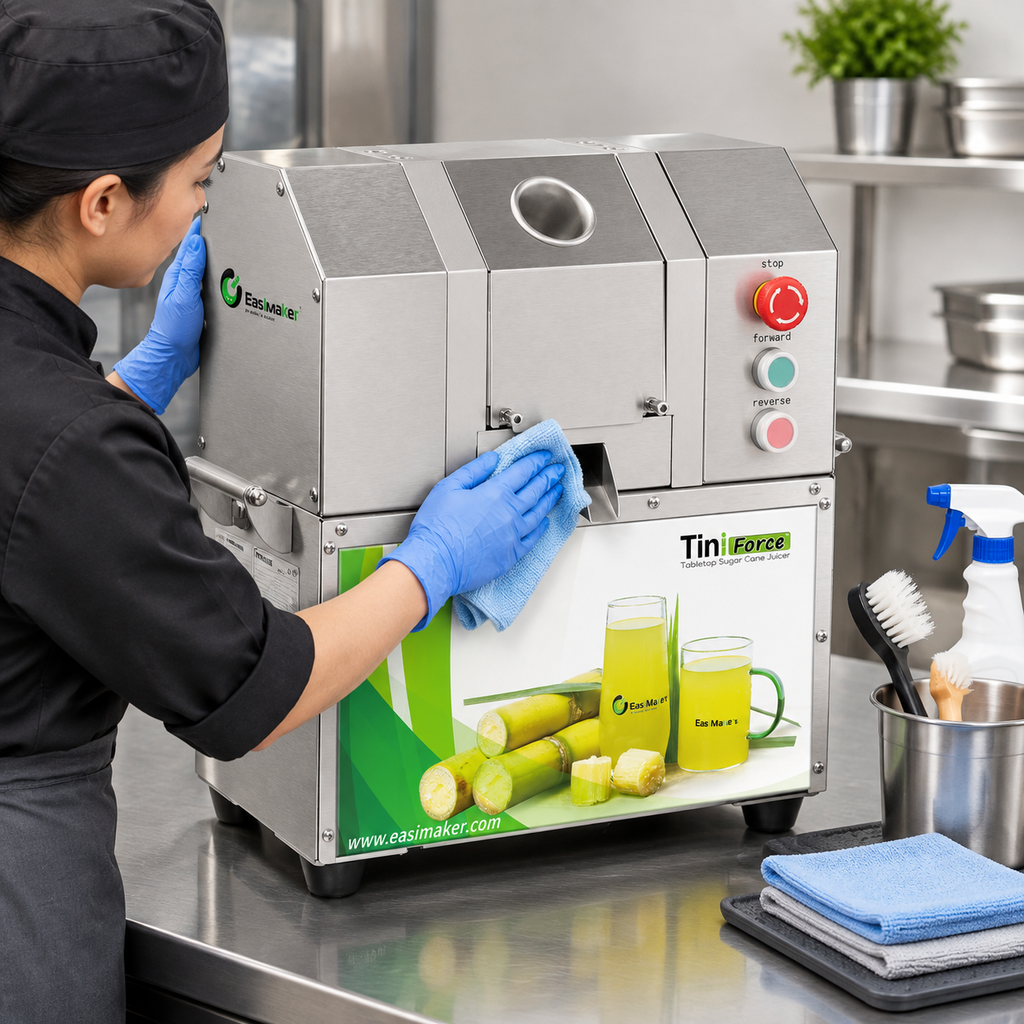
Complete the following checks before opening and after closing. Assign the task to a trained operator and record exceptions for the supervisor or service contact.
Before opening
- Confirm the machine is stable on a level, clean work surface and that its feet are seated correctly.
- Check the power cord, plug, socket area, switch, and visible cable route for damage, moisture, or loose connections. Do not operate damaged electrical equipment.
- Confirm guards, covers, access panels, and fasteners are present and secure.
- Inspect the feed inlet and accessible roller or crushing area for remaining fibre, foreign material, or cleaning cloth fragments.
- Check that the juice outlet, collection container, and drainage path are clean, correctly positioned, and unobstructed.
- Run only the manufacturer-approved pre-operation check. Listen for abnormal noise or vibration and stop if operation is unusual.
During service
- Feed cane only in the intended direction and do not force oversized, heavily damaged, or contaminated pieces into the feed opening.
- Keep the outlet clear and remove bagasse according to the shop workflow, without reaching into a moving or energised machine.
- Watch for repeated feed hesitation, unusual noise, leaking, excessive vibration, or reduced juice flow. These are inspection signals, not conditions to ignore.
After closing
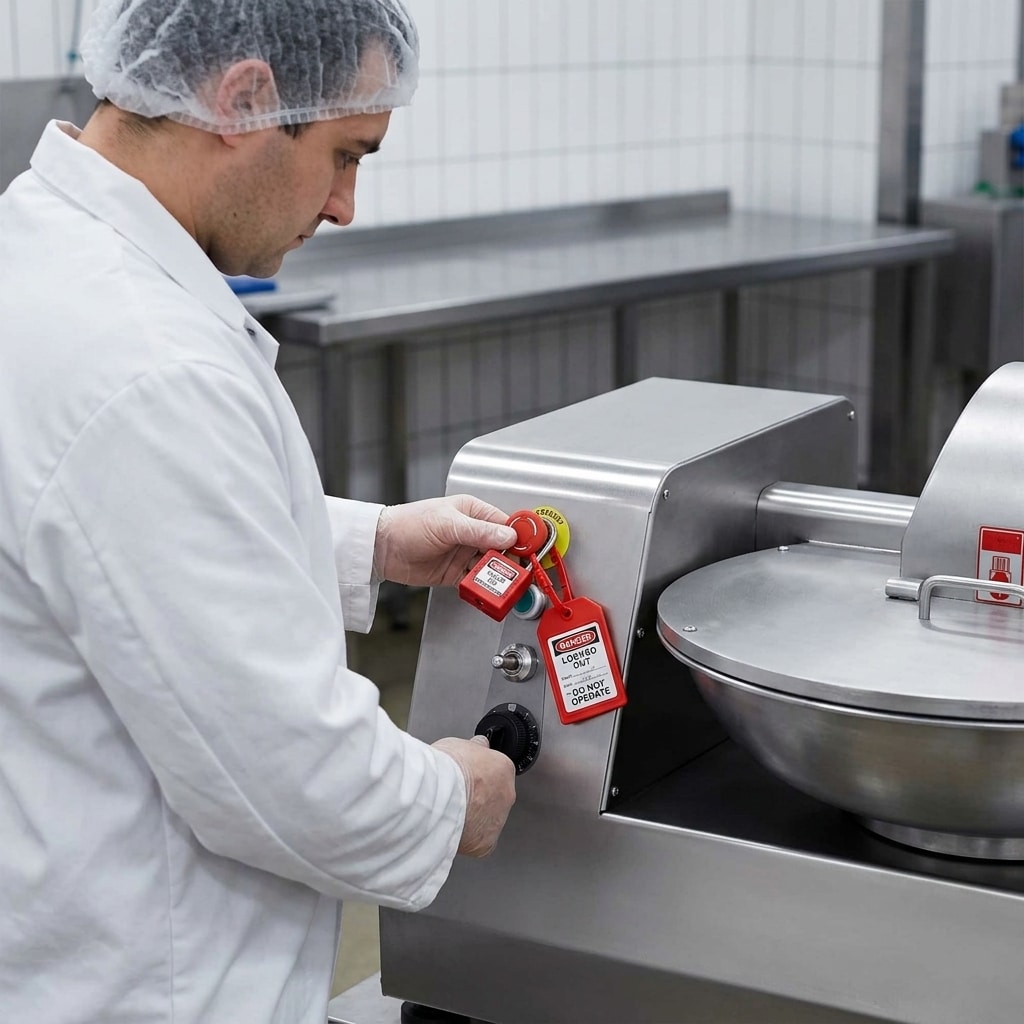
- Turn off and isolate power before cleaning or inspection.
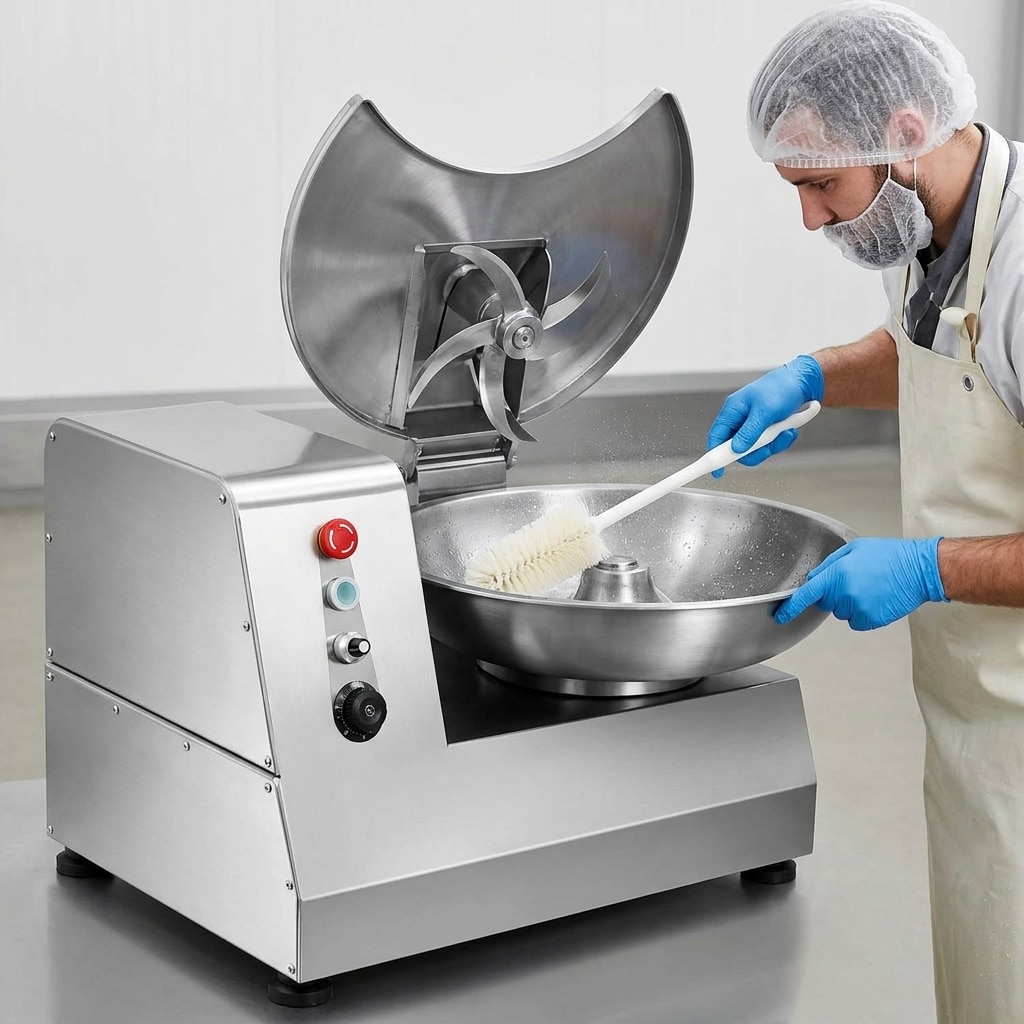
- Remove cane residue from accessible areas using the procedure and tools specified by the manufacturer.
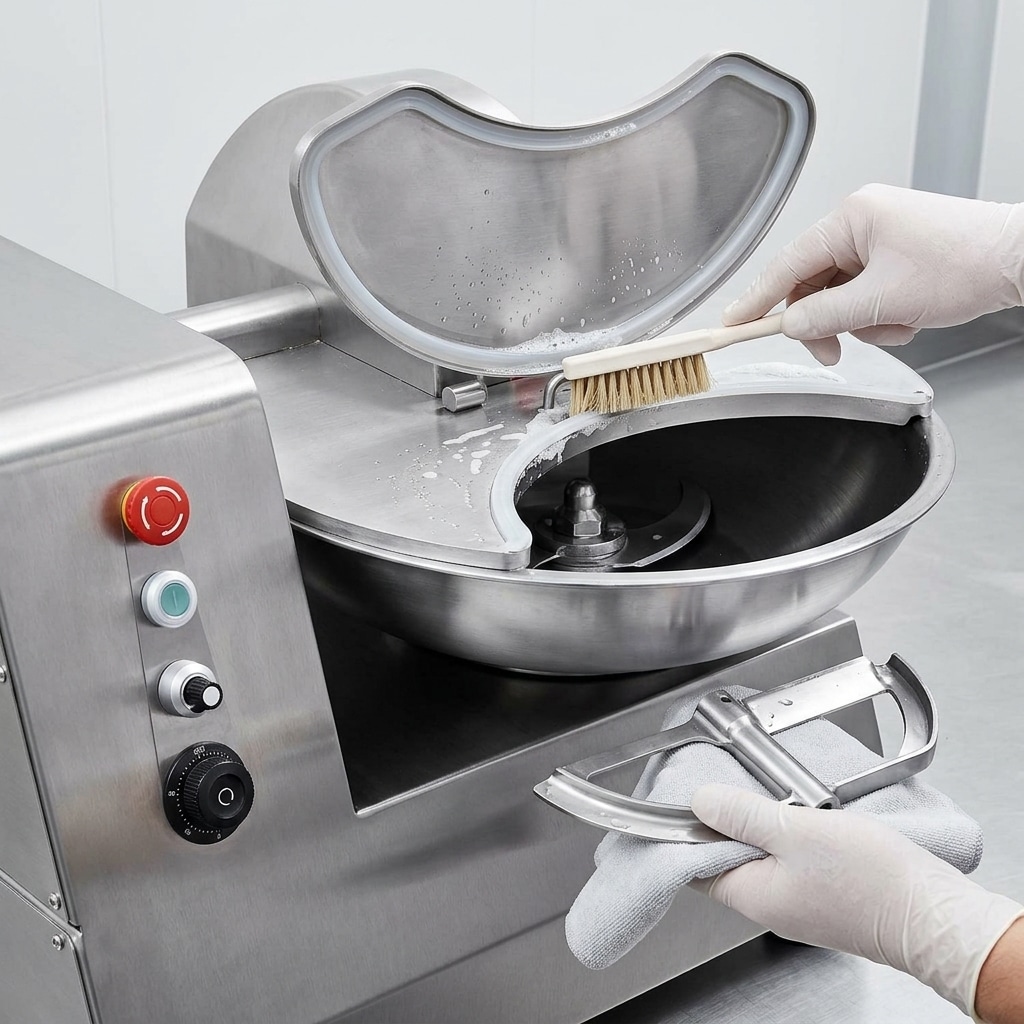
- Clean, rinse, sanitise where required by the shop procedure, and dry accessible food-contact components before reassembly.
- Wipe external surfaces, control areas, outlet surfaces, and the bench; avoid directing water into motors, switches, vents, or electrical enclosures.
- Inspect for loose fasteners, cracked seals, damaged guards, blocked drainage, or fresh leaks. Record any finding.
Detailed cleaning steps matter because residue can harden if left overnight. See the daily SOP for cleaning a sugarcane juice machine for a structured close-down sequence.
Weekly and Monthly Maintenance Tasks
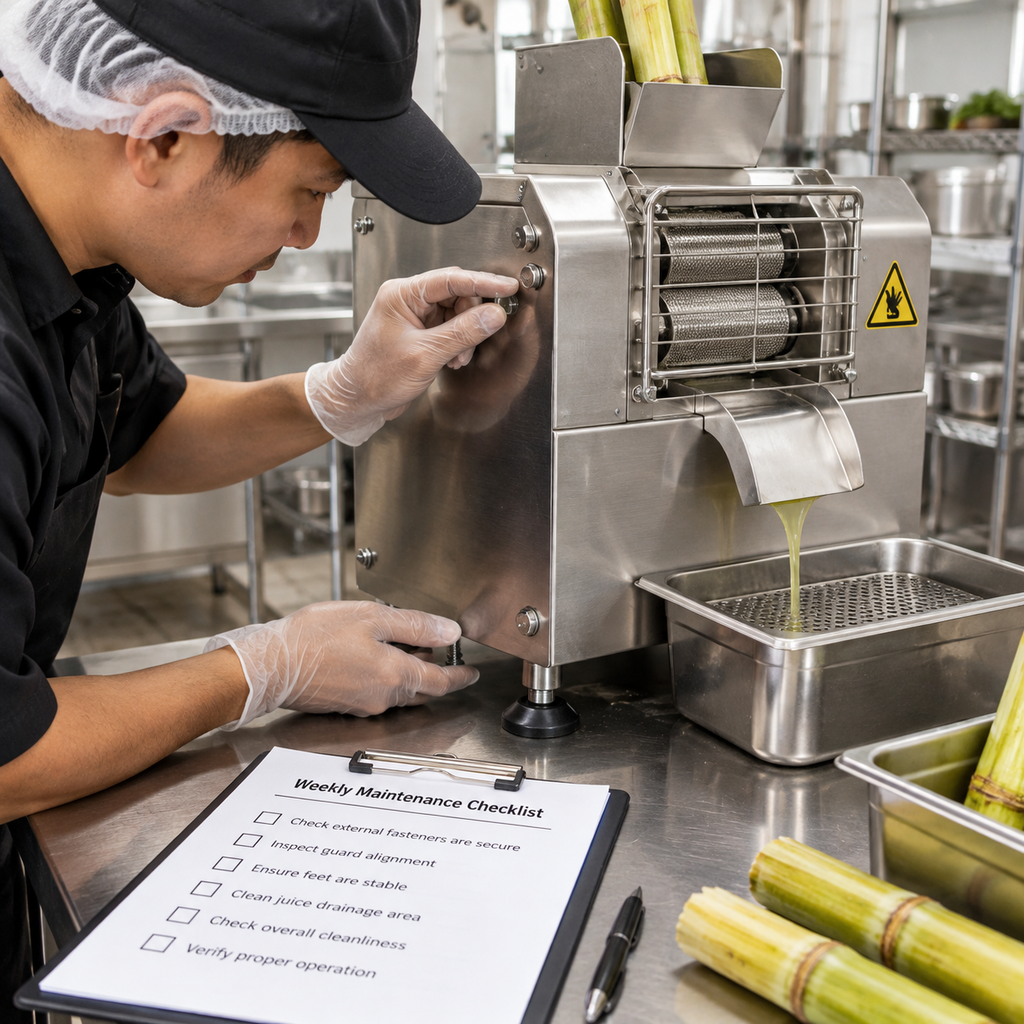
Weekly and monthly checks allow the operator to look beyond the visible cleaning points. The following table is a practical planning template. Adapt it to your specific model and manual.
| Interval | What to check | What good condition looks like | Action if not satisfactory |
|---|---|---|---|
| Weekly | Accessible feed and crushing zone; juice outlet; bagasse exit | No compacted fibre, blockage, damaged accessible parts, or abnormal residue build-up | Clean according to the manual; stop and report damage or persistent obstruction |
| Weekly | Guards, panels, latches, feet, and visible fasteners | Secure, aligned, and free from cracks or looseness | Tighten only where the manual permits; replace or service damaged items |
| Weekly | External drive or ventilation areas, if accessible without opening protected assemblies | Clean and free from fibre accumulation or blocked airflow | Clean safely with power isolated; arrange service for internal access if required |
| Monthly | Power cord, plug, controls, labels, and emergency-stop function if fitted | No damage; controls operate normally; labels remain legible | Remove from service if electrical or control problems are present |
| Monthly | Noise, vibration, juice drainage, and feed behaviour | Operation is consistent with normal shop experience | Document the change and request technical assessment before failure develops |
| Monthly | Maintenance log and cleaning records | Daily tasks completed and recurring issues identified | Update training, workflow, or service plan as needed |
Do not lubricate rollers, bearings, gearboxes, or drive components unless the machine manual expressly identifies the correct location, product, and interval. Unapproved lubricant can create food-safety and equipment problems.
Periodic Service and Replacement Planning
Periodic service intervals cannot be set accurately from calendar time alone. A shop that juices cane throughout the day may need inspection sooner than a low-volume seasonal outlet. Use a combination of operating hours, daily cane throughput, raw cane cleanliness, start-stop frequency, and observed condition.
Ask a qualified technician or authorised service provider to assess items that require protected-area access, electrical testing, alignment checks, drive-system work, or replacement of wear components. Depending on the machine design, this may include rollers, bearings, seals, transmission parts, switches, wiring, or motor-related components. Only use compatible replacement parts and follow the model documentation.
When buying equipment, serviceability should be part of the selection decision. Confirm who supplies routine parts, how technical guidance is provided, what information is needed for support, and whether your team can obtain operating documentation. New operators can also use a sugarcane machine setup guide for vendors to review practical placement, cleaning access, and daily workflow considerations.
A useful periodic-service record includes machine model and serial number, service date, operating observations, parts replaced, technician details, and the next review date. This history helps identify repeatedly failing components and supports clearer discussions with a supplier or technician.
Maintenance Records and Operator Responsibilities
A maintenance log does not need to be complicated. A single sheet, digital checklist, or closing record can be enough if it is completed consistently. Record the date, operator, cleaning completion, inspection result, issues found, action taken, and whether the machine was returned to service.
Set clear responsibility levels:
- Operator: daily cleaning, visual checks, normal-use observation, and reporting.
- Shift lead or manager: review logs, verify weekly checks, arrange service, and hold equipment out of use when needed.
- Qualified technician: protected-area repairs, electrical work, adjustments specified for technical service, and replacement of non-operator-serviceable parts.
Use recurring entries to improve operations. For example, repeated fibre build-up may indicate that cleaning timing, cane preparation, staff training, or bagasse handling needs review. Maintenance records are useful operational information, not just paperwork.
When to Stop the Machine and Arrange Service
Stop operation, isolate power, and arrange assessment when you observe any of the following:
- Damaged power cable, plug, switch, electrical enclosure, or exposed wiring.
- A loose, missing, cracked, or misaligned guard, cover, panel, or feed-area component.
- Unusual grinding, knocking, persistent squealing, burning smell, smoke, or unexpected heat.
- Excessive vibration, machine movement, or a sudden change in normal feed behaviour.
- Repeated blockage, poor drainage, unexplained leakage, or juice flowing where it should not.
- A control that does not respond normally or a safety function that appears unreliable.
Do not bypass safety devices, operate with protective parts removed, or attempt repairs beyond the manual and your training. A short interruption is preferable to an injury risk, electrical hazard, or more serious mechanical damage.
For operators planning the wider juice-shop workflow, including equipment placement and daily work sequence, review the mobile sugarcane juice business setup guide; its workflow principles can also help fixed-location shops.
FAQ
How often should a commercial sugarcane juice machine be cleaned?
Clean the machine at the end of every service day and whenever the shop procedure requires it during operation. Remove accessible cane residue, clean food-contact areas according to the manufacturer instructions, and dry the machine before reassembly or storage.
What is included in sugarcane machine preventive maintenance?
Preventive maintenance includes daily cleaning and visual checks, weekly inspection of accessible residue areas and external hardware, monthly checks of electrical condition and normal operation, documented records, and qualified service for technical or protected components.
Can operators lubricate a commercial sugarcane juicer?
Only if the manufacturer manual specifically states that an operator may lubricate a named point with an approved lubricant at a stated interval. Do not apply lubricant based on general assumptions, especially near food-contact areas.
Why does a sugarcane juicer need a maintenance log?
A log shows that routine work was completed, helps identify repeated problems, gives managers a basis for scheduling service, and provides useful information when discussing an issue with a technician or equipment supplier.
What should I do if the juicer starts making an unusual noise?
Stop operation, isolate the power, and inspect only the accessible areas permitted by the manual. Do not continue operating the machine to test it repeatedly. Record the symptom and request qualified technical assessment if the cause is not an approved operator-level correction.
Build a Service Plan Around Your Shop Workflow
Easimaker can help commercial buyers discuss a suitable sugarcane juice machine, practical cleaning access, and support considerations for their market and expected operating pattern. Request a quote or speak with our team about your equipment requirements.